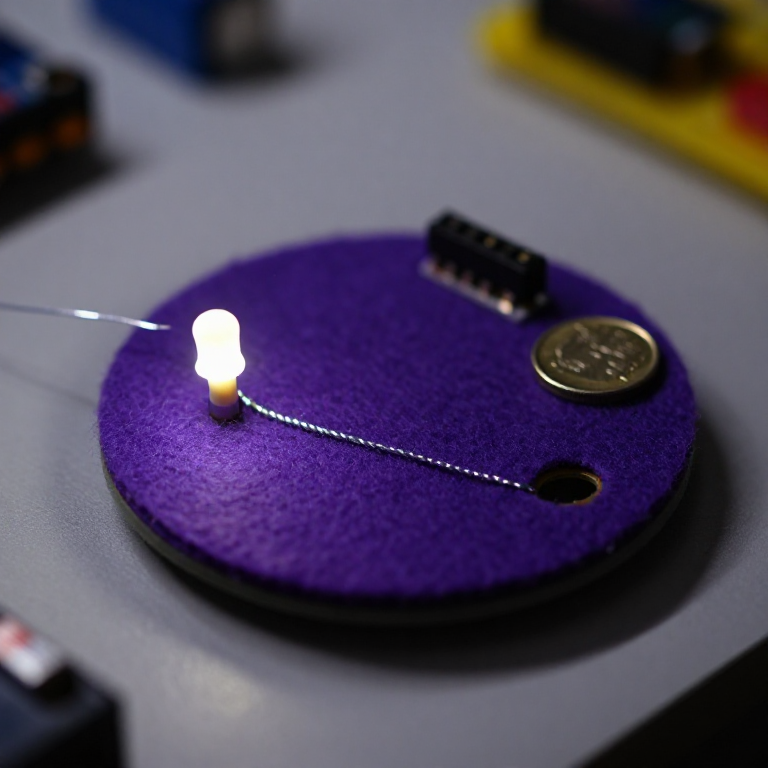


Blinking an LED with LilyPad Arduino
Step up from a plain sewn circuit to a sewable computer. The LilyPad Arduino is a washable microcontroller you program from your PC, then run on a coin cell — so your fabric can blink, fade and react on its own. This project sews an LED to the board and uploads the classic 'blink' sketch: the gateway to every sensor-driven wearable that follows.
Instrucciones
Sew the LilyPad Arduino and an LED
Sew the LilyPad Arduino and an LED
Sew a LilyPad Arduino Simple board and a LilyPad LED onto felt with conductive thread: the LED's + tab to numbered pin 5, and the LED's - tab to the board's - tab. Loop 3–4 times through each hole, trim tails, and keep the two lines from crossing.
Materiales para este paso:
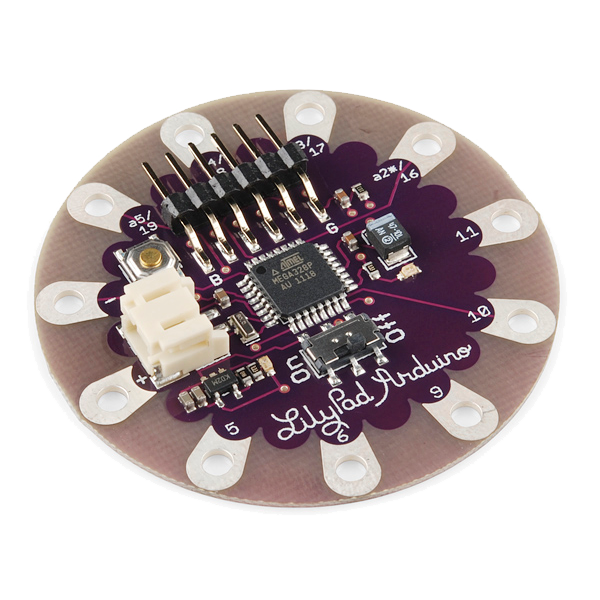 LilyPad Arduino Simple Board1 pieza
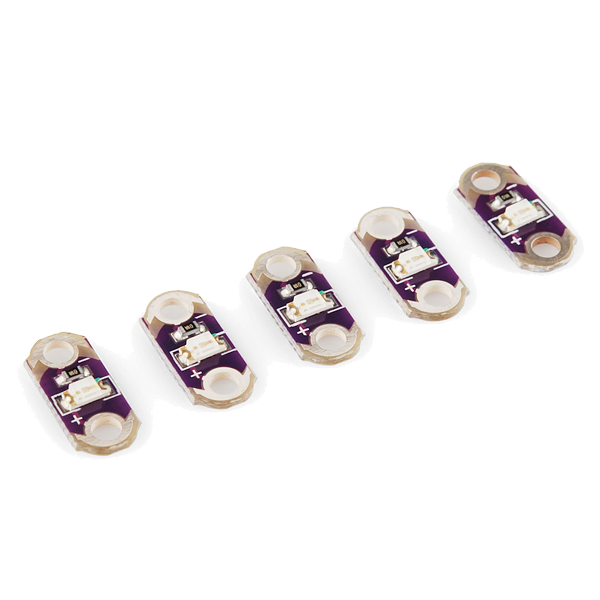 LilyPad LED - 5 pcs1 paquete
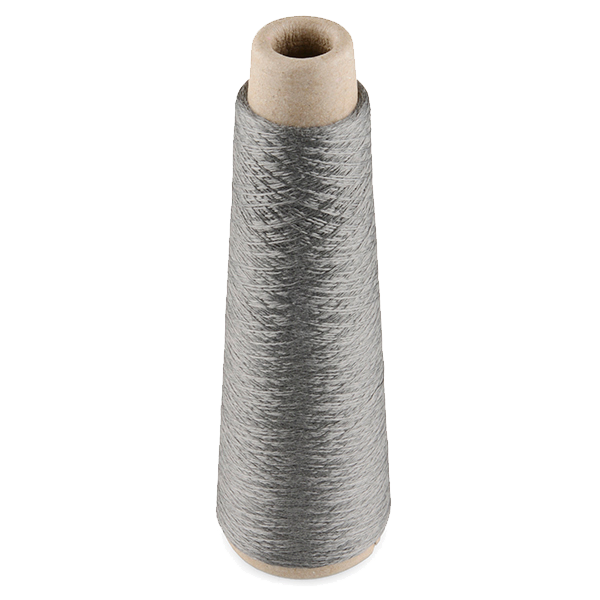 Conductive Thread - 60g (Stainless Steel)1 bobina
 Plancha de fieltro de lana1 hoja
Herramientas necesarias:
 Agujas de coser a mano
Connect the FTDI programmer
Connect the FTDI programmer
Plug a LilyPad FTDI Basic Breakout onto the board's 6-pin programming header (line up GND to GND, DTR to DTR) and connect it to your computer with a USB cable. Install the free Arduino IDE, then choose the LilyPad Arduino board and the FTDI's serial port under Tools.
Herramientas necesarias:
 Ordenador con el IDE de Arduino
 LilyPad FTDI Basic Breakout - 5V
 Cable USB-B
Upload the blink sketch
Upload the blink sketch
Paste this sketch into the Arduino IDE and click Upload. It flashes the LED on pin 5 on and off twice a second.
Go wireless on a coin cell
Go wireless on a coin cell
Unplug the FTDI. Sew a LilyPad coin-cell battery holder to the board — + tab to +, - tab to - — and drop in a CR2032. Switch it on and the LED blinks on its own, no computer attached. Your fabric now runs its own program.
Materiales para este paso:
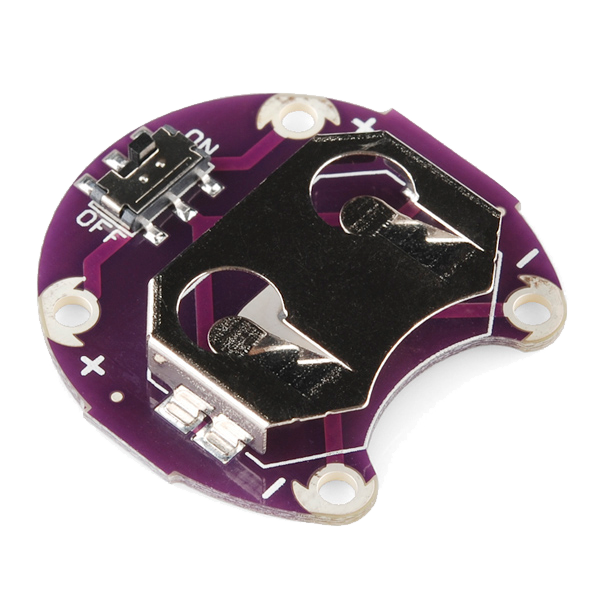 LilyPad Coin Cell Battery Holder - w/Switch - 20mm1 pieza
 Pila de botón CR20321 pieza
Experiment
Experiment
Re-attach the FTDI and change the sketch: adjust the delays for a heartbeat rhythm, or sew a second LED to another pin and blink them in turn. This is the base every LilyPad sensor project builds on.
Materiales
6- LilyPad Arduino Simple Board10% de comisión1 pieza€17.51
- LilyPad LED - 5 pcs10% de comisión1 paquete€3.75
- Conductive Thread - 60g (Stainless Steel)10% de comisión1 bobina€35.85
- Marcador de posición
- LilyPad Coin Cell Battery Holder - w/Switch - 20mm10% de comisión1 pieza€4.51
- 1 piezaMarcador de posición
Herramientas requeridas
4- Marcador de posición
- Marcador de posición
- LilyPad FTDI Basic Breakout - 5V10% de comisión€12.85
- 1 vendor sell this, none ship to you yetMarcador de posición
Blueprints relacionados
Estos blueprints comparten conocimiento — técnicas, materiales o principios

CC0 Dominio público
Este Blueprint se publica bajo CC0. Eres libre de copiar, modificar, distribuir y usar este trabajo para cualquier propósito, sin pedir permiso.
Apoya al Maker comprando productos a través de su Blueprint, donde gana una Comisión del Maker establecida por los vendedores, o crea una nueva iteración de este Blueprint e inclúyela como conexión en tu propio Blueprint para compartir ingresos.