ARTE
BELLEZA Y BIENESTAR
ARTESANÍA
CULTURA E HISTORIA
ENTRETENIMIENTO
MEDIO AMBIENTE
COMIDA Y BEBIDAS
INGENIERÍA INVERSA
CIENCIAS
DEPORTES
TECNOLOGÍA
TECNOLOGÍA VESTIBLE
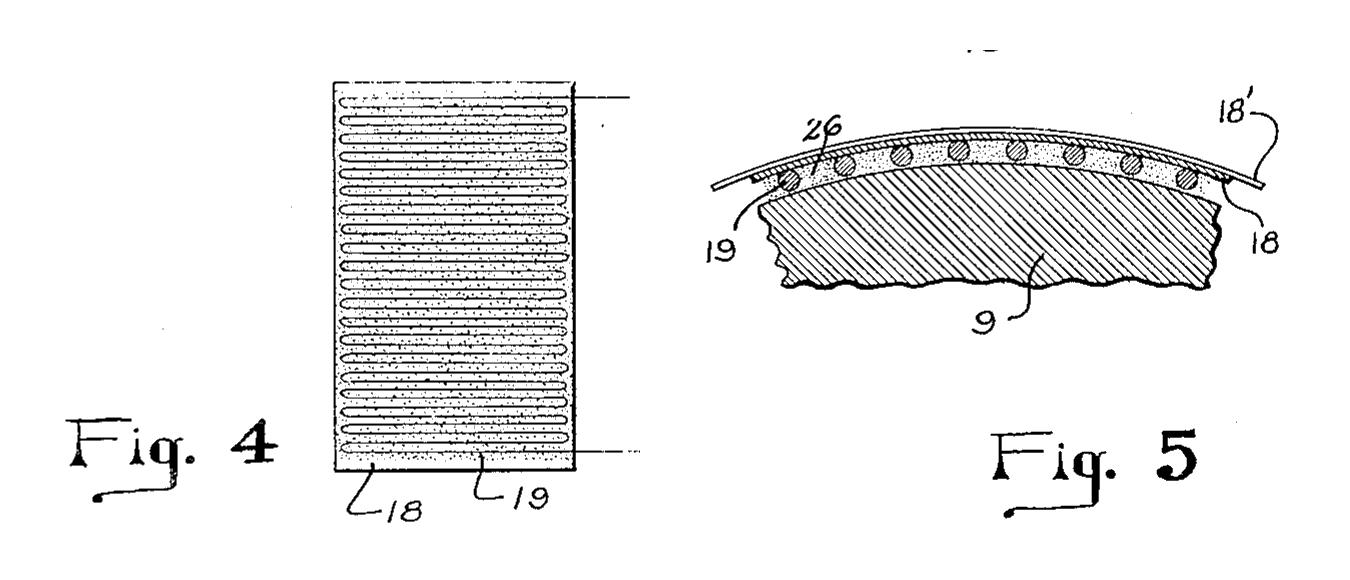


Bonded Wire Strain Gauge on Paper: Simmons, 1942
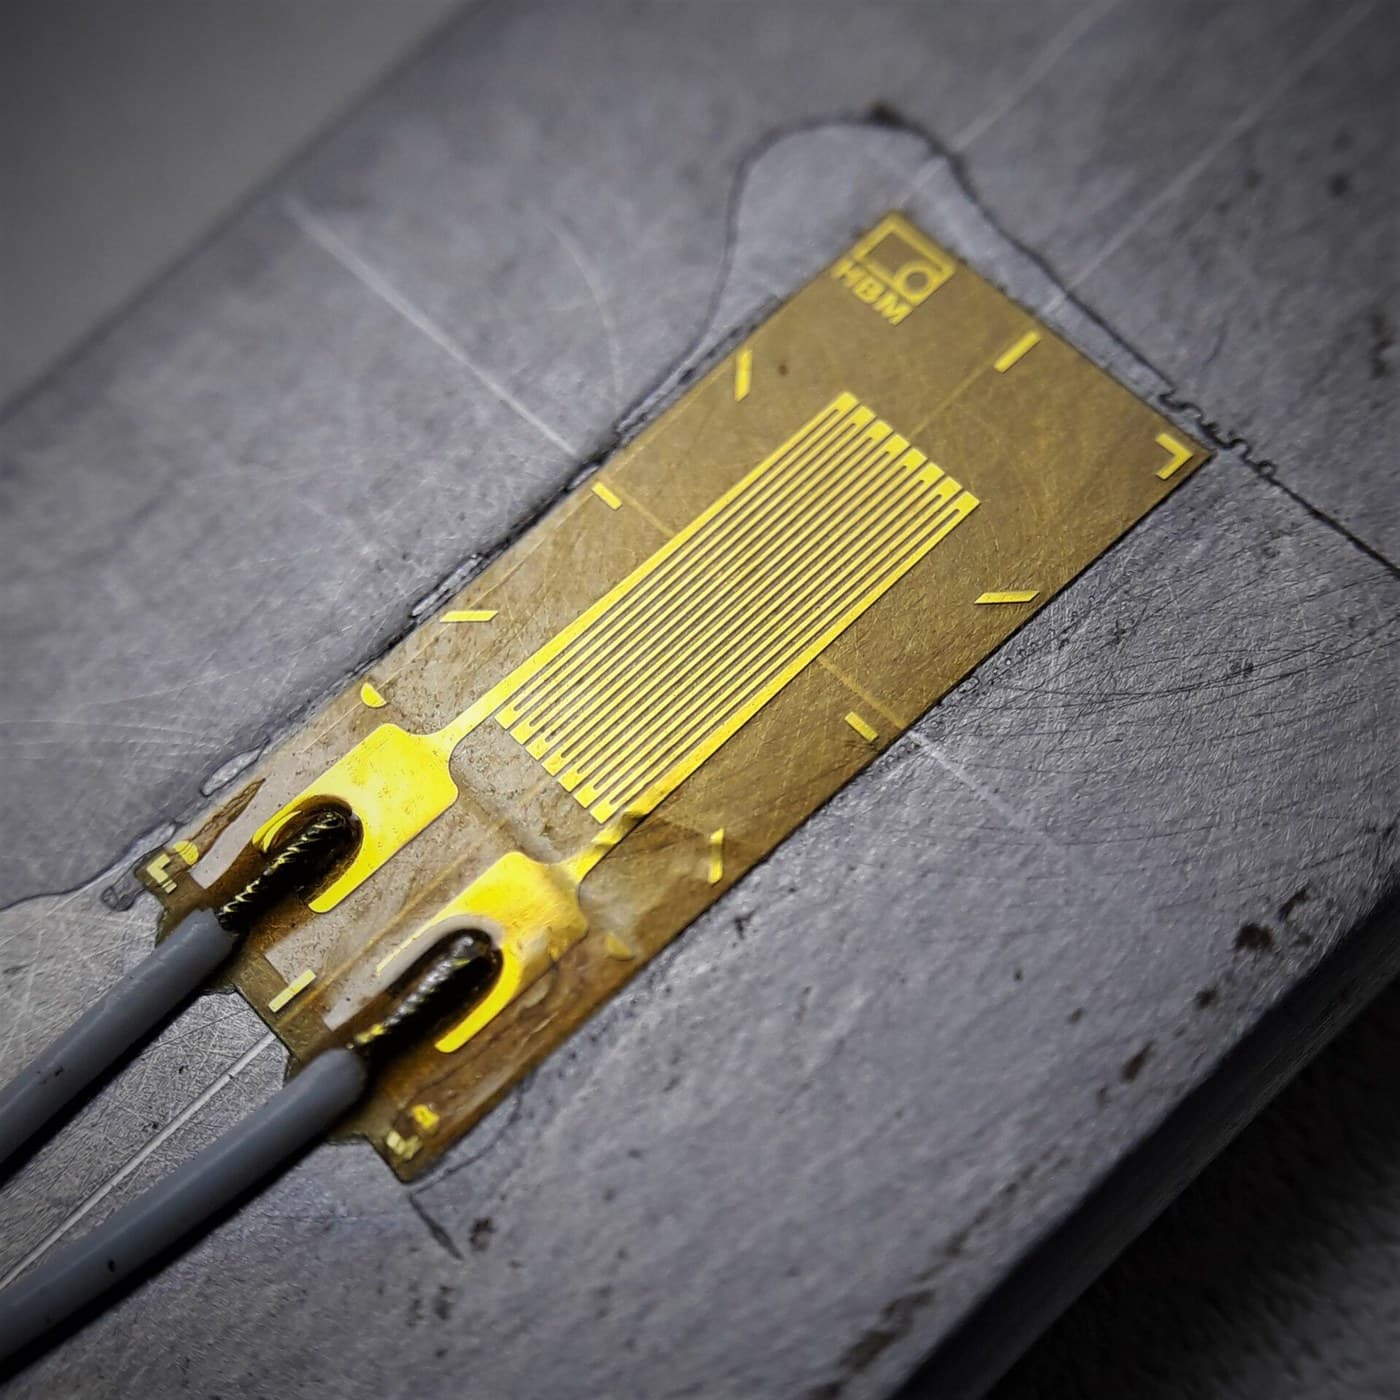
Edward E. Simmons, Jr. of Pasadena patented the bonded wire strain gauge in 1942, US 2,292,549 (filed 1940). A very fine resistance wire is cemented to a member along its entire length, so it stretches and shortens exactly with the surface and its electrical resistance follows the strain. His preferred form: Constantan or Advance wire, about 0.003 inch, wound back and forth on a thin paper, set in Glyptal, then cemented to the member and calibrated.
Avanzado
Workshop process
Instrucciones
1
1
Wind the filament on thin paper
Wind the filament on thin paper
Use a fine resistance wire such as Constantan or Advance (a copper-nickel alloy, about 45 % nickel and 55 % copper); Simmons used No. 40 gauge, about 0.0031 inch. Wind it back and forth across a thin paper in parallel lengths whose alternate ends are joined, the strands very close together but not touching. A winding jig keeps the filament slightly taut.
Materiales para este paso:
 Alambre de constantán1 as required
 Papel1 hoja
Herramientas necesarias:
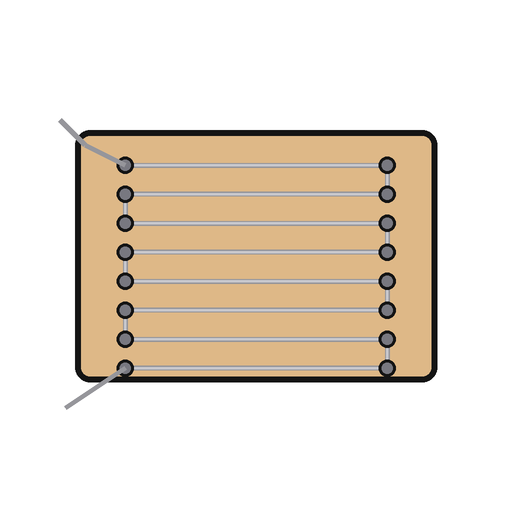 Plantilla de bobinado
 Tijeras
2
2
Set it in Glyptal
Set it in Glyptal
Cover the wound filament with Glyptal and let it dry and harden thoroughly. Filament and paper now form one gauge unit, the filament lying in the plane of the paper surface.
Materiales para este paso:
 Resina alquídica Glyptal1 as required
Herramientas necesarias:
 Pinceles finos
 Horno de secado
3
3
Cement it to the member
Cement it to the member
Put Glyptal on the surface of the member and wrap the gauge unit on with the strands running in the direction of the strain to be measured, the paper outside. The small amount of Glyptal on the surface insulates the filament from the member. Hold filament and paper in place by wrapping them with thread, then dry and harden the Glyptal thoroughly.
Materiales para este paso:
Resina alquídica Glyptal1 as required Hilo de algodón1 as required
Herramientas necesarias:
Pinceles finosHorno de secadoTijeras4
4
Calibrate it
Calibrate it
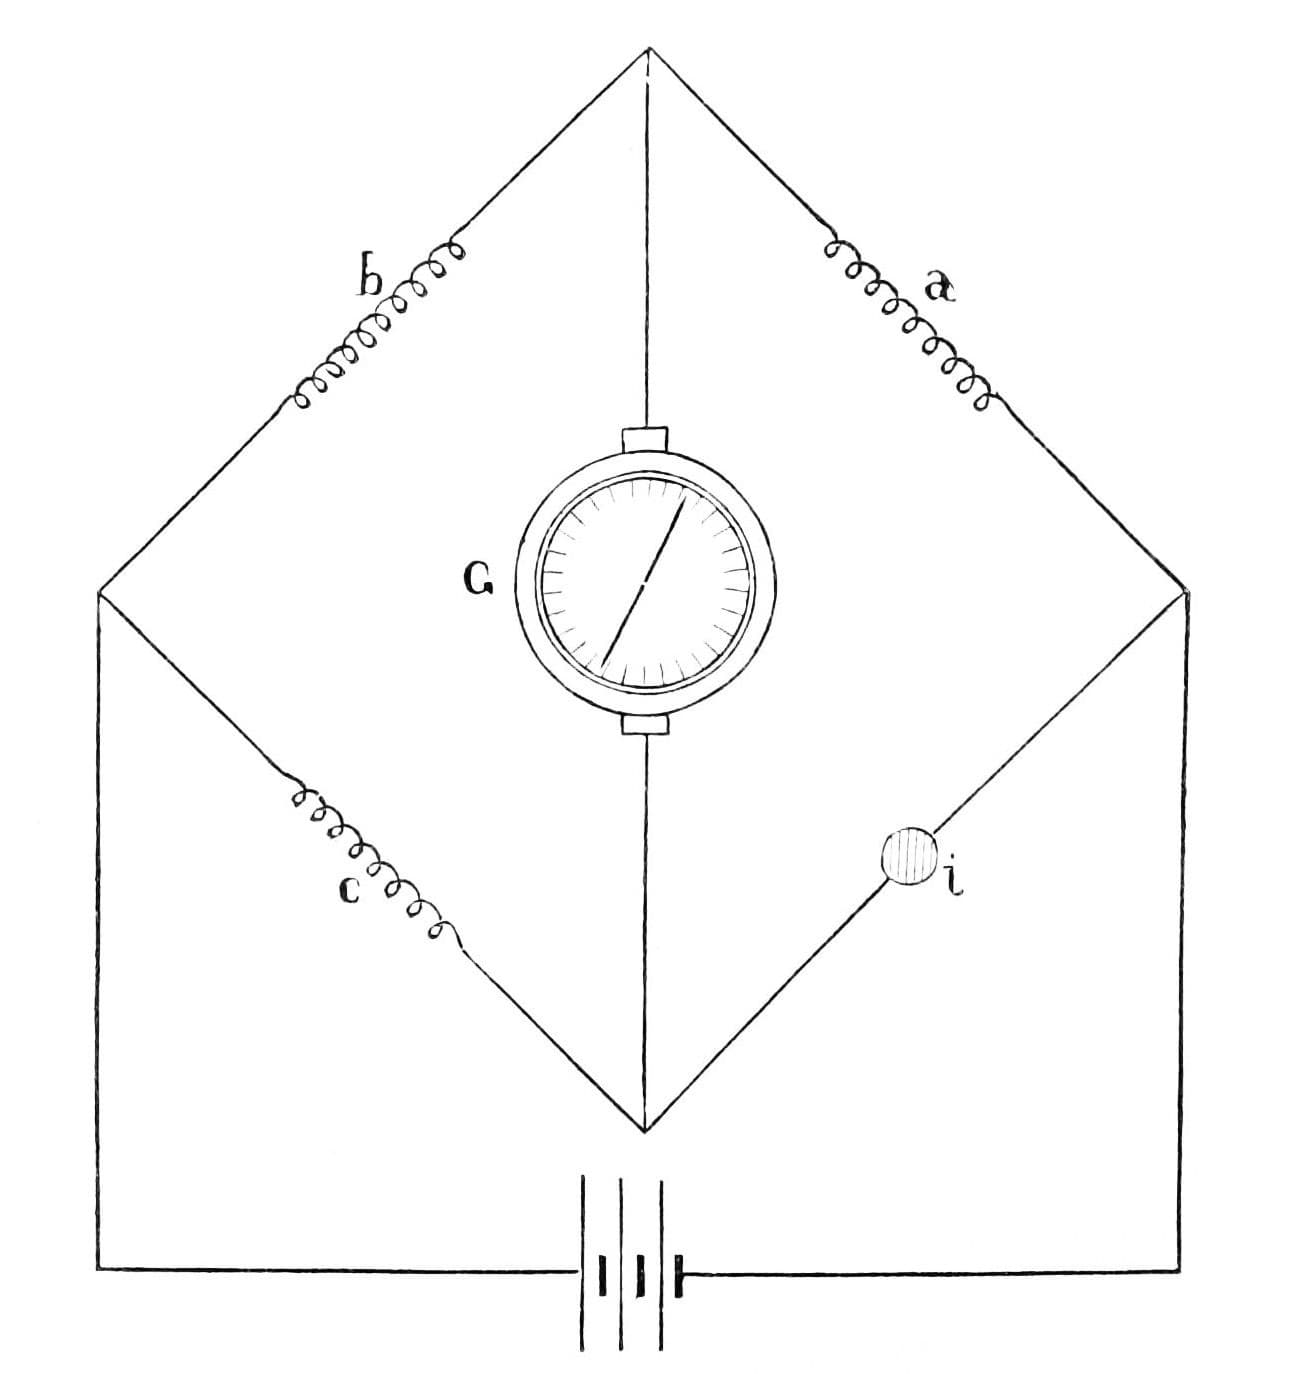
Load the member progressively in a materials testing machine and note the change in the filament's resistance at each load, measured on a Wheatstone bridge in which the filament is one arm. For very fast loads, as in impact tests, an oscillograph takes the place of the galvanometer.
Herramientas necesarias:
 Máquina de ensayo de materiales
 Puente de Wheatstone
 Galvanómetro analógico
5
5
Bonding area and signal size
Bonding area and signal size
Cargando el cuaderno de Jupyter…
Materiales
4- 1 as requiredMarcador de posición
- 1 hojaMarcador de posición
- 1 as requiredMarcador de posición
- 1 as requiredMarcador de posición
Herramientas requeridas
7- Marcador de posición
- Marcador de posición
- Marcador de posición
- Marcador de posición
- Marcador de posición
- Marcador de posición
- Marcador de posición
Este plano hace
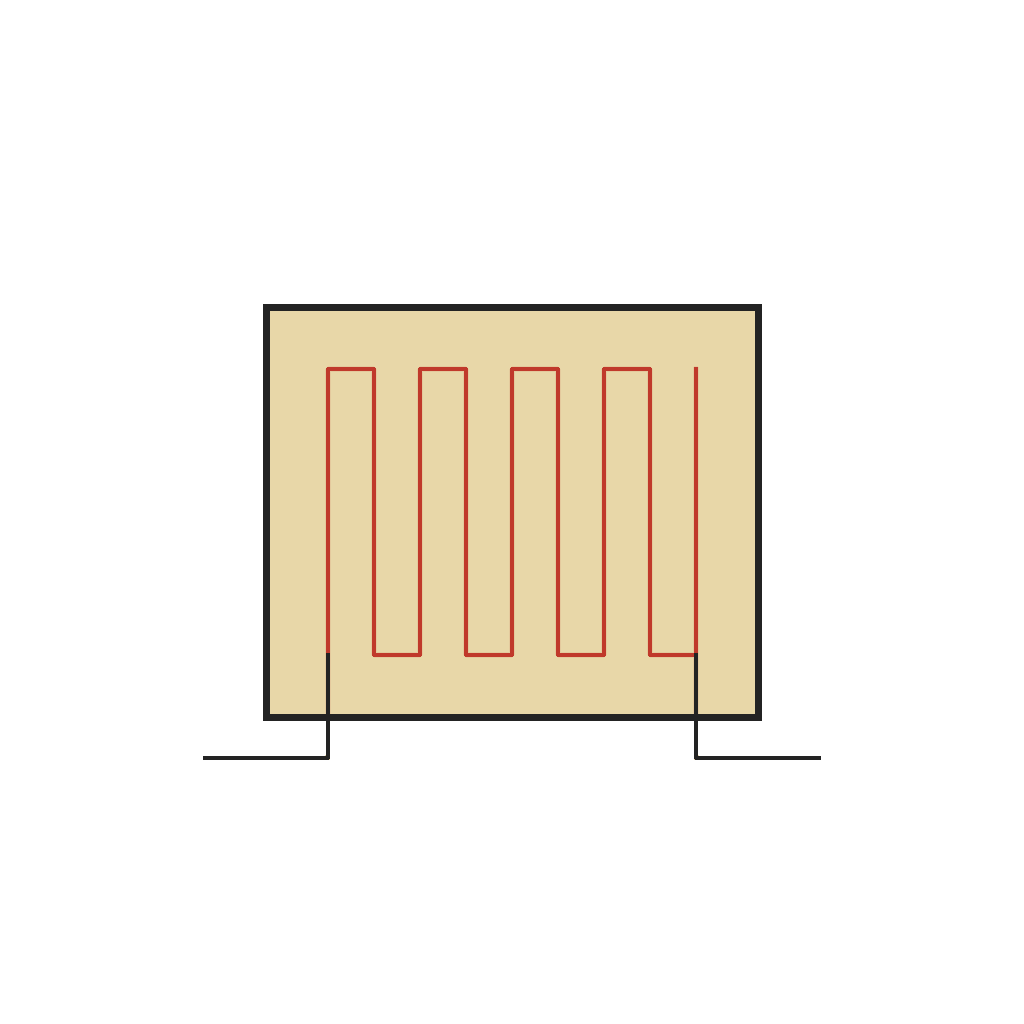
Blueprints relacionados
Estos blueprints comparten conocimiento — técnicas, materiales o principios

CC0 Dominio público
Este Blueprint se publica bajo CC0. Eres libre de copiar, modificar, distribuir y usar este trabajo para cualquier propósito, sin pedir permiso.
Apoya al Maker comprando productos a través de su Blueprint, donde gana una Comisión del Maker establecida por los vendedores, o crea una nueva iteración de este Blueprint e inclúyela como conexión en tu propio Blueprint para compartir ingresos.