ARTE
BELLEZA Y BIENESTAR
ARTESANÍA
CULTURA E HISTORIA
ENTRETENIMIENTO
MEDIO AMBIENTE
COMIDA Y BEBIDAS
INGENIERÍA INVERSA
CIENCIAS
DEPORTES
TECNOLOGÍA
TECNOLOGÍA VESTIBLE
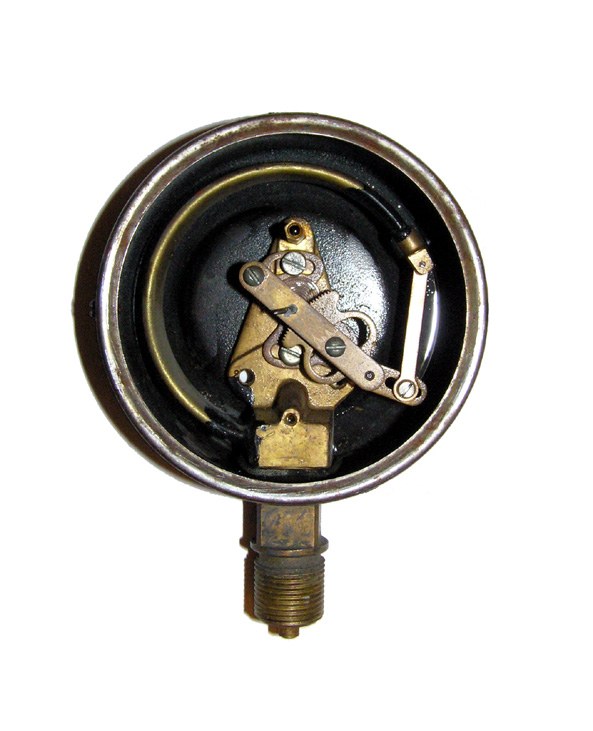


Bourdon-Tube Pressure Gauge
The heart of a dial pressure gauge is the Bourdon tube: a metal tube of oval section bent into a C and sealed at its free end. The greater the pressure, the farther the free tip moves, but only about 0.125–0.25 in (3–6 mm) across the whole range. A geared movement, built much like clockwork, turns that small movement into the sweep of a pointer, usually over 270° of dial. The tube metal must take a spring temper; phosphor bronze is used for most gauges for air, light oil or water, and beryllium copper for high pressure. The tube's wall thickness and the radius of its curve set the pressure range.
Avanzado
Factory process
Instrucciones
1
1
Roll the C
Roll the C
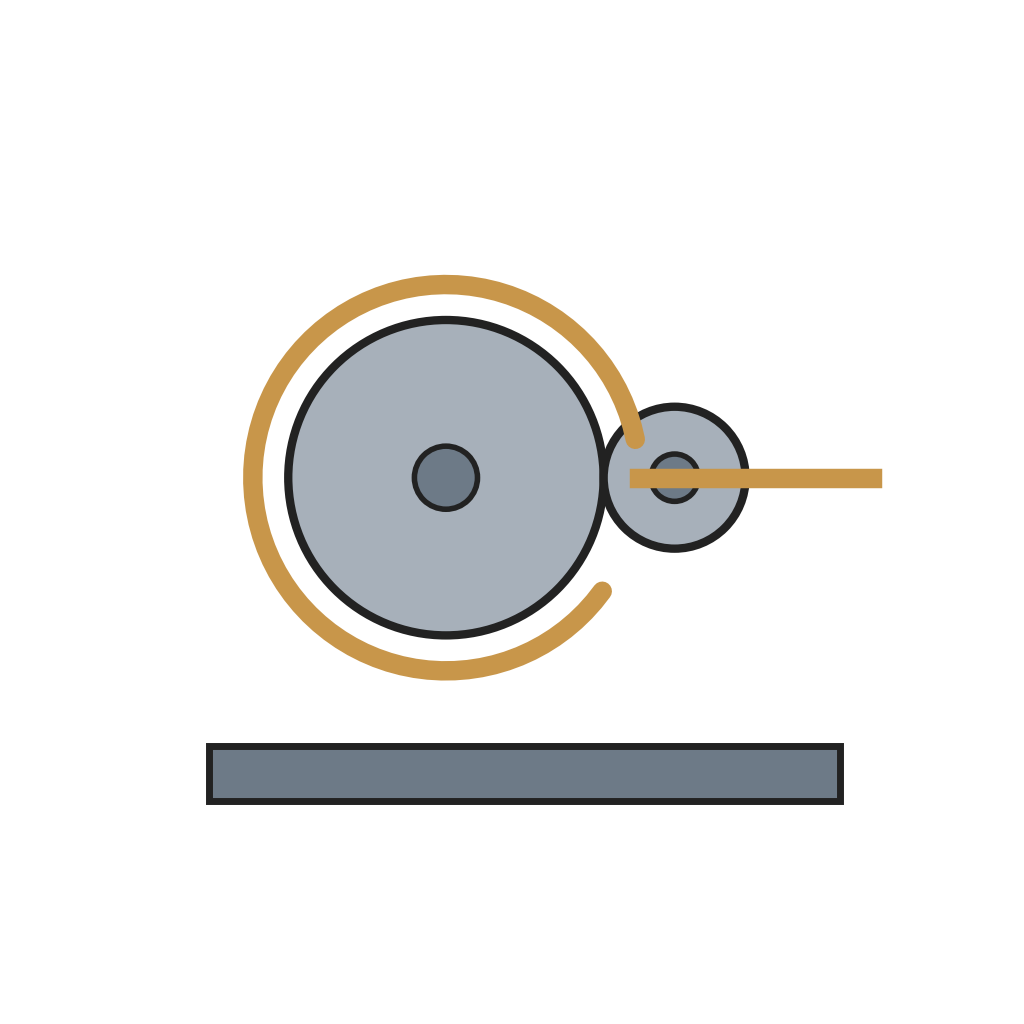
Pass the tubing over a lubricated steel mandrel and between two grooved, powered rollers. One roller grips the end and bends the inside radius while the other presses from outside; the grooves keep the tube from flattening.
Materiales para este paso:
 Tubo de bronce fosforoso1 as required
Herramientas necesarias:
 Máquina curvadora de tubos Bourdon
2
2
Cut and heat treat
Cut and heat treat
As the roller keeps turning, a saw blade on it cuts the tube to length. Heat treat the tubes in ovens to give them their spring temper.
Herramientas necesarias:
 Horno de tratamiento térmico
3
3
Machine the socket
Machine the socket
Turn, drill, mill and thread the socket from bar stock in one cycle on a machining centre. One end is threaded to screw into the pressure source.
Materiales para este paso:
 Barra redonda de latón1 as required
Herramientas necesarias:
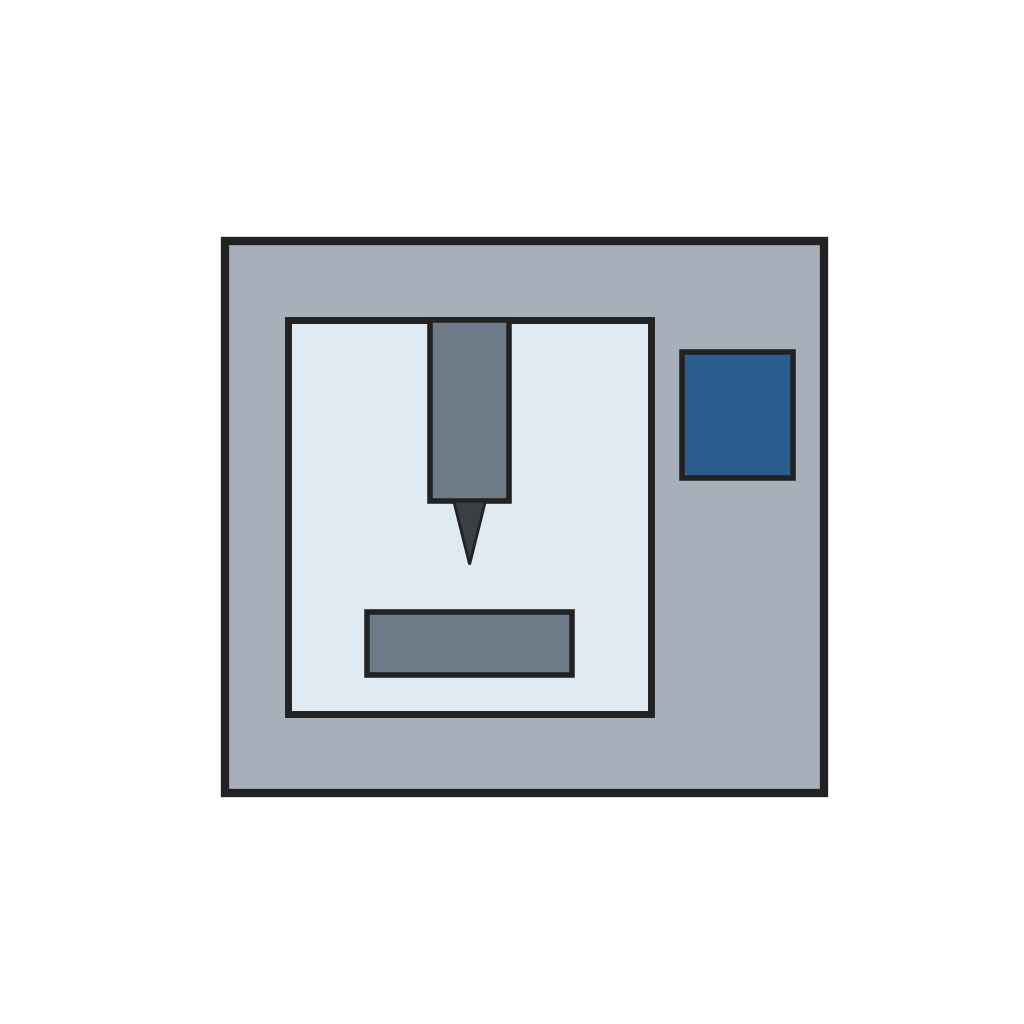 Centro de mecanizado CNC
4
4
Join tube and socket
Join tube and socket
Solder, braze or weld the open end of the tube to the socket, locating the free end precisely, and seal the free end the same way. Fit an endpiece to the tip; its small hole links the tip to the movement.
Herramientas necesarias:
 Soplete de soldadura fuerte
5
5
Fit movement, dial and pointer
Fit movement, dial and pointer
Mount the movement, the dial and the pointer onto the socket as a group.
Materiales para este paso:
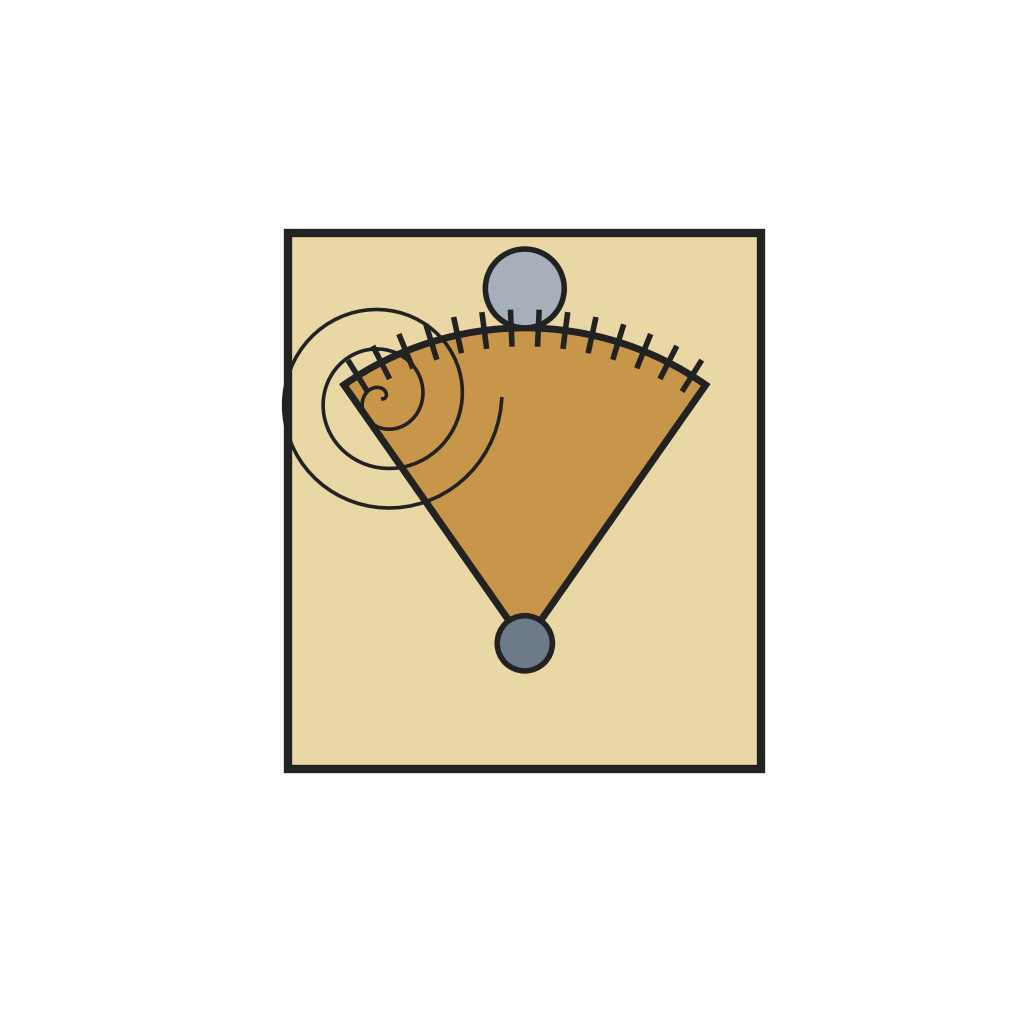 Mecanismo de manómetro1 pieza
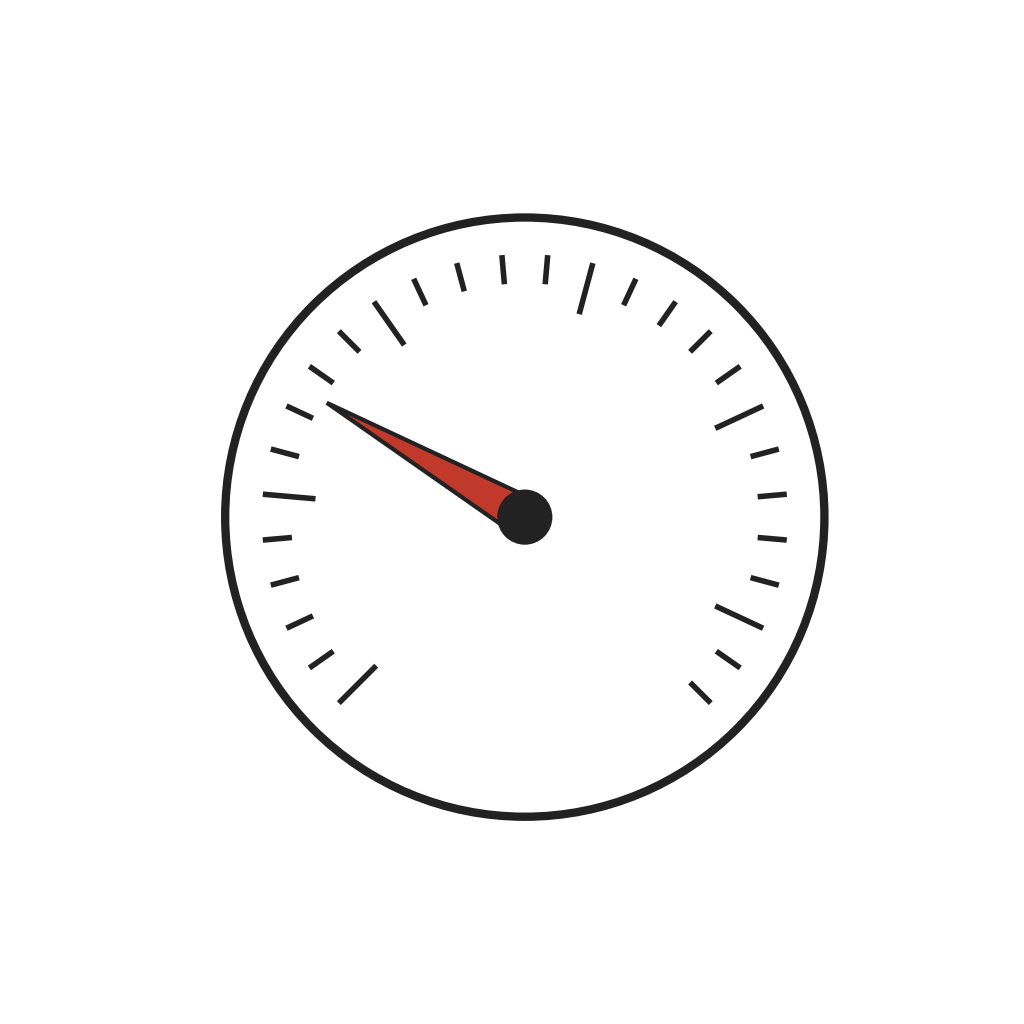 Esfera y aguja de manómetro1 pieza
6
6
Calibrate and case
Calibrate and case
Connect the assembly to a pressure source alongside a master gauge of known accuracy and adjust it until it reads the same; 2% is a common accuracy, finer grades 1, 0.5 or 0.25%. Then fit the case and lens.
Materiales para este paso:
 Caja y cristal de manómetro1 pieza
Herramientas necesarias:
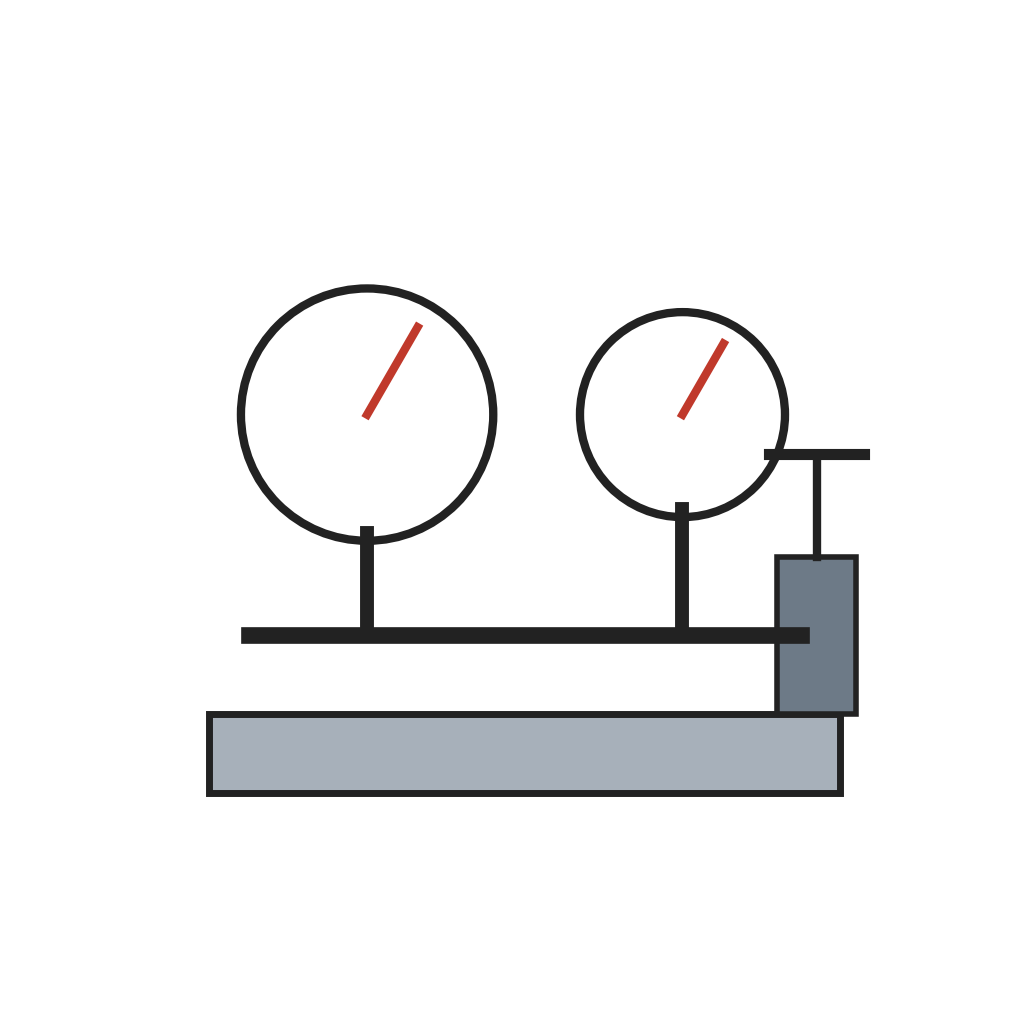 Banco de calibración con manómetro patrón
Materiales
5- 1 as requiredMarcador de posición
- 1 as requiredMarcador de posición
- 1 piezaMarcador de posición
- 1 piezaMarcador de posición
- 1 piezaMarcador de posición
Herramientas requeridas
5- Marcador de posición
- Marcador de posición
- Marcador de posición
- Marcador de posición
- Marcador de posición
Este plano hace
Blueprints relacionados
Estos blueprints comparten conocimiento — técnicas, materiales o principios
CC0 Dominio público
Este Blueprint se publica bajo CC0. Eres libre de copiar, modificar, distribuir y usar este trabajo para cualquier propósito, sin pedir permiso.
Apoya al Maker comprando productos a través de su Blueprint, donde gana una Comisión del Maker establecida por los vendedores, o crea una nueva iteración de este Blueprint e inclúyela como conexión en tu propio Blueprint para compartir ingresos.