Colaboración
ARTE
BELLEZA Y BIENESTAR
ARTESANÍA
CULTURA E HISTORIA
ENTRETENIMIENTO
MEDIO AMBIENTE
COMIDA Y BEBIDAS
INGENIERÍA INVERSA
CIENCIAS
DEPORTES
TECNOLOGÍA
TECNOLOGÍA VESTIBLE
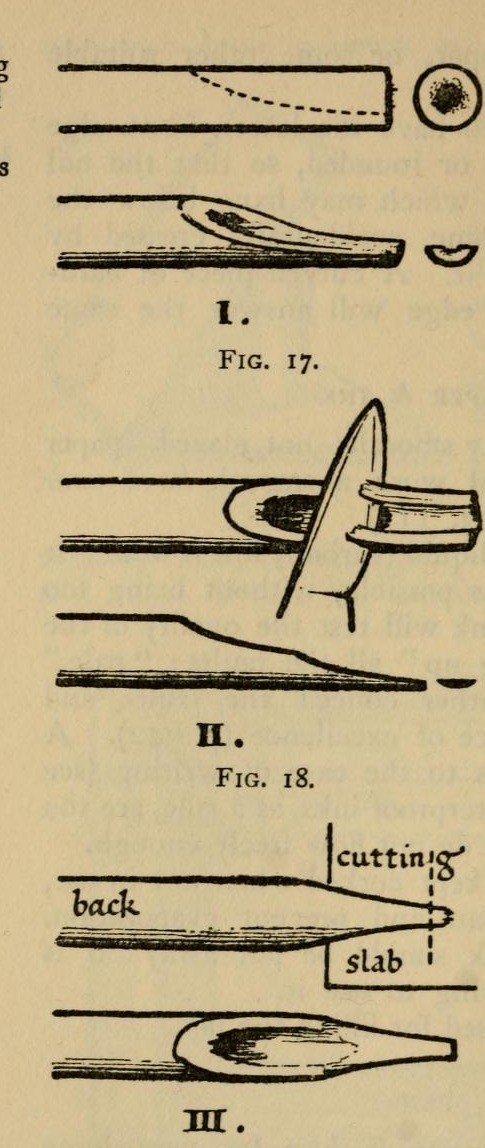


Calligraphy Pen Set: Cut Reed and Quill Pens with Ink Springs (Johnston, 1906)
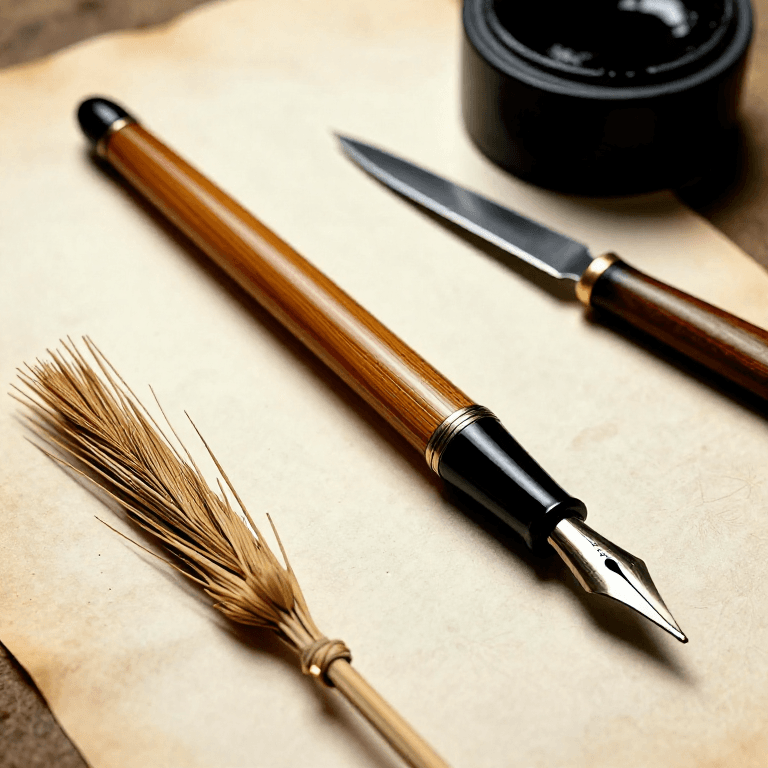
Edward Johnston's broad-edged pens for formal writing: a reed or cane pen for letters over half an inch high, and a turkey quill for smaller work. Each nib is slit, cut square-chisel at about 70°, and given a folded tin spring underneath that holds a reservoir of ink. The width of the cut nib is exactly the width of the thickest stroke it will make.
Result: a set of reed and quill pens, cut to the widths you want.
Source: E. Johnston, Writing & Illuminating, & Lettering (1906), pp. 51-58. Picture: Figs. 17-19 of the book.
Principiante
Unknown
Instrucciones
1
1
Cut the reed pen
Cut the reed pen
Take a reed or fine hollow cane about 8 inches long. Cut one end off obliquely and shave away the soft inside with the knife laid flat, leaving the hard shell. Lay the nib back up on the slab and, knife vertical, cut the tip off square. Slit the middle of the tip with the knife point, then lengthen the slit to about 3/4 inch by twitching a pencil upward under the nib, pressing the left thumbnail on the back about 1 inch from the tip so it does not split too far. A very stiff pen may get an extra slit each side. Finally cut the tip off at about 70° to the shaft, removing the first rough slit. Ours: reed straws.
Materiales para este paso:
 Cañas para beber1 reed pens
Herramientas necesarias:
 Cúter de precisión
 Lámina de vidrio
2
2
Cut the quill pen
Cut the quill pen
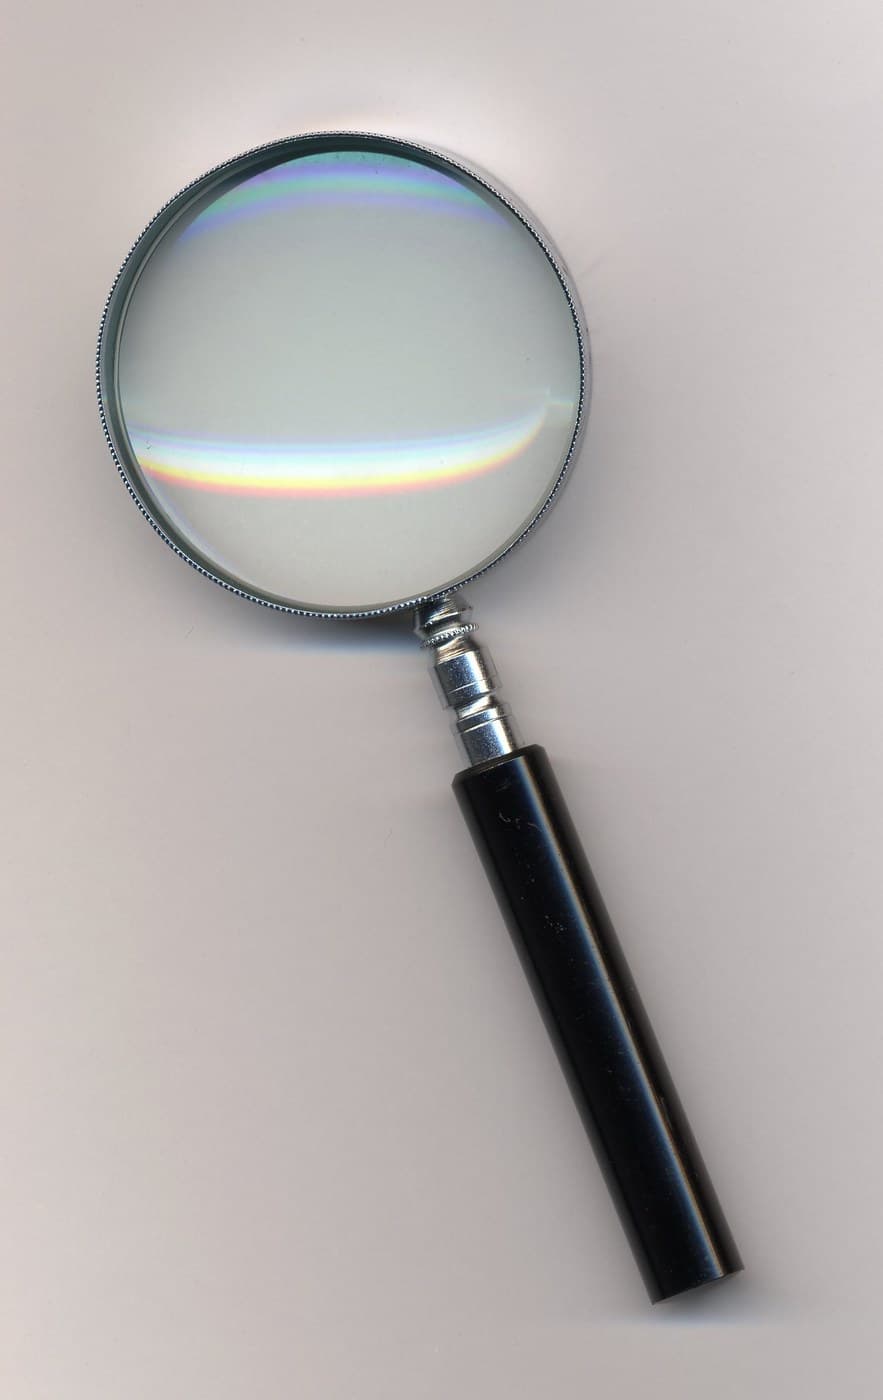
Cut a turkey wing quill down to 7 or 8 inches and strip the barbs off the shaft. The nib usually has a slit about 1/4 inch long; lengthen it to 3/8 inch in a very stiff pen. Pare the sides until the tip is a little narrower than the width wanted. Lay it back up on the glass slab and cut the extreme tip off with the knife slightly sloped, its edge at about 70° to the shaft. Cut very little at a time. Check under a magnifying glass that both half-nibs end on one straight line, with a sharp, oblique chisel edge.
Materiales para este paso:
 Plumas1 turkey quills
Herramientas necesarias:
Cúter de precisiónLámina de vidrio Lupa
3
3
Fit the ink springs
Fit the ink springs
Cut a strip of very thin tin (or clock spring softened by heating and slow cooling) as wide as the nib and about 2 inches long, and fold it into a spring. Spring its short loop into the pen so it holds itself in place. The long loop, kept rather flat, holds the ink under the nib, with its point about 1/8 inch from the end of the nib. Too curved and it holds only a drop; quite flat and it draws the ink away from the nib.
Materiales para este paso:
 Chapa de hojalata1 ink springs
Herramientas necesarias:
 Tijeras de chapa
Materiales
3- 1 reed pensMarcador de posición
- 1 turkey quillsMarcador de posición
- 1 ink springsMarcador de posición
Materiales de Blueprints conectados



Este plano hace

Blueprints relacionados
Estos blueprints comparten conocimiento — técnicas, materiales o principios
CC0 Dominio público
Este Blueprint se publica bajo CC0. Eres libre de copiar, modificar, distribuir y usar este trabajo para cualquier propósito, sin pedir permiso.
Apoya al Maker comprando productos a través de su Blueprint, donde gana una Comisión del Maker establecida por los vendedores, o crea una nueva iteración de este Blueprint e inclúyela como conexión en tu propio Blueprint para compartir ingresos.