ARTE
BELLEZA Y BIENESTAR
ARTESANÍA
CULTURA E HISTORIA
ENTRETENIMIENTO
MEDIO AMBIENTE
COMIDA Y BEBIDAS
INGENIERÍA INVERSA
CIENCIAS
DEPORTES
TECNOLOGÍA
TECNOLOGÍA VESTIBLE
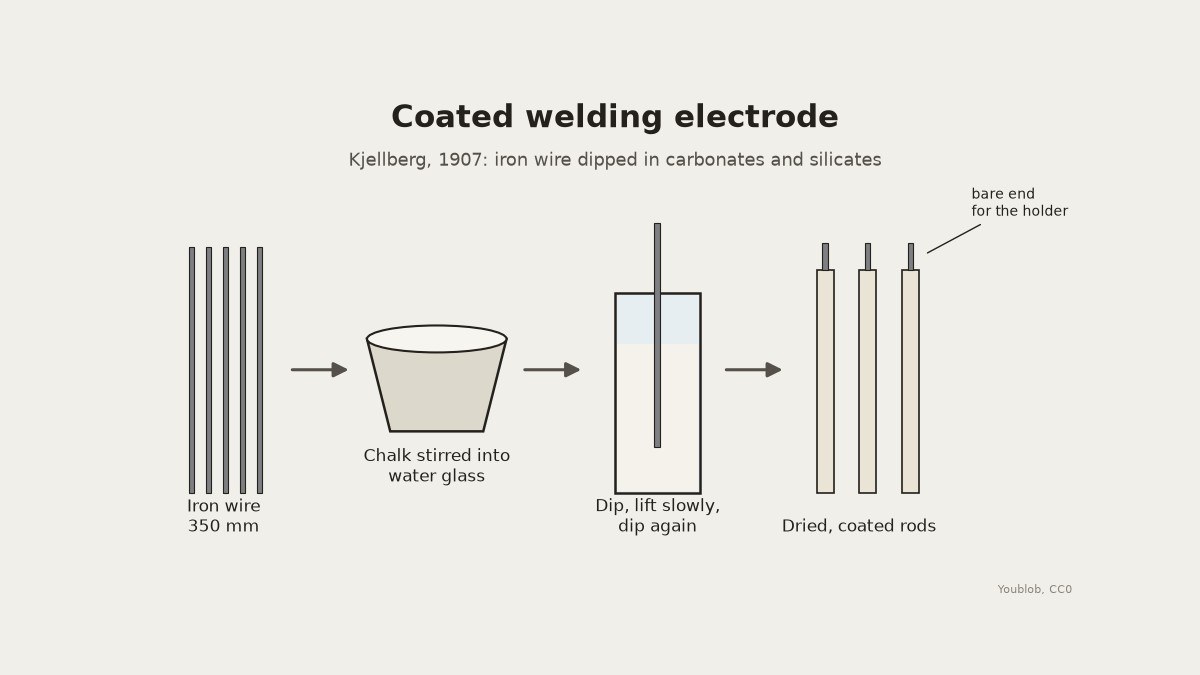


Coated Welding Electrode: Iron Wire Dipped in Chalk and Water Glass (Kjellberg, 1907)
In 1907 Oscar Kjellberg patented a welding electrode made by dipping bare iron wire in a thick mixture of carbonates and silicates. In the arc the coating gives off a fume that keeps air away from the molten metal while it cools. Here the carbonate is chalk and the silicate is water glass. Cut the wire to length, dip it in the paste, and dry the rods well before use.
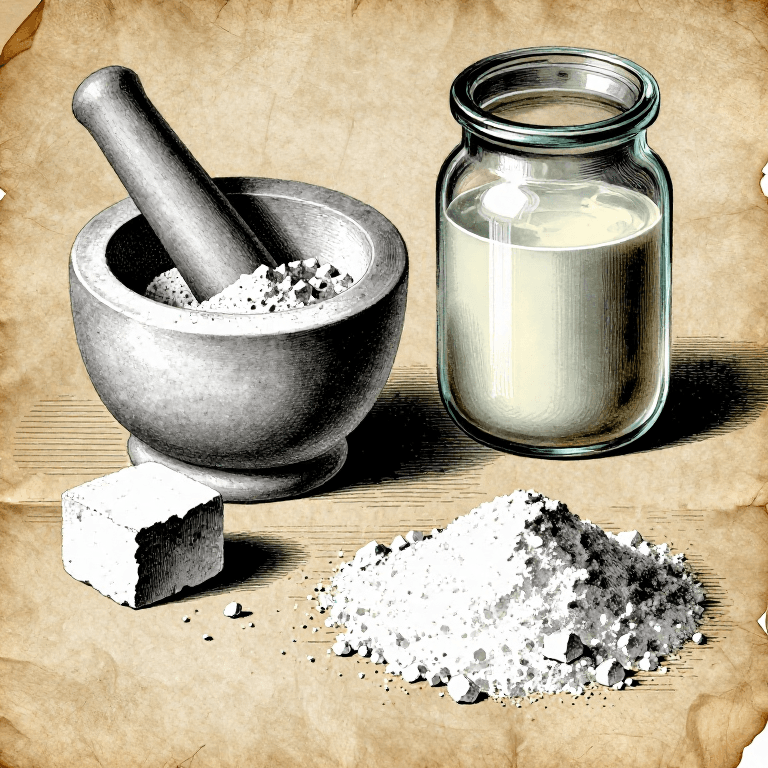
The picture: our diagram of the wire, the dip and the coated rod.
Principiante
An hour, then drying overnight
Instrucciones
1
1
Cut the wire
Cut the wire
Cut straight iron wire about 3 mm thick into 350 mm lengths and wipe it clean.
Materiales para este paso:
 Alambre de hierro7 m
Herramientas necesarias:
 Alicates de corte
 Tornillo de banco
 Cinta métrica
2
2
Mix the coating
Mix the coating
Stir sifted chalk into water glass, a little at a time, until the paste is thick enough to cling to the wire.
Materiales para este paso:
 Vidrio soluble (solución de silicato de sodio)300 g
 Carbonato de calcio (blanco de España)400 g
Herramientas necesarias:
 Juego de cuencos para mezclar
 Báscula digital de cocina
 Guantes de goma
3
3
Dip the rods
Dip the rods
Pour the paste into a tall jar. Dip each rod, leaving the top 30 mm bare for the holder, and lift it out slowly. When the first coat has set, dip again for a thicker coat.
Herramientas necesarias:
 Tarro de vidrioGuantes de goma
4
4
Dry
Dry
Hang the rods bare end up until the coating is hard, then dry them in a warm oven before welding. Keep them dry.
Herramientas necesarias:
 Secadero
 Horno
5
5
Wire for a batch
Wire for a batch
Cargando el cuaderno de Jupyter…
Materiales
3- Marcador de posición
- Marcador de posición
- Marcador de posición
Herramientas requeridas
9- Marcador de posición
- Marcador de posición
- 1 vendor sell this, none ship to you yetMarcador de posición
- Marcador de posición
- Marcador de posición
- Marcador de posición
- Marcador de posición
- Marcador de posición
- Marcador de posición
Este plano hace
Blueprints relacionados
Estos blueprints comparten conocimiento — técnicas, materiales o principios

CC0 Dominio público
Este Blueprint se publica bajo CC0. Eres libre de copiar, modificar, distribuir y usar este trabajo para cualquier propósito, sin pedir permiso.
Apoya al Maker comprando productos a través de su Blueprint, donde gana una Comisión del Maker establecida por los vendedores, o crea una nueva iteración de este Blueprint e inclúyela como conexión en tu propio Blueprint para compartir ingresos.