Colaboración
ARTE
BELLEZA Y BIENESTAR
ARTESANÍA
CULTURA E HISTORIA
ENTRETENIMIENTO
MEDIO AMBIENTE
COMIDA Y BEBIDAS
INGENIERÍA INVERSA
CIENCIAS
DEPORTES
TECNOLOGÍA
TECNOLOGÍA VESTIBLE
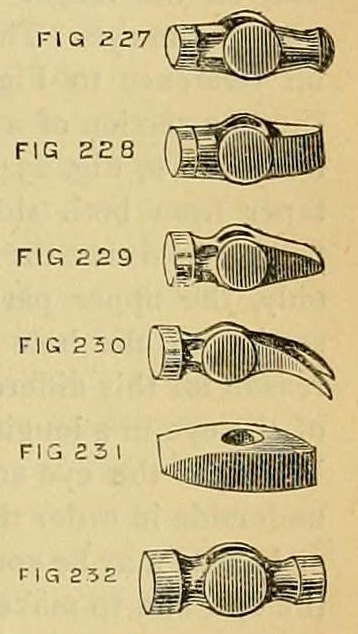


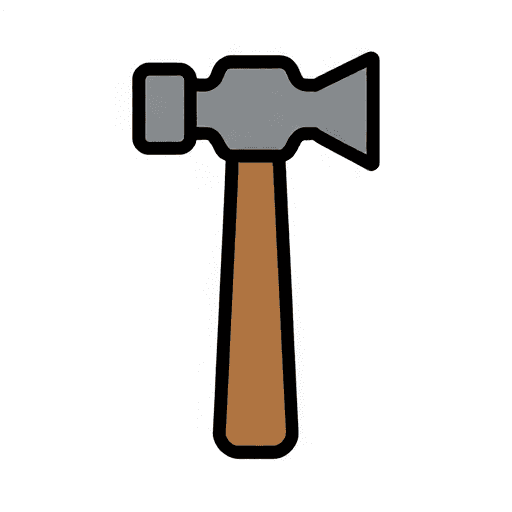
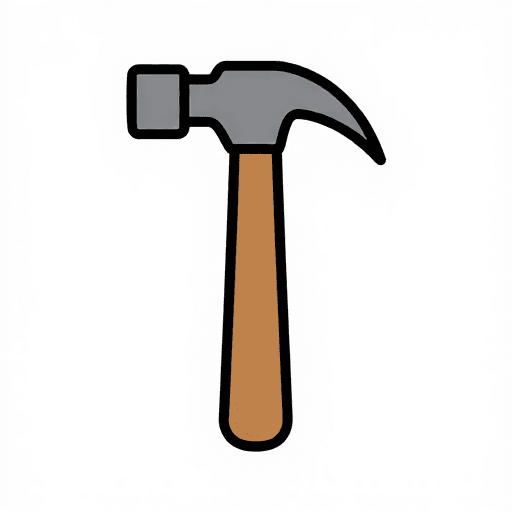
Steel-Faced Hand Hammers and Sledges: Ball, Fuller, Wedge and Claw Panes, Eye on Two Oval Drifts (Edwinson, 1886)
How smiths made hand hammers and sledges, from George Edwinson's smithing series (Amateur Work, 1886): solid steel, or an iron head with a steel face welded into a slit fork; the eye punched and shaped on two oval taper drifts so the wedged handle cannot work loose. Panes: ball, fuller, wedge and claw.
Avanzado
A day at the forge
Instrucciones
1
1
His weights
His weights
Cargando el cuaderno de Jupyter…
2
2
Read Edwinson
Read Edwinson
"To make a steel hammer it is only necessary to get a bar of steel the required size, heat, upset, and forge to the selected size and shape."
3
3
Solid steel route
Solid steel route
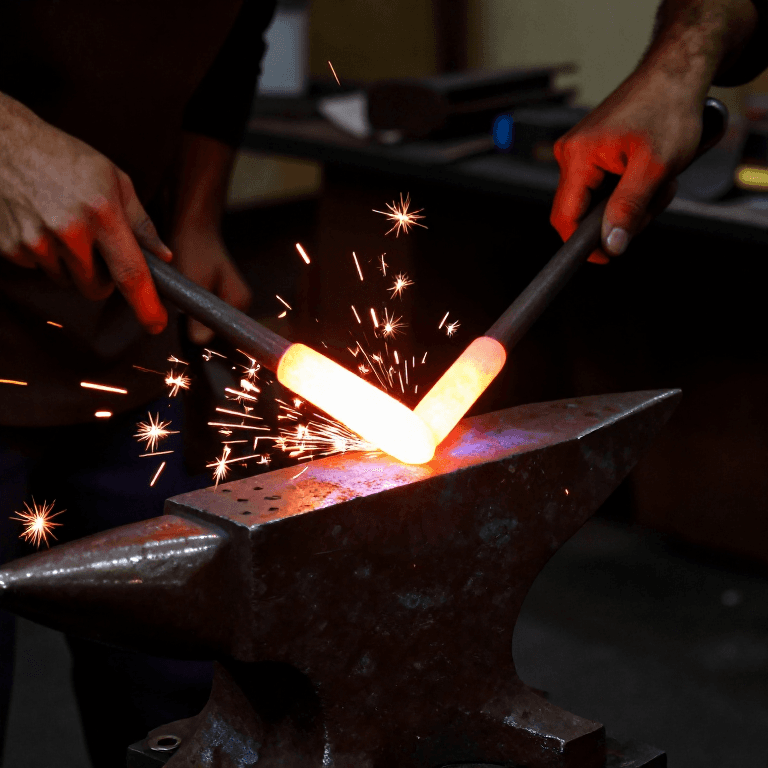
Heat a steel bar of the size needed, upset it and forge it to shape. Punch the hole for the handle and work it on a taper drift. Tool the hammer off smoothly at a red heat, then heat it and harden it in water.
Materiales para este paso:
 Acero al crisol1 pieza
Herramientas necesarias:
 Fragua de herrero
 Yunque
 Mazo pesado
 Tenazas de herrero
 Mandril de agrandar
 Cubo de temple
4
4
Steel-faced route: weld the face
Steel-faced route: weld the face
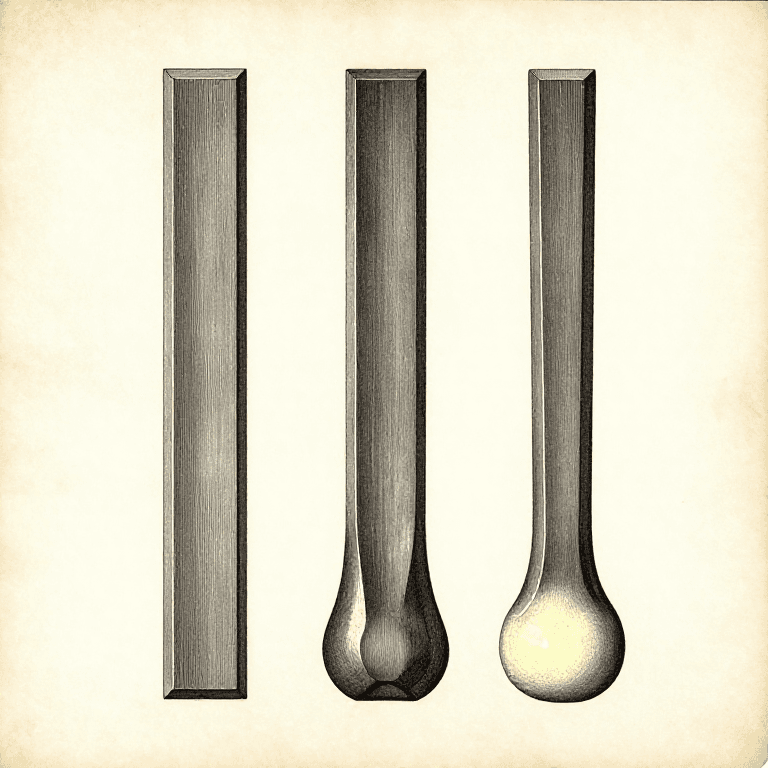
Upset a stout iron bar if it is too thin. Slit one end hot with a hot chisel (his sett) into a fork. Forge a steel bar to a wedge that fits it. Bring the iron to a welding heat and the steel to its own (a separate fire if needed), roll the steel in calcined borax and weld. Reheat with the steel protected by welding mixture or sand, and finish the weld.
Materiales para este paso:
 Barra de hierro forjado1 pieza
 Barras de acero ampollado1 pieza
 Bórax en polvo1 pieza
 Arena1 pieza
Herramientas necesarias:
Fragua de herrero Tajadera en calienteYunqueMazo pesadoTenazas de herrero
5
5
Shape the head
Shape the head
Cut off the steel, forge steel and iron up into the face. Fashion the head and pane, punch the handle hole and form it on a taper drift, cut the hammer off the bar and finish it held in crooked bit tongs. If both ends are to be steel, weld in both before cutting off. Panes: ball for riveting, fuller for spreading iron, wedge, or claw for drawing nails.
Herramientas necesarias:
Fragua de herreroMandril de agrandarTajadera en calienteYunque MartilloTenazas de herrero
6
6
Shape the eye on two drifts
Shape the eye on two drifts
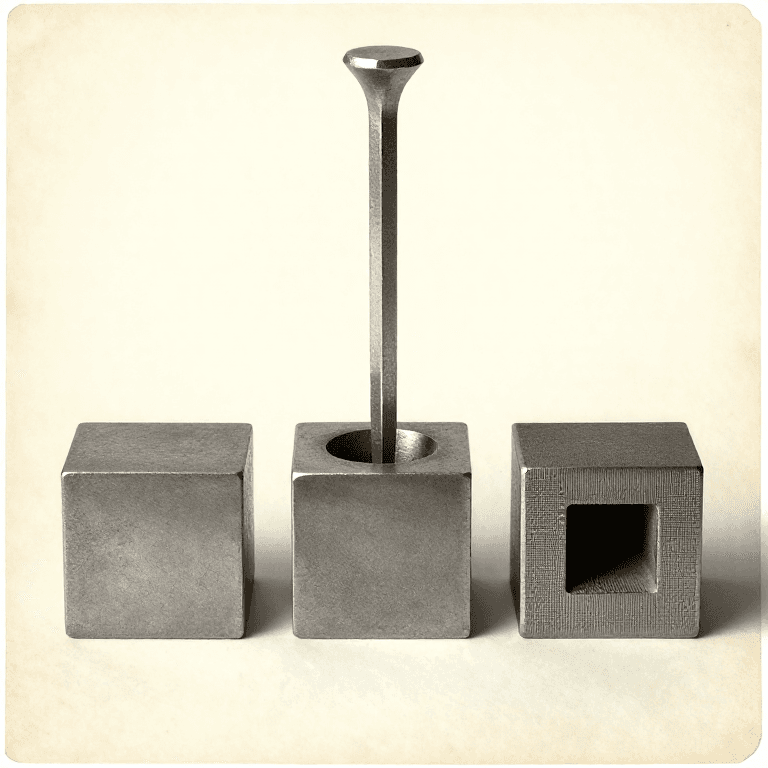
Use two oval taper drifts: one tapered all round to form the lower side of the eye, the other tapered only on its long sides for the upper part. The eye tapers from both sides across the head, but only from the lower side lengthwise. Round the edges on the underside.
Herramientas necesarias:
Fragua de herreroMandril de agrandarYunqueMartillo7
7
Sizes and sledges
Sizes and sledges
Hand hammers usually weigh 1-2 lb (0.45-0.9 kg). Larger fuller or wedge pane hammers of 3-30 lb are sledges; one-handed sledges weigh 3-5 lb; heavier ones get stout ash handles 3-4 ft (0.9-1.2 m) long for two hands.
Herramientas necesarias:
Yunque8
8
Hang the head
Hang the head
Drive the handle into the eye from below so its end is compressed and fits tight. Cut off the extra wood, split the end with a chisel and drive in a wedge of well-seasoned wood. If the eye tapers two ways, cross-slit and drive two wedges.
Materiales para este paso:
 Taco de fresno1 pieza
 Cuñas de madera1 pieza
Herramientas necesarias:
 Cuchilla de dos mangos
 FormonesMartillo
9
9
Troubleshooting
Troubleshooting
Hammer troubleshooting.
Flow
Loading...
10
10
History and honest limits
History and honest limits
From George Edwinson, "Smithing and Forging" (part X), **Amateur Work, Illustrated**, vol. VI (Ward, Lock & Co., 1886-87), pp. 211-214 (checked on the archive.org scan amateurworkillus06lond), pp. 212-214 and figs. 227-235. He gives no temper for the face; the metric figures and tools are ours.
Materiales
7- 1 piezaMarcador de posición
- 1 piezaMarcador de posición
- 1 piezaMarcador de posición
- 1 piezaMarcador de posición
- 1 piezaMarcador de posición
- 1 piezaMarcador de posición
- 1 piezaMarcador de posición
Herramientas requeridas
10- Marcador de posición
- Marcador de posición
- Marcador de posición
- Marcador de posición
- Marcador de posición
- Marcador de posición
- Marcador de posición
- Marcador de posición
- Marcador de posición
- Marcador de posición
Este plano hace


Blueprints relacionados
Estos blueprints comparten conocimiento — técnicas, materiales o principios
CC0 Dominio público
Este Blueprint se publica bajo CC0. Eres libre de copiar, modificar, distribuir y usar este trabajo para cualquier propósito, sin pedir permiso.
Apoya al Maker comprando productos a través de su Blueprint, donde gana una Comisión del Maker establecida por los vendedores, o crea una nueva iteración de este Blueprint e inclúyela como conexión en tu propio Blueprint para compartir ingresos.