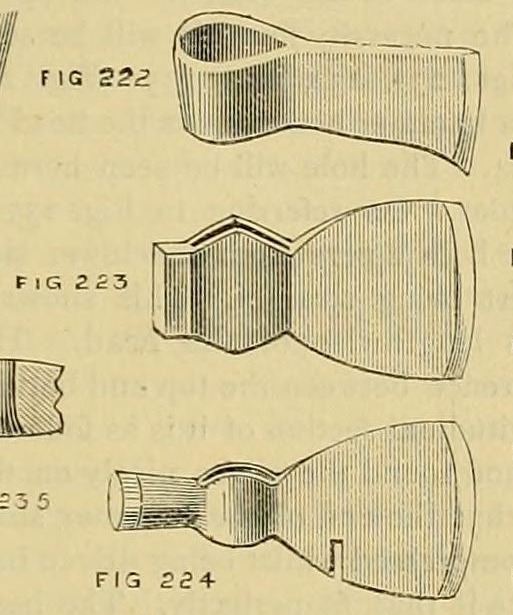


Steel-Laid Axe and Hatchet: Iron Folded Round a Mandrel, Shear Steel Welded Between the Leaves (Edwinson, 1886)
Instrucciones
Read Edwinson
Read Edwinson
Fold the eye
Fold the eye
Materiales para este paso:
 Barra de hierro forjado1 pieza
Herramientas necesarias:
 Fragua de herrero
 Yunque
 Mazo pesado
 Tenazas de herrero
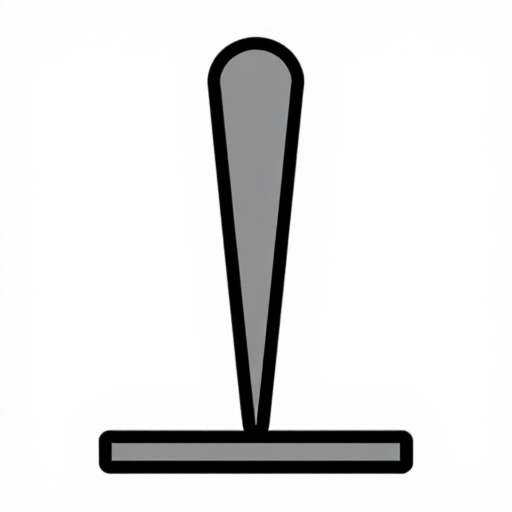 Mandril de agrandar
Close and shape the eye
Close and shape the eye
Materiales para este paso:
 Bórax en polvo1 pieza
Herramientas necesarias:
Fragua de herreroYunque MartilloMandril de agrandar
Lay in the steel
Lay in the steel
Materiales para este paso:
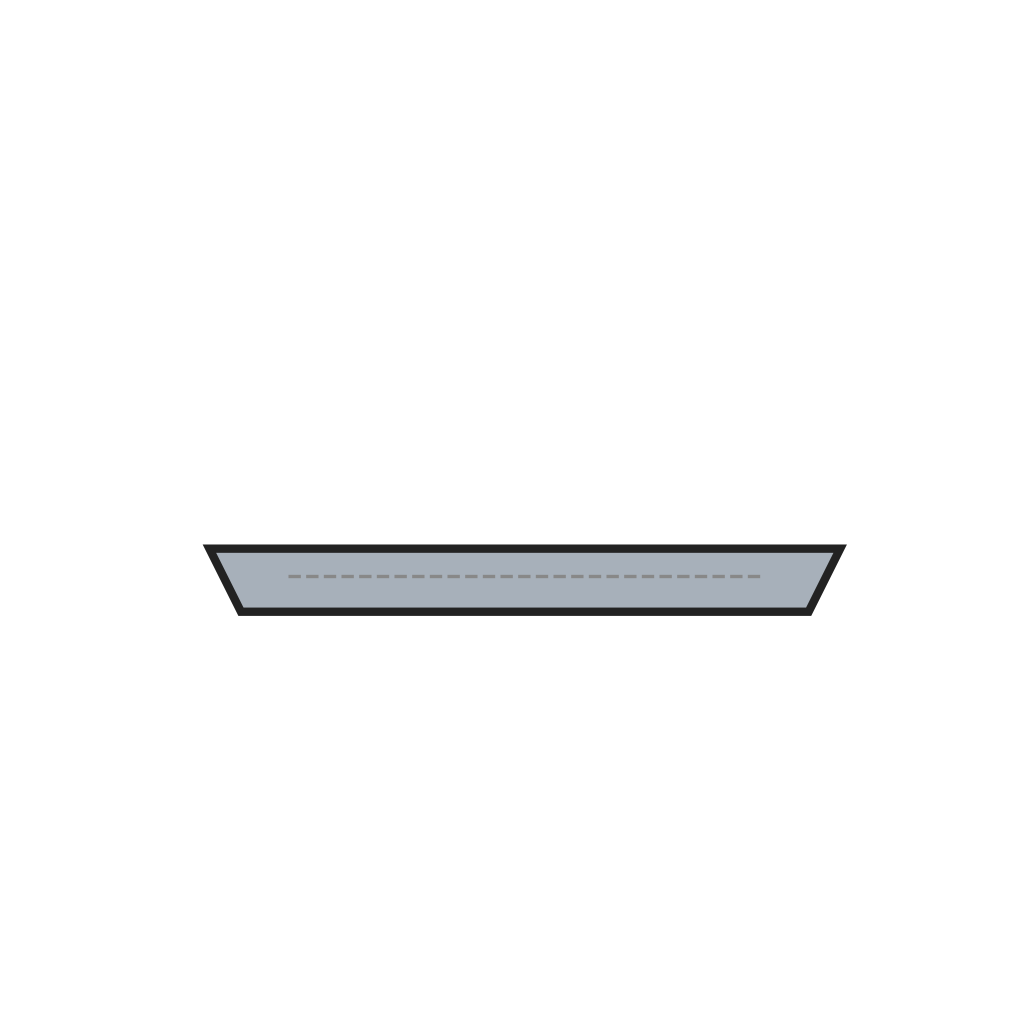 Placa de acero de cizalla1 piezaBórax en polvo1 pieza
Herramientas necesarias:
Fragua de herreroYunqueMazo pesadoTenazas de herreroHatchet hammer (variant)
Hatchet hammer (variant)
Materiales para este paso:
 Acero al crisol1 pieza
Herramientas necesarias:
Fragua de herreroYunqueMartillo Tajadera en caliente
Pare and smooth
Pare and smooth
Herramientas necesarias:
Fragua de herreroTajadera en calienteYunqueMartilloHarden, temper and grind
Harden, temper and grind
Herramientas necesarias:
Fragua de herrero Cubo de temple
 Piedra de afilar de rueda
Hang the head (ours)
Hang the head (ours)
Materiales para este paso:
 Pieza en bruto para mango de hacha (nogal americano)1 pieza
 Cuñas de madera1 pieza
Herramientas necesarias:
 Cuchilla de dos mangosMartillo
Troubleshooting
Troubleshooting
Flow
History and honest limits
History and honest limits
Materiales
6- 1 piezaMarcador de posición
- 1 piezaMarcador de posición
- 1 piezaMarcador de posición
- 1 piezaMarcador de posición
- Marcador de posición
- 1 piezaMarcador de posición
Herramientas requeridas
10- Marcador de posición
- Marcador de posición
- Marcador de posición
- Marcador de posición
- Marcador de posición
- Marcador de posición
- Marcador de posición
- Marcador de posición
- Marcador de posición
- Marcador de posición

Blueprints relacionados
Estos blueprints comparten conocimiento — técnicas, materiales o principios
CC0 Dominio público
Este Blueprint se publica bajo CC0. Eres libre de copiar, modificar, distribuir y usar este trabajo para cualquier propósito, sin pedir permiso.
Apoya al Maker comprando productos a través de su Blueprint, donde gana una Comisión del Maker establecida por los vendedores, o crea una nueva iteración de este Blueprint e inclúyela como conexión en tu propio Blueprint para compartir ingresos.