ARTE
BELLEZA Y BIENESTAR
ARTESANÍA
CULTURA E HISTORIA
ENTRETENIMIENTO
MEDIO AMBIENTE
COMIDA Y BEBIDAS
INGENIERÍA INVERSA
CIENCIAS
DEPORTES
TECNOLOGÍA
TECNOLOGÍA VESTIBLE
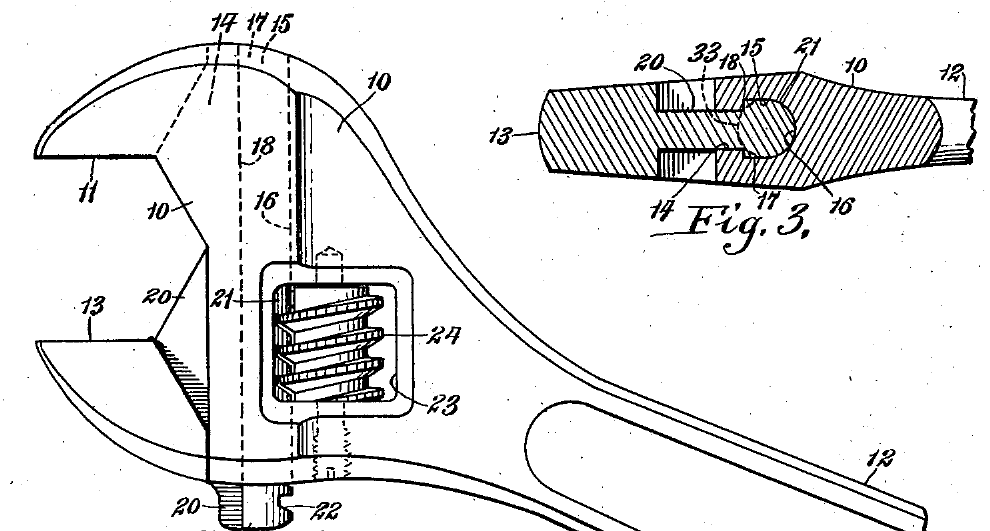


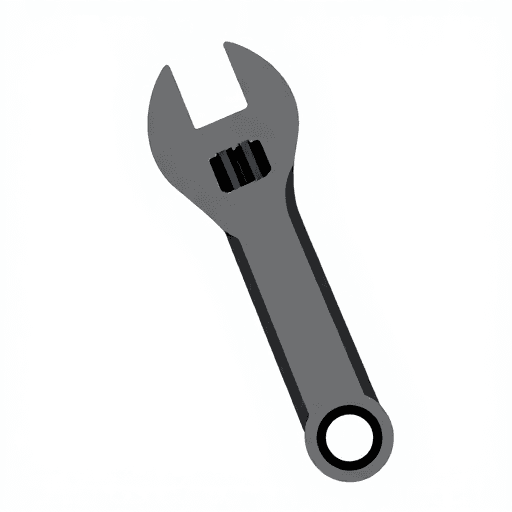
Adjustable Spanner: One-Piece Forging, Broached Guide and Worm
A 1938 patent for making adjustable wrenches lays the work out in order. The head, fixed jaw and handle are forged in one piece from properly alloyed high-carbon steel, the forging also forming the rectangular opening for the worm. The head is drilled to start the guideway for the movable jaw, and the guideway is then broached. Holes above and below the opening are drilled, and the lower one guides the tap that threads it for the worm's pin. The movable jaw's slide has a rack hobbed or machined on its back; it is slid into place, and the pin, with a rolled thread, is fitted with the knurled worm gear and a conical compression spring that takes up slack.
Avanzado
Factory process
Instrucciones
1
1
Forge the body
Forge the body
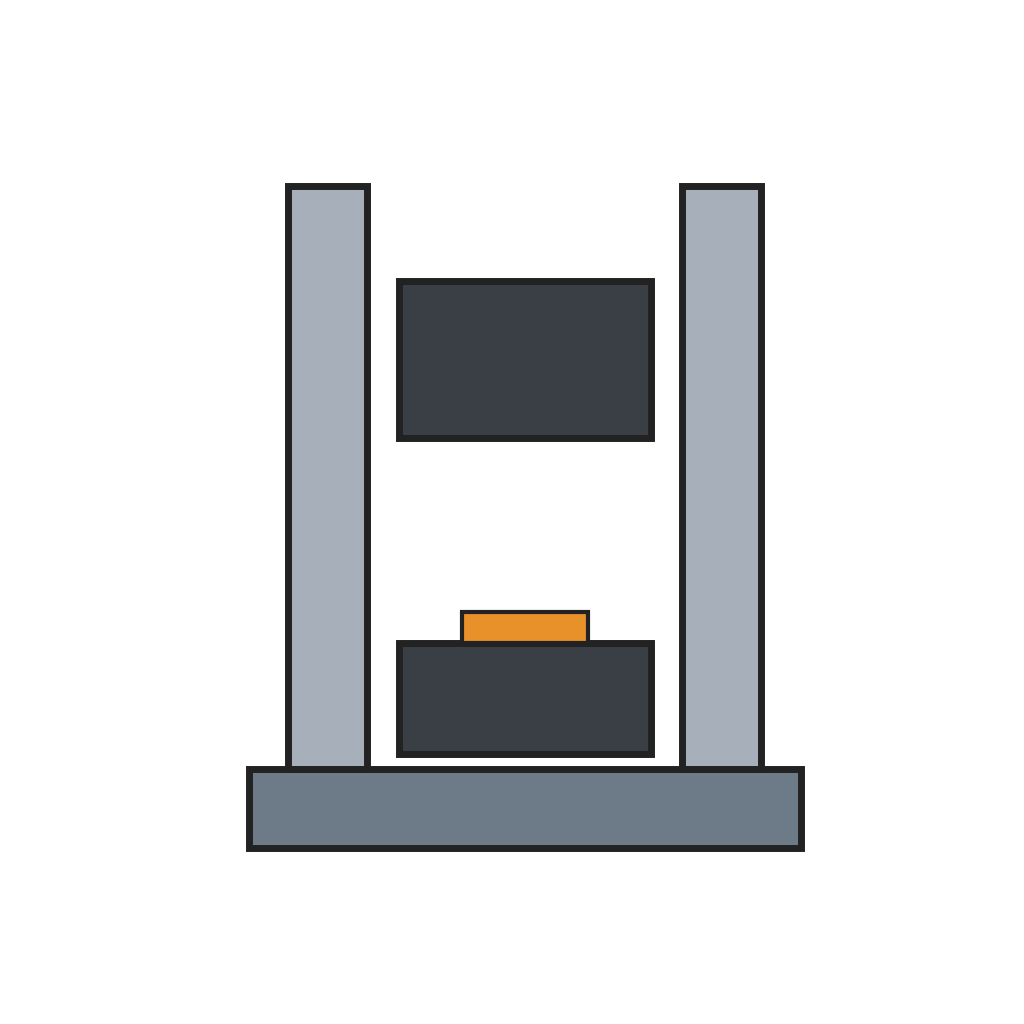
Forge the head, fixed jaw and handle in one piece from high-carbon steel, with the rectangular opening for the worm.
Materiales para este paso:
 Tocho de acero al alto carbono1 as required
Herramientas necesarias:
 Martinete de caída con matrices de forja
2
2
Drill and broach the guide
Drill and broach the guide
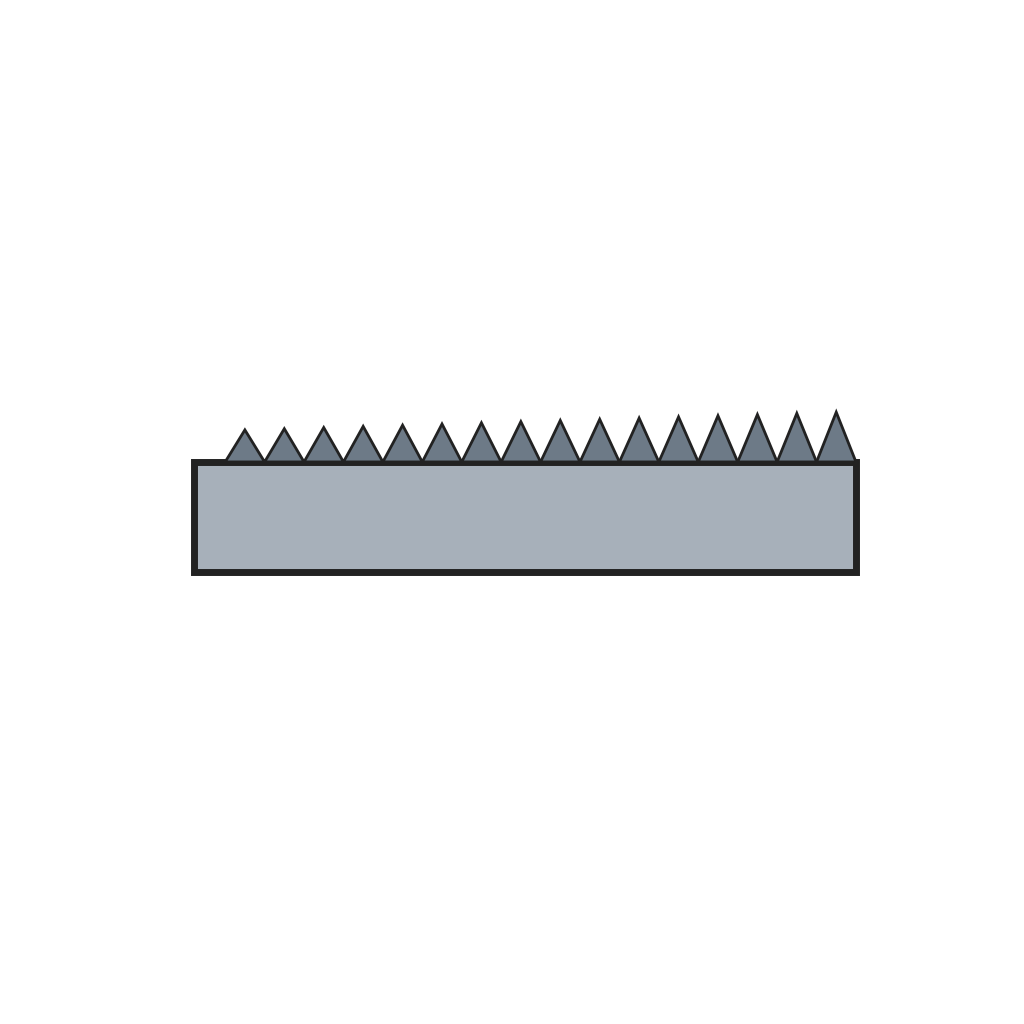
Drill the head to start the guideway for the movable jaw, then broach the guideway to its final section.
Herramientas necesarias:
 Taladro de columna
 Brochadora
3
3
Drill and tap for the pin
Drill and tap for the pin
Drill the holes above and below the opening; use the lower hole to guide the tap that threads the hole for the pin.
Herramientas necesarias:
Taladro de columna Juego de machos y terrajas
4
4
Make the movable jaw
Make the movable jaw
Hob or machine the rack on the back of the movable jaw's slide.
Materiales para este paso:
Tocho de acero al alto carbono1 as requiredHerramientas necesarias:
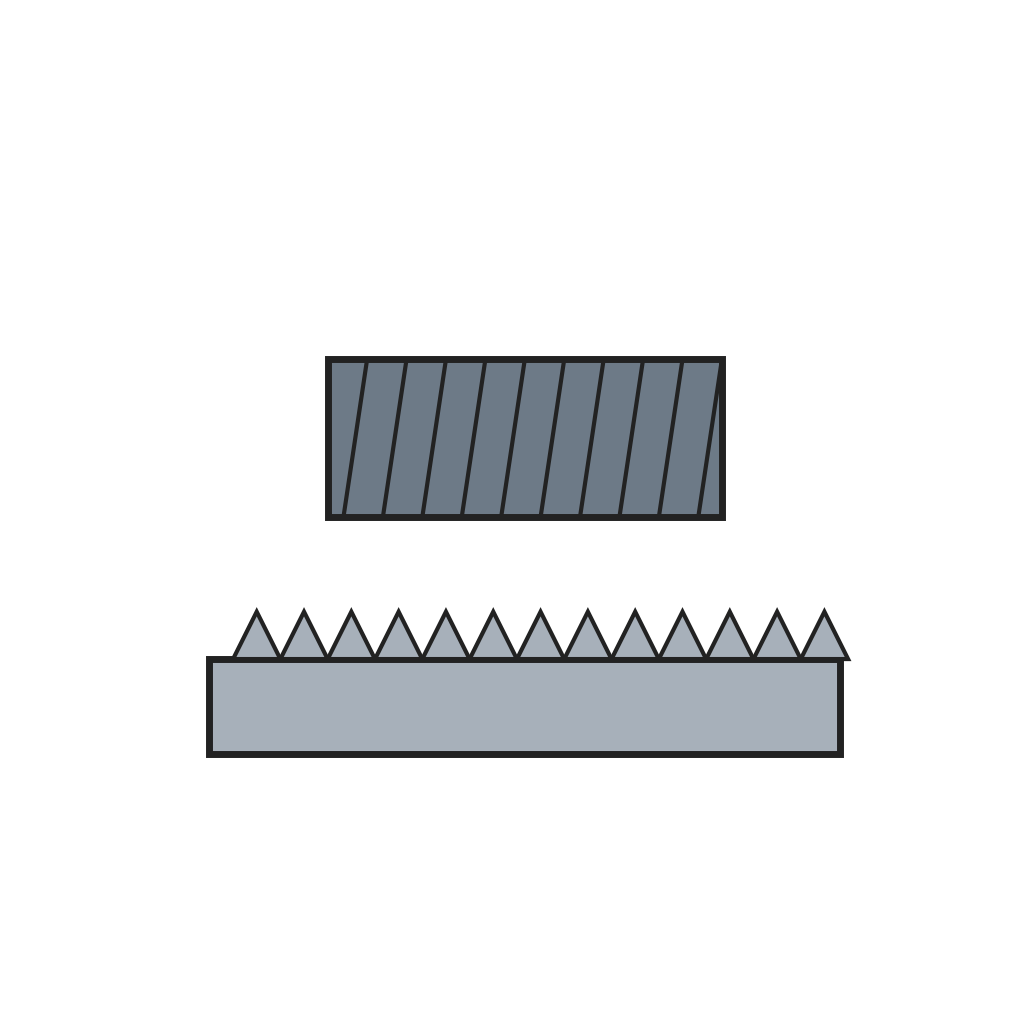 Fresadora de engranajes por generación (tallado con fresa madre)
5
5
Assemble
Assemble
Slide the movable jaw into place; fit the pin, its thread rolled, with the knurled worm gear and the conical spring.
Materiales para este paso:
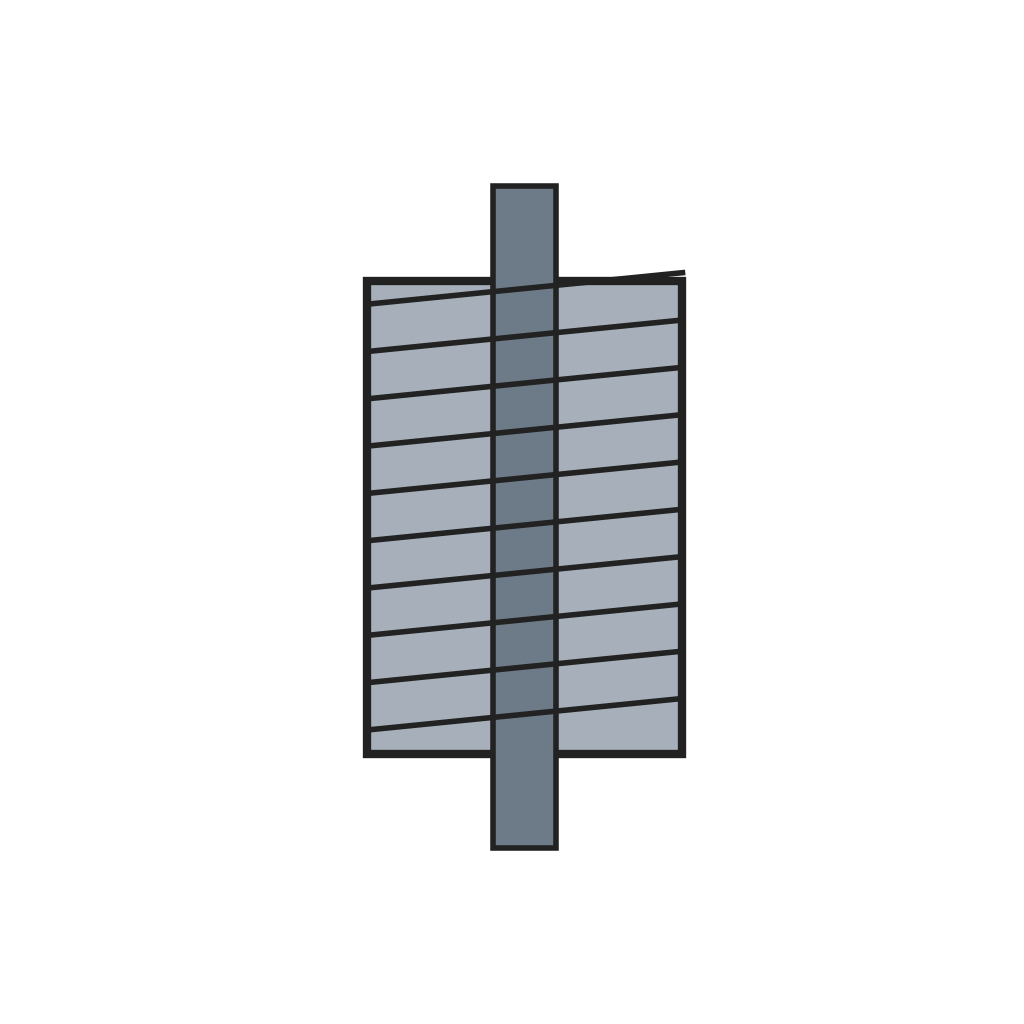 Tornillo sin fin moleteado1 pieza
 Juego de muelles de compresión1 pieza
Herramientas necesarias:
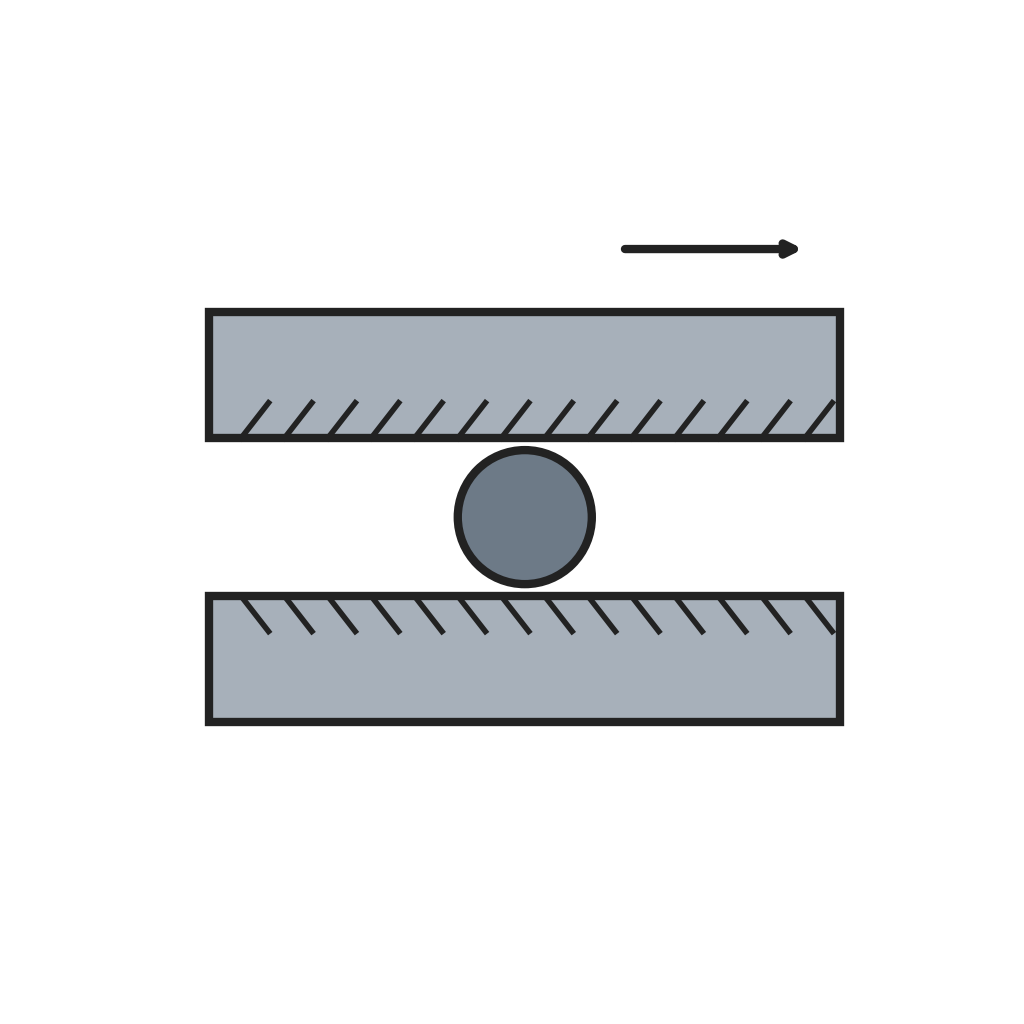 Peines de laminar roscas
Materiales
3- 1 as requiredMarcador de posición
- 1 piezaMarcador de posición
- Marcador de posición
Herramientas requeridas
6- Marcador de posición
- Marcador de posición
- Marcador de posición
- Marcador de posición
- Marcador de posición
- Marcador de posición

Blueprints relacionados
Estos blueprints comparten conocimiento — técnicas, materiales o principios

CC0 Dominio público
Este Blueprint se publica bajo CC0. Eres libre de copiar, modificar, distribuir y usar este trabajo para cualquier propósito, sin pedir permiso.
Apoya al Maker comprando productos a través de su Blueprint, donde gana una Comisión del Maker establecida por los vendedores, o crea una nueva iteración de este Blueprint e inclúyela como conexión en tu propio Blueprint para compartir ingresos.