ARTE
BELLEZA Y BIENESTAR
ARTESANÍA
CULTURA E HISTORIA
ENTRETENIMIENTO
MEDIO AMBIENTE
COMIDA Y BEBIDAS
INGENIERÍA INVERSA
CIENCIAS
DEPORTES
TECNOLOGÍA
TECNOLOGÍA VESTIBLE
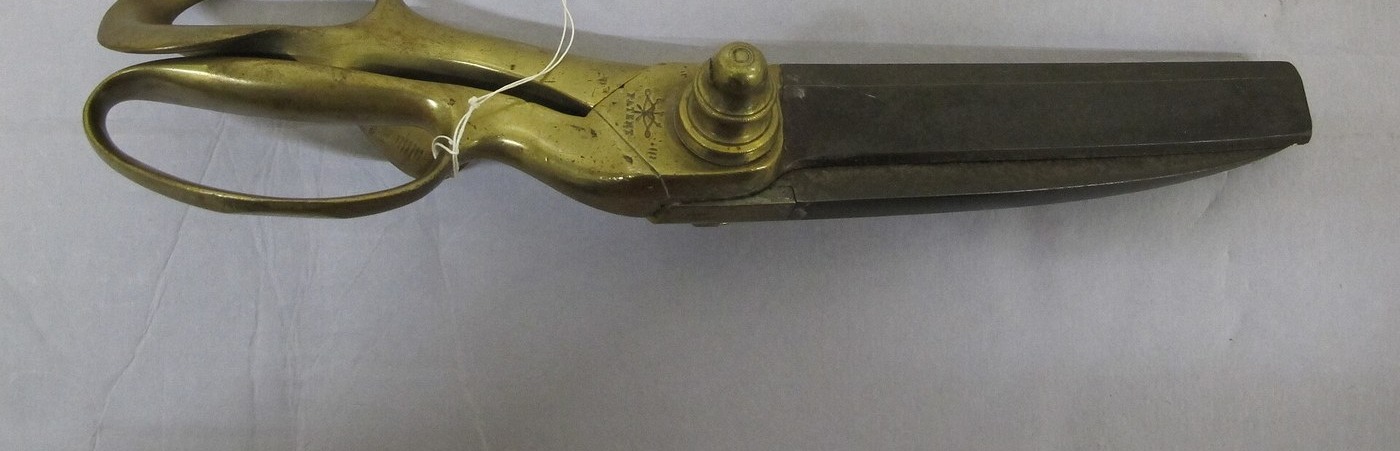


Scissors: Forged, Ground Hollow and Set
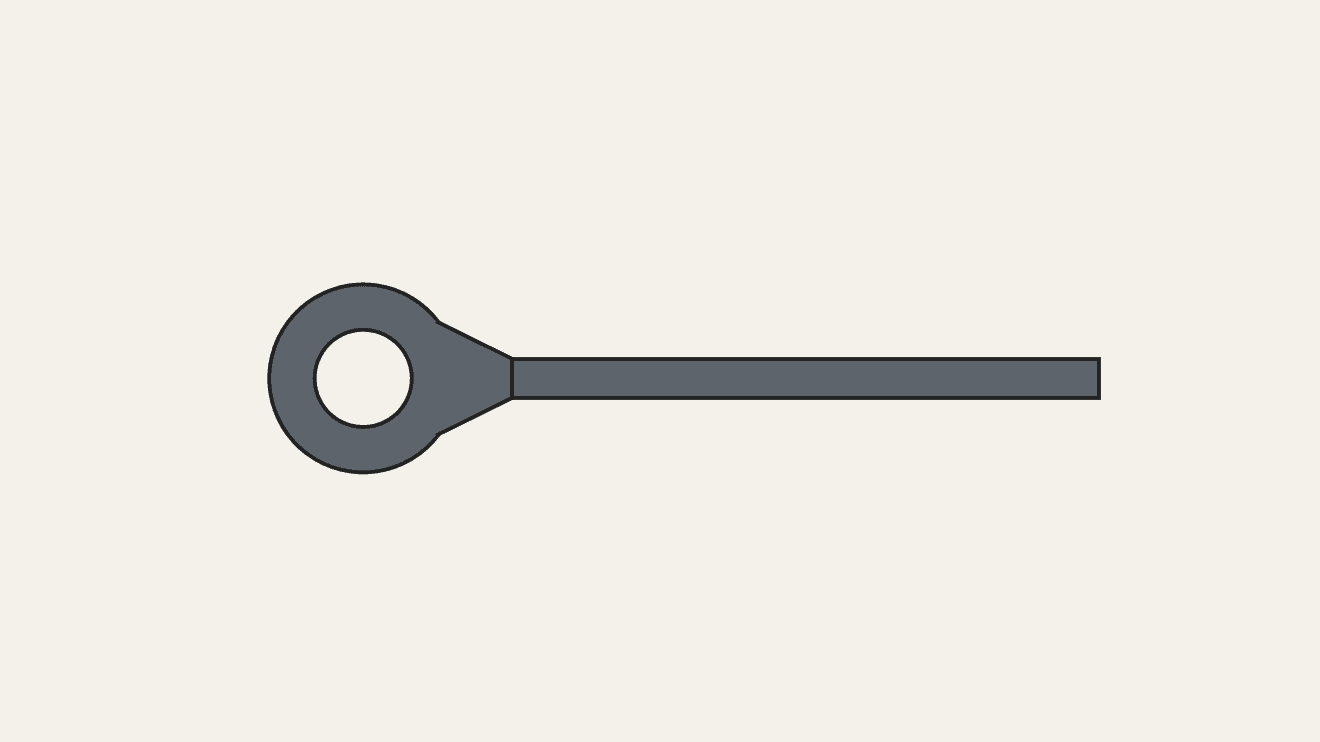
As the Sheffield cutlery trade made them, each scissor blade and its bow (finger loop) is forged from steel: a hole is punched through the flattened rod and opened over the point of a small beaked anvil to form the bow. Die-forging under a heavy stamp, with the surplus rim sheared off in a fly-press, was replacing hand forging by 1913. The blades are annealed, filed and drilled for the rivet, then ground: each is hollow on its inner face, concave from rivet to point, and given a slight twist toward the other so the edges meet along their whole length. The pair is fitted, wound with iron wire, hardened, reground and polished, and finally riveted together and set.
Avanzado
Works process (early 1900s)
Instrucciones
1
1
Forge the blades
Forge the blades
Forge each blade and shank; punch a hole through the flattened rod and open it over the beaked anvil to form the bow.
Materiales para este paso:
 Barra plana de acero para herramientas1 pieza
Herramientas necesarias:
 Fragua de herrero
 Yunque
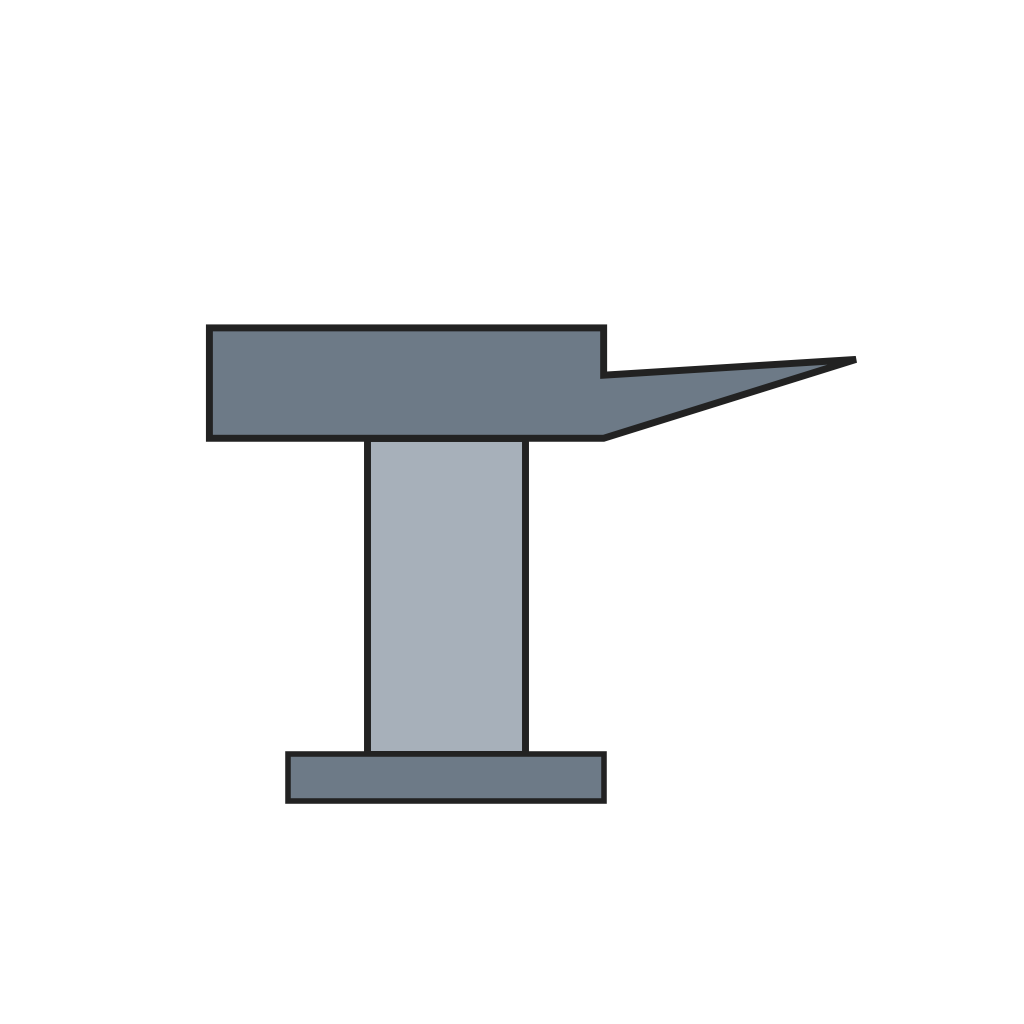 Bigornia de pico
 Martillo de forja
2
2
Anneal, file and drill
Anneal, file and drill
Anneal the blades instead of hardening them; file the shanks and bows to shape, square the joint and bore the rivet hole.
Herramientas necesarias:
 Lima para metal
 Taladro de columna
3
3
Grind
Grind
Grind each blade hollow from back to edge, concave from rivet to point, with a slight twist toward its partner.
Herramientas necesarias:
 Piedra de afilar de rueda
4
4
Fit and harden
Fit and harden
Fit the pair, wind them from the points upward with iron wire, take out the rivet and harden the blades.
Materiales para este paso:
 Alambre de acero0.5 m
Herramientas necesarias:
Fragua de herrero Cubo de temple
5
5
Finish and set
Finish and set
Grind, glaze and polish the bows and shanks again and burnish them; rivet the blades together and set them so the edges meet along their length.
Materiales para este paso:
 Remaches de acero1 pieza
Herramientas necesarias:
Piedra de afilar de rueda Rueda de pulir con esmeril
Materiales
3- Marcador de posición
- 0.5 mMarcador de posición
- 1 piezaMarcador de posición
Herramientas requeridas
9- Marcador de posición
- Marcador de posición
- Marcador de posición
- Marcador de posición
- Marcador de posición
- Marcador de posición
- Marcador de posición
- Marcador de posición
- Marcador de posición
Este plano hace


Blueprints relacionados
Estos blueprints comparten conocimiento — técnicas, materiales o principios
CC0 Dominio público
Este Blueprint se publica bajo CC0. Eres libre de copiar, modificar, distribuir y usar este trabajo para cualquier propósito, sin pedir permiso.
Apoya al Maker comprando productos a través de su Blueprint, donde gana una Comisión del Maker establecida por los vendedores, o crea una nueva iteración de este Blueprint e inclúyela como conexión en tu propio Blueprint para compartir ingresos.