Colaboración
ARTE
BELLEZA Y BIENESTAR
ARTESANÍA
CULTURA E HISTORIA
ENTRETENIMIENTO
MEDIO AMBIENTE
COMIDA Y BEBIDAS
INGENIERÍA INVERSA
CIENCIAS
DEPORTES
TECNOLOGÍA
TECNOLOGÍA VESTIBLE
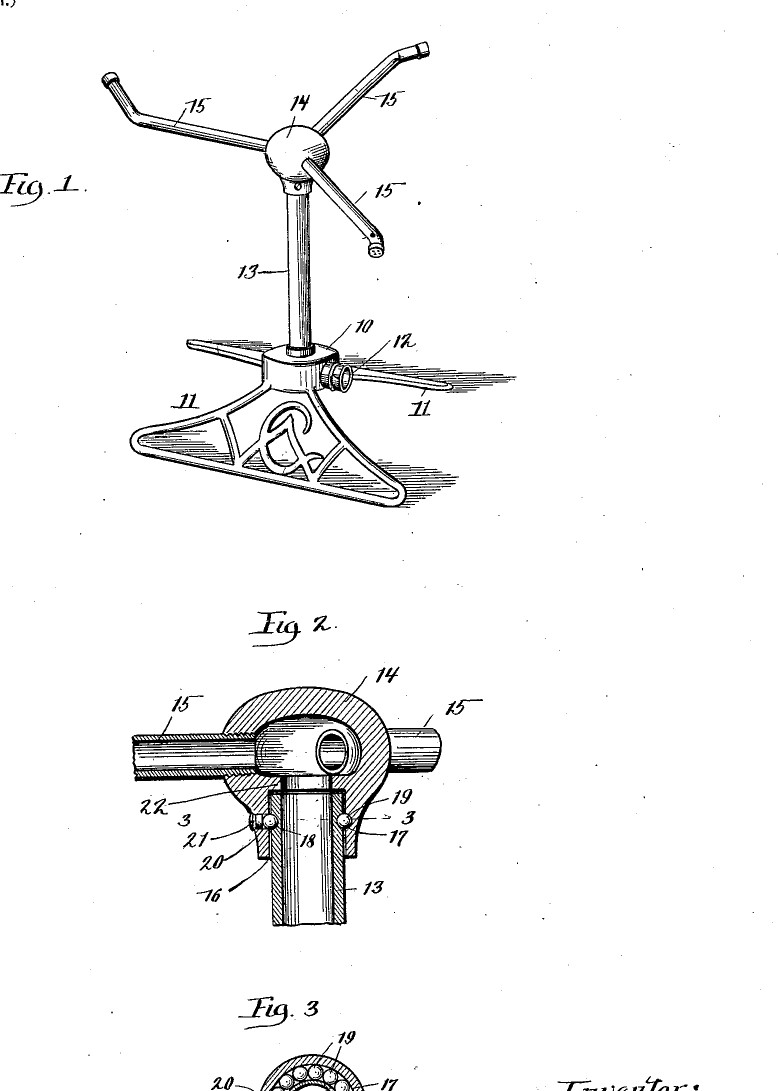


Rotary Lawn Sprinkler: a Barker's-Mill Head Turning on Balls Round the Supply Pipe (Gibbs, 1901)
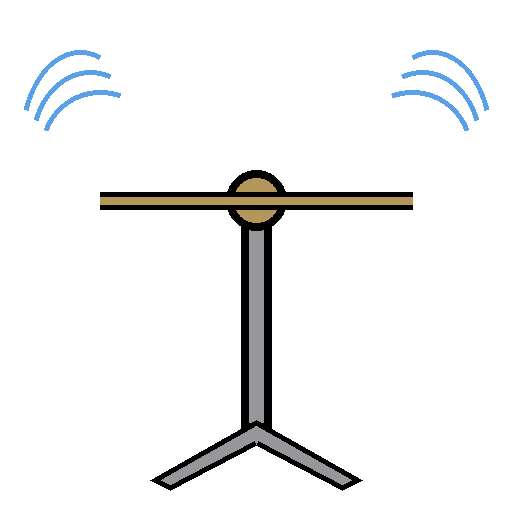
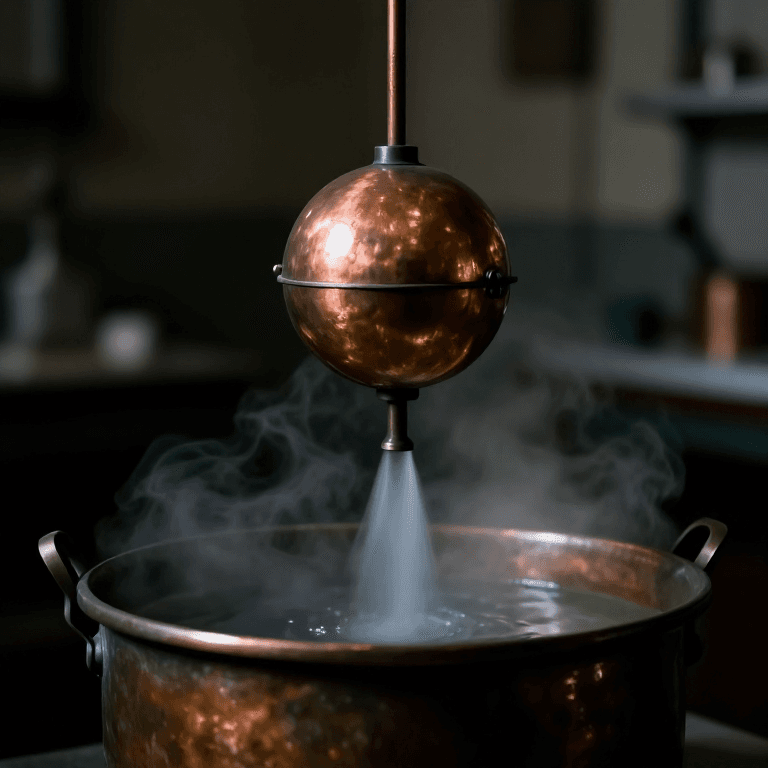
Henry Gibbs of Chicago received US 683,645, dated 1 October 1901, for a lawn sprinkler "operating on the familiar Barker's mill principle": water leaving its arms sideways pushes the head round. His head turns on a ring of steel balls held in matching grooves in the head and in the end of the supply pipe, so it spins freely with little friction and stays on.
We turn the head from brass and the groove in a steel pipe on the lathe. All sizes are ours.
Intermedio
About 5 hours
Instrucciones
1
1
How many balls
How many balls
Cargando el cuaderno de Jupyter…
2
2
Read US 683,645
Read US 683,645
"It being only necessary that certain of the orifices shall discharge the water tangentially to revolve the head 14 and spray-pipes 15 in the well-known manner."
3
3
Groove the supply pipe
Groove the supply pipe
Chuck a length of steel pipe (his pipe 13) and finish its top end smooth and round. Cut a half-round groove (his 17) round it a little below the end, to the depth the notebook gives, with a round-nosed tool. Use thick-walled pipe, so at least 1.5 mm of wall is left under the groove (ours).
Materiales para este paso:
 Tubo de acero (de pared gruesa, con roscas)1 pieza
Herramientas necesarias:
 Torno de metal
 Plato de torno de 3 mordazas
 Herramienta de corte para torno
 Calibre digital de 6 pulgadas
4
4
Turn the head
Turn the head
Turn a brass bar to a short round head (his 14). Bore it from below to loosely fit the pipe end, his bore 16, but stop short of the top so a lip (his flange 22) overhangs the pipe end. Cut a matching groove 18 inside the bore at the same height as the pipe's groove.
Materiales para este paso:
 Barra redonda de latón1 pieza
Herramientas necesarias:
Torno de metalPlato de torno de 3 mordazasHerramienta de corte para torno Juego de brocas de centrar
 Juego de brocasCalibre digital de 6 pulgadas
5
5
Drill the ball hole and the arms
Drill the ball hole and the arms
Drill a hole (his opening 20) through the head's side into the groove, just bigger than a ball, and tap it for a screw plug (21). Drill three holes round the head into the bore for the spray pipes.
Herramientas necesarias:
 Taladro de columnaJuego de brocas
 Juego de machos y terrajas
 Tornillo de banco
6
6
Make the spray pipes
Make the spray pipes
Cut three lengths of copper tube, close their outer ends, and bend the last bit of each upward as his Fig. 1. Drill small holes near the ends, some pointing sideways (tangentially), all the same way round, so the jets turn the head. Solder the pipes into the head's holes (ours; he threads them in).
Materiales para este paso:
 Tubo de cobre1 pieza
 Estaño-plomo de soldadura1 pieza
 Fundente1 pieza
Herramientas necesarias:
 Sierra para metalesJuego de brocasTaladro de columna
 Soldador eléctricoTornillo de banco
7
7
Assemble with the balls
Assemble with the balls
Slide the head onto the pipe end with the grooves level. Feed balls in through the side hole, turning the head, until the race is full; then screw in the plug. The head should spin freely and not lift off.
Materiales para este paso:
 Rodamientos de bolas de acero1 pieza
 Tornillos de máquina1 pieza
Herramientas necesarias:
 Llave inglesa ajustable
8
8
Make the stand
Make the stand
Bore a hardwood block to hold the pipe upright and glue in three splayed dowel legs (ours; his base 10 and supports 11). Screw the hose coupling onto the pipe's lower end below the block (his coupling 12).
Materiales para este paso:
 Bloque de madera dura1 pieza
 Espigas de madera dura1 pieza
 Cola de carpintero1 pieza
 Acople de manguera1 pieza
Herramientas necesarias:
 SerruchoTaladro de columnaJuego de brocas
9
9
Run it
Run it
Connect a garden hose and turn on the water slowly: the jets push the head round and throw the water in a circle. More pressure turns it faster.
10
10
Troubleshooting
Troubleshooting
Lawn sprinkler troubleshooting.
Flow
Loading...
11
11
History and honest limits
History and honest limits
**Henry Gibbs** of Chicago, assignor to W. D. Allen Manufacturing Company, US 683,645, dated 1 October 1901, filed 20 May 1901. He claimed a single-piece hollow coupling with radial spray pipes having tangential orifices, a bore loosely fitting the supply pipe, "annular grooves in the opposed cylindrical faces of said bore and said pipe" and "bearing balls interposed in said grooves". He gives no sizes or metals; the brass, steel pipe, ball size, soldered copper arms and the wooden stand are ours.
Materiales
11- Marcador de posición
- 1 piezaMarcador de posición
- 1 piezaMarcador de posición
- 1 piezaMarcador de posición
- 1 piezaMarcador de posición
- Marcador de posición
- 1 piezaMarcador de posición
- 1 piezaMarcador de posición
- 1 piezaMarcador de posición
- 1 piezaMarcador de posición
- 1 piezaMarcador de posición
Herramientas requeridas
13- Marcador de posición
- Marcador de posición
- Marcador de posición
- Marcador de posición
- Marcador de posición
- Marcador de posición
- Marcador de posición
- Marcador de posición
- Marcador de posición
- Marcador de posición
- Marcador de posición
- Marcador de posición
- Marcador de posición
Este plano hace
Blueprints relacionados
Estos blueprints comparten conocimiento — técnicas, materiales o principios


CC0 Dominio público
Este Blueprint se publica bajo CC0. Eres libre de copiar, modificar, distribuir y usar este trabajo para cualquier propósito, sin pedir permiso.
Apoya al Maker comprando productos a través de su Blueprint, donde gana una Comisión del Maker establecida por los vendedores, o crea una nueva iteración de este Blueprint e inclúyela como conexión en tu propio Blueprint para compartir ingresos.