
ARTE
BELLEZA Y BIENESTAR
ARTESANÍA
CULTURA E HISTORIA
ENTRETENIMIENTO
MEDIO AMBIENTE
COMIDA Y BEBIDAS
INGENIERÍA INVERSA
CIENCIAS
DEPORTES
TECNOLOGÍA
TECNOLOGÍA VESTIBLE
Glass Saw: Rigid Diamond Wire Ring Driven by Its Rim
Martin

Creado por

Martin

23. octubre 2026NO
2
0
0
0
0

Glass Saw: Rigid Diamond Wire Ring Driven by Its Rim

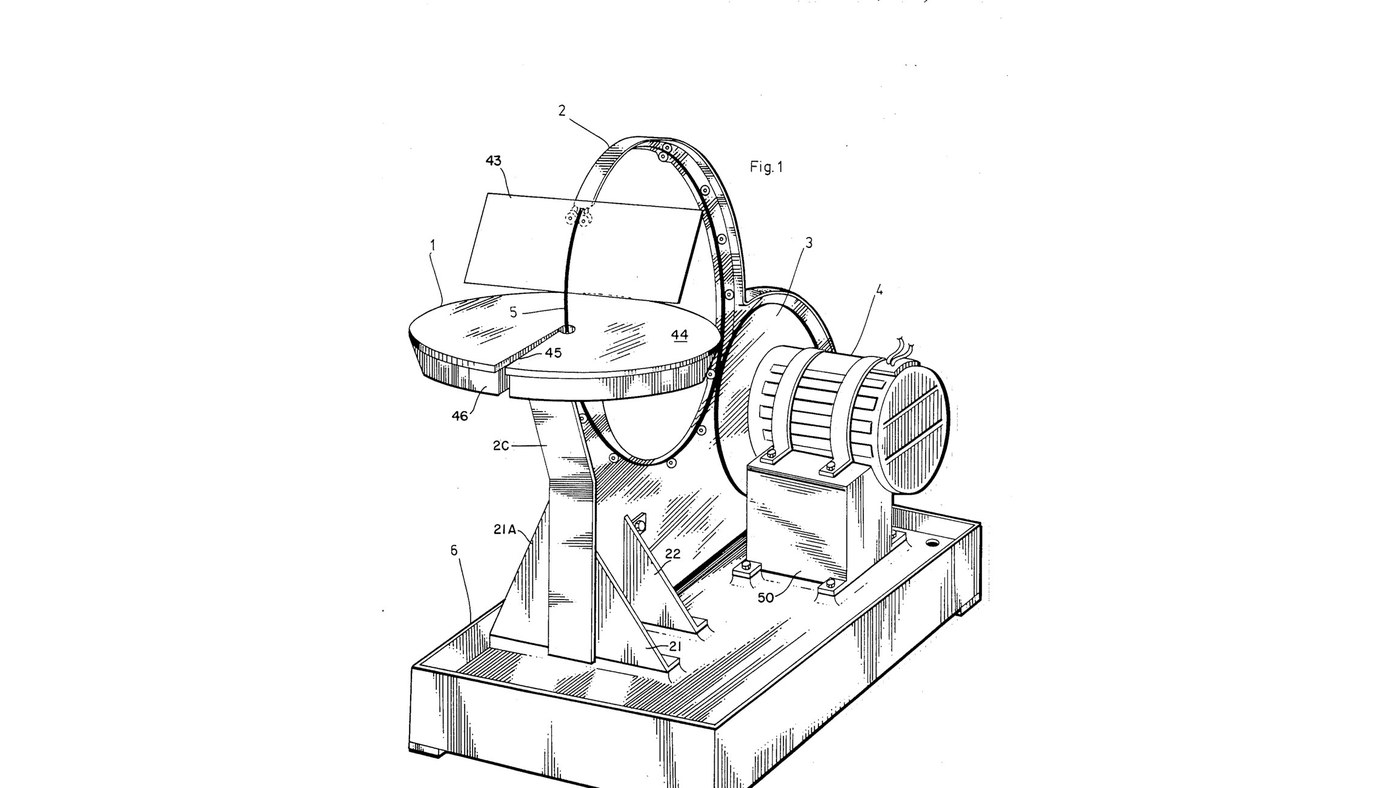
Jesse Cogswell's ring saw (US 4,576,139, 1986) for glass, ceramics and stone. The blade is a rigid circle of wire coated with bonded diamond, standing upright through a cutting table. A rubber-tyred wheel on the motor drives it by friction round its own rim at 3000 ft/min or more, and twelve guide wheels on slots round an aluminium back-plate hold it true. Because it cuts with any part of its rim, the work can be turned freely for curves and inside shapes; a sponge in a water tray wets the wire. The patent sizes the ring from the thickest work to be cut (8 in ring for 3/16 in); the notebook does the sums. The picture: the patent's Fig. 1.
Avanzado
3 days

Instrucciones

1

Cut and brace the back-plate

Cut the back-plate (2A) from aluminium plate, its upper part curved as an arc to shield the saw, stiffened by an angle (2B) along the top and a flat splatter strip (2C) at the front. Bolt on two front struts (21, 21A) and two side struts (22) and bolt them to the base. Ours: drill press.

Materiales para este paso:

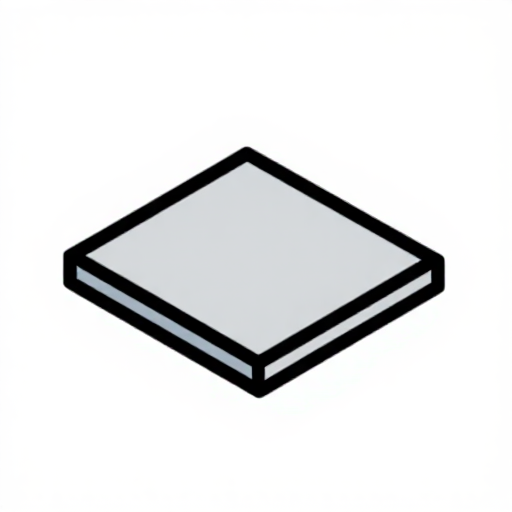
Placa de aluminioPlaca de aluminio1 pieza
Angular de aluminioAngular de aluminio1 pieza
Tornillo hexagonal - grado 8.8Tornillo hexagonal - grado 8.81 pieza

Herramientas necesarias:

Taladro de columnaTaladro de columna
Llave inglesaLlave inglesa
2

Cut the wheel-slider apertures

Cut slots (32) through the back-plate's arc at 0, 30, 60, 90, 120, 210, 240, 270, 300 and 330° round the ring's centre: two slots at 90° and 210° for the guide pairs, one at each of the others. The slots let each guide wheel slide to the ring.

Herramientas necesarias:

Taladro de columnaTaladro de columna
3

Assemble the guide wheels

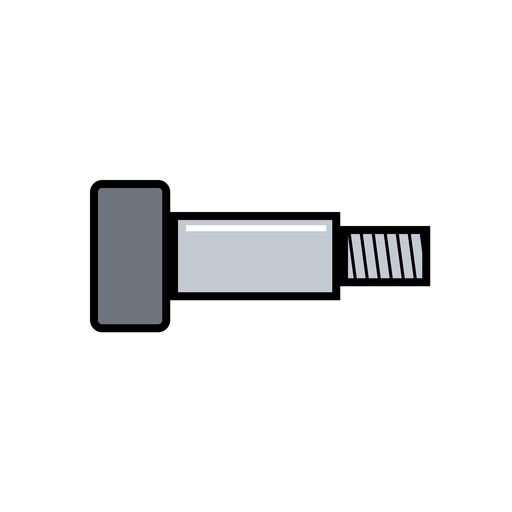
For each of the twelve guide wheels, stretch two rubber O-rings (27) into the grooves of a bearing wheel (26) with sealed roller bearings, and mount it on a shoulder bolt (28) with a washer, lockwasher and nut.

Materiales para este paso:

Rodillo guíaRodillo guía12 piezas
Junta tóricaJunta tórica24 piezas
Tornillo de hombroTornillo de hombro12 piezas
Arandela planaArandela plana12 piezas
Spring WasherSpring Washer12 piezas
Tuerca hexagonalTuerca hexagonal12 piezas

Herramientas necesarias:

Llave inglesaLlave inglesa
4

Turn the drive wheel

Turn an aluminium disk with a hub, a bored axle hole and a deep groove round its rim, and seat a large rubber O-ring (23) in the groove as its driving tyre. Ours: lathe.

Materiales para este paso:

Placa de aluminioPlaca de aluminio1 pieza
Junta tóricaJunta tórica1 pieza

Herramientas necesarias:

Torno de metalTorno de metal
5

Mount the motor and drive axle

Strap the electric motor (51) onto its pillow block (50) with fastening bands (52) and bolt the block to the base. Fix the drive wheel on the motor's axle (24) and carry the axle's end in an axle pillow block (24A, 24B).

Materiales para este paso:

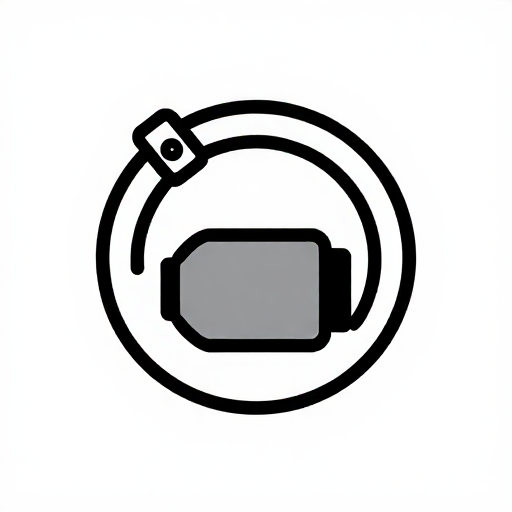
Motor eléctricoMotor eléctrico1 pieza
Abrazadera de sujeción de motorAbrazadera de sujeción de motor2 piezas

Soporte de rodamientoSoporte de rodamiento2 piezas
Eje de aceroEje de acero1 pieza
Tornillo hexagonal - grado 8.8Tornillo hexagonal - grado 8.81 pieza

Herramientas necesarias:

Llave inglesaLlave inglesa
6

Fit the ring and its guides

Stand the ring saw on the drive wheel's tyre. Bolt the guide wheels through their slots: each pair with a tension spring between its two wheels, each single with a spring to the back-plate's lower rim, the one at 330° pressing the ring onto the drive wheel. Set them against the ring, then tighten the nuts. Fit two horizontal roller-guides (17) at 150°, sprung together, just before the cut.

Materiales para este paso:

Hoja de sierra de anillo diamantadaHoja de sierra de anillo diamantada1 pieza
Muelle de tracciónMuelle de tracción11 piezas
Rodillo guíaRodillo guía2 piezas

Herramientas necesarias:

Llave inglesaLlave inglesa
7

Fit the table, tray and sponge

Bolt the water tray (46) on four bracket supports (19, 20) by its four studs; put a ring-shaped sponge (47) in it and the cutting table (44) over it, the ring passing through centre holes reached by slots offset half an inch from a radius. Set the table top below the ring's centre line by the thickest work you will cut. Add water to the tray.

Materiales para este paso:

BandejaBandeja1 pieza
EsponjaEsponja1 pieza
Placa de aluminioPlaca de aluminio1 pieza
AguaAgua1 batch

Herramientas necesarias:

Llave inglesaLlave inglesa
8

Fit the face shield and drip pan

Bolt the shield arm (41) to the back-plate and pivot a clear acrylic face shield (43) in its holder (42) on a locking screw. The base is a catchment for the coolant with a drain hole in one corner.

Materiales para este paso:

Lámina de acrílicoLámina de acrílico1 pieza
Placa de aluminioPlaca de aluminio1 pieza
Bandeja de goteoBandeja de goteo1 pieza

Herramientas necesarias:

Llave inglesaLlave inglesa
9

Ring size and drive speed

Cargando el cuaderno de Jupyter…

Materiales

20

Herramientas requeridas

3

CC0 Dominio público

Este Blueprint se publica bajo CC0. Eres libre de copiar, modificar, distribuir y usar este trabajo para cualquier propósito, sin pedir permiso.

Apoya al Maker comprando productos a través de su Blueprint, donde gana una Comisión del Maker establecida por los vendedores, o crea una nueva iteración de este Blueprint e inclúyela como conexión en tu propio Blueprint para compartir ingresos.

Discusión

(0)

Iniciar sesión para unirte a la discusión

Cargando comentarios...