ARTE
BELLEZA Y BIENESTAR
ARTESANÍA
CULTURA E HISTORIA
ENTRETENIMIENTO
MEDIO AMBIENTE
COMIDA Y BEBIDAS
INGENIERÍA INVERSA
CIENCIAS
DEPORTES
TECNOLOGÍA
TECNOLOGÍA VESTIBLE
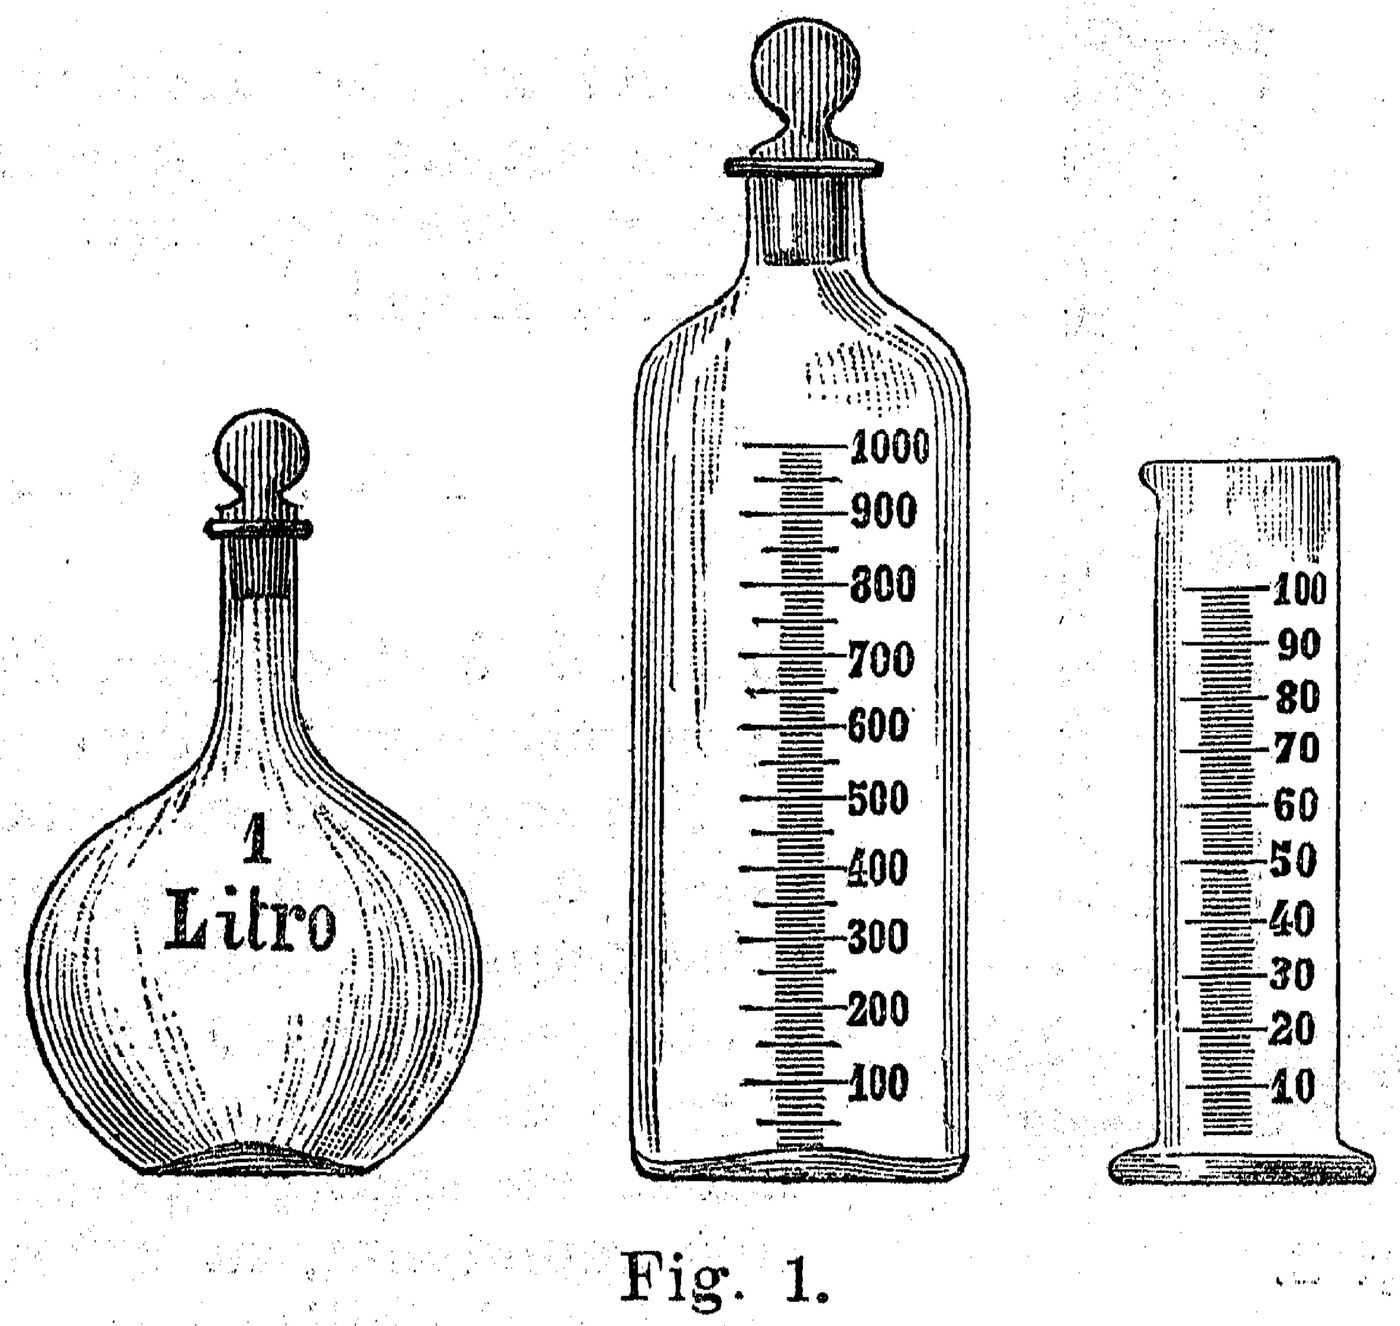


Graduated Cylinders: Glass Tube on a Foot, Marked by Weighing Water
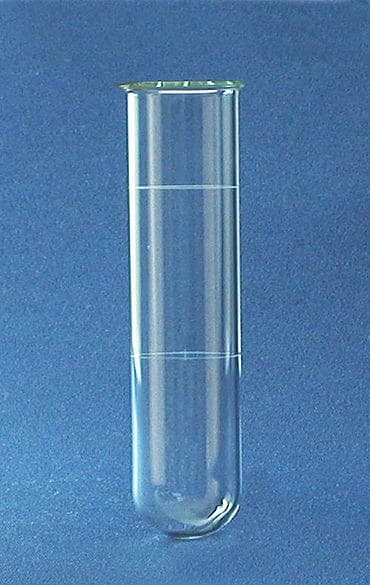
A graduated cylinder is a narrow glass tube standing on a foot, with a lip to pour and lines for volume; it measures more closely than a beaker. Guyton de Morveau introduced it in 1784. Close a straight tube flat, fuse a glass foot under it, pull a lip, anneal, then mark it by weighing in water.
The picture: graduated laboratory glassware engraved in 1895 (Alessandri): a litre flask, a graduated bottle and, on the right, a footed graduated cylinder with a lip.
Avanzado
An hour per cylinder, plus annealing
Instrucciones
1
1
Close the bottom
Close the bottom
Cut a straight, even tube to length, close one end in the flame and press it flat on the marver.
Materiales para este paso:
 Kit de tubos de vidrio1 pieza
Herramientas necesarias:
 Punta de trazar de diamante
 Soplete de vidriero de mesa
 Marver (placa de amasado del vidrio)
 Gafas de seguridad
 Guantes resistentes al calor
2
2
Fuse on a foot
Fuse on a foot
Melt a gather of rod, press it into a flat disc wider than the tube and, while both are hot, fuse it centred under the bottom so the cylinder stands.
Materiales para este paso:
 Varilla de vidrio borosilicato1 pieza
Herramientas necesarias:
Soplete de vidriero de mesaMarver (placa de amasado del vidrio)Guantes resistentes al calor3
3
Rim and lip
Rim and lip
Fire-polish and slightly flare the rim with the jacks and push out a small pouring lip.
Herramientas necesarias:
Soplete de vidriero de mesa Jacks (pinzas de vidriero)
4
4
Anneal
Anneal
Anneal in the kiln at the glass's annealing temperature and cool slowly.
Herramientas necesarias:
 Horno cerámico
5
5
Graduate by weighing water
Graduate by weighing water
Stand the cylinder on the balance, add water a few grams at a time (1 g is about 1 mL near room temperature) and scratch a line at the bottom of the meniscus at each step with the diamond scriber. Number the main lines.
Materiales para este paso:
 Agua0.5 litro
Herramientas necesarias:
 Balanza de platillosPunta de trazar de diamante
 Calibre digital de 6 pulgadas
6
6
Spacing of the marks
Spacing of the marks
Cargando el cuaderno de Jupyter…
Materiales
3- 1 piezaMarcador de posición
- Marcador de posición
- 0.5 litroMarcador de posición
Herramientas requeridas
9- Marcador de posición
- Marcador de posición
- Marcador de posición
- Marcador de posición
- Marcador de posición
- Marcador de posición
- Marcador de posición
- Marcador de posición
- Marcador de posición

Blueprints relacionados
Estos blueprints comparten conocimiento — técnicas, materiales o principios
CC0 Dominio público
Este Blueprint se publica bajo CC0. Eres libre de copiar, modificar, distribuir y usar este trabajo para cualquier propósito, sin pedir permiso.
Apoya al Maker comprando productos a través de su Blueprint, donde gana una Comisión del Maker establecida por los vendedores, o crea una nueva iteración de este Blueprint e inclúyela como conexión en tu propio Blueprint para compartir ingresos.