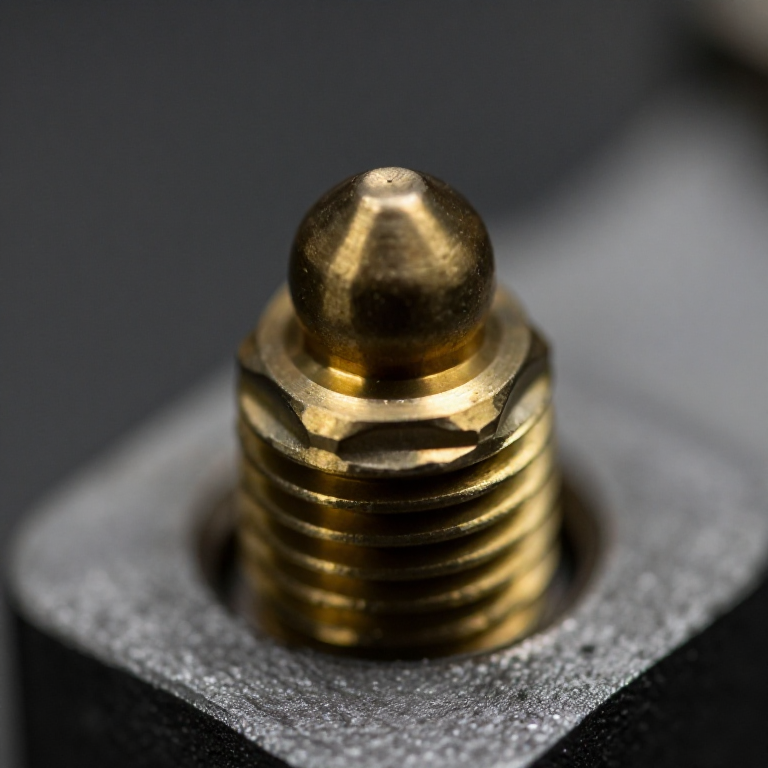


Grease Nipple and Gun
Instrucciones
Make the nipple body and ball seat
Make the nipple body and ball seat
A tiny check valve with a rounded head for the gun to grip.
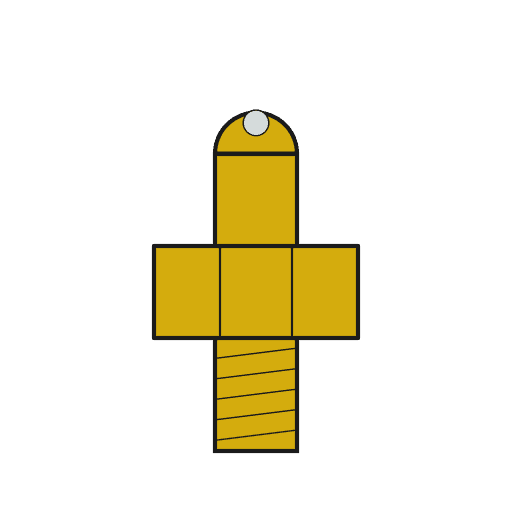
- Turn a body from 10 mm brass round bar, 20 mm long, threaded M6 at one end.
- Drill it through at 2.5 mm.
- At the head end, counterbore 4 mm to take a ball, and form a conical seat at the bottom of that bore.
- Shape the head into a hemisphere so a gun coupler can snap over it and grip.
The hemispherical head is a coupling, not decoration. The gun's coupler has spring jaws that grip behind the ball of the head, sealing under pressure and letting the gun be pulled off sideways. That shape is why one gun fits nearly every machine in the world — an early and very successful standardisation, in the same family as the Whitworth thread.
The seat must be concentric and clean. A ball on a lopsided seat leaks grease back out as soon as the gun comes off, and then admits dirt straight into the bearing.Materiales para este paso:
 Barra redonda de latón1 pieza
Herramientas necesarias:
 Arco de sierra para metales con hojas
 Tornillo de banco
 Taladro inalámbrico
 Juego de brocas
 Juego de brocas avellanadoras
 Juego de limas
 Calibre digital de 6 pulgadas
Fit the ball and spring
Fit the ball and spring
The lightest spring that reliably closes the ball.
- Drop a 4 mm steel ball onto the seat — a ball from a scrap bearing is ideal.
- Fit a very light compression spring above it.
- Retain the spring by peening the counterbore's rim slightly inward, or with a drilled retaining washer.
- Test: blow through from the thread end — it should pass. Blow from the head end — it should not.
Spring force is a genuine balance. Too strong and the gun cannot open it without excessive pressure. Too weak and grease creeps back out under bearing pressure and heat. The spring only has to overcome the ball's weight and any residual pressure, so it is much lighter than people expect.
The blow test is the complete functional check of a check valve, and it takes two seconds. Any one-way device — this, the sprag clutch, a pump valve — can be verified the same way.Materiales para este paso:
 Juego de muelles de compresión1 juego
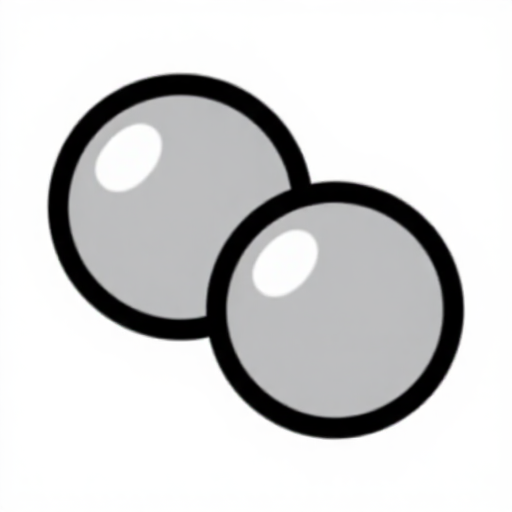 Rodamientos de bolas de acero1 pieza
Herramientas necesarias:
Tornillo de bancoJuego de limasCalibre digital de 6 pulgadas Granete
Build a lever gun
Build a lever gun
A piston, a lever and a big mechanical advantage.
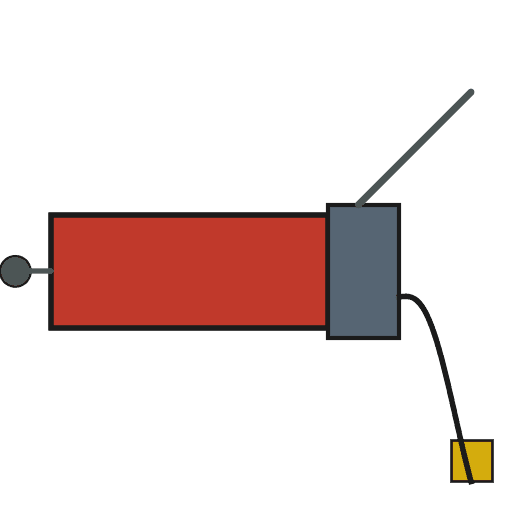
- Make a barrel from 30 mm aluminium tube with a follower piston and a spring behind it to feed grease forward.
- Make a small pumping piston, 8 mm diameter, in its own bore at the head.
- Drive it with a lever pivoted so the handle travel is about ten times the piston travel.
- Fit a check valve at the pump inlet and another at the outlet so grease can only go one way.
- Assemble with M5 × 30 socket head cap screws × 4, M5 flat washers × 8 and M5 hex nuts × 4.
Two check valves make a pump. One admits from the reservoir on the return stroke; the other passes to the outlet on the delivery stroke. That pair is the whole principle of every reciprocating pump, and it is the same arrangement as the force pump already in this catalogue — the only difference is what is being pumped.
Small piston, long lever. The pressure is force divided by area, so a small-diameter pumping piston is what turns a modest hand force into the very high pressure grease needs.Materiales para este paso:
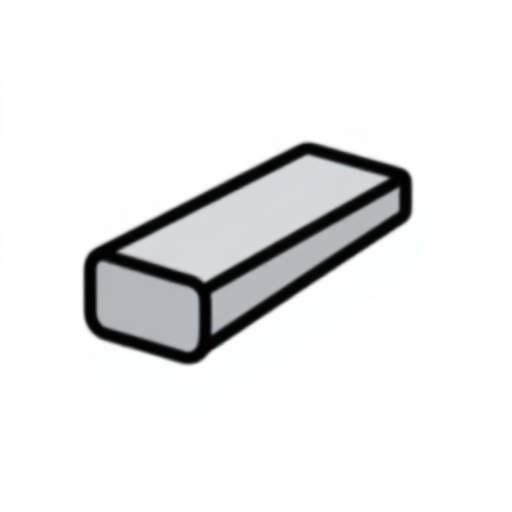 Redondo de aluminio1 piezaJuego de muelles de compresión1 juego
 Arandela plana8 piezas
 Tuerca hexagonal4 piezas
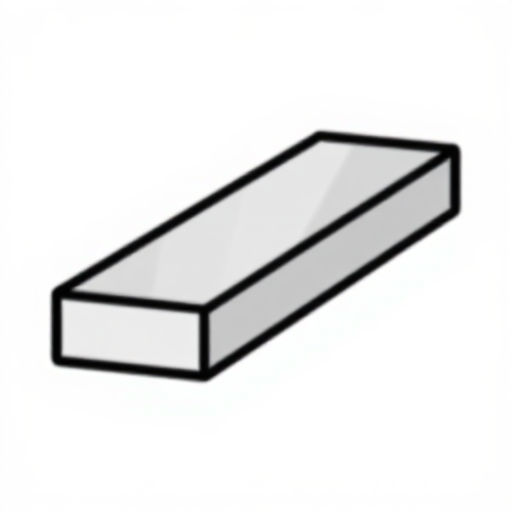 Pletina de aluminio1 pieza
Herramientas necesarias:
Arco de sierra para metales con hojasTaladro inalámbricoJuego de brocas Juego de llaves AllenJuego de limasTornillo de banco
Work out the pressure you are generating
Work out the pressure you are generating
The numbers are larger than most people realise, and that matters for safety.
- Measure your pumping piston's diameter and compute its area.
- Measure the lever ratio: handle travel divided by piston travel.
- Estimate a hand force of about 200 newtons on the handle.
- Pressure = force × lever ratio ÷ piston area. Work it out.
- Grease the nipple and watch grease emerge at the bearing.
Herramientas necesarias:
Calibre digital de 6 pulgadas Escuadra combinada
Why grease at all, and history
Why grease at all, and history
Oscar Zerk developed the compact grease fitting that carries his name around 1929, and the design displaced a zoo of earlier incompatible fittings — grease cups you screwed down by hand, Alemite pin fittings, and various proprietary couplers. Its success was standardisation as much as design: one gun, one fitting, every machine.
Grease is oil with a thickener — traditionally a metallic soap — which holds the oil in place and releases it slowly under working shear and heat. That is why grease suits bearings that are open, oscillating, slow, vertical, or simply impossible to seal well enough to hold oil. It also means grease ages: the oil separates and migrates out over time, leaving a hard soap residue that lubricates nothing.
Against the other feeders: the wick and the sight-feed both deliver continuously and need a reservoir and a sealed housing. The grease nipple delivers a charge on demand and then keeps dirt out until next time — no reservoir, no drips, no housing needed, but total dependence on somebody actually doing it. It converts lubrication from a mechanical system into a maintenance schedule.
The most common mistake is over-greasing. More is not better: a bearing packed completely full has no space for grease to move out of the rolling path, so it churns, heats and fails — and the pressure can burst the seals. Correct practice is a specified number of pumps at a specified interval, which is exactly the sort of instruction that gets ignored because the failure it prevents is invisible.
Materiales
7- 1 piezaMarcador de posición
- Marcador de posición
- Marcador de posición
- 1 piezaMarcador de posición
- 8 piezasMarcador de posición
- 4 piezasMarcador de posición
- 1 piezaMarcador de posición
Herramientas requeridas
10- Marcador de posición
- Marcador de posición
- 1 vendor sell this, none ship to you yetMarcador de posición
- Marcador de posición
- Marcador de posición
- Marcador de posición
- Marcador de posición
- Marcador de posición
- Marcador de posición
- Marcador de posición
Blueprints relacionados
Estos blueprints comparten conocimiento — técnicas, materiales o principios
CC0 Dominio público
Este Blueprint se publica bajo CC0. Eres libre de copiar, modificar, distribuir y usar este trabajo para cualquier propósito, sin pedir permiso.
Apoya al Maker comprando productos a través de su Blueprint, donde gana una Comisión del Maker establecida por los vendedores, o crea una nueva iteración de este Blueprint e inclúyela como conexión en tu propio Blueprint para compartir ingresos.