ARTE
BELLEZA Y BIENESTAR
ARTESANÍA
CULTURA E HISTORIA
ENTRETENIMIENTO
MEDIO AMBIENTE
COMIDA Y BEBIDAS
INGENIERÍA INVERSA
CIENCIAS
DEPORTES
TECNOLOGÍA
TECNOLOGÍA VESTIBLE
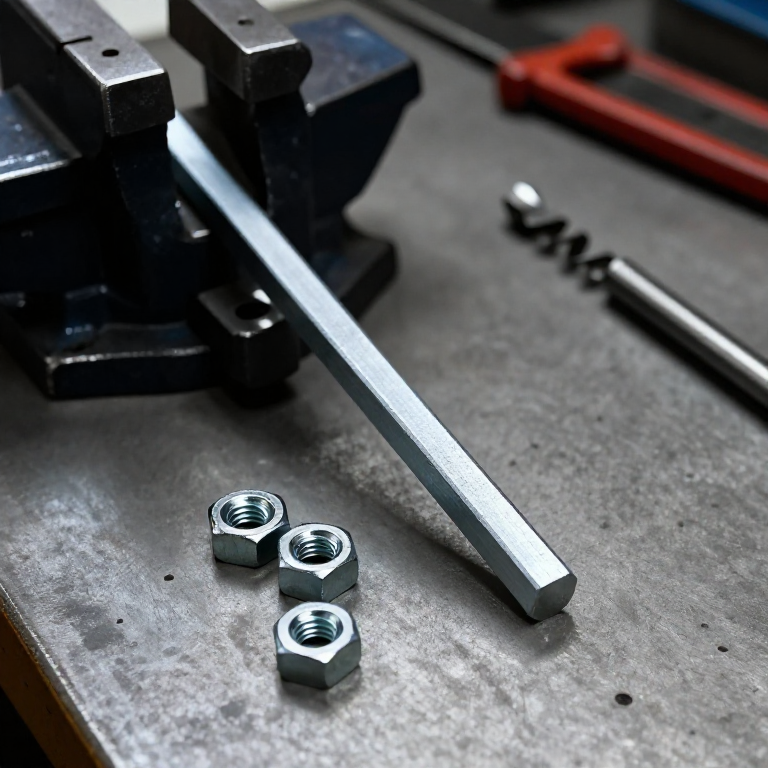


Hex Nuts from Hex Bar
A nut is a short piece of hexagon bar with a tapped hole through it. Drill and tap the end of the bar, saw off one nut's height, and repeat: the bar's flats are already the spanner size. The example is M6 to ISO 4032: 10 mm across the flats, 5.2 mm high, tapped M6 x 1.0 from a 5.0 mm hole.
The notebook gives the bar, drill and height for M5 to M10.
Principiante
1 hour for 10 nuts
Instrucciones
1
1
Sizes
Sizes
Cargando el cuaderno de Jupyter…
2
2
Square the end
Square the end
Clamp the 10 mm A/F hex bar in the vise, saw the end square and file it flat.
Materiales para este paso:
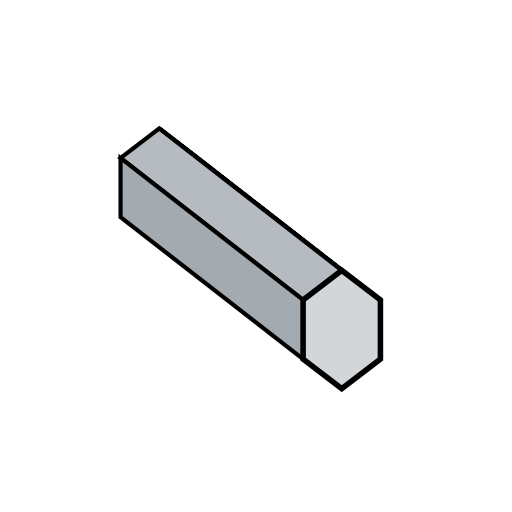 Barra hexagonal de acero dulce0.2 metro
Herramientas necesarias:
 Tornillo de banco
 Sierra para metales
 Juego de limas
3
3
Drill the tap hole
Drill the tap hole
Clamp the bar upright in the machine vice under the drill press. Centre-punch the middle of the end and drill a 5.0 mm hole 20 mm deep, with a drop of cutting oil.
Herramientas necesarias:
 Taladro de columna
 Mordaza de máquina
 Juego de brocas
 Granete
 Gafas de seguridad
 Aceite de corte
4
4
Chamfer the hole
Chamfer the hole
Countersink the hole's mouth lightly, just past the thread's outer diameter.
Herramientas necesarias:
 Juego de brocas avellanadorasTaladro de columna
5
5
Tap M6
Tap M6
Start the M6 tap square in the tap wrench with oil. Turn half a turn in, a quarter back to break the chip, to the bottom of the hole.
Herramientas necesarias:
 Juego de machos y terrajas
 Volvedor de machosTornillo de bancoAceite de corte
6
6
Saw off a nut
Saw off a nut
Mark 5.2 mm from the end plus the saw's width, and saw it off square. File the cut face flat until the caliper reads 5.2 mm.
Herramientas necesarias:
 Punta de trazar
 Azul de mecánicoSierra para metalesJuego de limas
 Calibre digital de 6 pulgadas
7
7
Chamfer and deburr
Chamfer and deburr
File a small chamfer on the corners of both faces and deburr the thread's ends.
Herramientas necesarias:
Juego de limas Desbarbador
8
8
Test and repeat
Test and repeat
Run the nut down an M6 bolt by hand. Re-face the bar's end and repeat; one 20 mm hole gives three nuts.
Herramientas necesarias:
 Surtido de tornillos hexagonales
9
9
Troubleshooting
Troubleshooting
Nut making troubleshooting.
Flow
Loading...
Materiales
1- 0.2 metroMarcador de posición
Herramientas requeridas
17- Marcador de posición
- Marcador de posición
- Marcador de posición
- Marcador de posición
- Marcador de posición
- Marcador de posición
- Marcador de posición
- Marcador de posición
- Marcador de posición
- Marcador de posición
- Marcador de posición
- Marcador de posición
- Marcador de posición
- Marcador de posición
- Marcador de posición
- Marcador de posición
- Marcador de posición
Este plano hace

Blueprints relacionados
Estos blueprints comparten conocimiento — técnicas, materiales o principios
CC0 Dominio público
Este Blueprint se publica bajo CC0. Eres libre de copiar, modificar, distribuir y usar este trabajo para cualquier propósito, sin pedir permiso.
Apoya al Maker comprando productos a través de su Blueprint, donde gana una Comisión del Maker establecida por los vendedores, o crea una nueva iteración de este Blueprint e inclúyela como conexión en tu propio Blueprint para compartir ingresos.