ARTE
BELLEZA Y BIENESTAR
ARTESANÍA
CULTURA E HISTORIA
ENTRETENIMIENTO
MEDIO AMBIENTE
COMIDA Y BEBIDAS
INGENIERÍA INVERSA
CIENCIAS
DEPORTES
TECNOLOGÍA
TECNOLOGÍA VESTIBLE
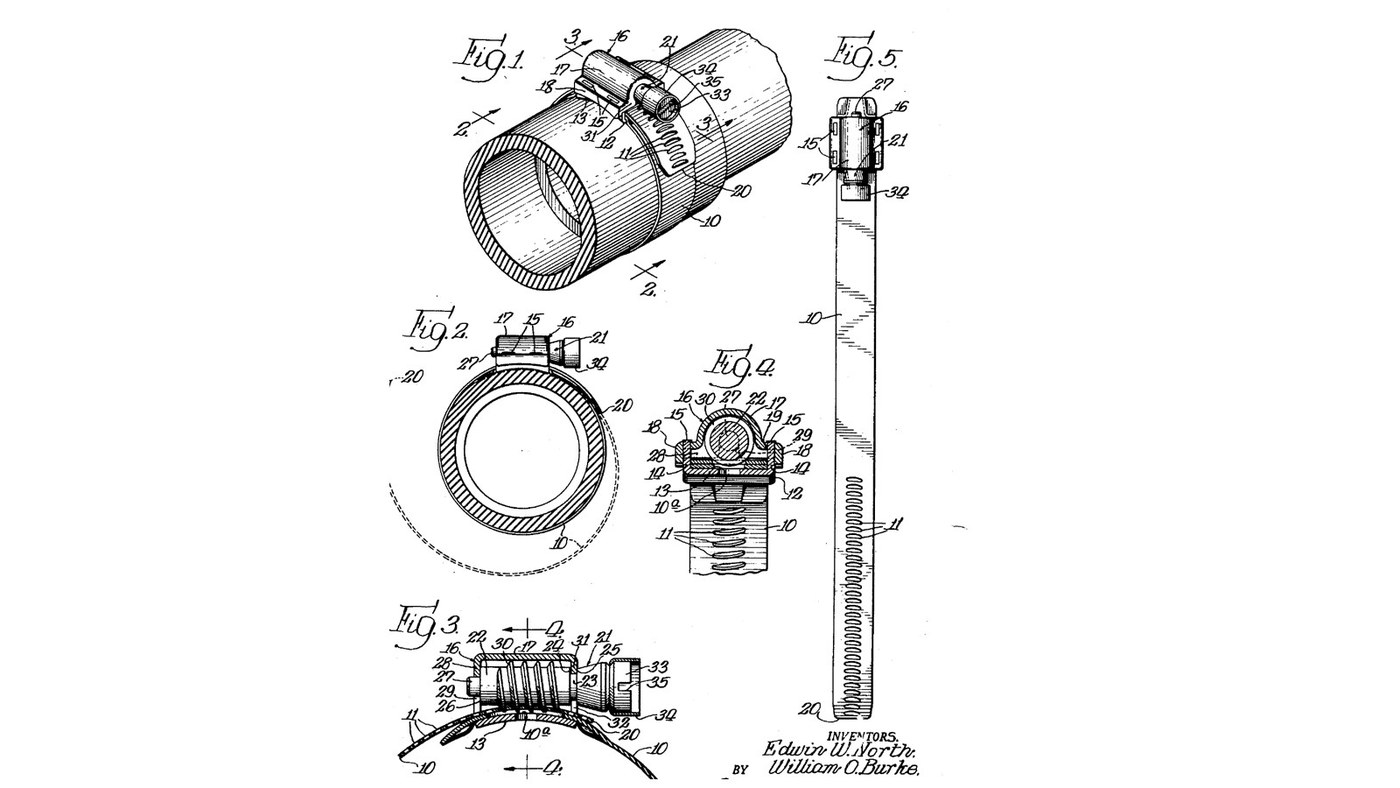


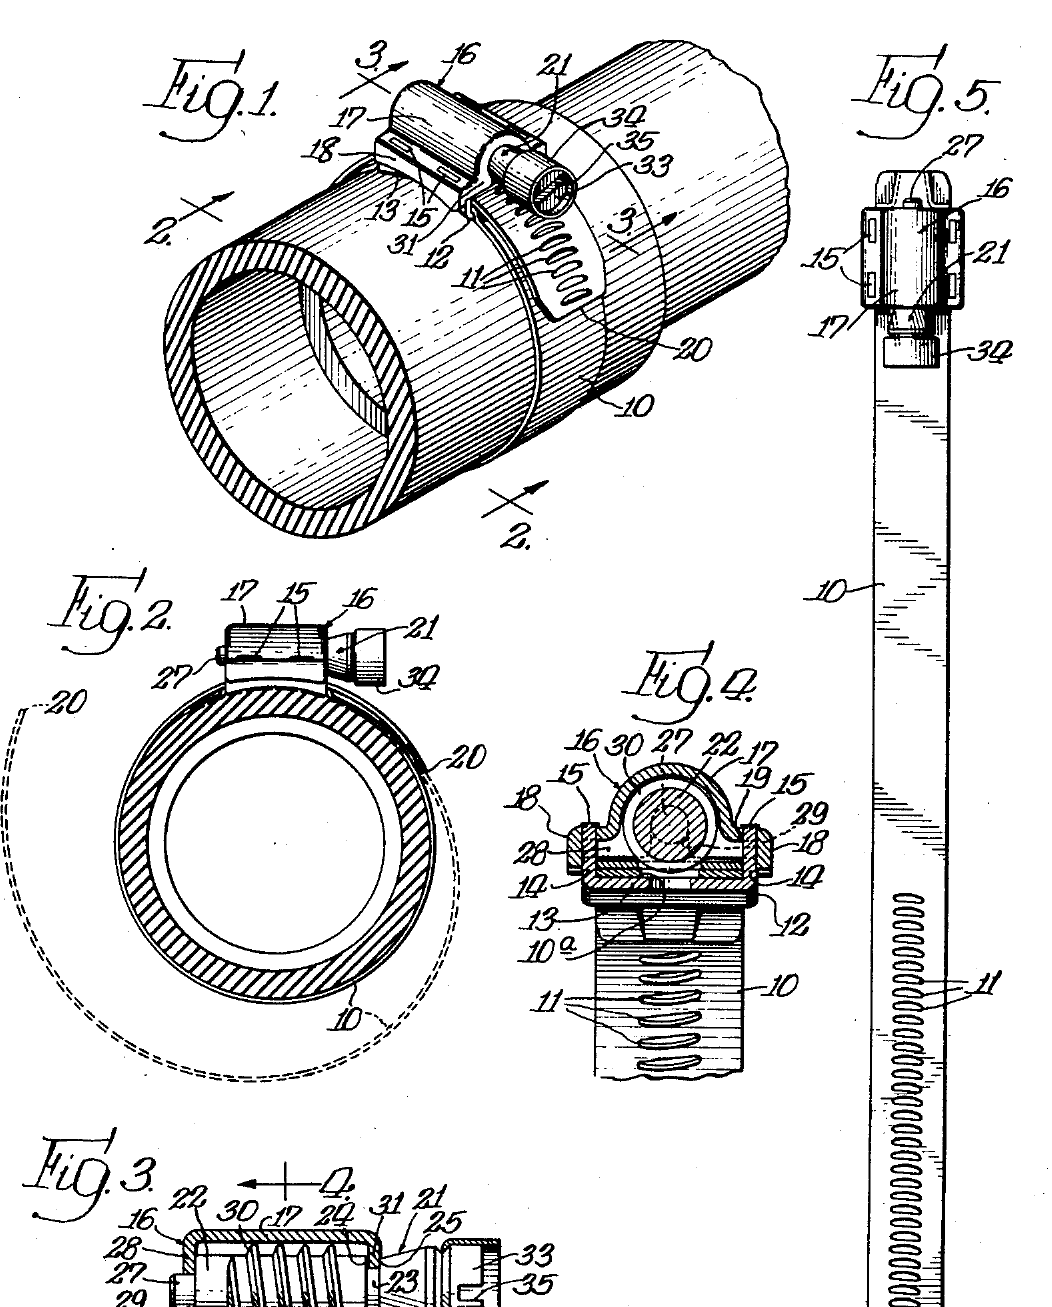
Hose-Clamp Saddle, Screw Housing and Worm Screw (North & Burke, 1945)
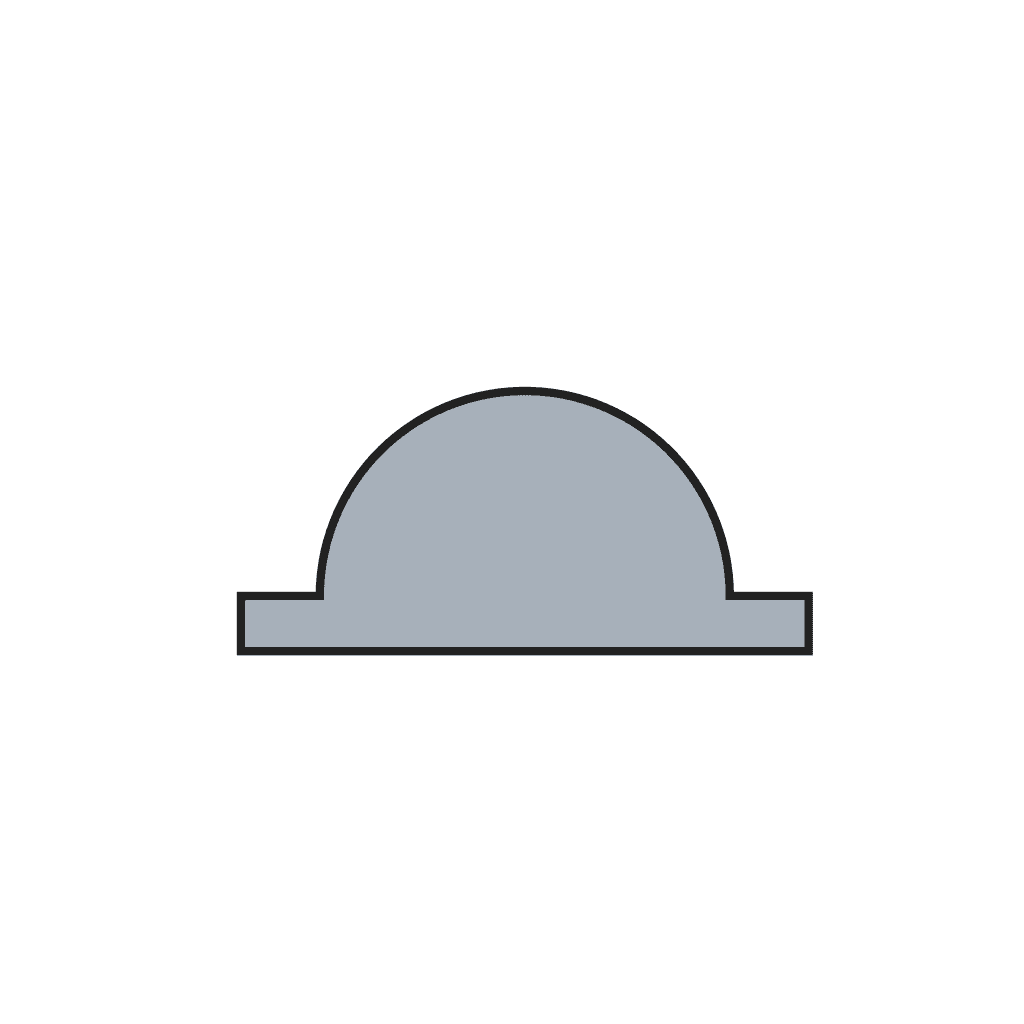
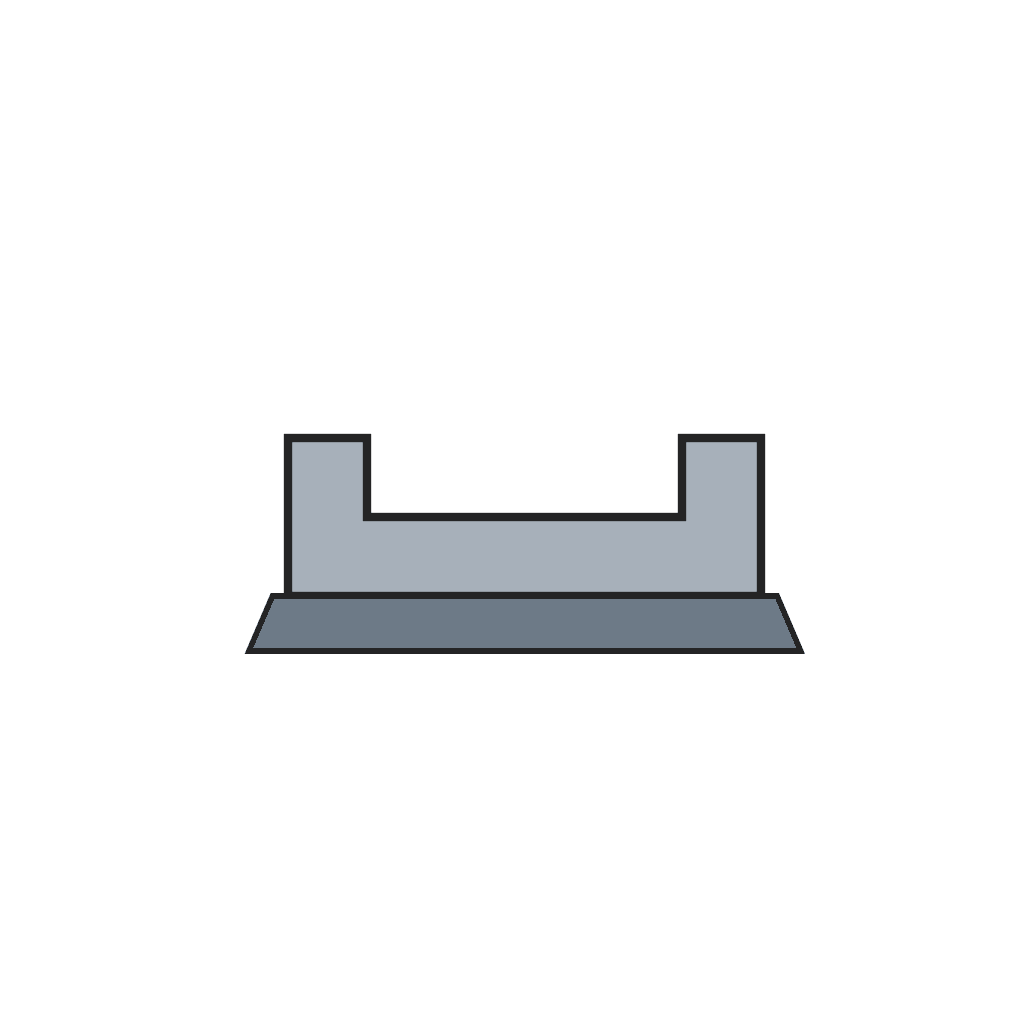
North and Burke's worm-drive hose clamp of 1945 has three small parts on the band: a U-shaped saddle welded to it, a housing that fits over the saddle as the screw's casing, held by prongs riveted through its flanges, and a screw with one continuous thread whose reduced ends sit in slots in the housing's end walls. Here they are made by hand from mild steel sheet and bar instead of being stamped; method and sizes are ours.
The picture: North and Burke's patent drawing, US 2,386,629.
Avanzado
1 day
Instrucciones
1
1
Saddle
Saddle
From 0.8 mm mild steel sheet cut a strip as wide as the band, with two narrow tabs on each long edge for the prongs. Bend the long edges up into a U and curve the base slightly along its length to match the band.
Materiales para este paso:
 Chapa de acero dulce1 pieza
Herramientas necesarias:
 Punta de trazar
 Regla
 Tijeras de chapa
 Juego de limas
 Tornillo de banco
 Martillo de peña transversal
 Guantes de trabajo de cuero
2
2
Screw housing
Screw housing
Cut a blank for the casing that fits over the saddle, with a flange along each side and an end wall at each end. Drill a hole in each flange where a prong will pass, and cut a slot down into each end wall for the screw's reduced ends. Bend it to shape.
Herramientas necesarias:
Punta de trazarTijeras de chapa Taladro de manoJuego de limasTornillo de bancoMartillo de peña transversalGuantes de trabajo de cuero
3
3
Turn the worm screw
Turn the worm screw
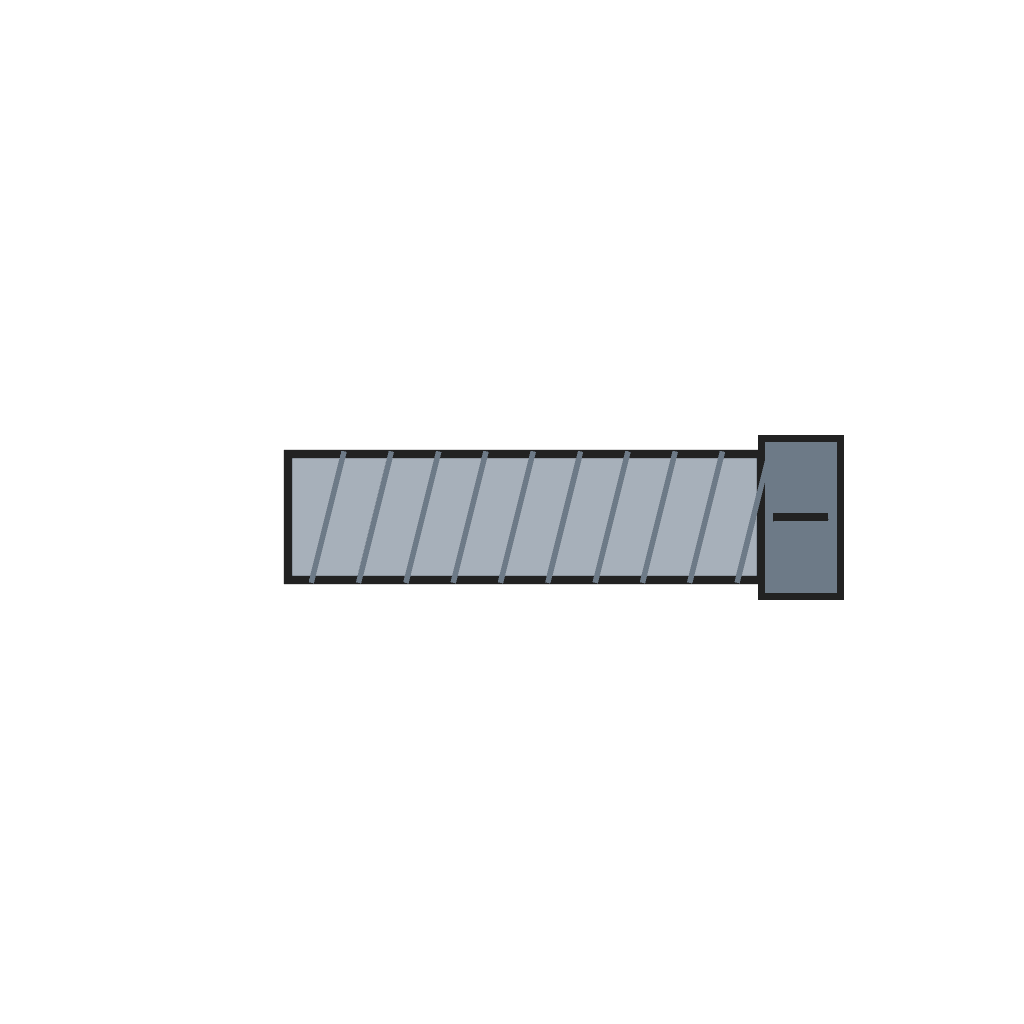
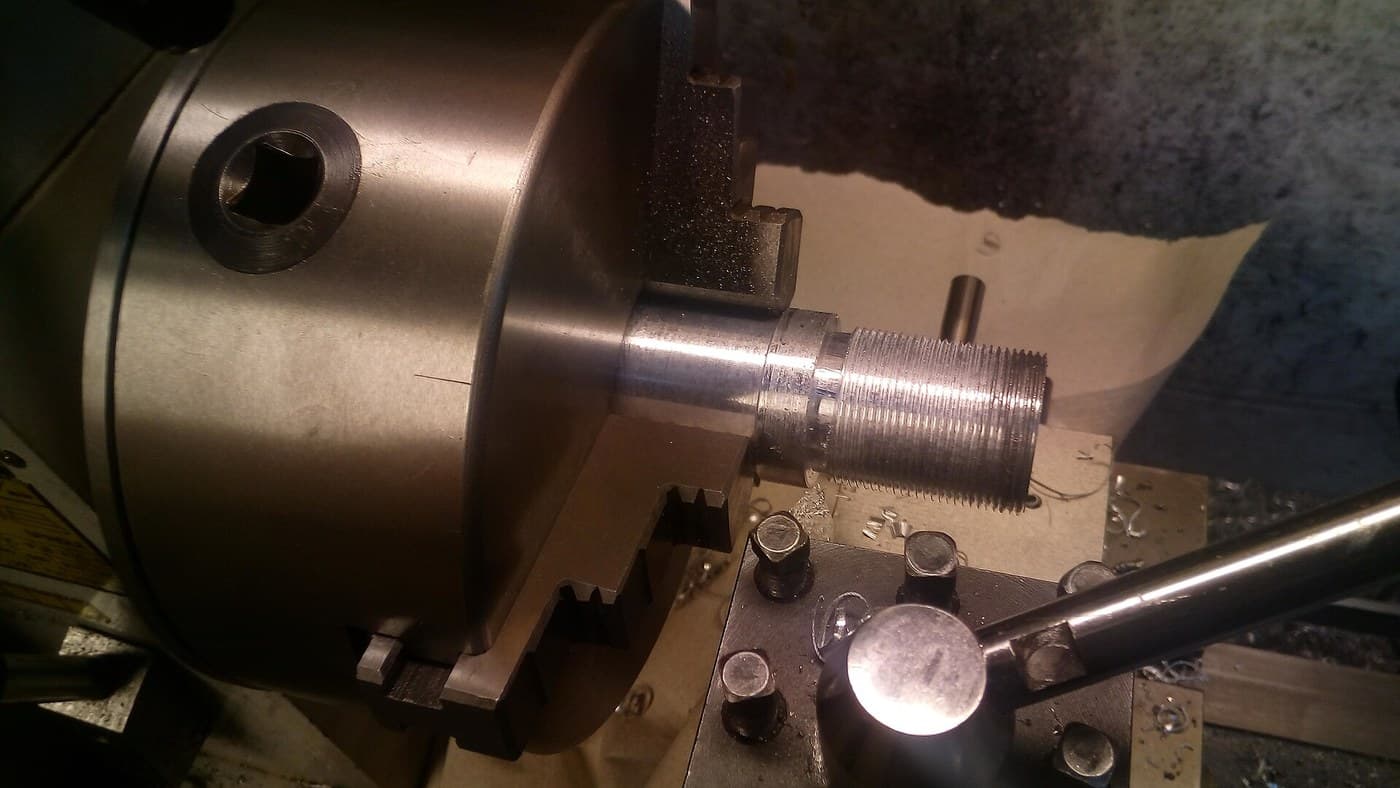
Chuck mild steel bar and turn the screw: a head with a screwdriver slot, a shoulder, the threaded body, and a reduced end at each end that drops into the housing's slots, with shoulders that bear on the end walls.
Materiales para este paso:
 Barra de acero dulce1 pieza
Herramientas necesarias:
 Torno de metal
 Plato de torno de 3 mordazas
 Herramienta de corte para torno
 Gubia de tronzar
 Sierra para metales
 Calibre digital de 6 pulgadas
 Aceite de corte
 Gafas de seguridad
4
4
Cut the thread
Cut the thread
Single-point cut one continuous thread along the body, its pitch matching the spacing of the band's slots, with a flat working face and a rounded back so it fills the slots.
Herramientas necesarias:
Torno de metalHerramienta de corte para torno Galga de paso de roscaAceite de corte
5
5
Trial fit
Trial fit
Lay the screw in the saddle with its ends in the housing's slots, fit the housing over it and check the prongs pass through the flange holes and the screw turns freely without end play. The clamp blueprint then welds, rivets and assembles them.
Herramientas necesarias:
Calibre digital de 6 pulgadasJuego de limasMateriales
2- 1 piezaMarcador de posición
- 1 piezaMarcador de posición
Herramientas requeridas
17- Marcador de posición
- Marcador de posición
- Marcador de posición
- Marcador de posición
- Marcador de posición
- Marcador de posición
- Marcador de posición
- Marcador de posición
- Marcador de posición
- Marcador de posición
- Marcador de posición
- Marcador de posición
- Marcador de posición
- Marcador de posición
- Marcador de posición
- Marcador de posición
- Marcador de posición
Este plano hace
Blueprints relacionados
Estos blueprints comparten conocimiento — técnicas, materiales o principios

CC0 Dominio público
Este Blueprint se publica bajo CC0. Eres libre de copiar, modificar, distribuir y usar este trabajo para cualquier propósito, sin pedir permiso.
Apoya al Maker comprando productos a través de su Blueprint, donde gana una Comisión del Maker establecida por los vendedores, o crea una nueva iteración de este Blueprint e inclúyela como conexión en tu propio Blueprint para compartir ingresos.