Colaboración
ARTE
BELLEZA Y BIENESTAR
ARTESANÍA
CULTURA E HISTORIA
ENTRETENIMIENTO
MEDIO AMBIENTE
COMIDA Y BEBIDAS
INGENIERÍA INVERSA
CIENCIAS
DEPORTES
TECNOLOGÍA
TECNOLOGÍA VESTIBLE
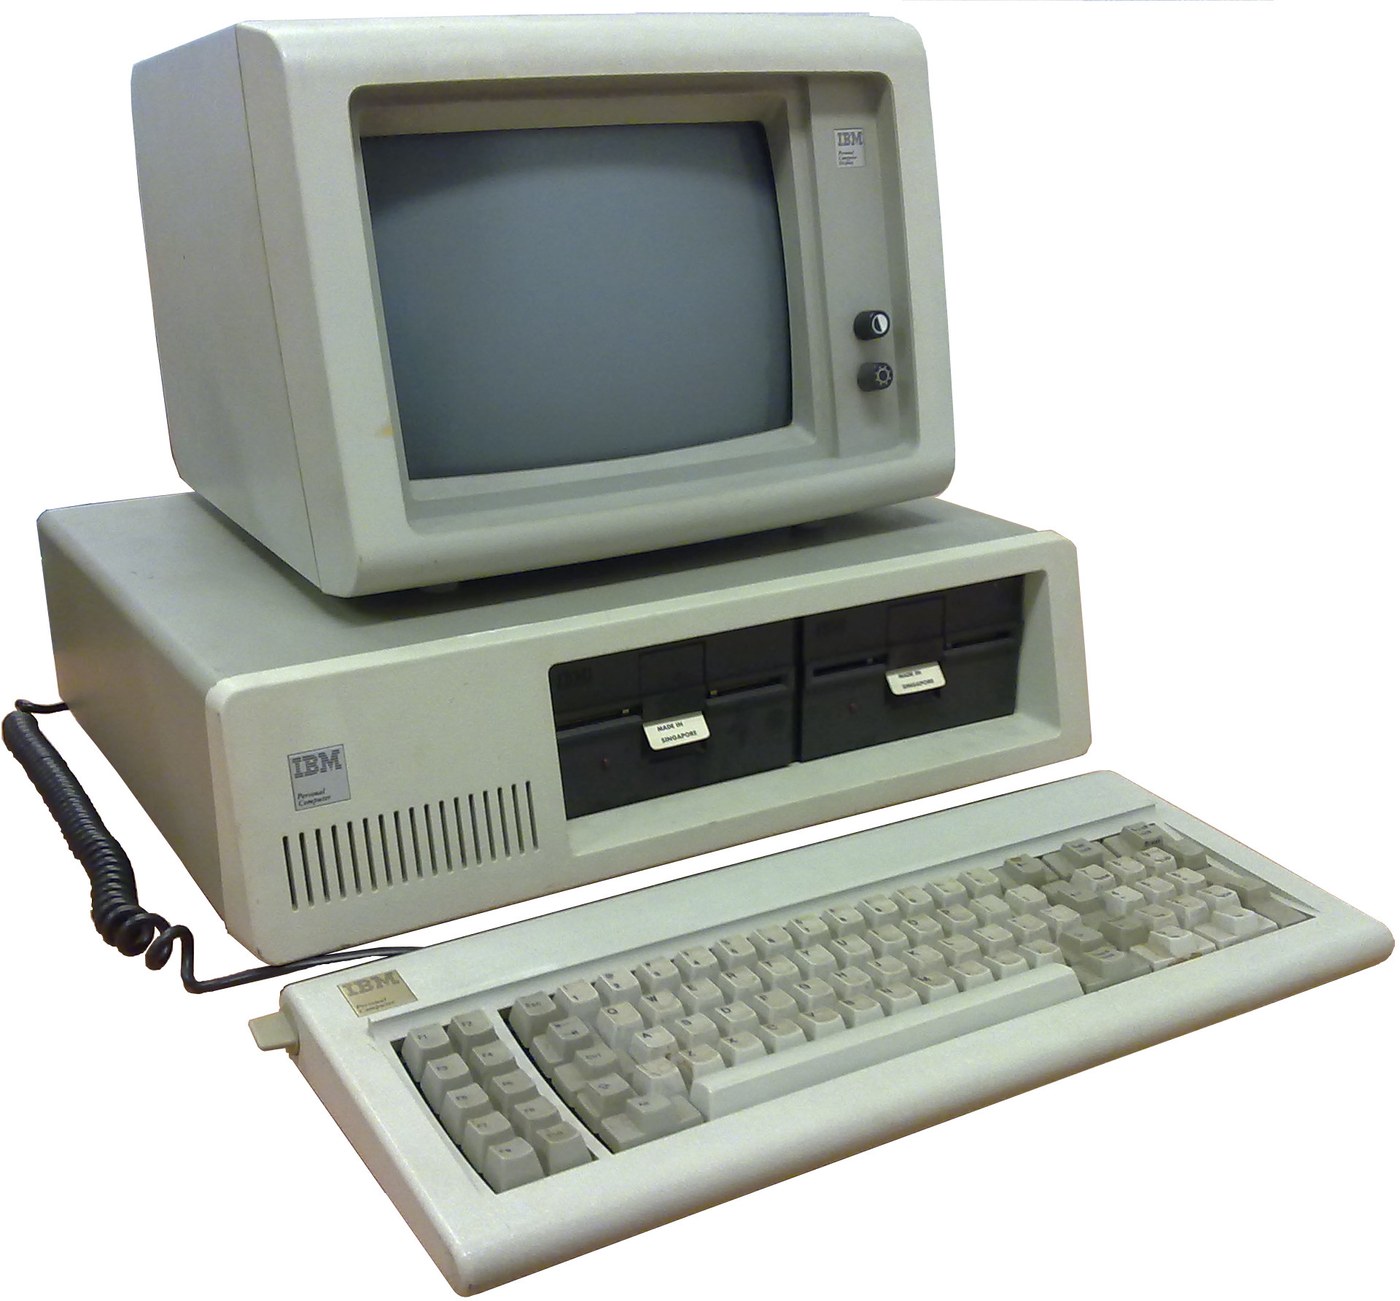


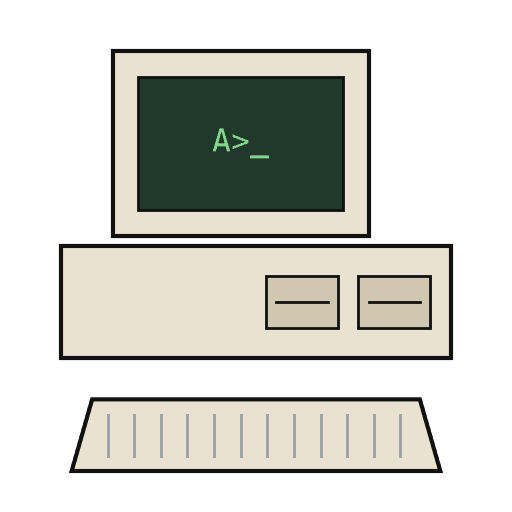
IBM Personal Computer (5150): System Unit, Keyboard and Display (IBM Technical Reference, 1981)
IBM's first personal computer, the machine today's desktop PCs descend from. One system unit holds an Intel 8088 system board, a power supply and five expansion slots. A keyboard, a display and 5-1/4 inch diskette drives complete it. IBM published its whole design, down to the BIOS program, in the Technical Reference.
Result: an IBM PC that tests itself at power-on and starts an operating system from diskette.
Source: IBM Personal Computer Technical Reference (1981; edition of April 1984). Unknown: the chassis and its sizes, the display and diskette adapter cards (described in IBM's separate Options and Adapters volumes), and how each part is made. Ours: the assembly order. Picture: Wikimedia Commons.
Avanzado
1 week
Instrucciones
1
1
Populate the system board
Populate the system board
On the system board, fit the Intel 8088 processor. It runs at 4.77 MHz, taken from a 14.31818 MHz crystal divided by 3; divided by 4, the same crystal gives the 3.58 MHz colour-burst signal for colour TVs. Fit its support chips: the 8237A-5 DMA controller, 8259A interrupt controller, 8253-5 timer and 8255A-5 peripheral interface. Add the ROM holding the BIOS, the read/write memory, the speaker circuit, five expansion slots, and 5-pin DIN sockets for the keyboard and a cassette recorder. The 8088 runs in maximum mode, so a coprocessor can be added later. Set switch SW1 to tell the machine what it has: whether to start from a 5-1/4 inch diskette drive, how much read/write memory is on the board, which display adapter is fitted, and how many diskette drives there are. Not given here: the board layout.
Materiales para este paso:
 Placa de circuito impreso1 system board
 Circuito integrado1 8088, 8237A-5, 8259A, 8253-5, 8255A-5, ROM, RAM
 Cristal de cuarzo1 14.31818 MHz
 BIOS del IBM PC1 in ROM
 Interruptor DIP1 SW1
 Alambre de soldadura1 as needed
Herramientas necesarias:
 Soldador de estaño
2
2
Fit the board and power supply in the chassis
Fit the board and power supply in the chassis
Screw the system board into the system-unit chassis. Fit the power supply at the right rear; its housing supports the rear panel and its fan cools the whole machine. It is rated for 63.5 W continuous, from a fused 120 V or 220/240 V input. Its four protected outputs are +5 V at 7 A, +12 V at 2 A, -5 V at 0.3 A and -12 V at 0.25 A, bussed to all five slots. It also has a power-good signal, a switched mains socket for the monochrome display and two drive power plugs. Not given: the chassis metal and sizes.
Materiales para este paso:
 Metal desconocido1 chassis
 Fuente de alimentación de ordenador1 63.5 W
 Tornillos de máquina1 juego
Herramientas necesarias:
 Juego de destornilladores
 Dimensiones desconocidas
 Multímetro
3
3
Add the drives and adapter cards
Add the drives and adapter cards
Fit up to two 5-1/4 inch diskette drives, each powered from its own plug on the supply. Only one drive runs at a time. Plug a diskette drive adapter and a display adapter (monochrome or colour/graphics) into expansion slots, and cable the drives to their adapter. Not given here: the adapter cards and cables, which IBM describes in its separate Options and Adapters volumes.
Materiales para este paso:
 Disquetera de 5¼ pulgadas2 up to two
 Tarjeta de expansión2 diskette adapter, display adapter
 Cable plano1 drive cable
Herramientas necesarias:
Juego de destornilladores4
4
Connect keyboard and display, and power on
Connect keyboard and display, and power on
Plug in the keyboard: 83 keys, with the typewriter keys in the middle, 10 function keys on the left and a 15-key pad on the right. It sends scan codes, not letters, so the software decides what each key does. Connect the display to its adapter and to the switched socket. Switch on: the power-on self-test in the BIOS checks the machine, sets up its interrupt vectors, and looks for extra ROM on the adapter cards. The bootstrap loader then starts the operating system from a diskette.
Materiales para este paso:
 Teclado de ordenador1 83 keys
 Monitor de ordenador1 pieza
Herramientas necesarias:
 Disquete
Materiales
14- 1 system boardMarcador de posición
- 1 8088, 8237A-5, 8259A, 8253-5, 8255A-5, ROM, RAMMarcador de posición
- 1 14.31818 MHzMarcador de posición
- 1 in ROMMarcador de posición
- Marcador de posición
- 1 as neededMarcador de posición
- 1 chassisMarcador de posición
- Marcador de posición
- 1 juegoMarcador de posición
- 2 up to twoMarcador de posición
- 2 diskette adapter, display adapterMarcador de posición
- Marcador de posición
- 1 83 keysMarcador de posición
- 1 piezaMarcador de posición
Herramientas requeridas
5- 2 vendors sell this, none ship to you yetMarcador de posición
- Marcador de posición
- Marcador de posición
- Marcador de posición
- Marcador de posición
Materiales de Blueprints conectados
Este plano hace
CC0 Dominio público
Este Blueprint se publica bajo CC0. Eres libre de copiar, modificar, distribuir y usar este trabajo para cualquier propósito, sin pedir permiso.
Apoya al Maker comprando productos a través de su Blueprint, donde gana una Comisión del Maker establecida por los vendedores, o crea una nueva iteración de este Blueprint e inclúyela como conexión en tu propio Blueprint para compartir ingresos.