Colaboración
ARTE
BELLEZA Y BIENESTAR
ARTESANÍA
CULTURA E HISTORIA
ENTRETENIMIENTO
MEDIO AMBIENTE
COMIDA Y BEBIDAS
INGENIERÍA INVERSA
CIENCIAS
DEPORTES
TECNOLOGÍA
TECNOLOGÍA VESTIBLE
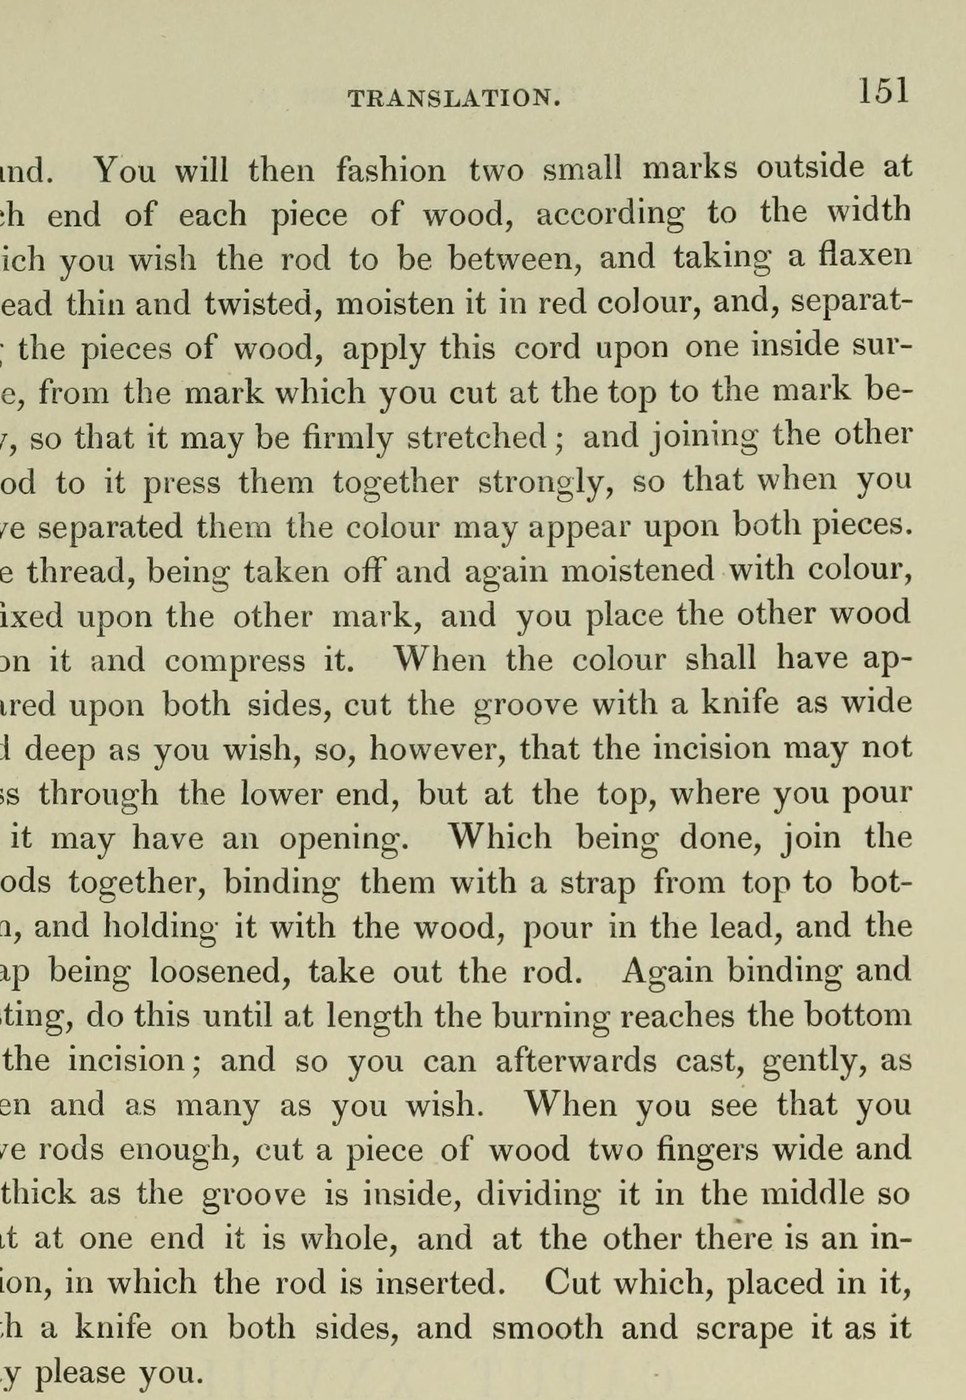


Lead Came: Window Rods Cast in a Split Wooden Mould (Theophilus, tr. Hendrie 1847)
Theophilus' way to cast window leads without an iron mould: a stick of fir is split, a groove marked with a red-dyed flax thread and cut along both halves, the halves bound with a strap and the lead poured in again and again until the hot lead has burnt the groove to the bottom.
Each rod is then trimmed in a slotted wooden gauge, cut with a knife on both sides and scraped smooth.
Source: Theophilus, De Diversis Artibus, Book II, ch. XXVI, tr. R. Hendrie (1847), pp. 149-151. Picture: p. 151.
Intermedio
Unknown
Instrucciones
1
1
Split and mark the wood
Split and mark the wood
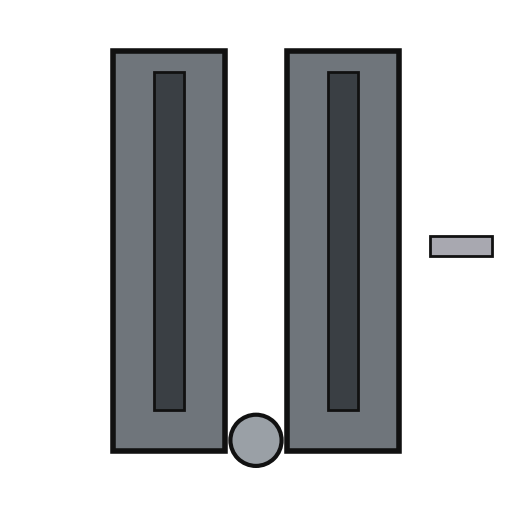
Take fir or another wood that splits smoothly, the size of the iron mould (a yard long, two fingers broad, a finger thick). Split it and round the outside. Mark each end of both pieces for the width of the rod. Stretch a thin twisted flax thread wet with red colour from mark to mark on one inner face and press the other piece against it, so the line shows on both; do the same for the second line.
Herramientas necesarias:
 Molde para plomos de vidriera
 Hilo de lino
 Cúter de precisión
2
2
Cut the groove
Cut the groove
Cut the groove between the lines with a knife, as wide and deep as you wish, but not through the lower end; leave an opening at the top for pouring.
Herramientas necesarias:
Cúter de precisiónMolde para plomos de vidriera3
3
Cast the rods
Cast the rods
Melt the lead as for the iron mould. Bind the two halves together with a strap from top to bottom, hold the mould with a wooden holder and pour in the lead; loosen the strap and take out the rod. Bind and cast again until the burning reaches the bottom of the groove; after that you can cast gently as many as you wish.
Materiales para este paso:
 Lingote de plomo1 pure lead
Herramientas necesarias:
Molde para plomos de vidriera Correa de cuero
 Olla de barro
 Carbón vegetal
 Cucharón
4
4
Trim the rods
Trim the rods
Cut a piece of wood two fingers wide and as thick as the inside of the groove, split in the middle at one end so the rod fits into the slit. With the rod in it, cut it with a knife on both sides, then smooth and scrape it as you like.
Herramientas necesarias:
Cúter de precisiónMateriales
1- 1 pure leadMarcador de posición
Herramientas requeridas
7- Marcador de posición
- Marcador de posición
- Marcador de posición
- Marcador de posición
- Marcador de posición
- Marcador de posición
- Marcador de posición
Materiales de Blueprints conectados

Este plano hace

CC0 Dominio público
Este Blueprint se publica bajo CC0. Eres libre de copiar, modificar, distribuir y usar este trabajo para cualquier propósito, sin pedir permiso.
Apoya al Maker comprando productos a través de su Blueprint, donde gana una Comisión del Maker establecida por los vendedores, o crea una nueva iteración de este Blueprint e inclúyela como conexión en tu propio Blueprint para compartir ingresos.