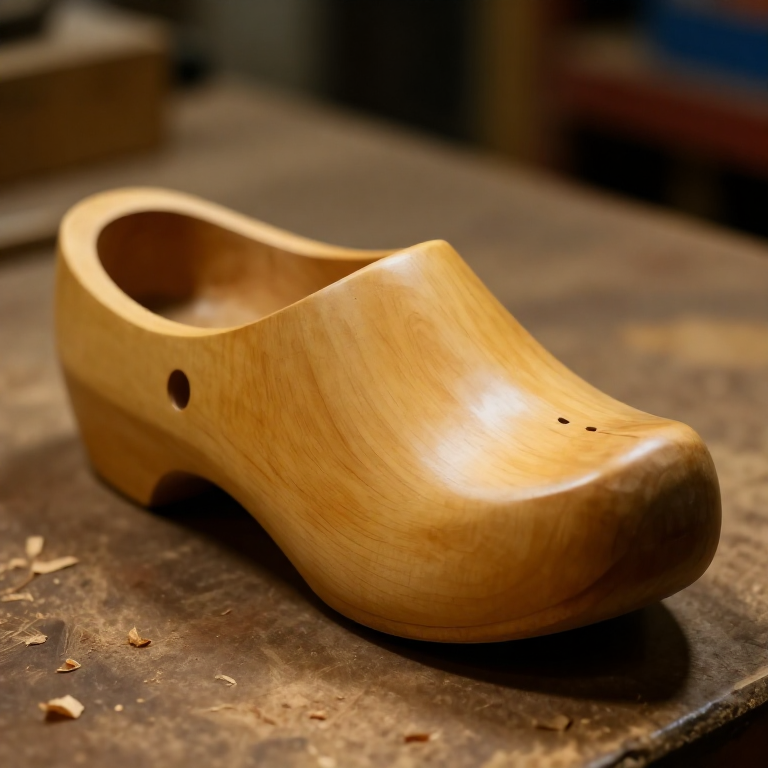

Carving a Wooden Clog — The All-Wood Sabot from a Single Green Block
Instrucciones
Split a clean billet
Split a clean billet
Materiales para este paso:
 Bloque de madera dura1 pieza
Herramientas necesarias:
 Hendidor (froe)
 Mazo de madera
Rough out the foot profile
Rough out the foot profile
Herramientas necesarias:
 Hachuela
Mark the sole and top outlines
Mark the sole and top outlines
Herramientas necesarias:
 Cuchillo de talla sloyd
Shape the outside with the drawknife
Shape the outside with the drawknife
Herramientas necesarias:
 Cuchilla de dos mangos
Refine the curves with a spokeshave
Refine the curves with a spokeshave
Herramientas necesarias:
 Cuchilla de dos manos
Bore out the mouth
Bore out the mouth
Herramientas necesarias:
 Barrena de mano
Hollow the foot cavity
Hollow the foot cavity
Herramientas necesarias:
 Cuchillo curvo (para tallar cucharas)
 GubiaMazo de madera
Fit the cavity to the foot
Fit the cavity to the foot
Herramientas necesarias:
Cuchillo curvo (para tallar cucharas)Cut the instep throat
Cut the instep throat
Herramientas necesarias:
GubiaCuchillo de talla sloydSmooth inside and out
Smooth inside and out
Herramientas necesarias:
Cuchillo de talla sloydCuchilla de dos manosCarve the matching clog
Carve the matching clog
Materiales para este paso:
Bloque de madera dura1 piezaHerramientas necesarias:
HachuelaCuchilla de dos mangosCuchillo curvo (para tallar cucharas)Dry the pair slowly
Dry the pair slowly
Materiales
1- 1 piezaMarcador de posición
Herramientas requeridas
9- Marcador de posición
- Marcador de posición
- Marcador de posición
- Marcador de posición
- Marcador de posición
- Marcador de posición
- Marcador de posición
- Marcador de posición
- Marcador de posición
Materiales de Blueprints conectados
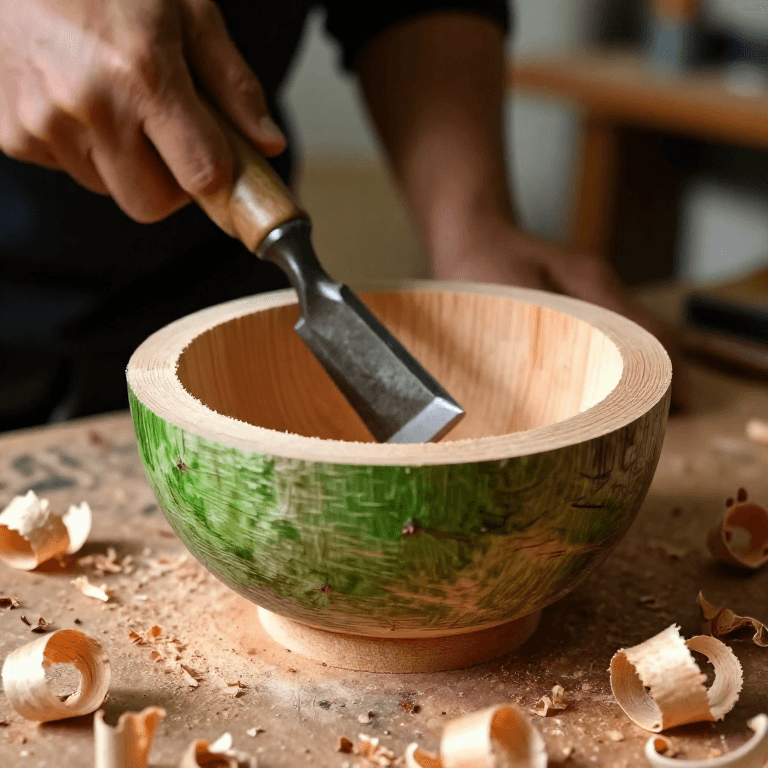
Este plano hace
Blueprints relacionados
Estos blueprints comparten conocimiento — técnicas, materiales o principios
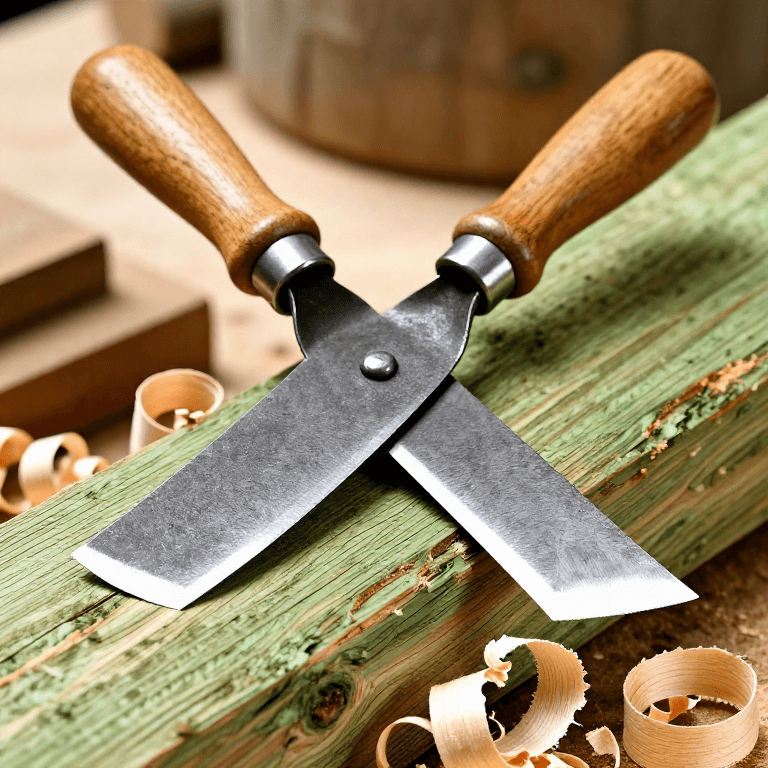
Using a Drawknife — Shaping Riven Timber by Drawing a Blade Toward You
por Woody
Carpintería
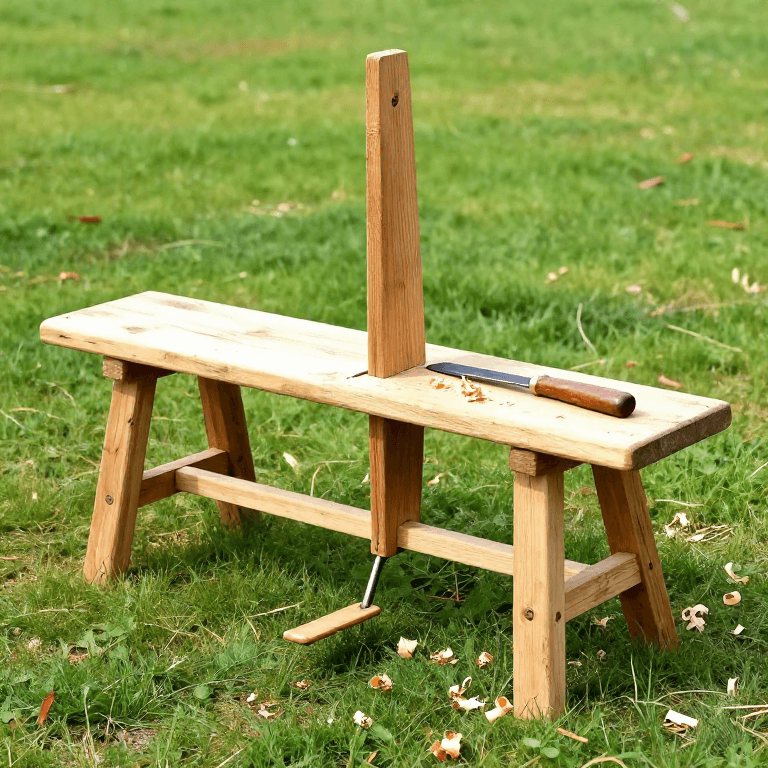
Building a Shave Horse — The Foot-Operated Clamping Bench for Green Woodworking
por Woody
Carpintería
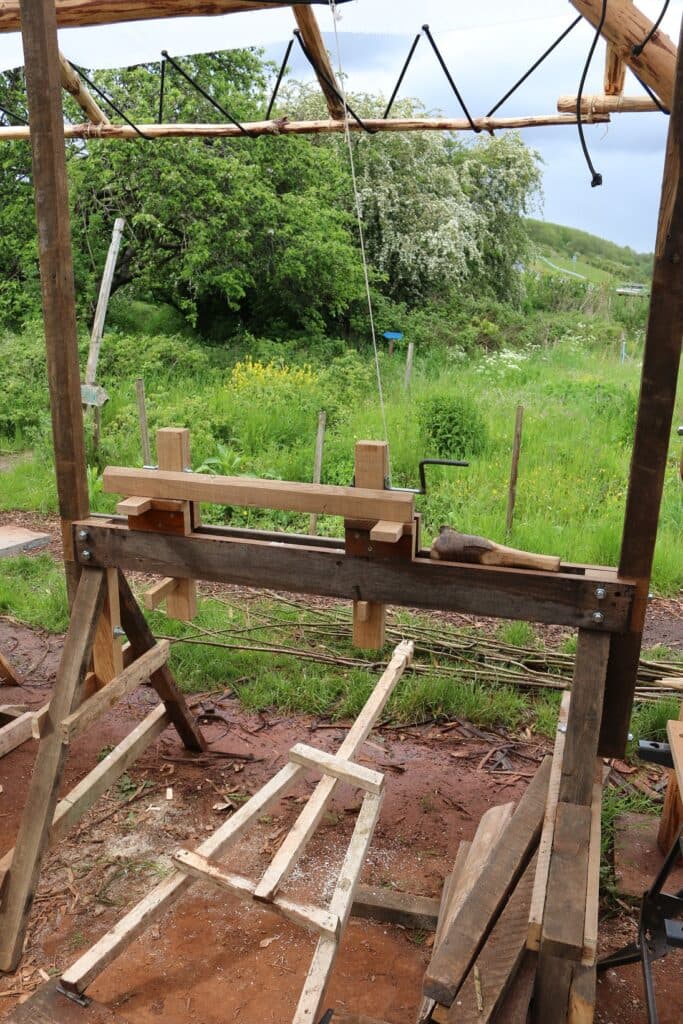
Building a Pole Lathe for Green Wood Turning — Spring-Pole Reciprocating Lathe
por Woody
Carpintería
CC0 Dominio público
Este Blueprint se publica bajo CC0. Eres libre de copiar, modificar, distribuir y usar este trabajo para cualquier propósito, sin pedir permiso.
Apoya al Maker comprando productos a través de su Blueprint, donde gana una Comisión del Maker establecida por los vendedores, o crea una nueva iteración de este Blueprint e inclúyela como conexión en tu propio Blueprint para compartir ingresos.