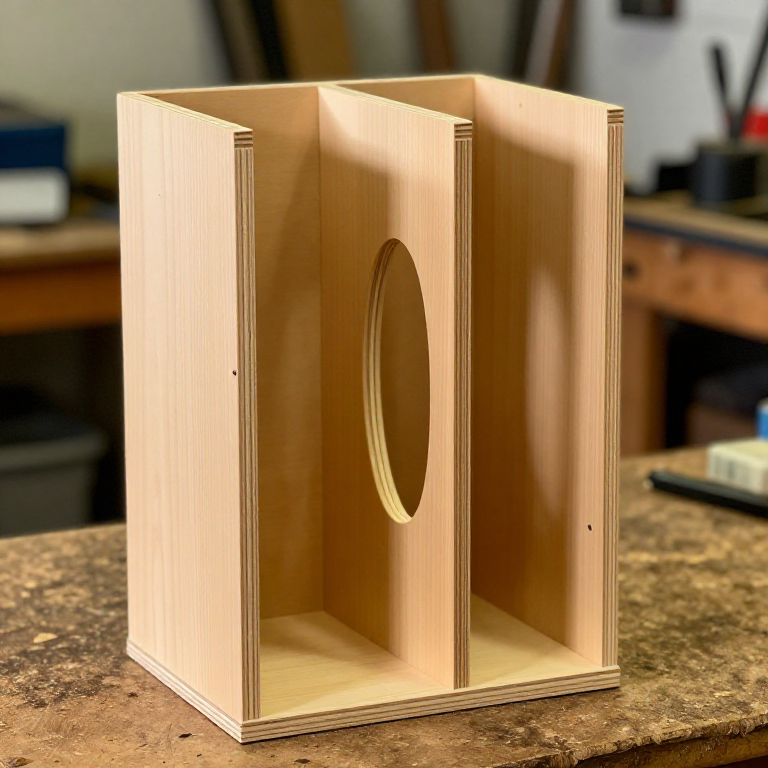


Mitre-Saw Storage Caddy
Instrucciones
Measure the tool, not a drawing
Measure the tool, not a drawing
Measure what the caddy has to hold, at its widest points.
- The saw across its base, and its height with the head locked down.
- A battery pack, plus however many travel with you.
- Anything else that lives with the saw — stops, a square, spare blades.
Add 10 mm clearance to each compartment so things drop in rather than needing to be aimed.
A caddy built to a published cut list rarely fits the tool actually in the shop. Ten minutes with a tape here saves rebuilding it.Herramientas necesarias:
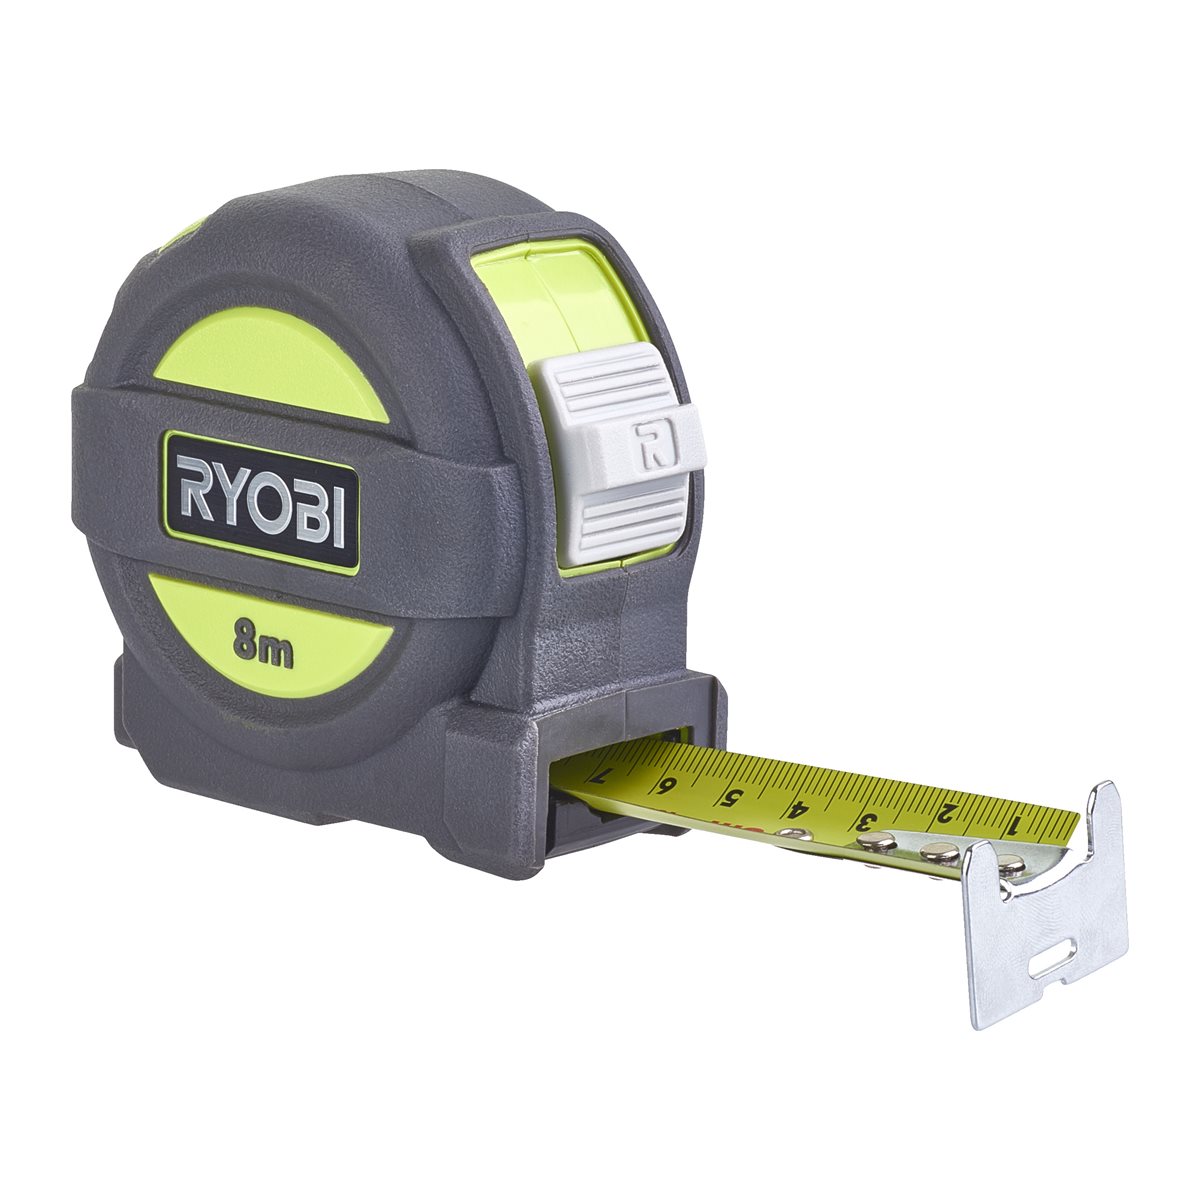 Ryobi RTM8M Tape Measure 8 m
 Juego de lápices de carpintero
Cut the base, sides, ends and dividers
Cut the base, sides, ends and dividers
Cut every panel from three-quarter-inch plywood.
- Base, two long sides, two ends, and one central divider that will also carry the handle.
- Check each crosscut against the speed square before you cut, not after.
- Keep the two long sides identical — cut them in one setup.
Materiales para este paso:
 Tablero contrachapado1 hoja
Herramientas necesarias:
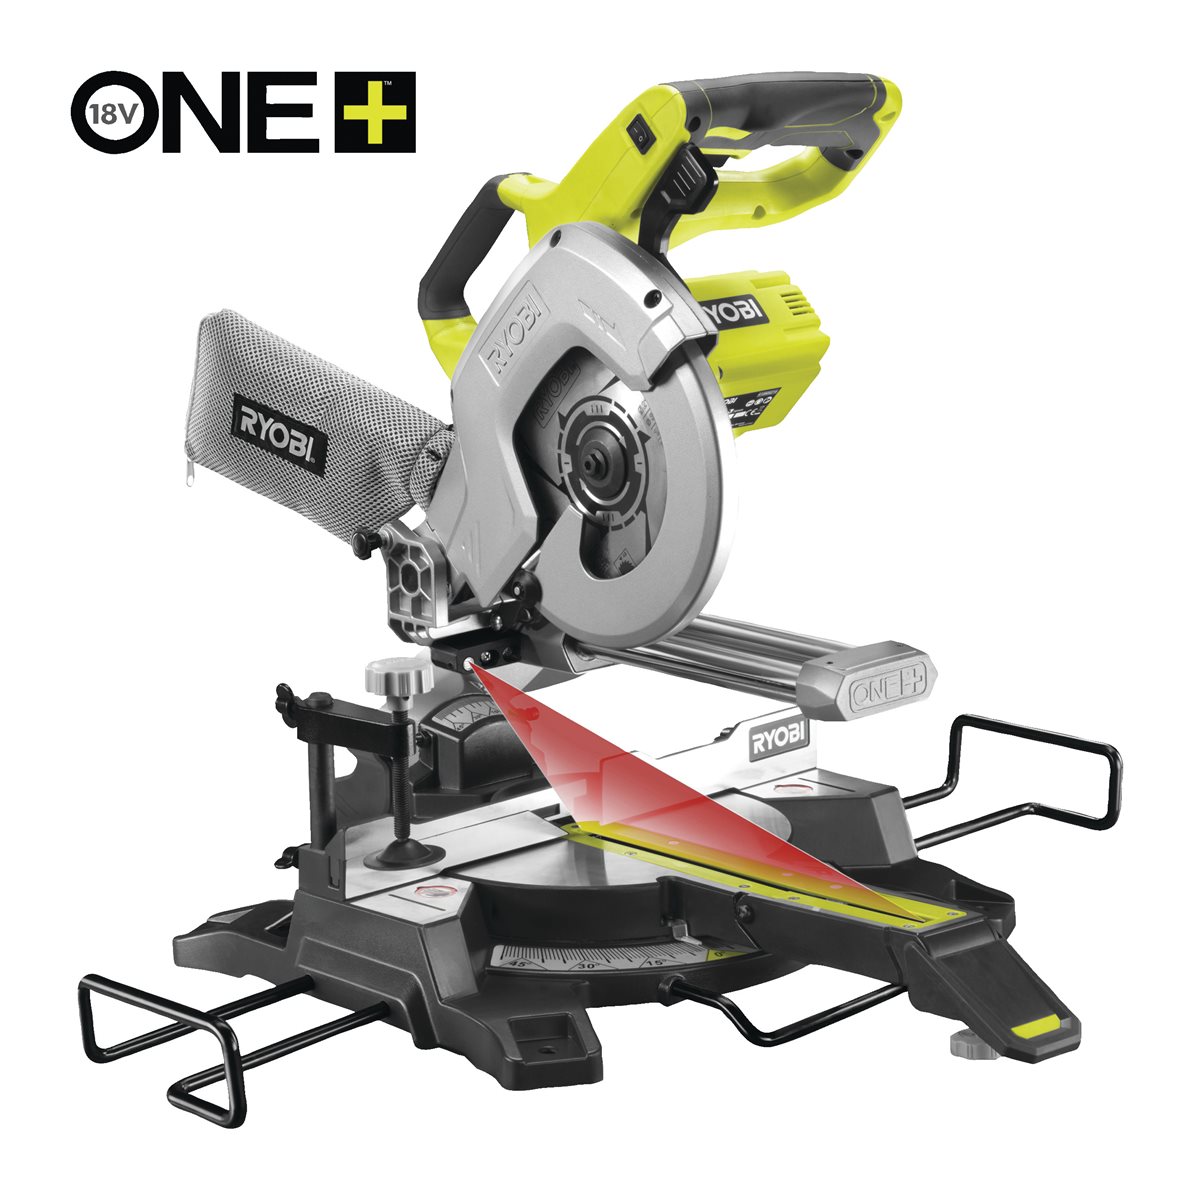 Ryobi ONE+ R18MS216-0 Cordless Mitre Saw 216 mm
 Escuadra de carpintero
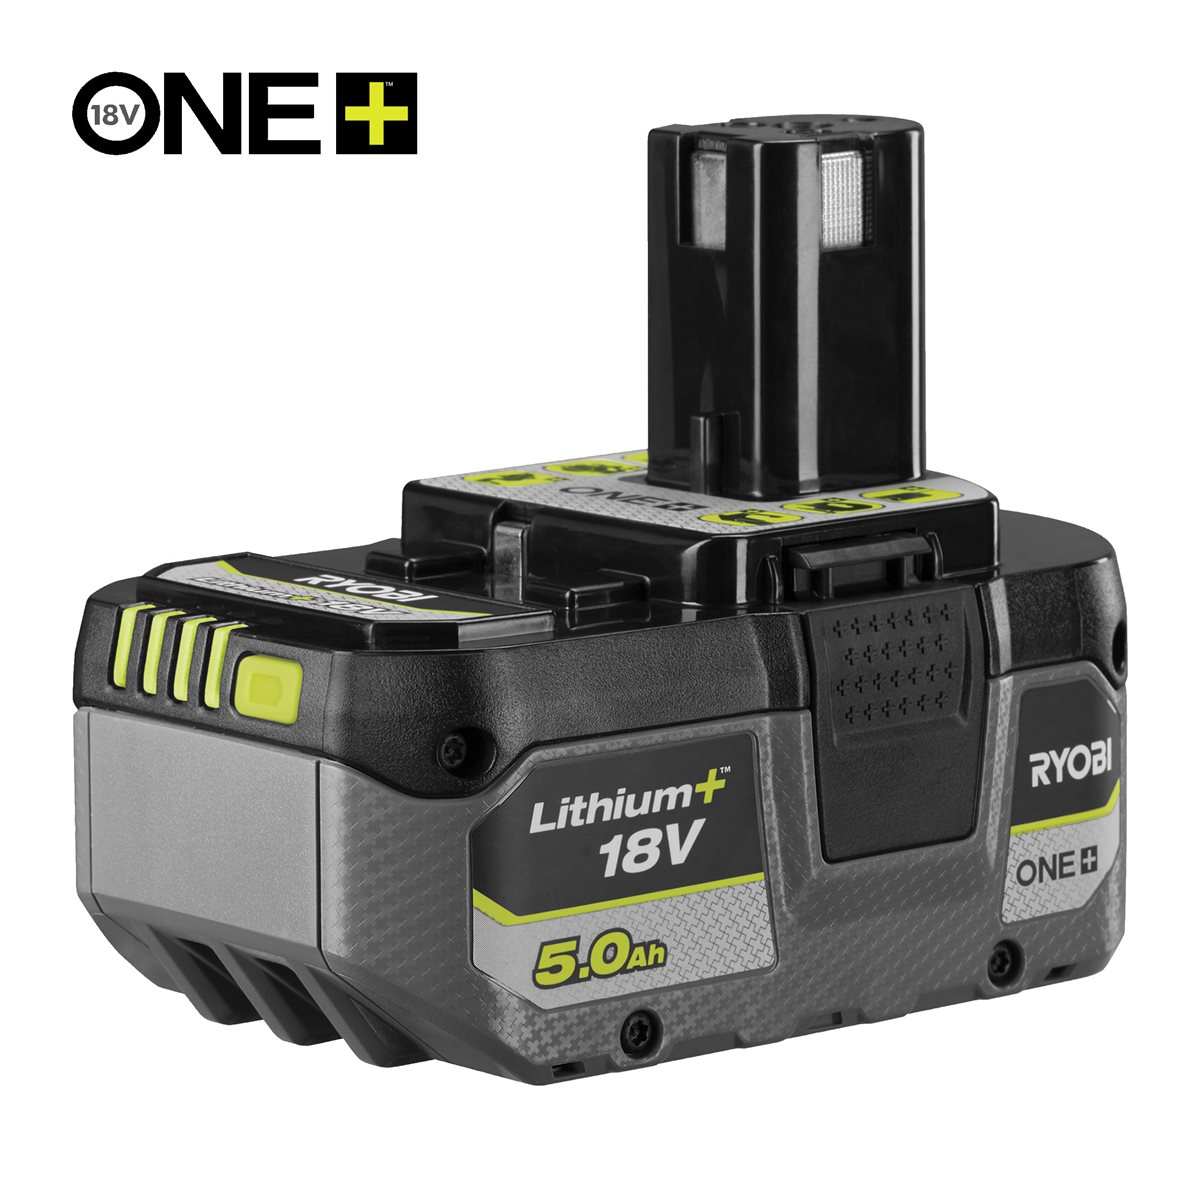 Ryobi ONE+ RB1850X 18V Lithium+ Battery 5.0 Ah
Set the nailer depth on an offcut first
Set the nailer depth on an offcut first
Before touching the real parts, fire three or four brads into a scrap of the same plywood and adjust until the heads sit just below the surface.
- Too deep and the head tears through the face veneer.
- Too shallow and the head stands proud and snags.
- Keep hands well clear of the nose — a brad can deflect inside plywood and exit the side.
Materiales para este paso:
 Clavos pequeños40 piezas
Herramientas necesarias:
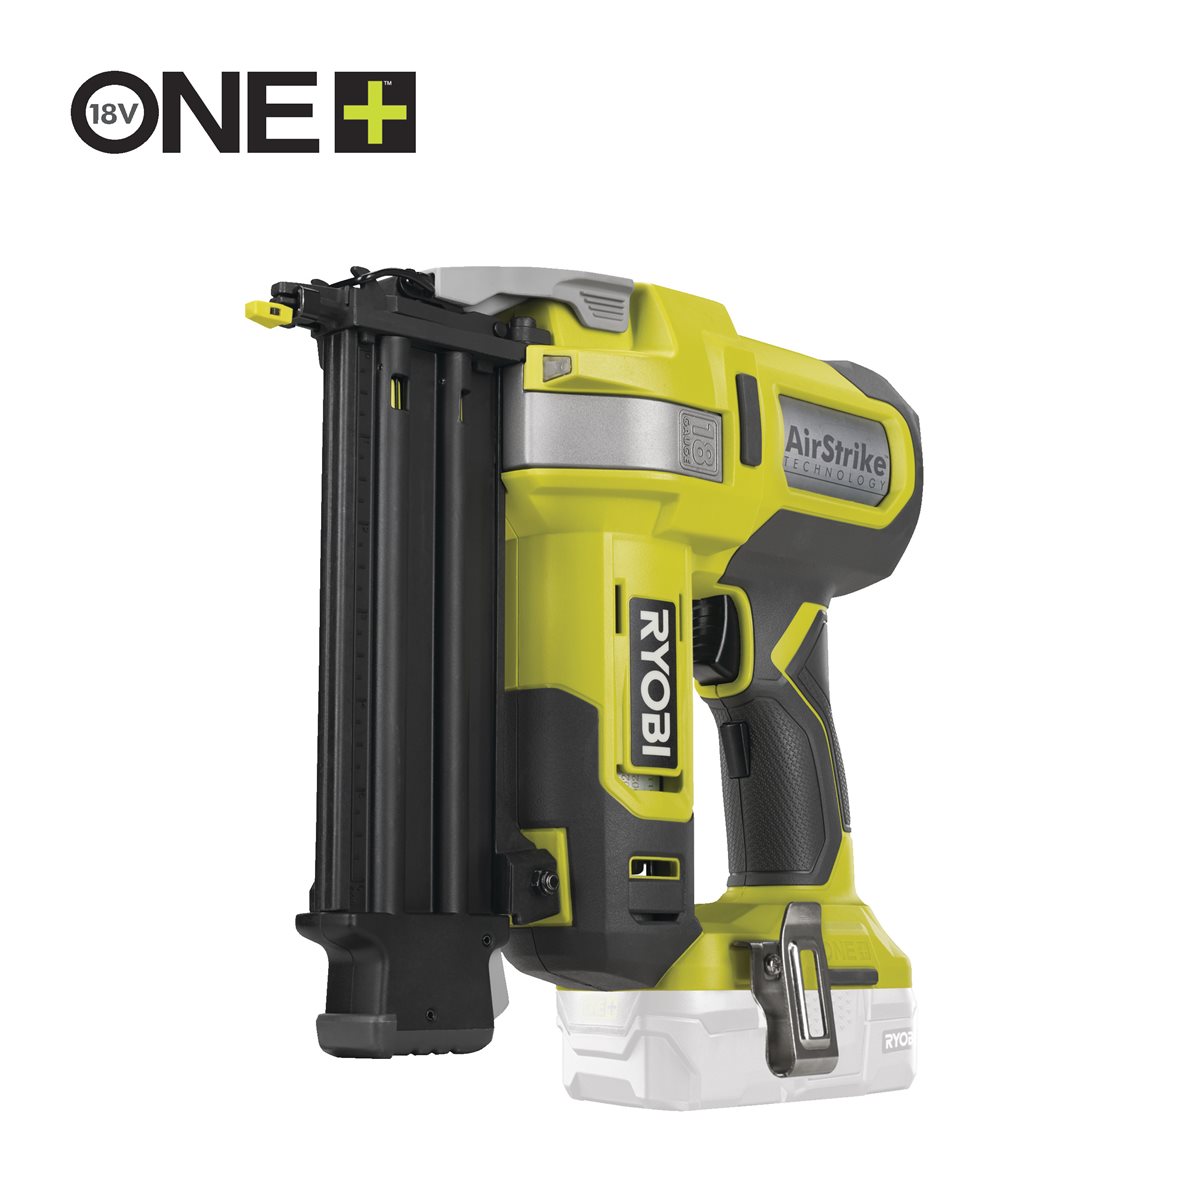 Ryobi ONE+ R18GN18-0 Cordless Brad Nailer
Glue and nail the carcass
Glue and nail the carcass
Assemble base, sides and ends.
- Run a bead of glue on each mating face and spread it thin.
- Hold the parts square and fire brads through the sides into the ends.
- Check the diagonals before the glue grabs — equal diagonals mean square.
Materiales para este paso:
 Cola blanca para madera (PVA)1 botella
Herramientas necesarias:
Ryobi ONE+ R18GN18-0 Cordless Brad NailerFit the divider to the tool, then glue it
Fit the divider to the tool, then glue it
Dry-fit the divider with the saw and batteries actually in the caddy.
- Stand the saw in place and slide the divider until each compartment holds its contents without slack.
- Mark the divider position on the base with the pencil.
- Only then glue and nail it home.
Herramientas necesarias:
Ryobi ONE+ R18GN18-0 Cordless Brad NailerCut the handle opening and round it well
Cut the handle opening and round it well
Cut a hand-sized opening in the top of the central divider — about 110 × 30 mm with rounded ends.
- Drill a starter hole inside the waste, then cut the opening with the jigsaw.
- Sand the opening smooth and round the edges generously, top and bottom.
Herramientas necesarias:
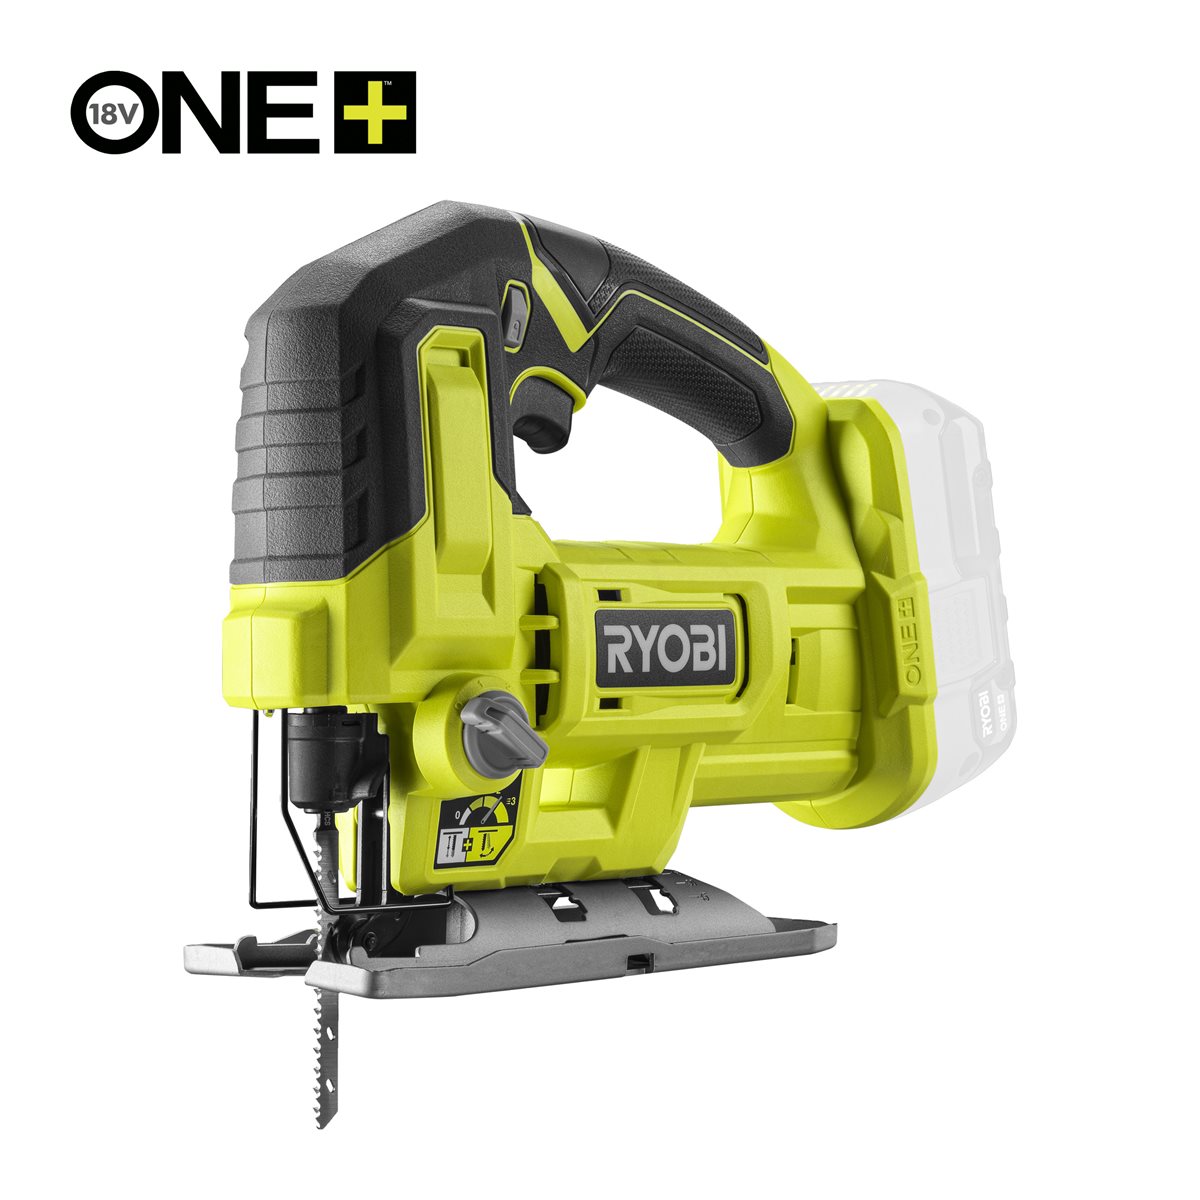 Ryobi ONE+ RJS18-0 Cordless Jigsaw
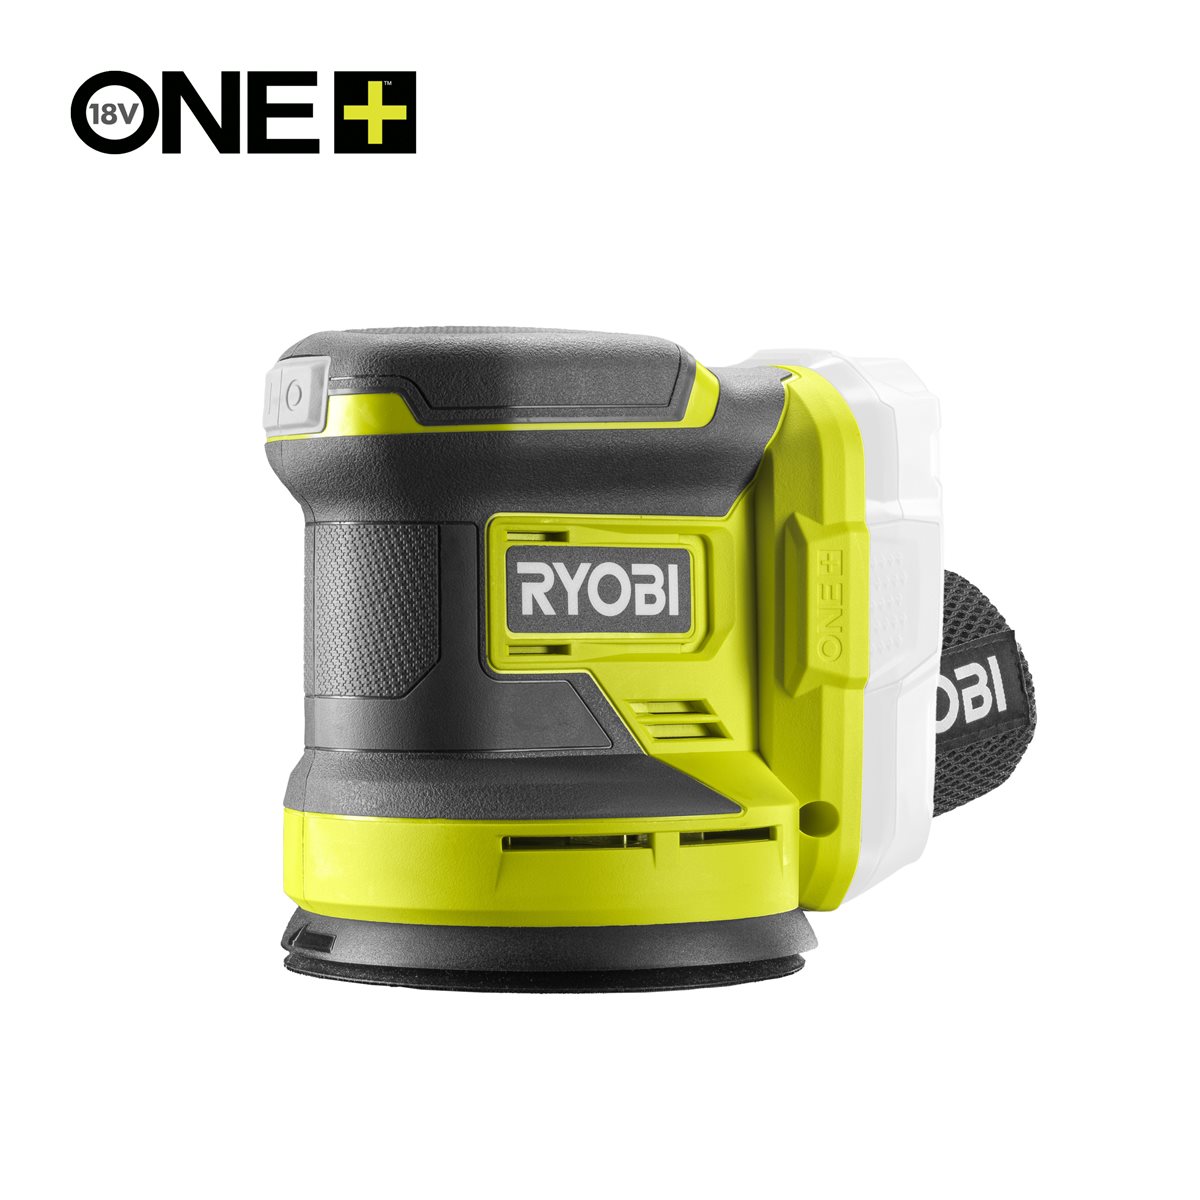 Ryobi ONE+ R18ROSN-0 Cordless Random Orbit Sander
 Papel de lija
Load it and check the balance
Load it and check the balance
Load the caddy as it will actually travel and lift it by the handle.
- If it tips toward one end, move the heaviest item nearer the handle.
- Re-check that nothing slides when the caddy tilts.
Materiales
3- 1 hojaMarcador de posición
- 40 piezasMarcador de posición
- 1 botellaMarcador de posición
Herramientas requeridas
9- Ryobi RTM8M Tape Measure 8 m3% de comisión€21.98
- Marcador de posición
- Ryobi ONE+ R18MS216-0 Cordless Mitre Saw 216 mm3% de comisión€419.92
- 1 vendor sell this, none ship to you yetMarcador de posición
- Ryobi ONE+ RB1850X 18V Lithium+ Battery 5.0 Ah3% de comisión€136.15
- Ryobi ONE+ R18GN18-0 Cordless Brad Nailer3% de comisión€293.80
- Ryobi ONE+ RJS18-0 Cordless Jigsaw3% de comisión€115.13
- Ryobi ONE+ R18ROSN-0 Cordless Random Orbit Sander3% de comisión€115.13
- Marcador de posición
Este plano hace

Blueprints relacionados
Estos blueprints comparten conocimiento — técnicas, materiales o principios
CC0 Dominio público
Este Blueprint se publica bajo CC0. Eres libre de copiar, modificar, distribuir y usar este trabajo para cualquier propósito, sin pedir permiso.
Apoya al Maker comprando productos a través de su Blueprint, donde gana una Comisión del Maker establecida por los vendedores, o crea una nueva iteración de este Blueprint e inclúyela como conexión en tu propio Blueprint para compartir ingresos.