ARTE
BELLEZA Y BIENESTAR
ARTESANÍA
CULTURA E HISTORIA
ENTRETENIMIENTO
MEDIO AMBIENTE
COMIDA Y BEBIDAS
INGENIERÍA INVERSA
CIENCIAS
DEPORTES
TECNOLOGÍA
TECNOLOGÍA VESTIBLE
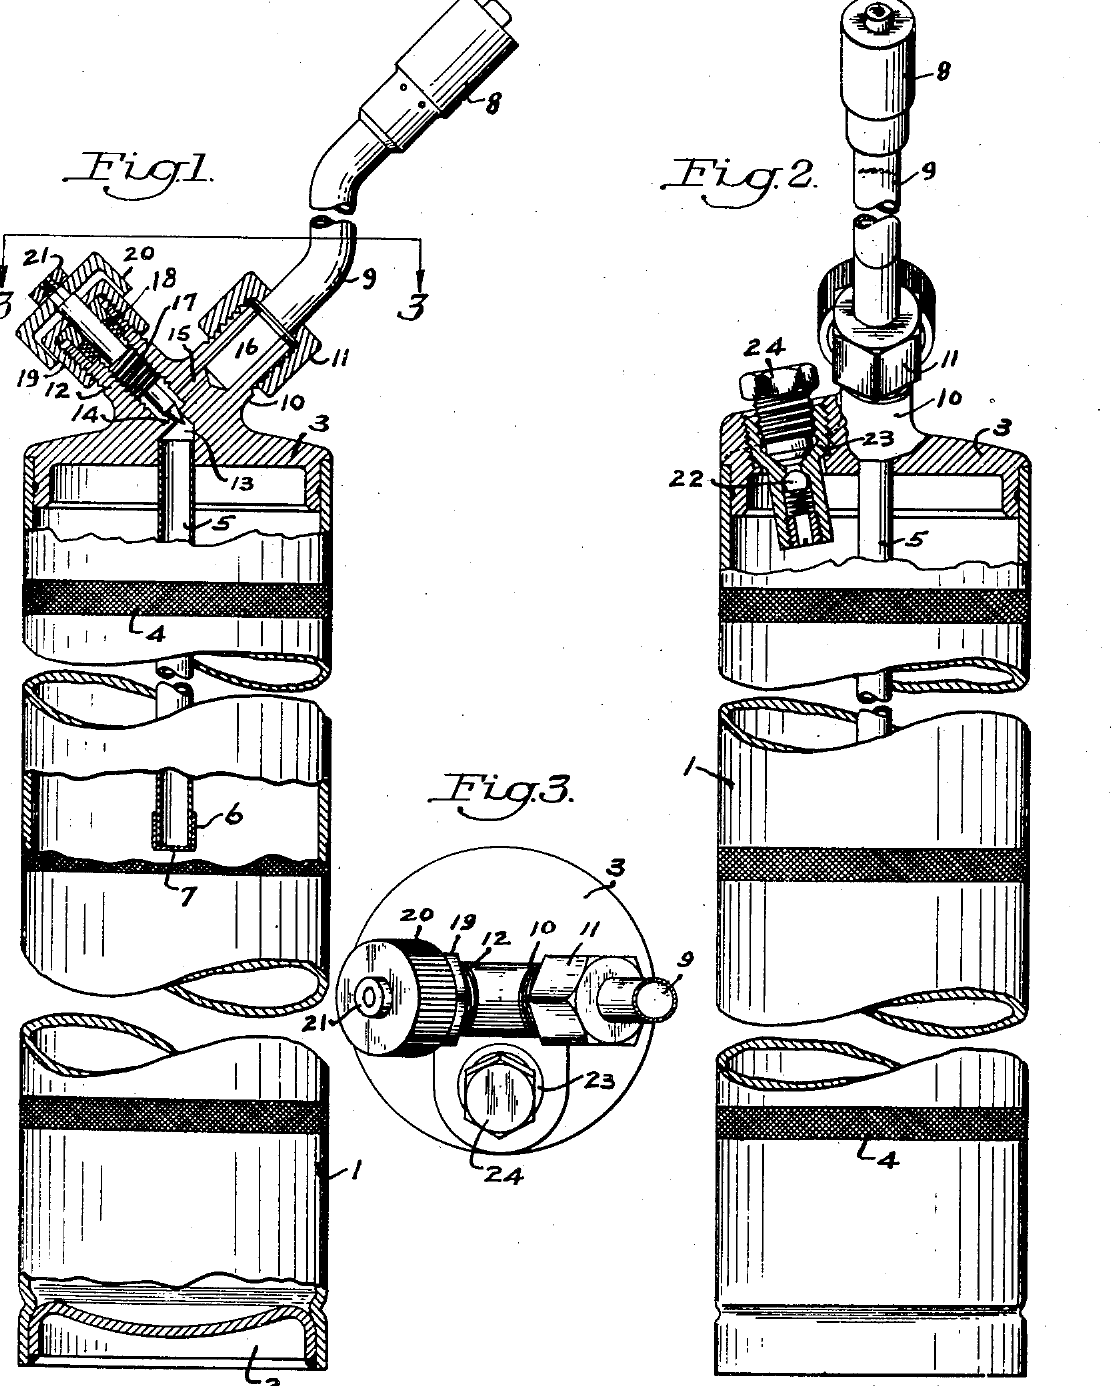


Propane Hand Torch: Goss, 1949
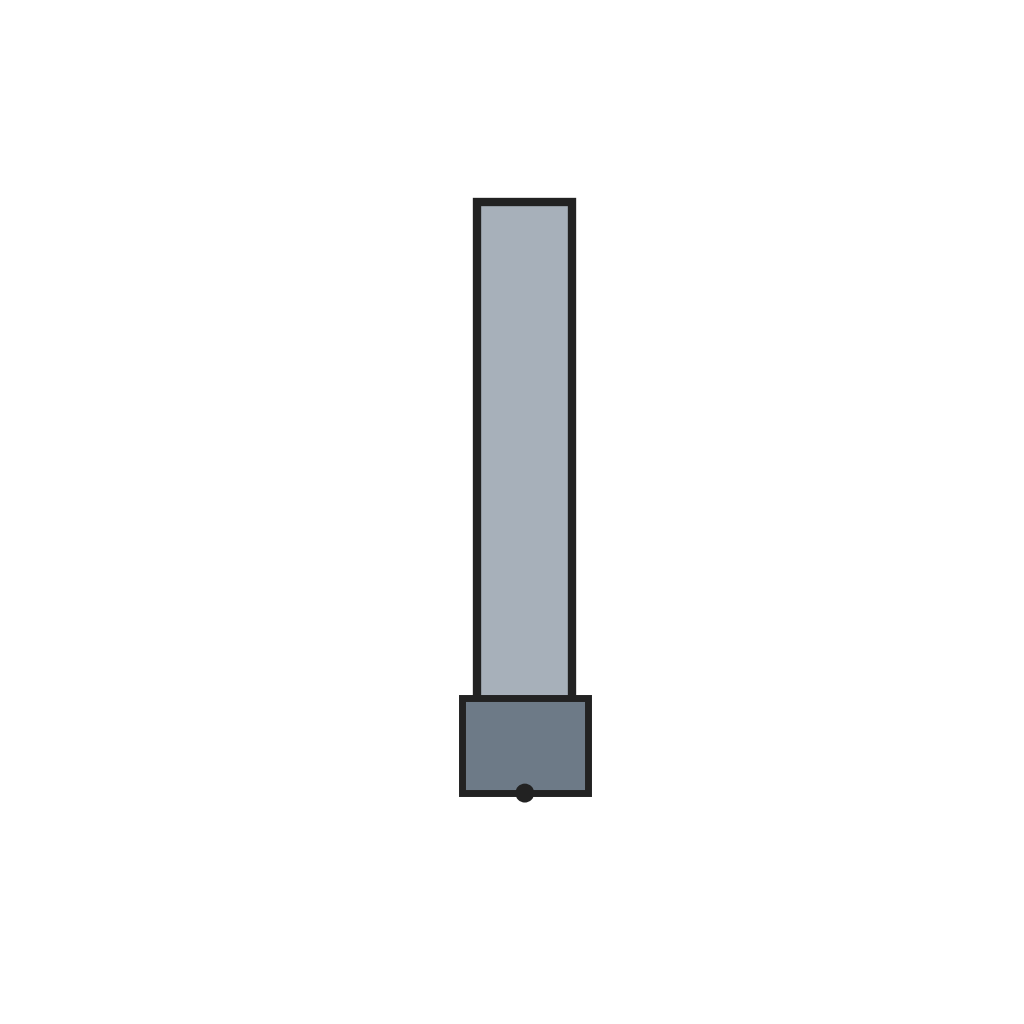
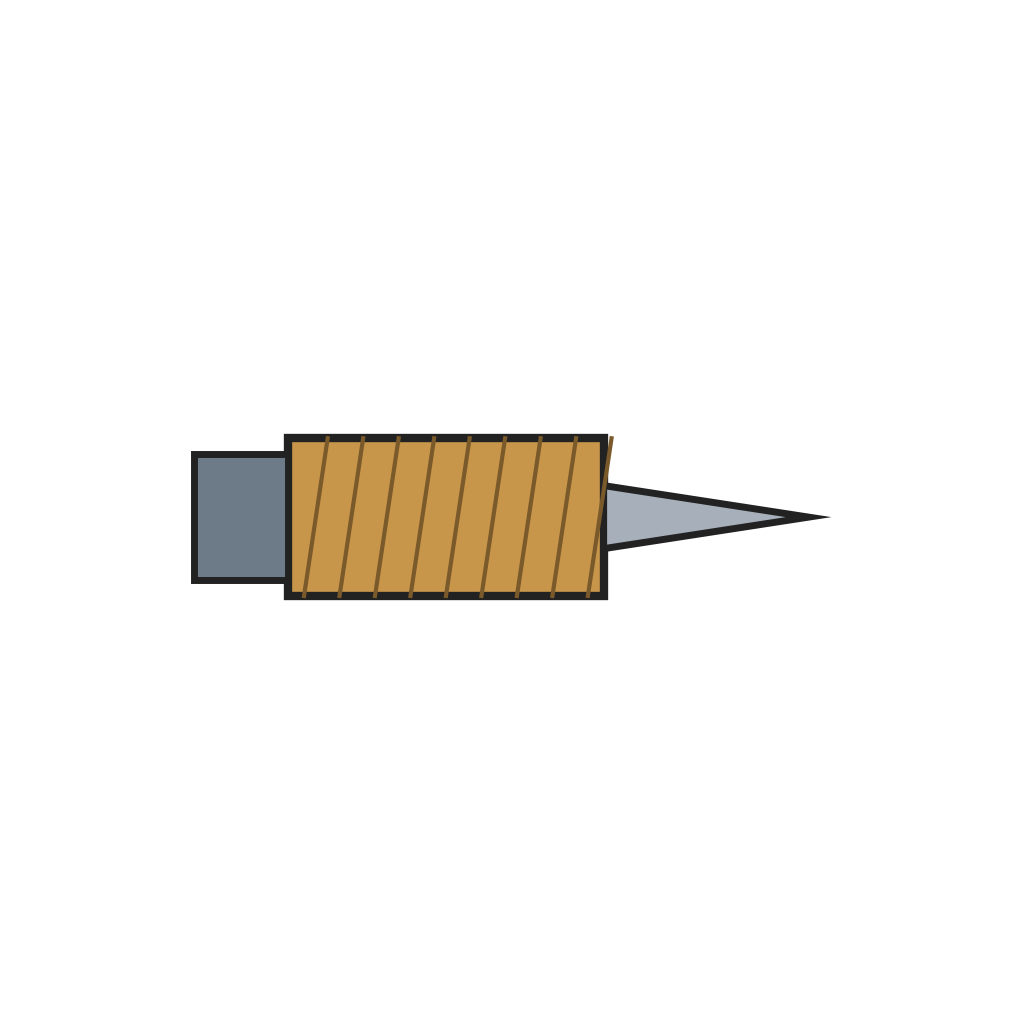
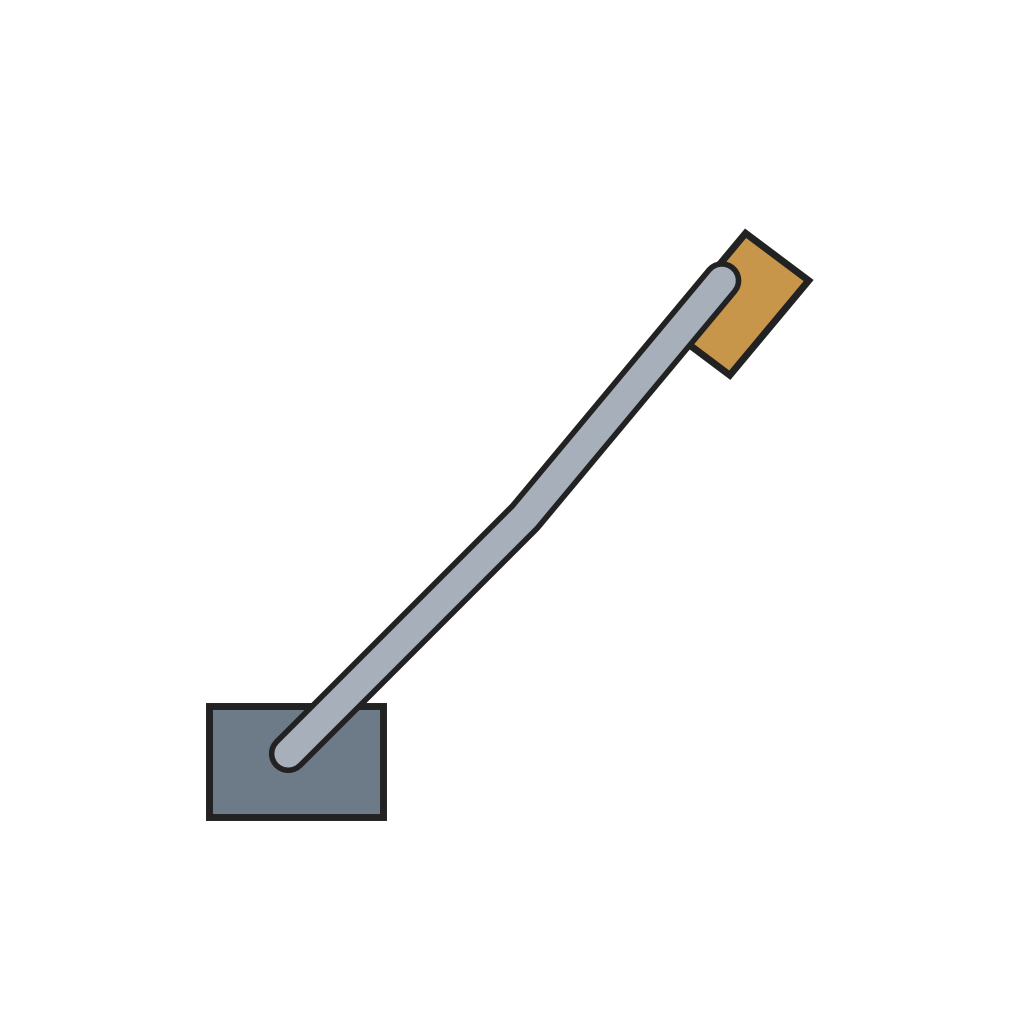
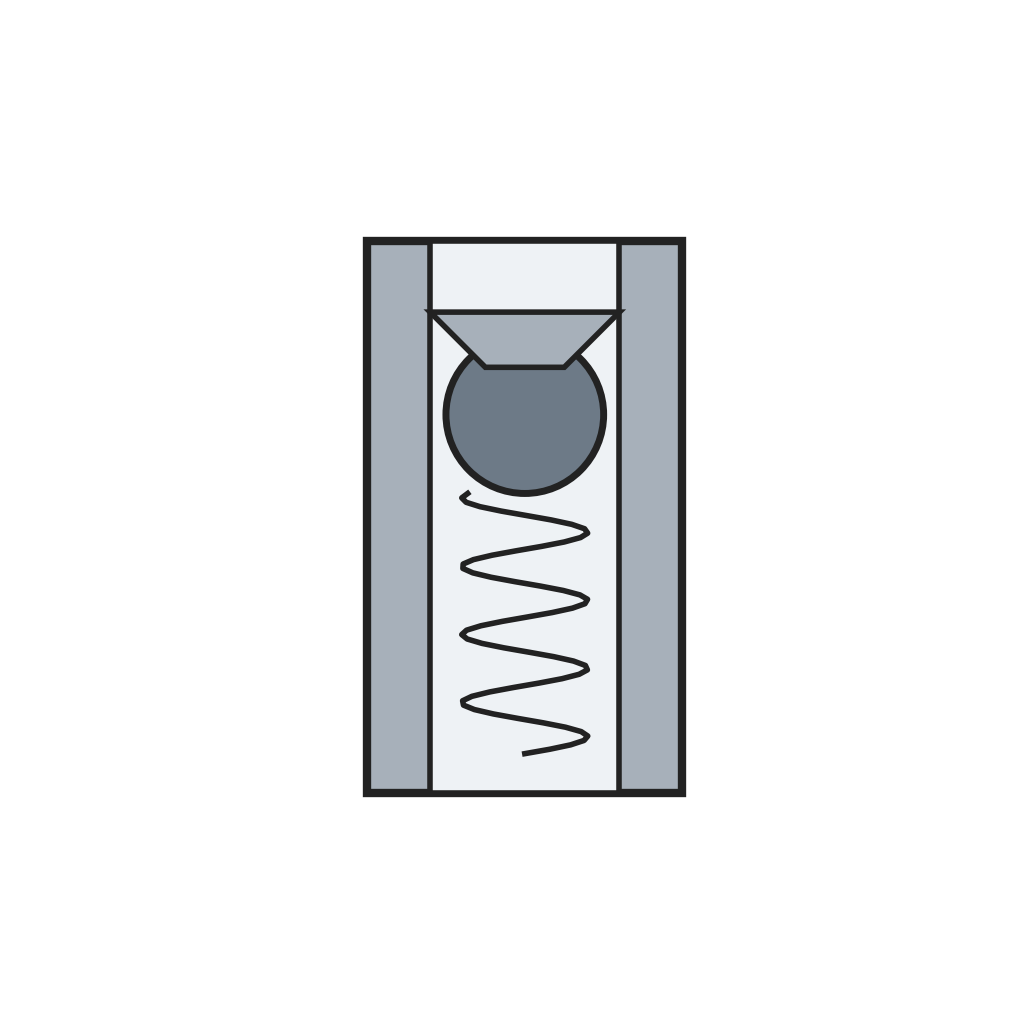
John C. Goss of Pittsburgh patented this hand torch, US 2,465,643, in March 1949. It burns propane, which turns from liquid to gas so readily that, shut in a tank, it makes its own working pressure: unlike the older blow torch, it needs no pump. The knurled cylindrical tank is also the handle. A dispersion tube hangs from the tank top to about half the tank's height and draws gas, not liquid, through a minute port in its end cap. A needle valve meters the gas to a nozzle bent back at about thirty degrees to the tank. A spring-loaded ball check valve lets the tank be filled from a supply bottle but lets nothing out.
Avanzado
Workshop process
Instrucciones
1
1
Tank
Tank
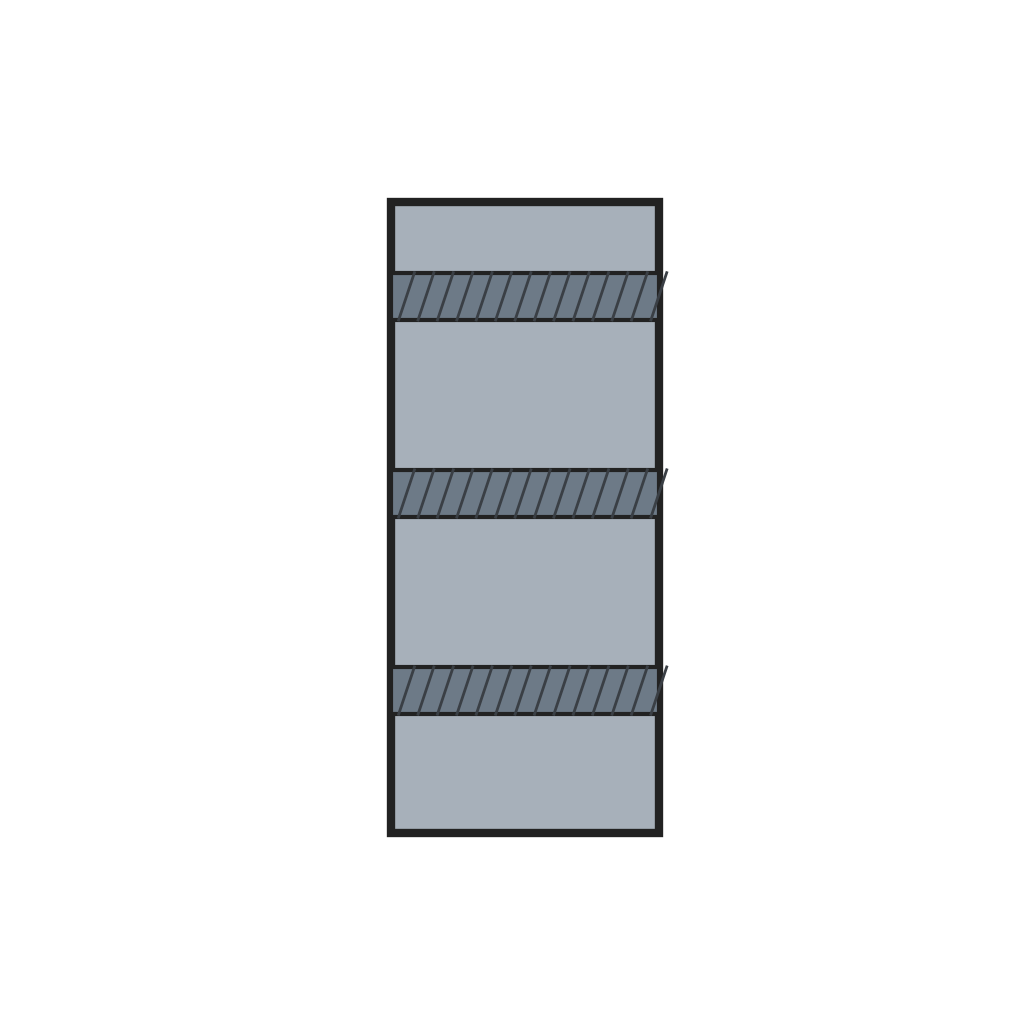
Make an elongated, gas-tight cylindrical metal tank with a bottom and a top. Knurl rows of bands round the outside: the tank is also the handle.
Materiales para este paso:
 Depósito de combustible moleteado para soplete1 pieza
Herramientas necesarias:
 Torno de metal
 Moleteador
2
2
Top with bosses
Top with bosses
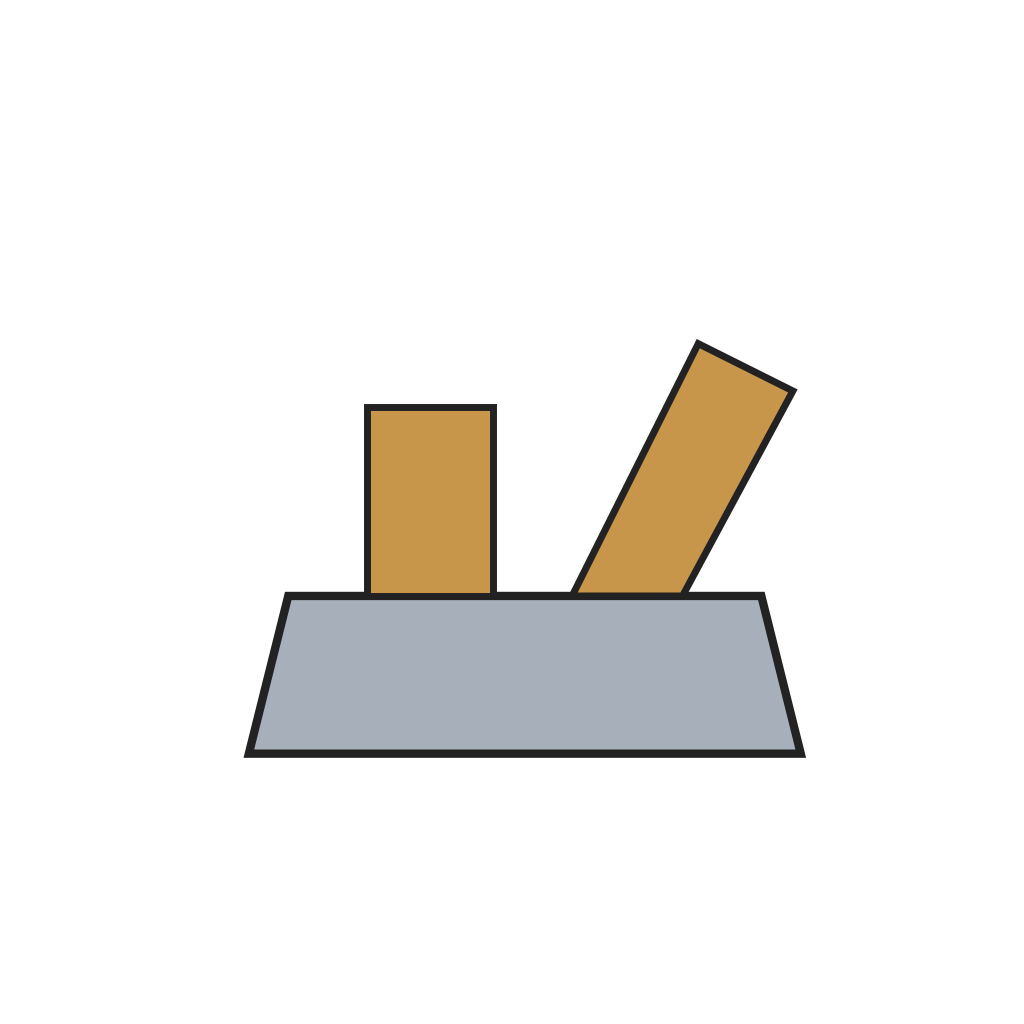
Form the tank top with a valve boss and a nozzle boss integral with it. The valve boss holds a chamber divided by a valve seat; a channel joins the chamber above the seat to the bore of the nozzle boss.
Materiales para este paso:
 Tapa del depósito de soplete con resaltes de válvula y boquilla1 pieza
3
3
Dispersion tube
Dispersion tube
Fix a dispersion tube in the top, near the centre, reaching down to about half the tank's height. Its upper end opens into the valve chamber below the seat; its lower end carries a fixed cap with a minute inlet port.
Materiales para este paso:
 Tubo de dispersión con tapa de entrada1 pieza
4
4
Valves and nozzle
Valves and nozzle
Screw the needle control valve into the valve boss through a packing gland and nut, and fit the adjusting cap. Fix the nozzle pipe on the nozzle boss with a crown nut, angled back about thirty degrees to the tank. Mount the spring-loaded ball check valve in its casing in the top and close it with the sealing plug.
Materiales para este paso:
 Válvula de aguja de regulación1 pieza
 Boquilla de soplete y tubo de boquilla1 pieza
 Válvula antirretorno de bola1 pieza
Herramientas necesarias:
 Llave inglesa
5
5
Charge with propane
Charge with propane
Remove the sealing plug and connect the supply bottle: liquid propane flows in through the check valve. Fill to no more than half the tank. With the control valve open while charging, liquid spitting from the nozzle shows the level has reached the dispersion tube's end. Replace the plug.
Herramientas necesarias:
Llave inglesa Propano
Materiales
6- Marcador de posición
- Marcador de posición
- Marcador de posición
- Marcador de posición
- Marcador de posición
- 1 piezaMarcador de posición
Herramientas requeridas
4- Marcador de posición
- Marcador de posición
- Marcador de posición
- Marcador de posición
Este plano hace
Blueprints relacionados
Estos blueprints comparten conocimiento — técnicas, materiales o principios

CC0 Dominio público
Este Blueprint se publica bajo CC0. Eres libre de copiar, modificar, distribuir y usar este trabajo para cualquier propósito, sin pedir permiso.
Apoya al Maker comprando productos a través de su Blueprint, donde gana una Comisión del Maker establecida por los vendedores, o crea una nueva iteración de este Blueprint e inclúyela como conexión en tu propio Blueprint para compartir ingresos.