Colaboración
ARTE
BELLEZA Y BIENESTAR
ARTESANÍA
CULTURA E HISTORIA
ENTRETENIMIENTO
MEDIO AMBIENTE
COMIDA Y BEBIDAS
INGENIERÍA INVERSA
CIENCIAS
DEPORTES
TECNOLOGÍA
TECNOLOGÍA VESTIBLE
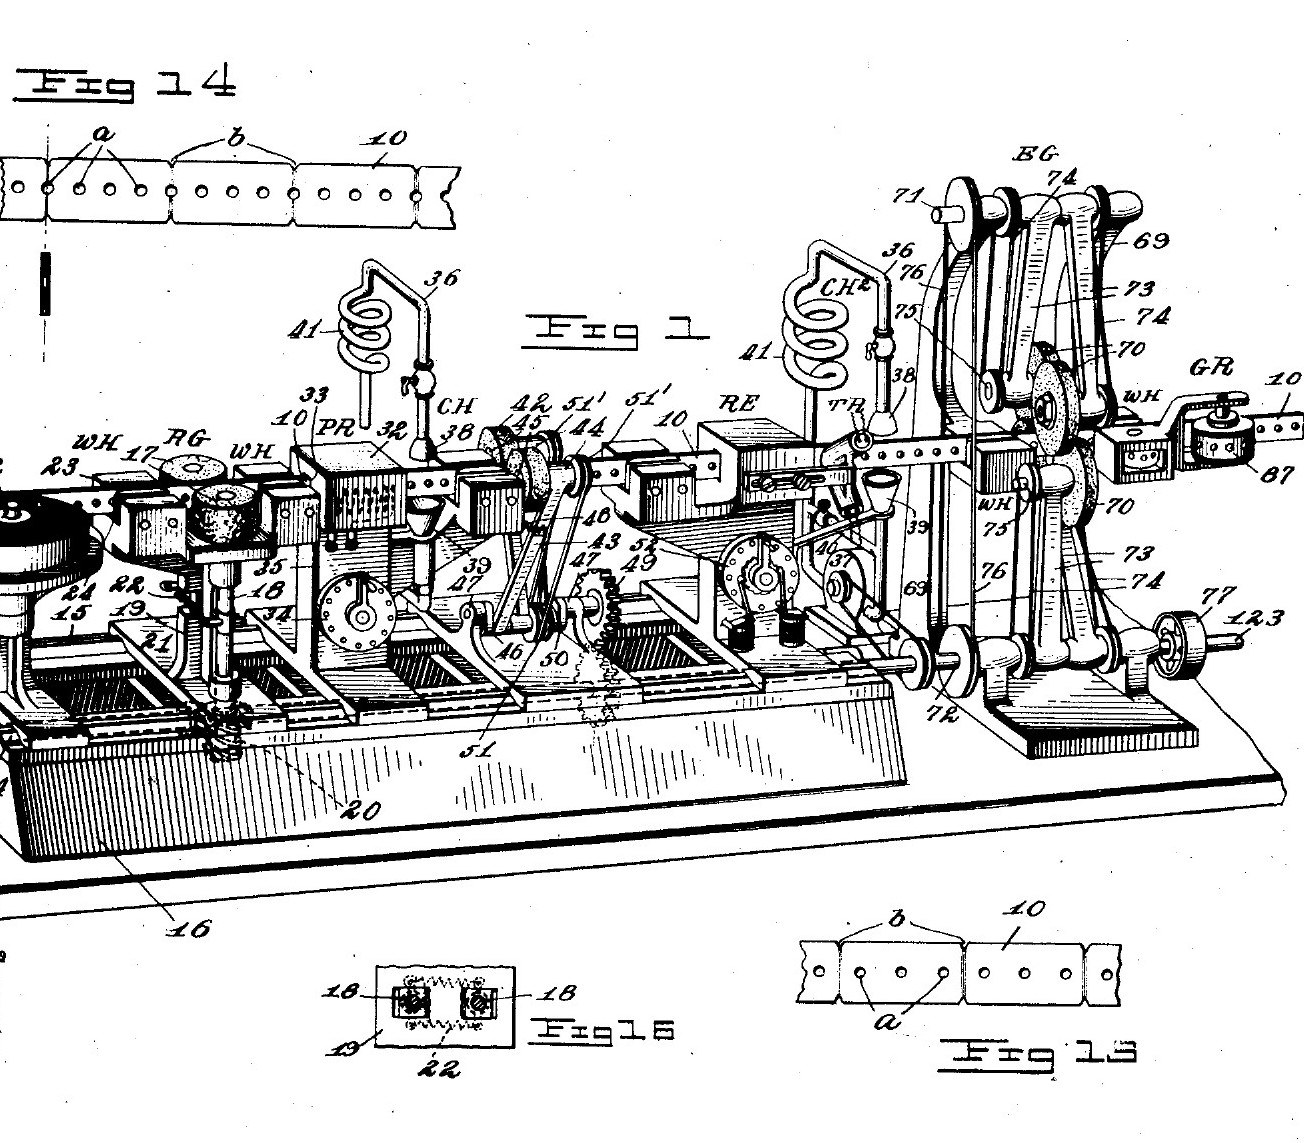
J. P. Tarbox · Public domain (US patent)


Razor Blades from a Continuous Steel Strip (Tarbox 1915)
Safety razor blades are made without ever cutting the steel into loose pieces first. A long strip, blade-wide and blade-thick, is punched and notched at every blade length. It then runs through grinding, hardening, tempering, edge grinding, stropping and wrapping, and only at the end is it snapped apart into blades. John Tarbox's machine even set the temper itself, with a selenium cell that watched the colour of the steel.
Source: J. P. Tarbox, US 1,165,037 (1915). The patent gives no temperatures, steel grade or blade sizes. Picture: Tarbox's drawing of the whole line.
Avanzado
Continuous line
Instrucciones
1
1
Punch and weaken the strip
Punch and weaken the strip
Start from steel rolled into long strip as wide and as thick as the blade. Punch holes along it to suit the razor holder: a Gillette-type holder has three projections. At every blade length, weaken the strip by notching both edges, thinning it across, or punching a hole on the line.
Materiales para este paso:
 Fleje de acero al carbono1 strip
Herramientas necesarias:
 Prensa de estampación
2
2
Rough-grind the faces
Rough-grind the faces
Feed the strip by its holes between a pair of grinding wheels, one on each side, to remove the surface irregularities.
Herramientas necesarias:
 Muela de esmerilar
3
3
Harden: heat and chill
Harden: heat and chill
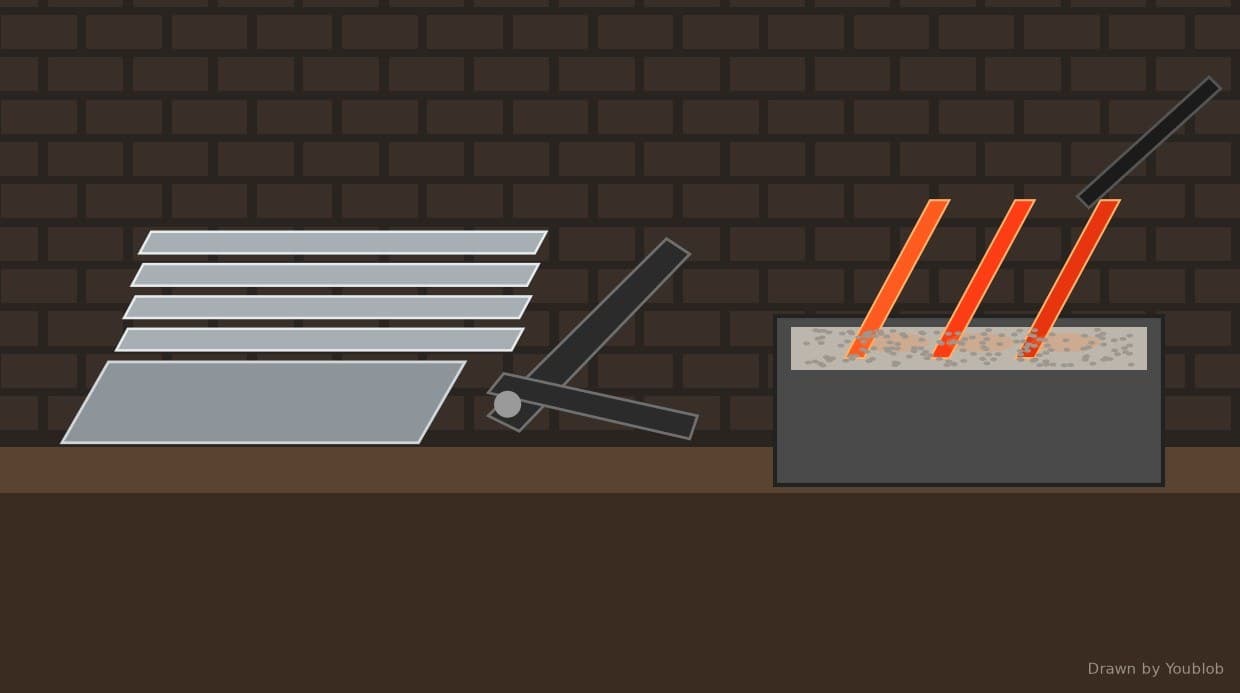
Run it through an electric tunnel heater, then straight into a chilling bath of oil or water.
Herramientas necesarias:
 Horno tubular
 Cubeta de temple con aceite
4
4
Rub off the oxide
Rub off the oxide
Pass it between emery wheels to rub the oxide off the chilled strip, so its temper colour can be seen when it is reheated.
Herramientas necesarias:
Muela de esmerilar5
5
Temper to straw colour
Temper to straw colour
Reheat it in a second, smaller tunnel heater and chill it again. Tarbox held the colour at the temper wanted, for example straw, by letting a selenium cell compare the strip with a coloured standard disk and adjust the heater.
Herramientas necesarias:
Horno tubularCubeta de temple con aceite6
6
Grind and strop the edges
Grind and strop the edges
Grind both edges at once between four grinding wheels, hone if wanted, then pass the strip between strop wheels faced with stropping material.
Herramientas necesarias:
Muela de esmerilar Asentador de cuero
7
7
Wrap, break apart and pack
Wrap, break apart and pack
Wrap the strip spirally in paraffined paper. Then snap it at each weakened line over notched wheels, alternately from each side, and count and pack the blades.
Herramientas necesarias:
 Papel encerado
Materiales
1- 1 stripMarcador de posición
Herramientas requeridas
6- Marcador de posición
- Marcador de posición
- Marcador de posición
- Marcador de posición
- Marcador de posición
- Marcador de posición
Este plano hace

Blueprints relacionados
Estos blueprints comparten conocimiento — técnicas, materiales o principios
CC0 Dominio público
Este Blueprint se publica bajo CC0. Eres libre de copiar, modificar, distribuir y usar este trabajo para cualquier propósito, sin pedir permiso.
Apoya al Maker comprando productos a través de su Blueprint, donde gana una Comisión del Maker establecida por los vendedores, o crea una nueva iteración de este Blueprint e inclúyela como conexión en tu propio Blueprint para compartir ingresos.