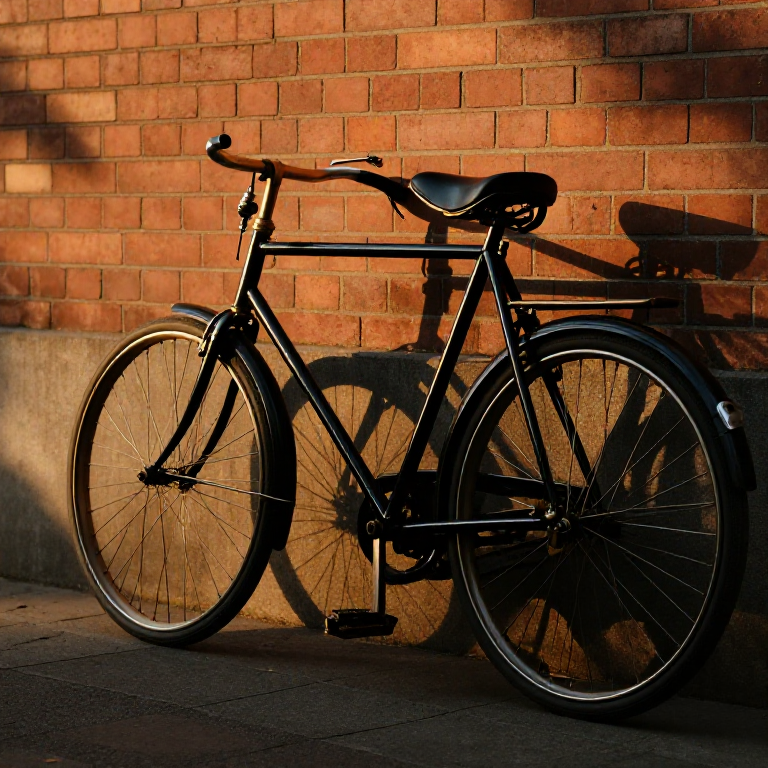
Building a Safety Bicycle — Chain Drive, Equal Wheels, and Personal Freedom
The bicycle that everyone rides today was settled in the 1880s and is still called, in the trade, the safety bicycle — to distinguish it from the terrifying high penny-farthing it replaced. Two equal wheels, a diamond frame, a chain driving the rear wheel, and soon air-filled tyres made cycling safe, fast, and available to ordinary people.
Each feature solves a problem. Equal wheels and a low frame mean you can put a foot down and cannot be pitched over the handlebars. The chain and gearing let a small wheel travel fast without the giant front wheel of the penny-farthing. The diamond frame, built of brazed steel tubes, is astonishingly light and strong for its weight. And Dunlop's pneumatic rubber tyres turned a bone-shaking ride into a smooth one.
The safety bicycle was more than transport. Cheap, simple, and needing no horse or fuel, it gave working people and especially women a freedom of movement they had never had — which is why it is often credited with as much social change as mechanical.
Instrucciones
Understand the safety design
Understand the safety design
Braze the diamond frame
Braze the diamond frame
Materiales para este paso:
 Steel Tubing4 metros
Herramientas necesarias:
 Brazing Torch
Build the wheels
Build the wheels
Materiales para este paso:
 Steel Spokes72 piezas
 Bicycle Rim2 piezas
Herramientas necesarias:
 Spoke Wrench
Fit pneumatic tyres
Fit pneumatic tyres
Materiales para este paso:
 Rubber Tyre2 piezas
Build the chain drive
Build the chain drive
Materiales para este paso:
 Roller Chain1 pieza
 Chainwheel and Sprocket1 juego
Fit the bottom bracket and cranks
Fit the bottom bracket and cranks
Materiales para este paso:
 Ball Bearings1 juego
Set up the steering
Set up the steering
Materiales para este paso:
 Handlebars1 pieza
Fit brakes
Fit brakes
Materiales para este paso:
 Brake Caliper2 piezas
Fit the saddle
Fit the saddle
Materiales para este paso:
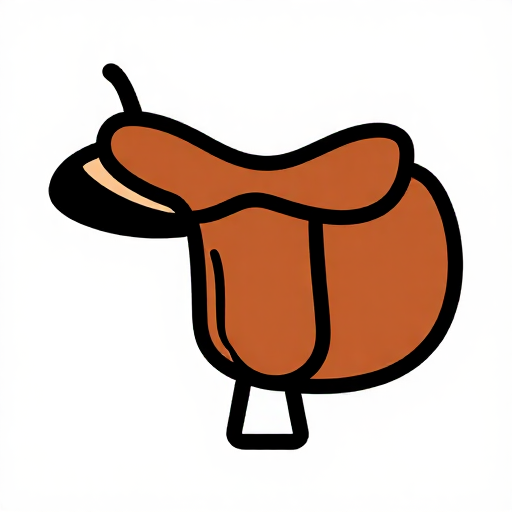 Leather Saddle1 pieza
Assemble and true
Assemble and true
Herramientas necesarias:
 Wrench
Test and tune
Test and tune
Herramientas necesarias:
WrenchAppreciate the freedom it gave
Appreciate the freedom it gave
Materiales
10- 4 metrosMarcador de posición
- 72 piezasMarcador de posición
- 2 piezasMarcador de posición
- 2 piezasMarcador de posición
- 1 piezaMarcador de posición
- 1 juegoMarcador de posición
- 1 juegoMarcador de posición
- 1 piezaMarcador de posición
- 2 piezasMarcador de posición
- 1 piezaMarcador de posición
Herramientas requeridas
3- Marcador de posición
- Marcador de posición
- Marcador de posición
Blueprints relacionados
Estos blueprints comparten conocimiento — técnicas, materiales o principios
CC0 Dominio público
Este Blueprint se publica bajo CC0. Eres libre de copiar, modificar, distribuir y usar este trabajo para cualquier propósito, sin pedir permiso.
Apoya al Maker comprando productos a través de su Blueprint, donde gana una Comisión del Maker establecida por los vendedores, o crea una nueva iteración de este Blueprint e inclúyela como conexión en tu propio Blueprint para compartir ingresos.