ARTE
BELLEZA Y BIENESTAR
ARTESANÍA
CULTURA E HISTORIA
ENTRETENIMIENTO
MEDIO AMBIENTE
COMIDA Y BEBIDAS
INGENIERÍA INVERSA
CIENCIAS
DEPORTES
TECNOLOGÍA
TECNOLOGÍA VESTIBLE
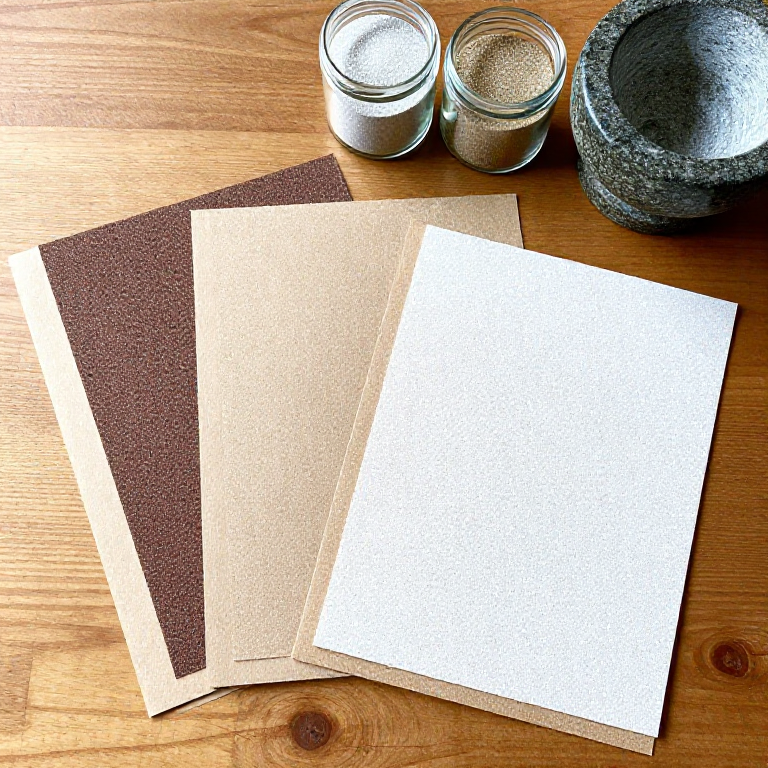


Sandpaper from Sand, Hide Glue and Paper
A coated abrasive is grit glued to a backing. The first recorded one, in 13th-century China, bonded crushed shells, seeds and sand to parchment with natural gum. Here clean quartz sand is crushed, sieved into grades and scattered on paper brushed with warm hide glue.
Sieve mesh only roughly matches a shop grit number: real P grades are set by ISO 6344. Quartz grit on hide glue wears faster than garnet or aluminium oxide paper, and water softens the glue, so use it dry.
Principiante
1 hour, plus a day drying
Instrucciones
1
1
Crush the sand
Crush the sand
With a dust mask on, crush clean quartz sand in the mortar, a few spoonfuls at a time.
Materiales para este paso:
 Arena de cuarzo300 g
Herramientas necesarias:
 Mortero y mano de mortero
 Mascarilla antipolvo
2
2
Sieve into grades
Sieve into grades
Sieve through the 60, 80 and 120 mesh sieves stacked coarse on top. Keep what each sieve holds in its own labelled jar: coarse, medium and fine.
Herramientas necesarias:
 Tamiz de 60 mesh
 Tamiz de malla 80
 Tamiz de 120 mallas
 Tarros de vidrio con tapaMascarilla antipolvo
3
3
Warm the glue
Warm the glue
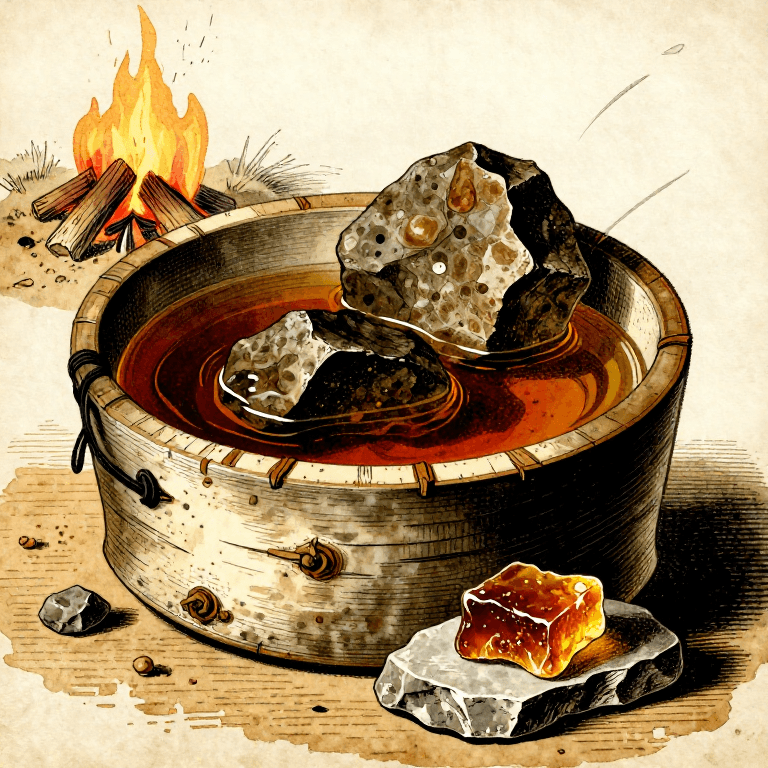
Soak hide glue granules in water, then warm them in a double boiler to about 60 °C until runny. Do not let it boil.
Materiales para este paso:
 Cola de piel animal50 g
 Agua0.1 litro
Herramientas necesarias:
 Baño María
 Placa calefactora
 Termómetro de sonda permanente
4
4
Glue the paper
Glue the paper
Brush a thin, even coat of glue over one face of a sheet of strong paper, edge to edge.
Materiales para este paso:
 Papel3 hojas
Herramientas necesarias:
 Brocha para cola
5
5
Scatter the grit
Scatter the grit
While the glue is wet, sprinkle one grade of grit thickly over it, press it in with a rolling pin over a clean sheet, and let it set for a minute.
Herramientas necesarias:
 Rodillo de amasar
6
6
Shake off and dry
Shake off and dry
Tip the sheet on edge and tap off the loose grit back into its jar. Dry it flat for a day, then label the back with its grade.
Herramientas necesarias:
Tarros de vidrio con tapa7
7
Test it
Test it
Sand a scrap of softwood ten strokes and look at the scratches. Cut sheets to size.
Herramientas necesarias:
 Tijeras
8
8
Troubleshooting
Troubleshooting
Home-made sandpaper troubleshooting.
Flow
Loading...
Materiales
4- 300 gMarcador de posición
- Marcador de posición
- 0.1 litroMarcador de posición
- 3 hojasMarcador de posición
Herramientas requeridas
12- Marcador de posición
- Marcador de posición
- Marcador de posición
- Marcador de posición
- Marcador de posición
- Marcador de posición
- Marcador de posición
- Marcador de posición
- Marcador de posición
- Marcador de posición
- Marcador de posición
- Marcador de posición
Este plano hace


Blueprints relacionados
Estos blueprints comparten conocimiento — técnicas, materiales o principios

CC0 Dominio público
Este Blueprint se publica bajo CC0. Eres libre de copiar, modificar, distribuir y usar este trabajo para cualquier propósito, sin pedir permiso.
Apoya al Maker comprando productos a través de su Blueprint, donde gana una Comisión del Maker establecida por los vendedores, o crea una nueva iteración de este Blueprint e inclúyela como conexión en tu propio Blueprint para compartir ingresos.