ARTE
BELLEZA Y BIENESTAR
ARTESANÍA
CULTURA E HISTORIA
ENTRETENIMIENTO
MEDIO AMBIENTE
COMIDA Y BEBIDAS
INGENIERÍA INVERSA
CIENCIAS
DEPORTES
TECNOLOGÍA
TECNOLOGÍA VESTIBLE
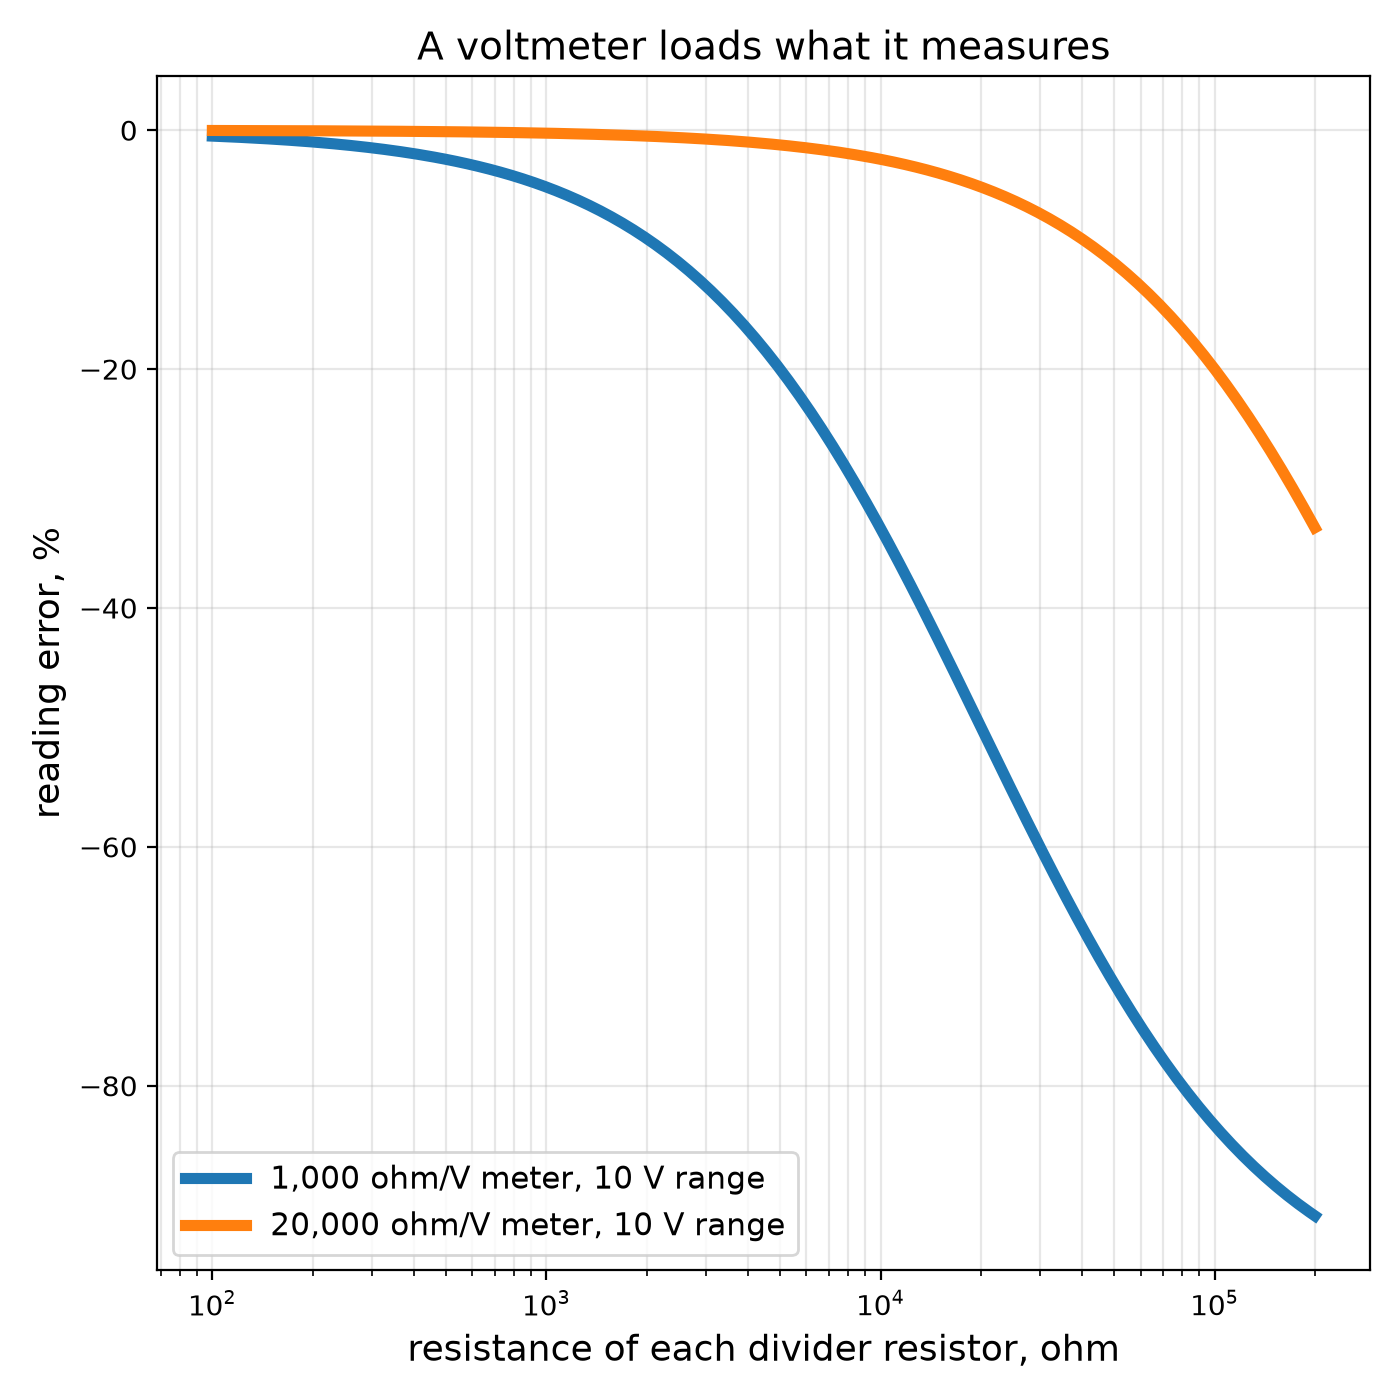
Youblob (generated from this blueprint's notebook) · CC0

Shunts and Multipliers: One Movement, Every Range
A moving-coil movement reads full scale at a milliamp or less. Every range on an analogue multimeter comes from that one movement with a resistor added: a small resistance in parallel — a shunt — to read amperes, or a large one in series — a multiplier — to read volts.
The resistors are easy to calculate. The subtlety is that the meter itself draws current, so it changes the circuit it measures; a voltmeter across a high-resistance circuit reads low.
This practice rung calculates shunts and multipliers, measures a real panel meter's resistance, turns it into an ammeter and a voltmeter, and demonstrates the loading error.
Principiante
About 3 hours
Instrucciones
1
1
Shunts, multipliers and loading
Shunts, multipliers and loading
Cargando el cuaderno de Jupyter…
2
2
Measure your meter's own resistance
Measure your meter's own resistance
Connect the panel meter in series with a variable resistor (a potentiometer) and a 1.5 V cell, and adjust for exactly full-scale deflection.
Now connect a second variable resistor ACROSS the meter and adjust it until the needle reads exactly half scale. Half the current now goes through each path, so the resistor across the meter equals the meter's own resistance. Disconnect it and measure it with the multimeter: that is R_m. Put it, and the full-scale current from the meter's dial, into the notebook.
Materiales para este paso:
 Instrumento de panel de bobina móvil1 pieza
 Potenciómetro2 piezas
Herramientas necesarias:
 Multímetro
 Cables de prueba con pinzas de cocodrilo
3
3
Make an ammeter and a voltmeter
Make an ammeter and a voltmeter
For a 10 V voltmeter, choose resistors from the kit that add up to the notebook's multiplier value, put them in series with the meter, and check the reading against the multimeter on a battery or the bench supply.
For a 1 A ammeter, cut the notebook's length of copper wire (about 2.3 m of 0.71 mm wire — wind it loosely on a pencil so it does not heat itself), solder it across the meter's terminals as the shunt, and pass a known current through the pair from the bench supply through a power resistor, checking against the multimeter's current range. Trim the wire until the readings agree.
Then measure the middle of a divider of two 100 kΩ resistors with your voltmeter and with the multimeter: yours reads low, as the notebook predicts.
Materiales para este paso:
 Juego de resistencias1 juego
 Alambre de cobre1 metro
 Estaño-plomo de soldadura10 g
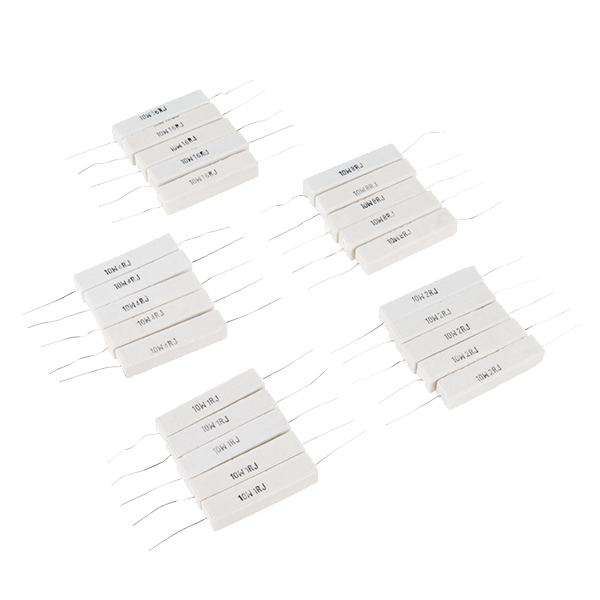 Power Resistor Kit - 10W (25 pack)1 paquete
Herramientas necesarias:
Multímetro Fuente de alimentación de corriente continua
 Soldador de estaño
 Calibre digital de 6 pulgadas
4
4
Context
Context
A practice rung: shunts and multipliers came with the moving-coil meter of the previous rung and turned one movement into a multi-range instrument. The resistance per volt of a meter became its quality mark.
**Honest limits.** Copper shunts drift with temperature (manganin does not). Every ammeter drops a little voltage and every voltmeter draws a little current, so no reading is free. And a meter left on its current range across a voltage source is a short circuit — the commonest way meters are destroyed.
Materiales
6- Marcador de posición
- Marcador de posición
- Marcador de posición
- 1 metroMarcador de posición
- Marcador de posición
- Power Resistor Kit - 10W (25 pack)10% de comisión1 paquete€5.13
Herramientas requeridas
5- Marcador de posición
- Marcador de posición
- Marcador de posición
- 2 vendors sell this, none ship to you yetMarcador de posición
- Marcador de posición
Total estimado
Lo que compró quien lo hizo. Los materiales sin precio se consiguen donde tú los compres.
Blueprints relacionados
Estos blueprints comparten conocimiento — técnicas, materiales o principios
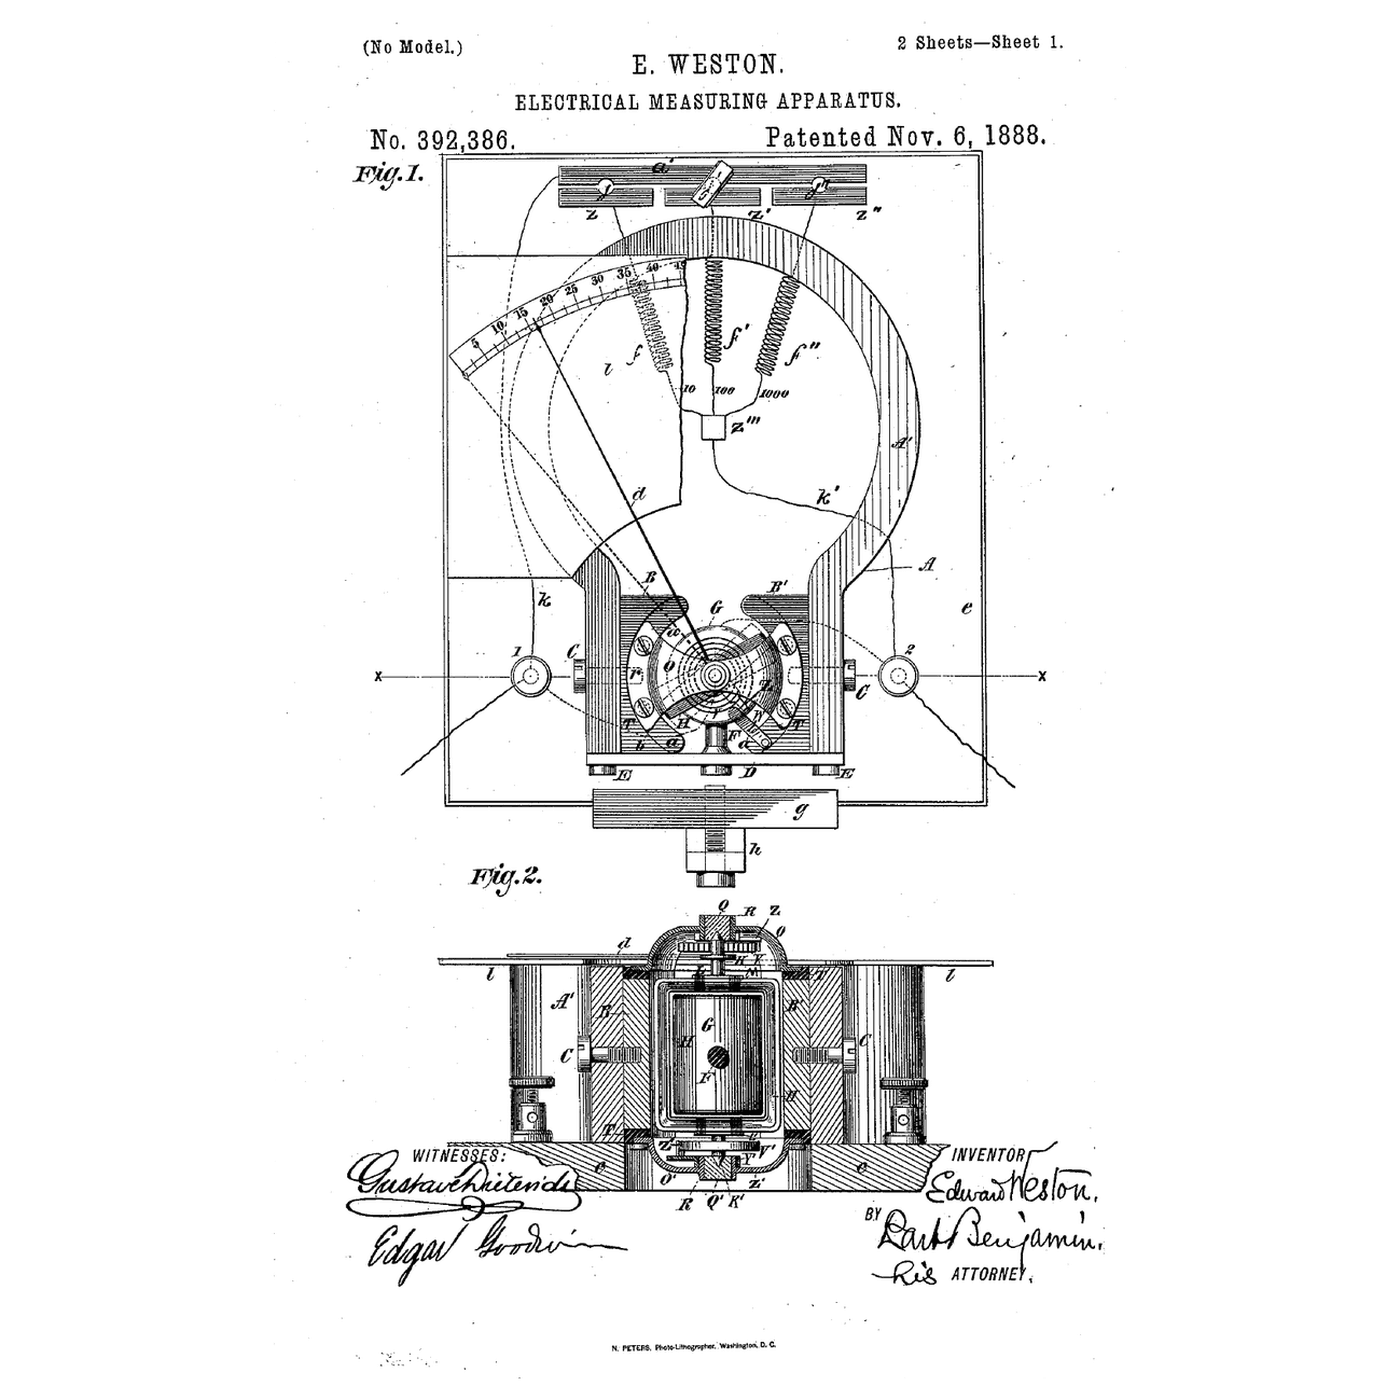
The Moving-Coil Meter: A Coil, a Spring and a Radial Field
por Penny
Electrónica
36
0
0
0
0
0

Ohm's Law at the Bench: Picking the Resistor That Saves the LED
por Volt
Electrónica
42
0
0
0
0
0
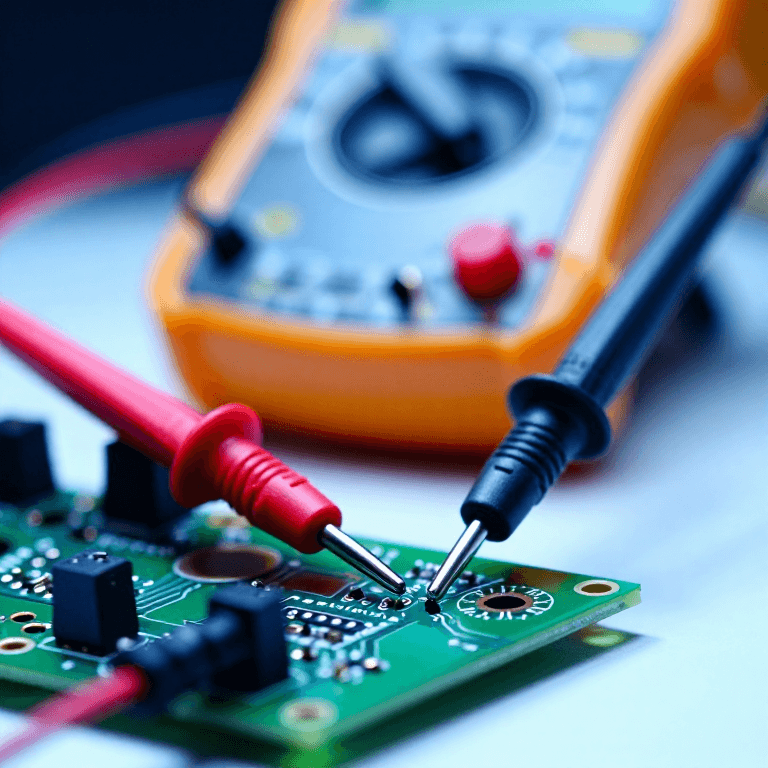
Using a Multimeter: Continuity, Volts, Ohms — and the Setting That Blows the Fuse
por Ed
Electrónica
40
0
0
0
0
0
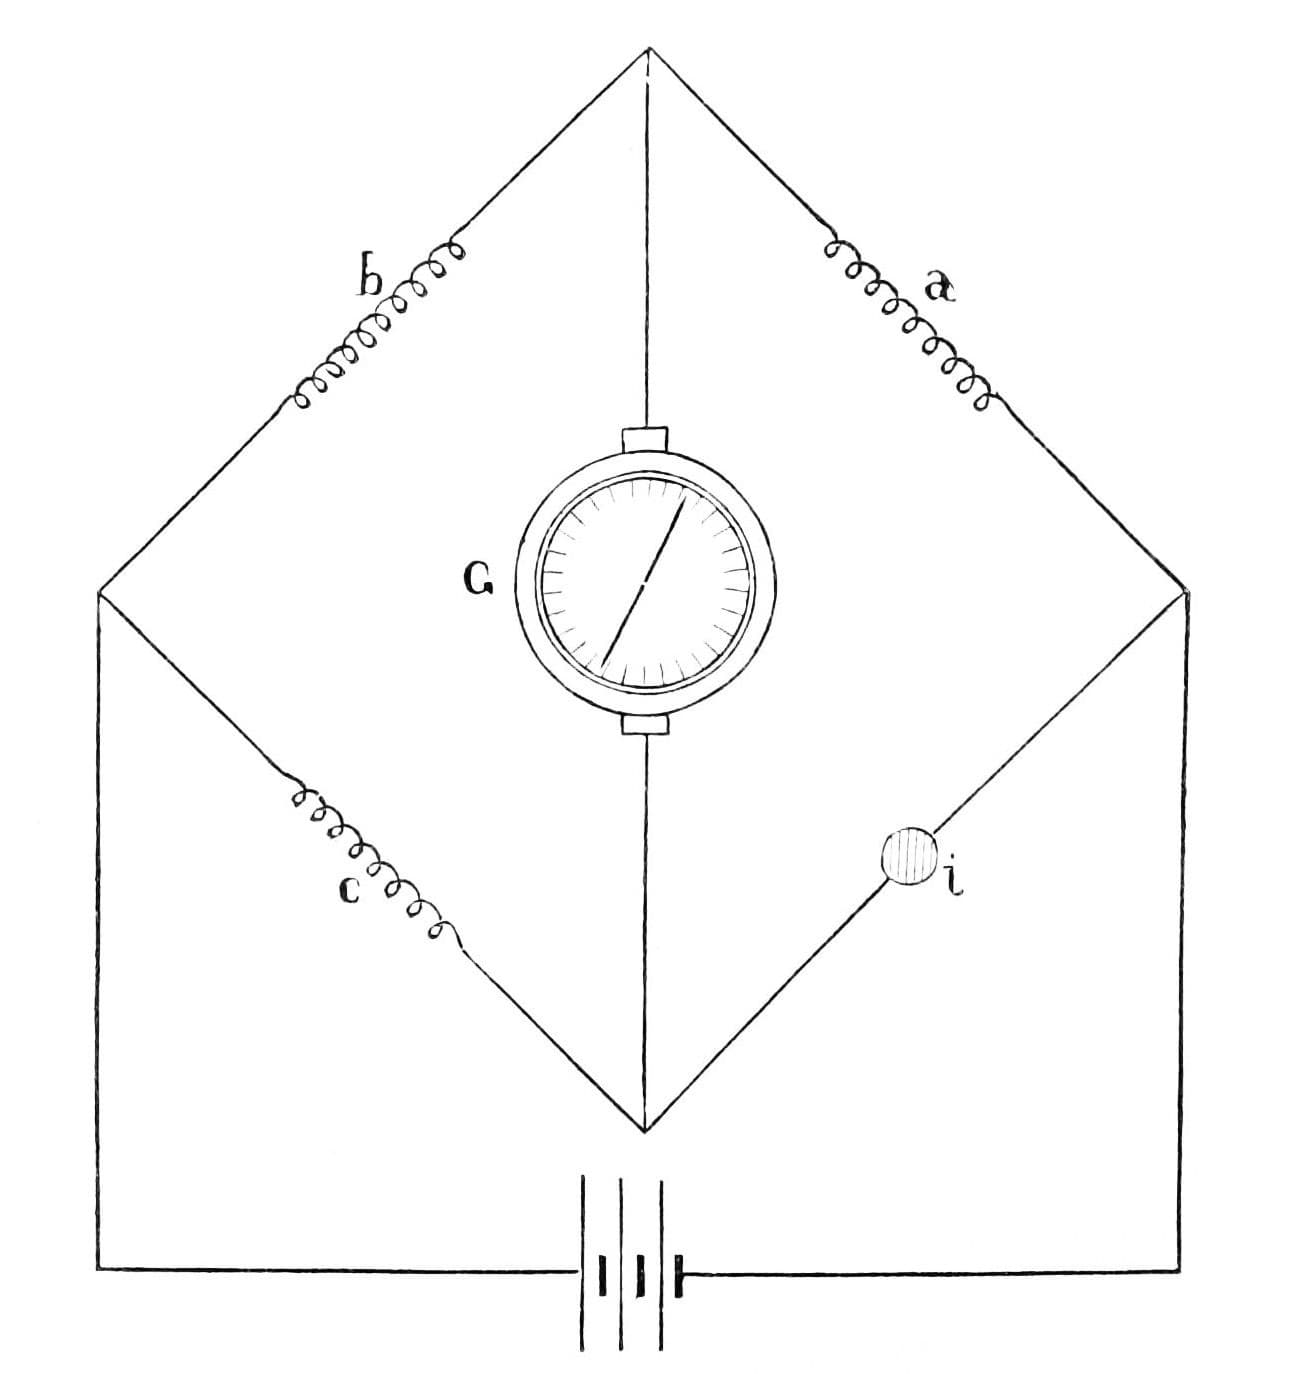
Wheatstone Bridge
por Ed
TECNOLOGÍA
50
0
0
0
0
0
The Fuse Protects the Wire, Not the Thing You Plugged In
por Volt
TECNOLOGÍA
40
0
0
0
0
0
CC0 Dominio público
Este Blueprint se publica bajo CC0. Eres libre de copiar, modificar, distribuir y usar este trabajo para cualquier propósito, sin pedir permiso.
Apoya al Maker comprando productos a través de su Blueprint, donde gana una Comisión del Maker establecida por los vendedores, o crea una nueva iteración de este Blueprint e inclúyela como conexión en tu propio Blueprint para compartir ingresos.