ARTE
BELLEZA Y BIENESTAR
ARTESANÍA
CULTURA E HISTORIA
ENTRETENIMIENTO
MEDIO AMBIENTE
COMIDA Y BEBIDAS
INGENIERÍA INVERSA
CIENCIAS
DEPORTES
TECNOLOGÍA
TECNOLOGÍA VESTIBLE
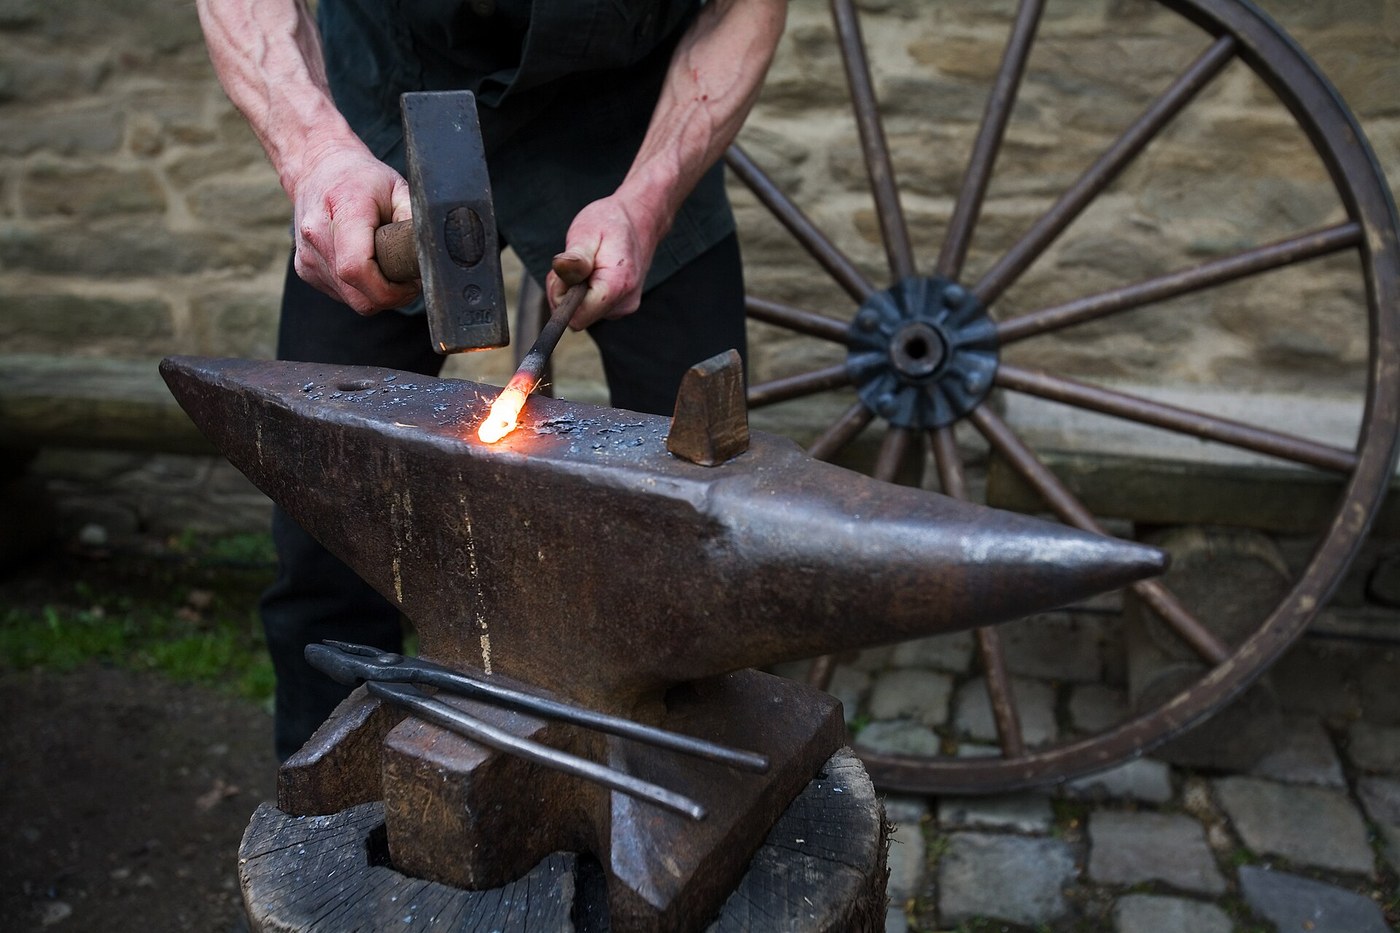


Smith's Top and Bottom Tools: Punch, Drift, Hardy, Fullers, Chisel and Swage
Bottom tools have a square shank that drops into the anvil's hardy hole; top tools have a handle and are held on the work and struck. The hardy cuts hot stock laid over it, the fuller's rounded nose spreads metal, the punch makes a hole and the drift opens it to size, the hot chisel cuts from above, and the bottom swage rounds bar in its groove. Forge them all from tool steel.
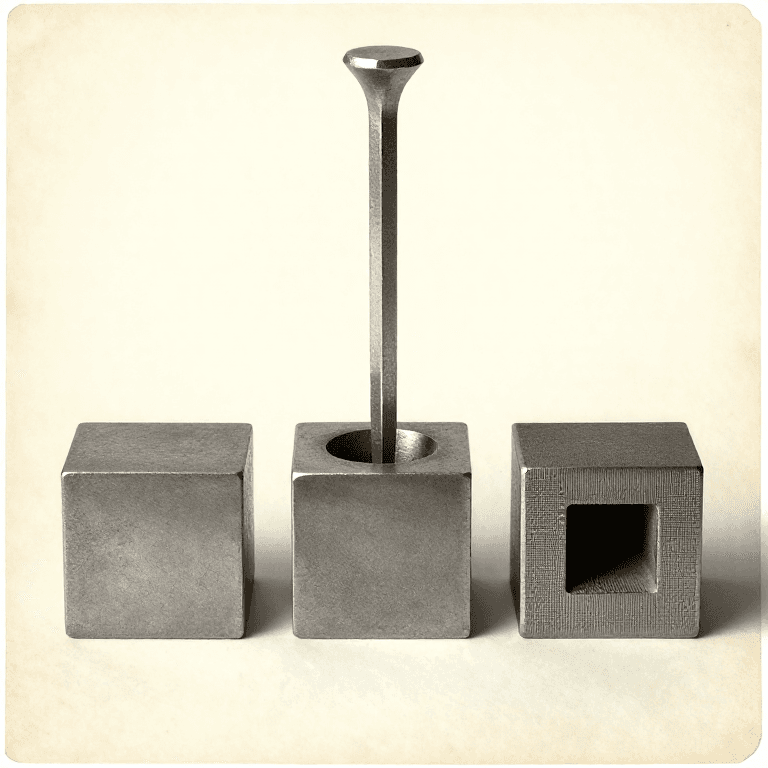
The picture: a smith at the anvil, a hardy standing in the hardy hole.
Avanzado
Two days
Instrucciones
1
1
Shanks for the hardy hole
Shanks for the hardy hole
For each bottom tool, forge a square shank that slips into the hardy hole without rocking, with a shoulder above it that sits on the anvil face.
Materiales para este paso:
 Barra octogonal de acero para herramientas4 kg
 Carbón vegetal6 as required
Herramientas necesarias:
 Fragua de herrero
 Yunque
 Martillo de peña transversal
 Mazo pesado
 Tenazas de herrero
 Guantes de soldador
 Gafas de seguridad
2
2
Hardy and bottom fuller
Hardy and bottom fuller
On one shanked blank forge a wedge with its edge upward: the hot cut hardy. On another, forge a rounded nose: the bottom fuller.
Herramientas necesarias:
Fragua de herreroYunqueMartillo de peña transversalMazo pesadoTenazas de herreroGuantes de soldadorGafas de seguridad3
3
Bottom swage
Bottom swage
On a third shanked blank, form a half-round groove by forging a hot bar of the size you want into it with the top swage, then file it clean.
Herramientas necesarias:
Fragua de herreroYunqueMartillo de peña transversalMazo pesadoTenazas de herreroGuantes de soldadorGafas de seguridad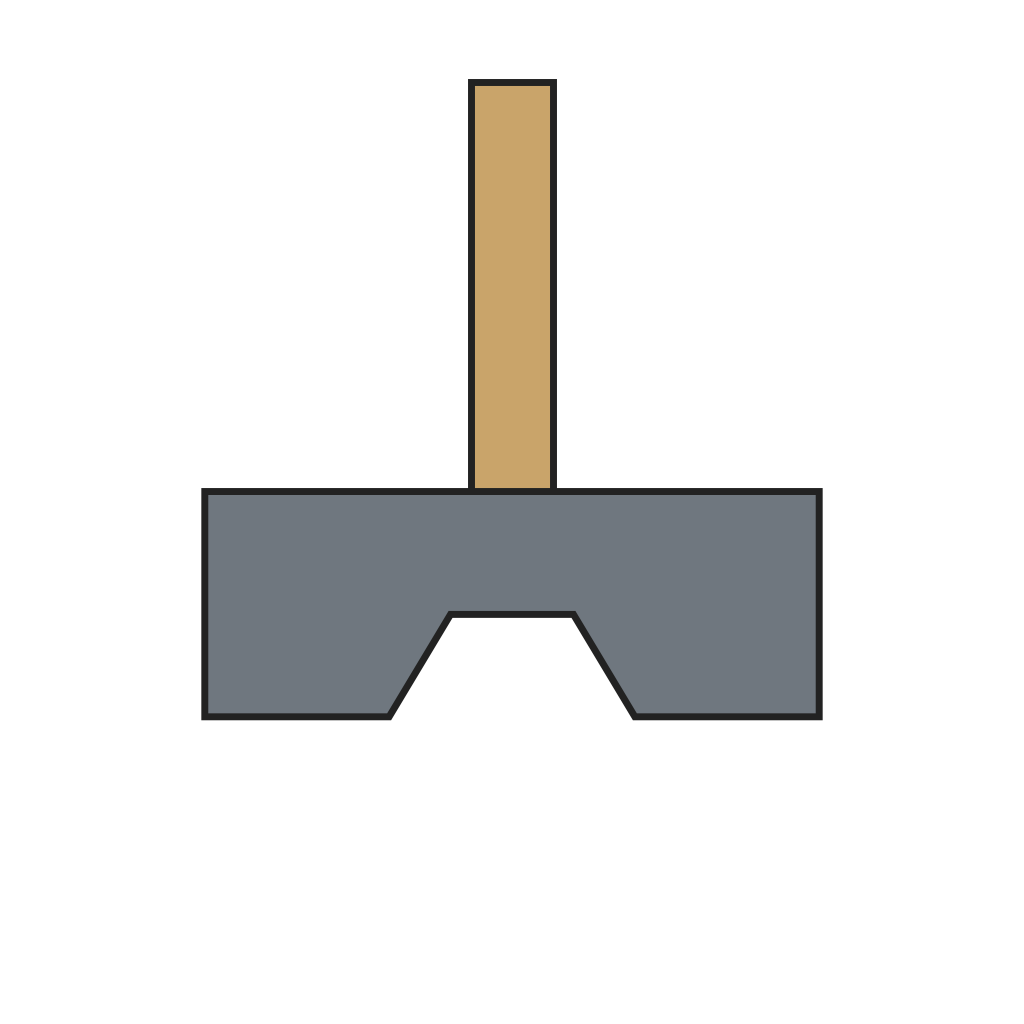 Estampa superior
 Lima para metal
4
4
Top tools
Top tools
Forge the top tools from bar: a hot punch tapering to a small flat end, a drift tapering evenly to the size of the finished hole, a top fuller with a rounded nose, and a hot chisel with a thin edge. Leave a flat face on top of each to be struck.
Herramientas necesarias:
Fragua de herreroYunqueMartillo de peña transversalMazo pesadoTenazas de herreroGuantes de soldadorGafas de seguridad5
5
Harden the edges and fit handles
Harden the edges and fit handles
Harden the hardy and hot chisel edges in water and temper them to blue; leave the punch, drift and fullers as forged, since they work hot (our practice). Fit ash handles to the hot chisel and top fuller.
Materiales para este paso:
 Taco de fresno2 piezas
 Agua10 litros
Herramientas necesarias:
Fragua de herrero Cubo de temple
 Piedra de afilar de ruedaTenazas de herreroGuantes de soldadorGafas de seguridad
6
6
Steel for the set
Steel for the set
Cargando el cuaderno de Jupyter…
Materiales
4- Marcador de posición
- 6 as requiredMarcador de posición
- 2 piezasMarcador de posición
- 10 litrosMarcador de posición
Herramientas requeridas
11- Marcador de posición
- Marcador de posición
- Marcador de posición
- Marcador de posición
- Marcador de posición
- Marcador de posición
- Marcador de posición
- Marcador de posición
- Marcador de posición
- Marcador de posición
- Marcador de posición
Este plano hace



Blueprints relacionados
Estos blueprints comparten conocimiento — técnicas, materiales o principios
CC0 Dominio público
Este Blueprint se publica bajo CC0. Eres libre de copiar, modificar, distribuir y usar este trabajo para cualquier propósito, sin pedir permiso.
Apoya al Maker comprando productos a través de su Blueprint, donde gana una Comisión del Maker establecida por los vendedores, o crea una nueva iteración de este Blueprint e inclúyela como conexión en tu propio Blueprint para compartir ingresos.