Colaboración
ARTE
BELLEZA Y BIENESTAR
ARTESANÍA
CULTURA E HISTORIA
ENTRETENIMIENTO
MEDIO AMBIENTE
COMIDA Y BEBIDAS
INGENIERÍA INVERSA
CIENCIAS
DEPORTES
TECNOLOGÍA
TECNOLOGÍA VESTIBLE
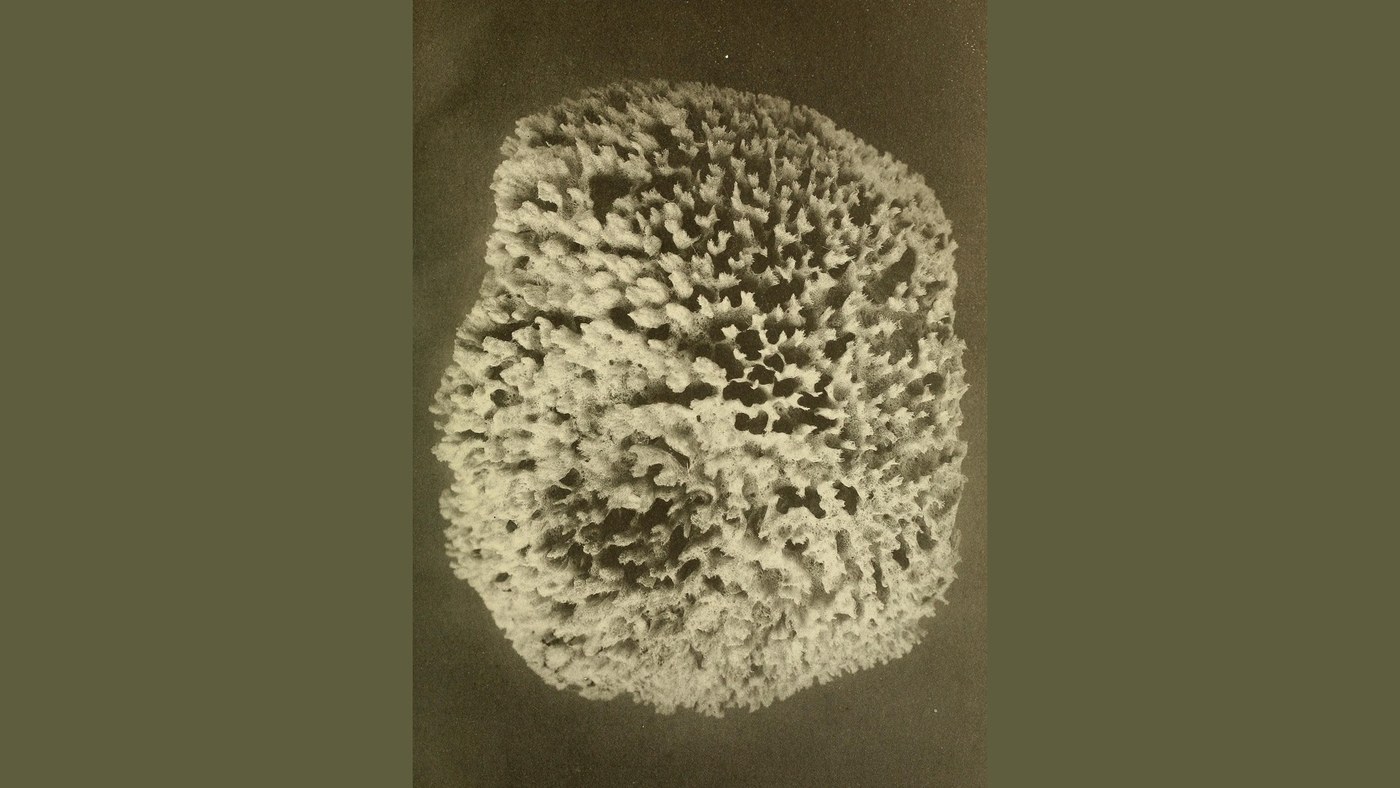


Sponge: Hooked and Crawl-Cured (Florida, Moore 1910)
How Florida hookers took and cured bath sponges around 1900: sight the sponge through a glass-bottomed bucket from a two-man dingey, tear it loose with a three-tined hook on a pole, let it die on deck root down, rot it out for a week in a staked pen in salt water, then beat, squeeze and scrape it clean and string it in bunches.
Maceration in fresh water darkens the fibre, so the pen stands in salt or brackish water.
Source: H. F. Moore, The Commercial Sponges and the Sponge Fisheries (U.S. Bureau of Fisheries, 1910), pp. 436-453. Picture: Plate XXX, a Rock Island sheepswool sponge.
Intermedio
Unknown
Instrucciones
1
1
Build the crawl
Build the crawl
On shore near the sponge grounds, in salt or brackish water, build a crawl (kraal) about 10 ft square: stakes driven close together and nailed to horizontal pieces to keep them from spreading.
Herramientas necesarias:
 Estaca de madera
 Clavos de hierro
 Martillo
2
2
Sight the sponges
Sight the sponges
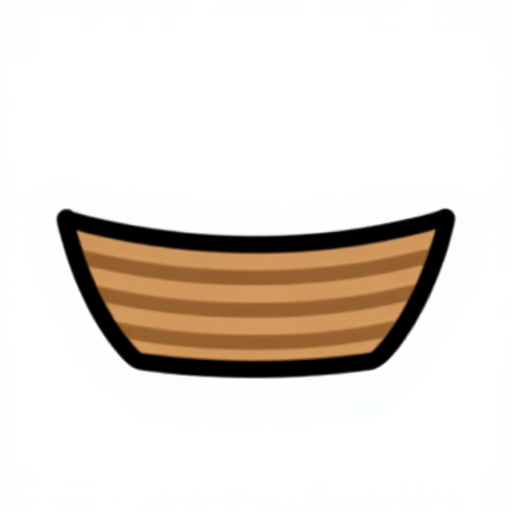
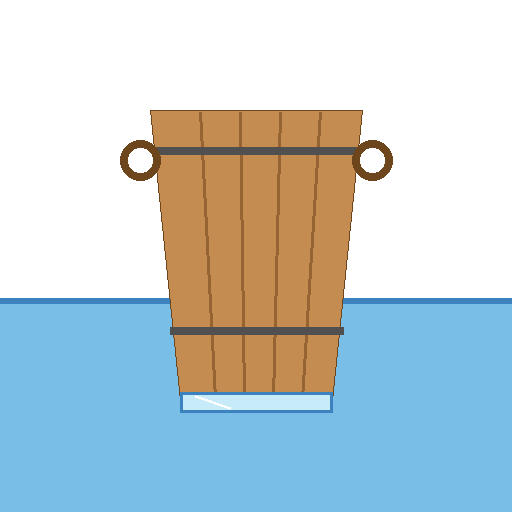
Work two to a dingey: the sculler moves the boat on the hooker's signals; the hooker kneels in the waist, leaning over the side, watching the bottom through the water glass, a bucket whose glass bottom is held below the surface to cut out reflections. In clear water the bottom can be seen to about 50 ft.
Herramientas necesarias:
 Barca pequeña de madera
 Cubo con fondo de cristal
3
3
Hook them loose
Hook them loose
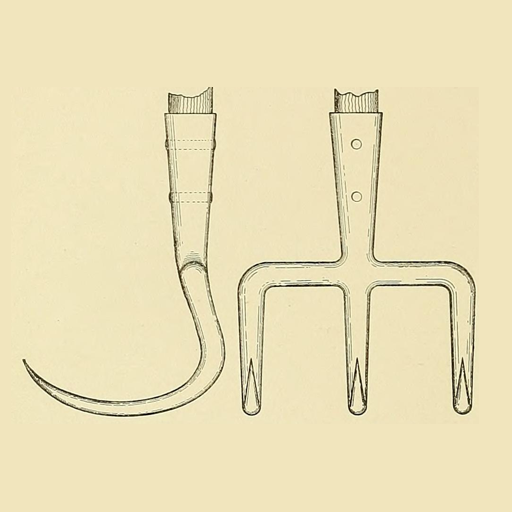
When a sponge is sighted the sculler puts the boat in position. The hooker rests the pole on his shoulder as a fulcrum, lowers the hook with his right hand while holding the water glass with his left, sets the tines into the base of the sponge and tears it loose, taking care not to mutilate it.
Herramientas necesarias:
 Gancho para esponjasCubo con fondo de cristalBarca pequeña de madera
4
4
Kill them on deck
Kill them on deck
Lay the sponges on deck root down so the gurry, the liquefied matter from decomposition, can run out. In hot sun the inner tissues begin to slough in a day or two; in cold cloudy weather a week may not be enough. Keep the skin from drying and sticking to the skeleton.
Herramientas necesarias:
Barca pequeña de madera5
5
Macerate, beat and squeeze
Macerate, beat and squeeze
Put the dead sponges in the crawl for about a week to macerate. Then remove what flesh is left by beating each partly submerged sponge with a short heavy stick and squeezing it again and again under water. Scrape off any skin that sticks with a dull knife.
Herramientas necesarias:
 Palo
 Cuchillo
6
6
String them in bunches
String them in bunches
With a long needle string the cleaned sponges on rope yarns 6 ft long, sponges of about the same size together, eye and root (the top of one against the bottom of the next). Tie the ends of each yarn together into a wreath, a bunch, and partly dry them.
Herramientas necesarias:
 Aguja de ojo grande
 Cordelería
Herramientas requeridas
10- Marcador de posición
- Marcador de posición
- Marcador de posición
- Marcador de posición
- Marcador de posición
- Marcador de posición
- Marcador de posición
- Marcador de posición
- Marcador de posición
- Marcador de posición
Este plano hace

CC0 Dominio público
Este Blueprint se publica bajo CC0. Eres libre de copiar, modificar, distribuir y usar este trabajo para cualquier propósito, sin pedir permiso.
Apoya al Maker comprando productos a través de su Blueprint, donde gana una Comisión del Maker establecida por los vendedores, o crea una nueva iteración de este Blueprint e inclúyela como conexión en tu propio Blueprint para compartir ingresos.