ARTE
BELLEZA Y BIENESTAR
ARTESANÍA
CULTURA E HISTORIA
ENTRETENIMIENTO
MEDIO AMBIENTE
COMIDA Y BEBIDAS
INGENIERÍA INVERSA
CIENCIAS
DEPORTES
TECNOLOGÍA
TECNOLOGÍA VESTIBLE
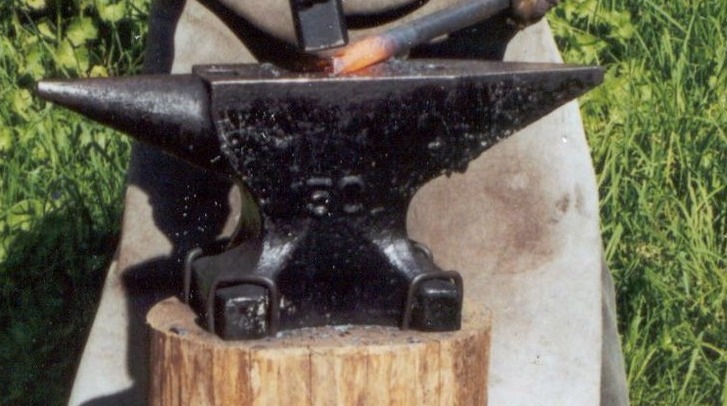


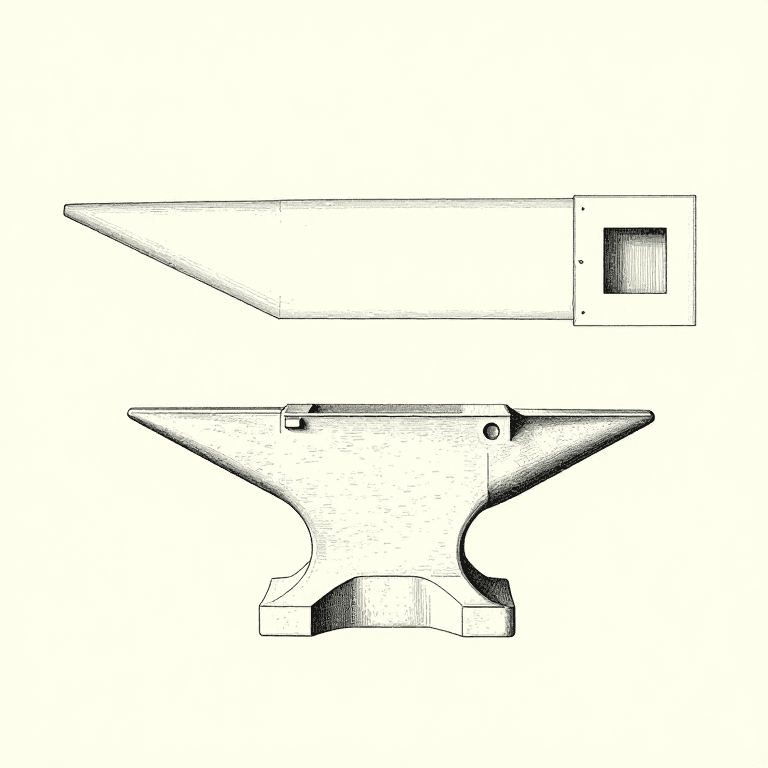
Anvil: Wrought-Iron Body with a Welded Steel Face
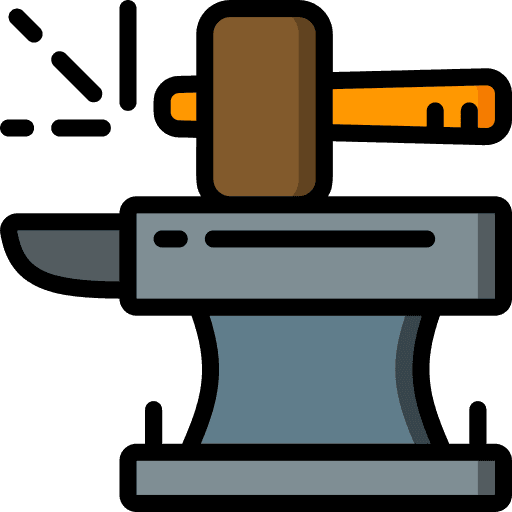
Outside the United States, anvils of the 1880s had a body of wrought iron under a steel face, and a horn of plain wrought iron. The body was roughly shaped under tilt hammers, in one piece or with the corners and horn welded on. A face plate of shear or blister steel, 3/8 to 3/4 inch thick, was forge-welded to it a few inches at a time by four strikers, then the holes were punched and the anvil dressed to shape, ground flat and hardened under a falling stream of water. A well-welded anvil rings clearly when struck. Most modern anvils are instead cast steel with the face hardened by flame or induction.
Avanzado
Works process (1880s)
Instrucciones
1
1
Shape the body
Shape the body
Rough out the wrought-iron body under the tilt hammer, in one piece or with the corners and horn welded on.
Materiales para este paso:
 Barra de hierro forjado1 as required
Herramientas necesarias:
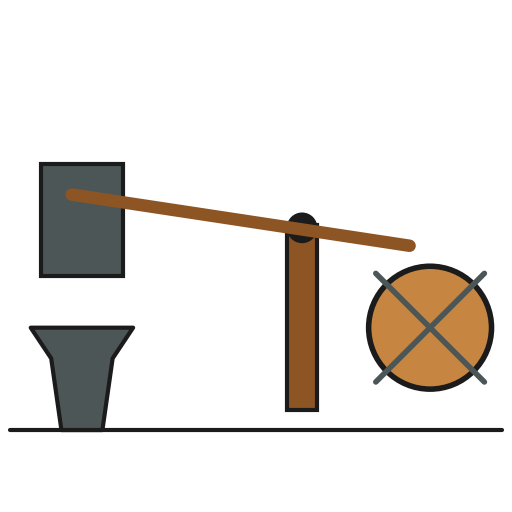 Martinete
 Fragua de herrero
2
2
Weld on the face
Weld on the face
Bring the body and the steel face plate to a welding heat and weld from one end, about five inches at a time with four strikers, heat after heat, until the whole face is on. Take care not to burn the steel.
Materiales para este paso:
 Placa de acero de cizalla1 pieza
Herramientas necesarias:
Fragua de herrero Mazo pesado
3
3
Punch and dress
Punch and dress
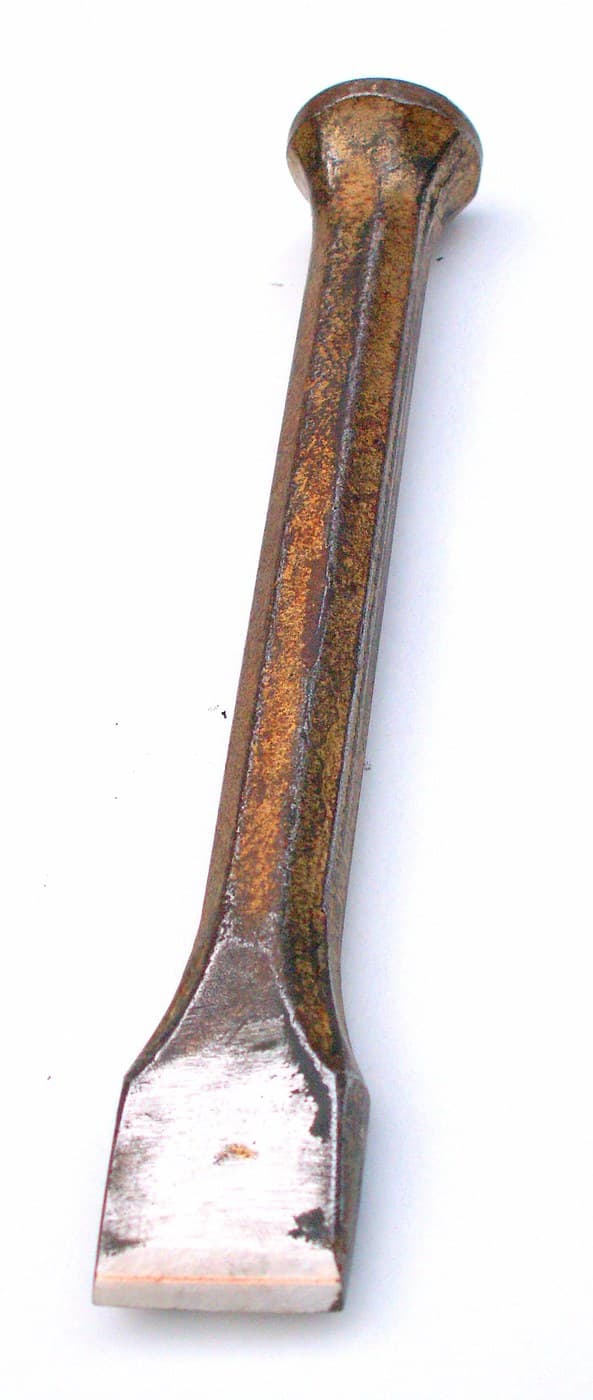
Punch the hardy (cutter) hole and the small round hole in the tail, round the horn, and dress the anvil to shape at another heat.
Herramientas necesarias:
 Punzón en calienteMazo pesado
4
4
Grind
Grind
Grind any unevenness out of the face, crosswise on a large stone.
Herramientas necesarias:
 Piedra de afilar de rueda
5
5
Harden
Harden
Reheat the top to a red heat and let a stream of water fall on it from a ten-foot head. A clear ring when struck shows a sound weld.
Materiales para este paso:
 Agua1 as required
Herramientas necesarias:
Fragua de herreroMateriales
3- 1 as requiredMarcador de posición
- 1 piezaMarcador de posición
- 1 as requiredMarcador de posición
Este plano hace
Blueprints relacionados
Estos blueprints comparten conocimiento — técnicas, materiales o principios
CC0 Dominio público
Este Blueprint se publica bajo CC0. Eres libre de copiar, modificar, distribuir y usar este trabajo para cualquier propósito, sin pedir permiso.
Apoya al Maker comprando productos a través de su Blueprint, donde gana una Comisión del Maker establecida por los vendedores, o crea una nueva iteración de este Blueprint e inclúyela como conexión en tu propio Blueprint para compartir ingresos.