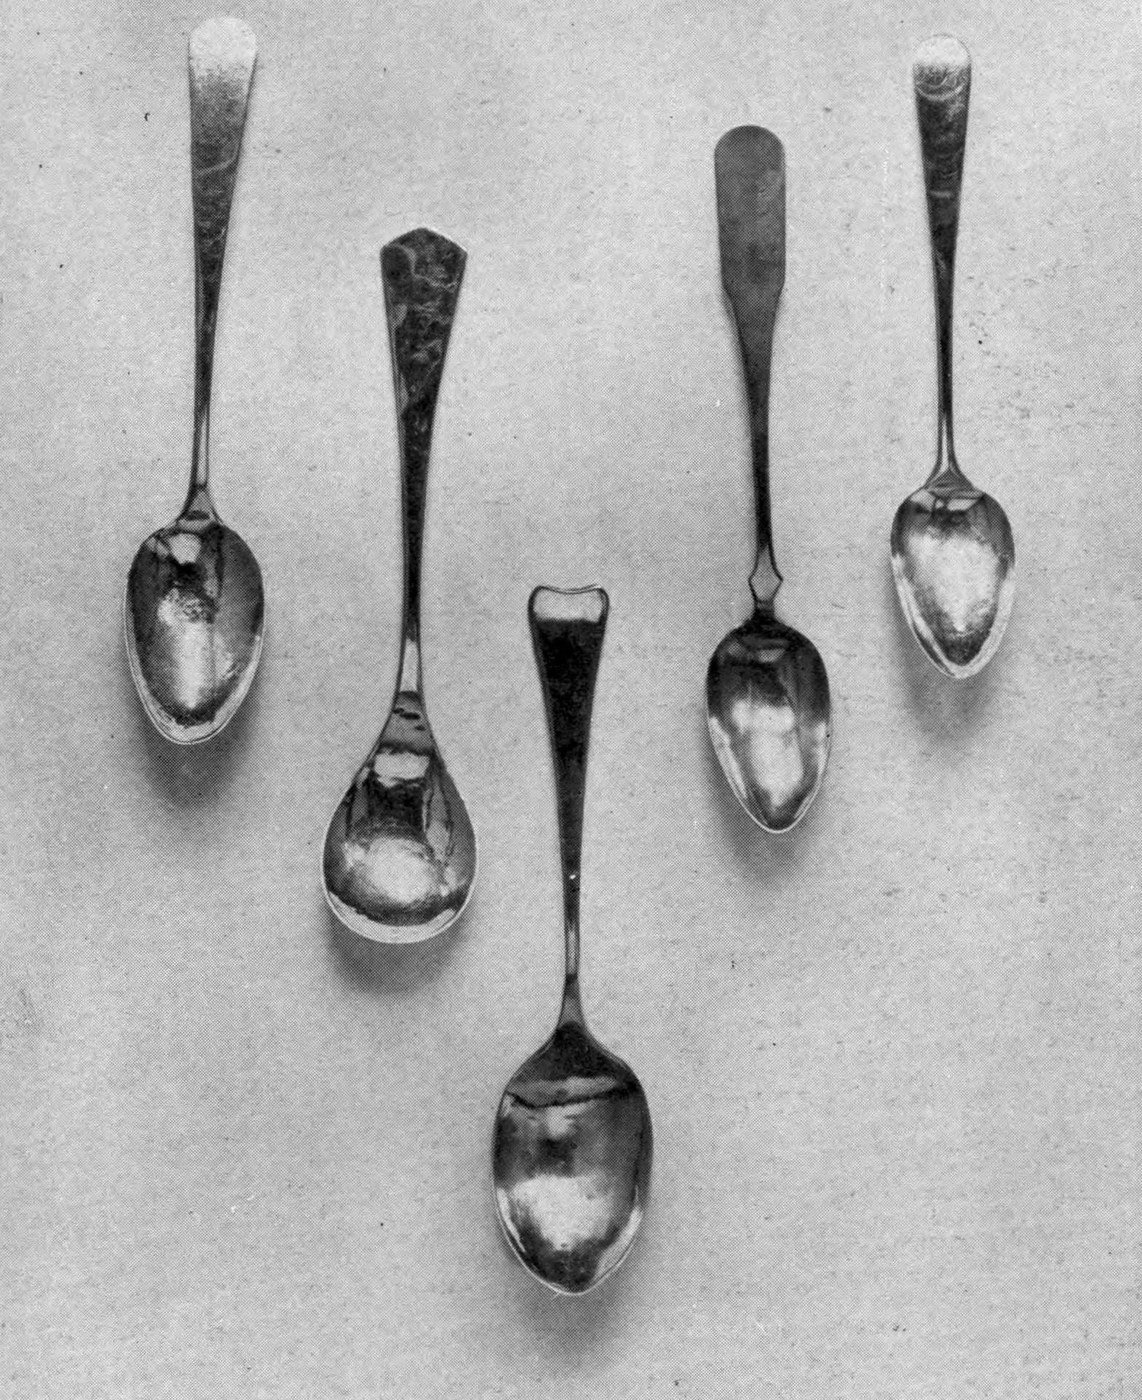


Teaspoon Forged from a Silver Bar (Payne 1914)
Instrucciones
Cut the silver bar
Cut the silver bar
Materiales para este paso:
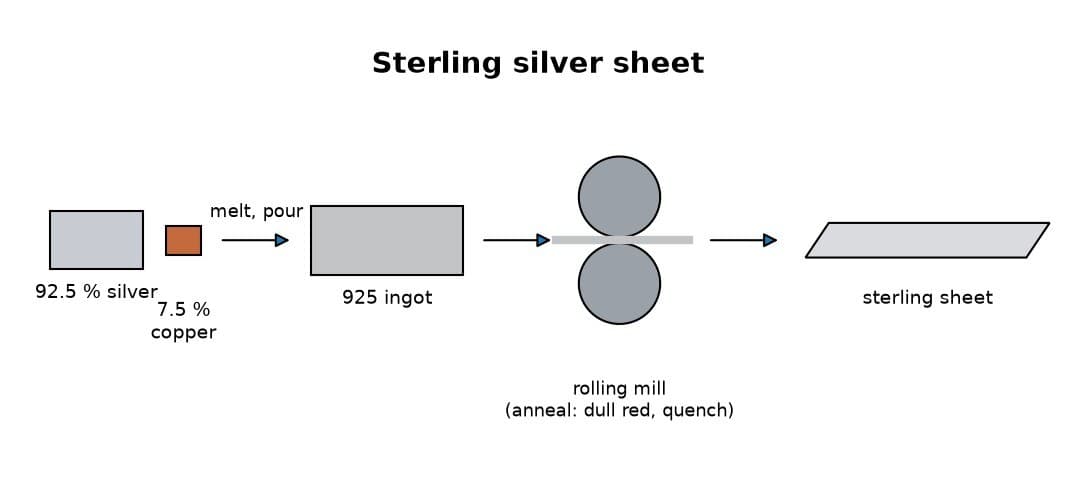
 Plancha de plata de ley1 piece 4 × ½ × ⅛ in
Herramientas necesarias:
 Punta de trazar
 Sierra de joyero
Forge out the bowl
Forge out the bowl
Herramientas necesarias:
 Mechero Bunsen
 Tenazas
 Yunque
 Martillo
Work bowl, then shank and handle
Work bowl, then shank and handle
Herramientas necesarias:
YunqueMartilloAnneal and repeat
Anneal and repeat
Materiales para este paso:
 Agua1 as required
Herramientas necesarias:
Mechero BunsenTenazas Recipiente de vidrio
Trim with shears and file
Trim with shears and file
Herramientas necesarias:
 Tijeras de chapa para trabajo pesado
 Limas (lima de mano)
Polish out the file marks
Polish out the file marks
Herramientas necesarias:
 Tela de esmeril
Anneal to even the fire scale
Anneal to even the fire scale
Materiales para este paso:
Agua1 as requiredHerramientas necesarias:
Mechero BunsenTenazasRecipiente de vidrioPlanish with smooth hammers
Planish with smooth hammers
Herramientas necesarias:
 Martillo de aplanarYunque
 Estaca
Final polish with rouge
Final polish with rouge
Herramientas necesarias:
 Paño de pulir joyas
 Rojo de joyero
Materiales
2- 1 piece 4 × ½ × ⅛ inMarcador de posición
- 2 as requiredMarcador de posición
Herramientas requeridas
14- Marcador de posición
- Marcador de posición
- Marcador de posición
- Marcador de posición
- Marcador de posición
- Marcador de posición
- Marcador de posición
- Marcador de posición
- Marcador de posición
- Marcador de posición
- Marcador de posición
- Marcador de posición
- Marcador de posición
- Marcador de posición
Este plano hace

Blueprints relacionados
Estos blueprints comparten conocimiento — técnicas, materiales o principios
CC0 Dominio público
Este Blueprint se publica bajo CC0. Eres libre de copiar, modificar, distribuir y usar este trabajo para cualquier propósito, sin pedir permiso.
Apoya al Maker comprando productos a través de su Blueprint, donde gana una Comisión del Maker establecida por los vendedores, o crea una nueva iteración de este Blueprint e inclúyela como conexión en tu propio Blueprint para compartir ingresos.