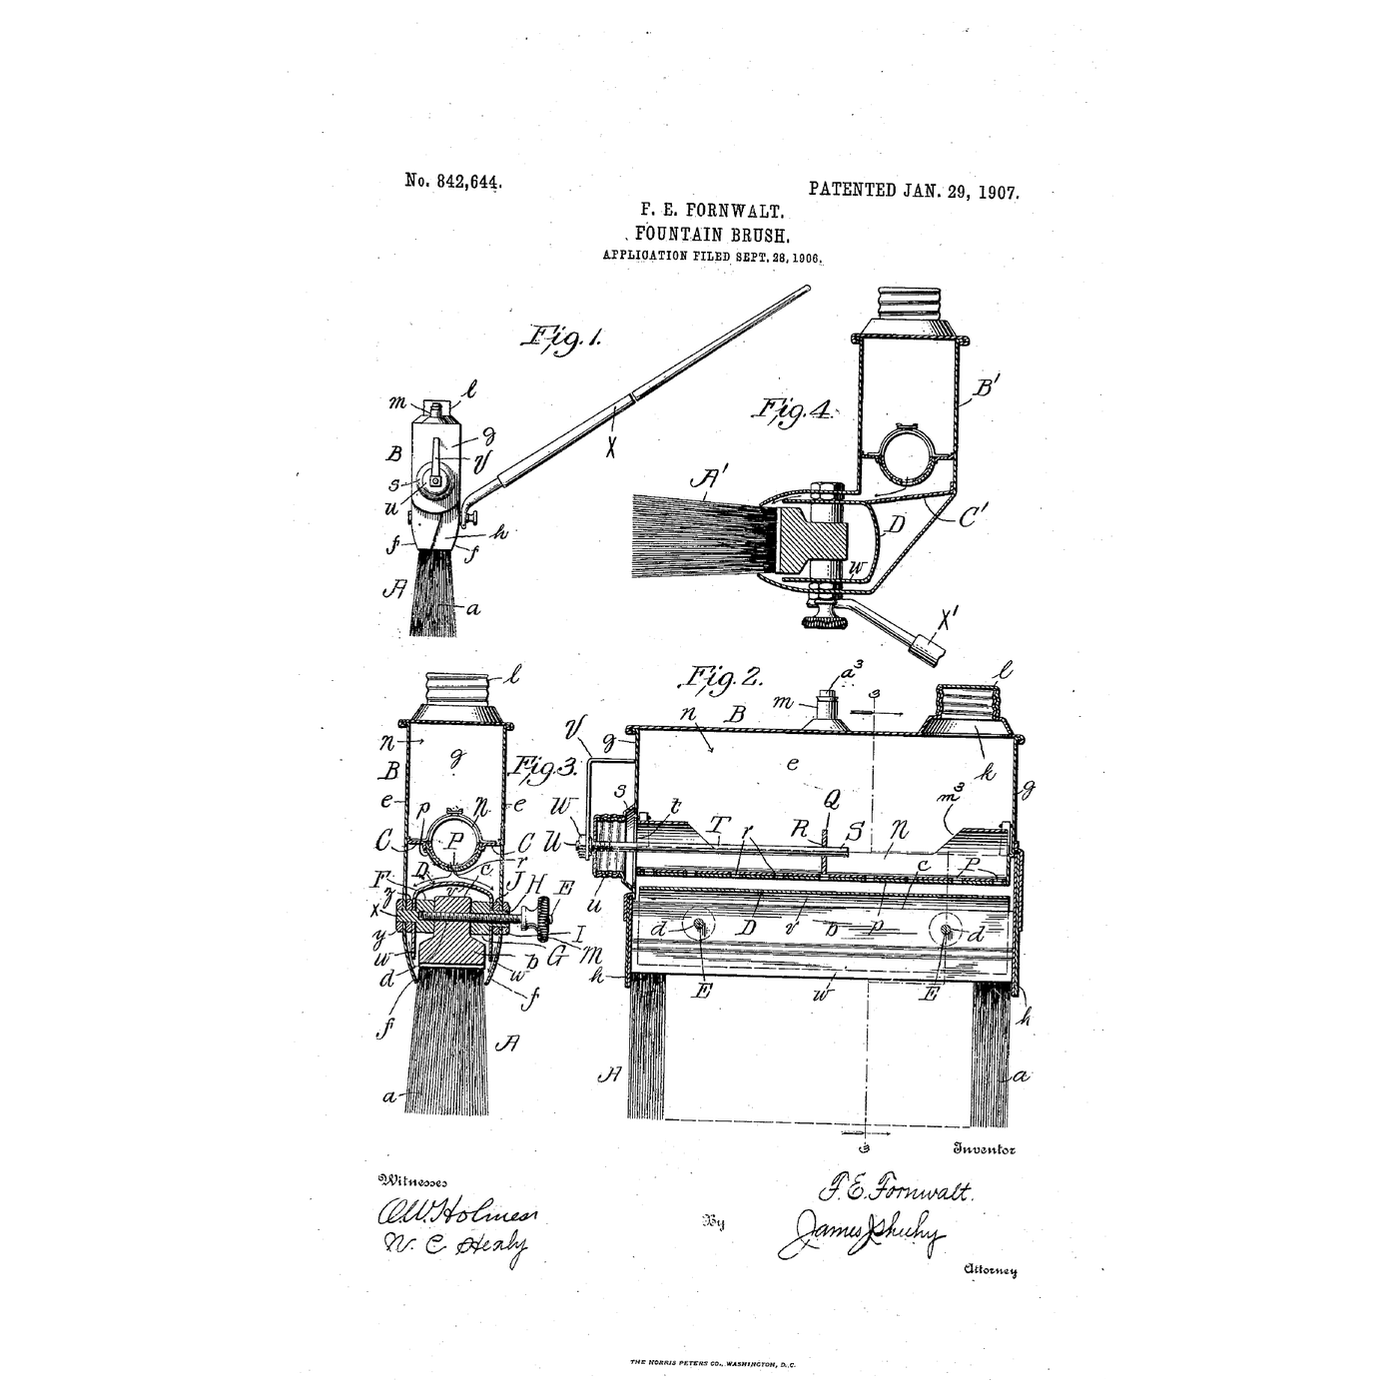

The Hooded Fountain Paint Brush: A Dome Shares the Paint Between Both Sides
Instrucciones
Paint the brush needs
Paint the brush needs
A turned perforated tube before it
A turned perforated tube before it
Read US 842,644
Read US 842,644
Fold the tank
Fold the tank
Materiales para este paso:
 Chapa de aluminio1 pieza
 Remaches ciegos1 pieza
 Sellador de silicona1 pieza
Herramientas necesarias:
 Tijeras de chapa
 Alicates de boca plana
 Tornillo de banco
 Kit de remachadora
 Taladro inalámbrico
 Juego de brocas
 Juego de coronas perforadoras
 Guantes de trabajo de cuero
Drill the floor
Drill the floor
Herramientas necesarias:
Taladro inalámbricoJuego de brocas Rotulador permanente
 Regla
Make the turning valve
Make the turning valve
Materiales para este paso:
 Tubo de cobre1 pieza
Herramientas necesarias:
 Sierra para metalesTaladro inalámbricoJuego de brocas
 Limas (lima de mano)Tornillo de banco
Fold the hood
Fold the hood
Materiales para este paso:
Chapa de aluminio1 piezaRemaches ciegos1 piezaHerramientas necesarias:
Tornillo de bancoKit de remachadoraClamp on the brush
Clamp on the brush
Materiales para este paso:
 Surtido de tornillos hexagonales1 pieza
 Tuerca hexagonal1 pieza
 Arandela plana1 piezaRemaches ciegos1 pieza
Herramientas necesarias:
Taladro inalámbricoJuego de brocas Llave inglesa ajustable
 Juego de pinceles
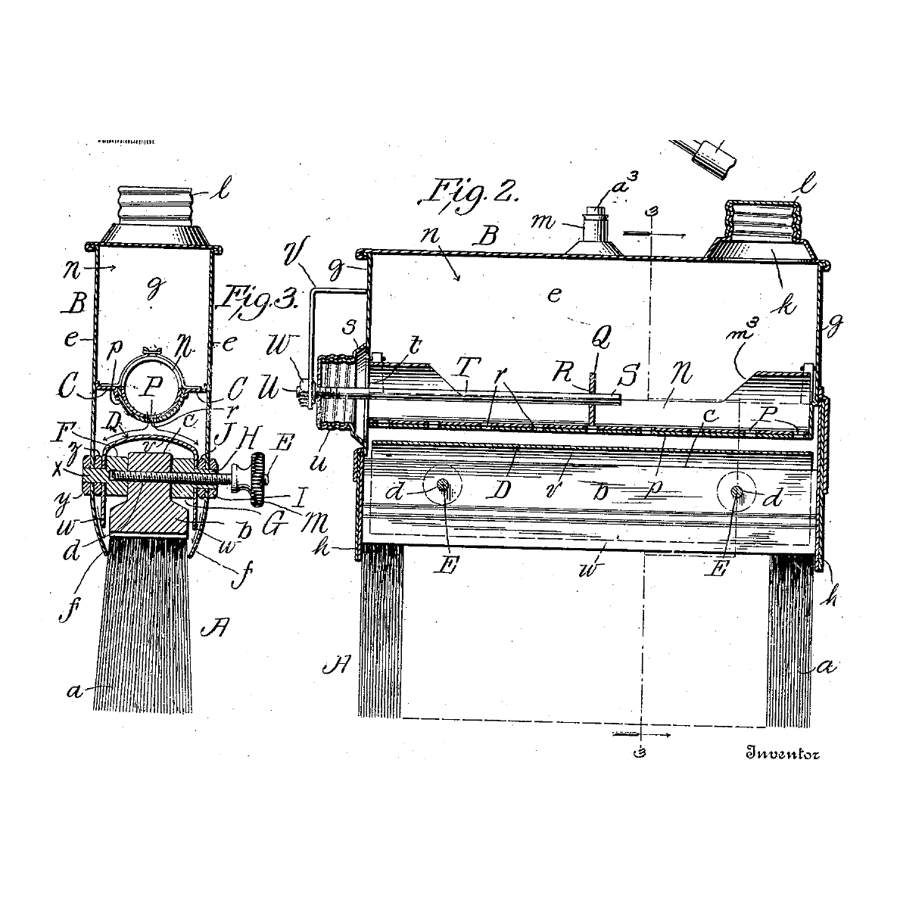
The patent drawing
The patent drawing
Paint and weigh
Paint and weigh
Materiales para este paso:
 Juego de pintura acrílica1 pieza
 Agua1 pieza
 Tablero contrachapado1 pieza
Herramientas necesarias:
 Báscula digital de cocina
 Cinta métrica
 Cronómetro
A brush that clogs, floods or paints one side
A brush that clogs, floods or paints one side
Flow
History and honest limits
History and honest limits
Materiales
10- 1 piezaMarcador de posición
- 3 piezasMarcador de posición
- 1 piezaMarcador de posición
- 1 piezaMarcador de posición
- Marcador de posición
- 1 piezaMarcador de posición
- 1 piezaMarcador de posición
- 1 piezaMarcador de posición
- 1 piezaMarcador de posición
- 1 piezaMarcador de posición
Herramientas requeridas
17- Marcador de posición
- Marcador de posición
- Marcador de posición
- Marcador de posición
- 1 vendor sell this, none ship to you yetMarcador de posición
- Marcador de posición
- Marcador de posición
- Marcador de posición
- Marcador de posición
- Marcador de posición
- Marcador de posición
- Marcador de posición
- Marcador de posición
- Marcador de posición
- Marcador de posición
- 1 vendor sell this, none ship to you yetMarcador de posición
- Marcador de posición
Blueprints relacionados
Estos blueprints comparten conocimiento — técnicas, materiales o principios
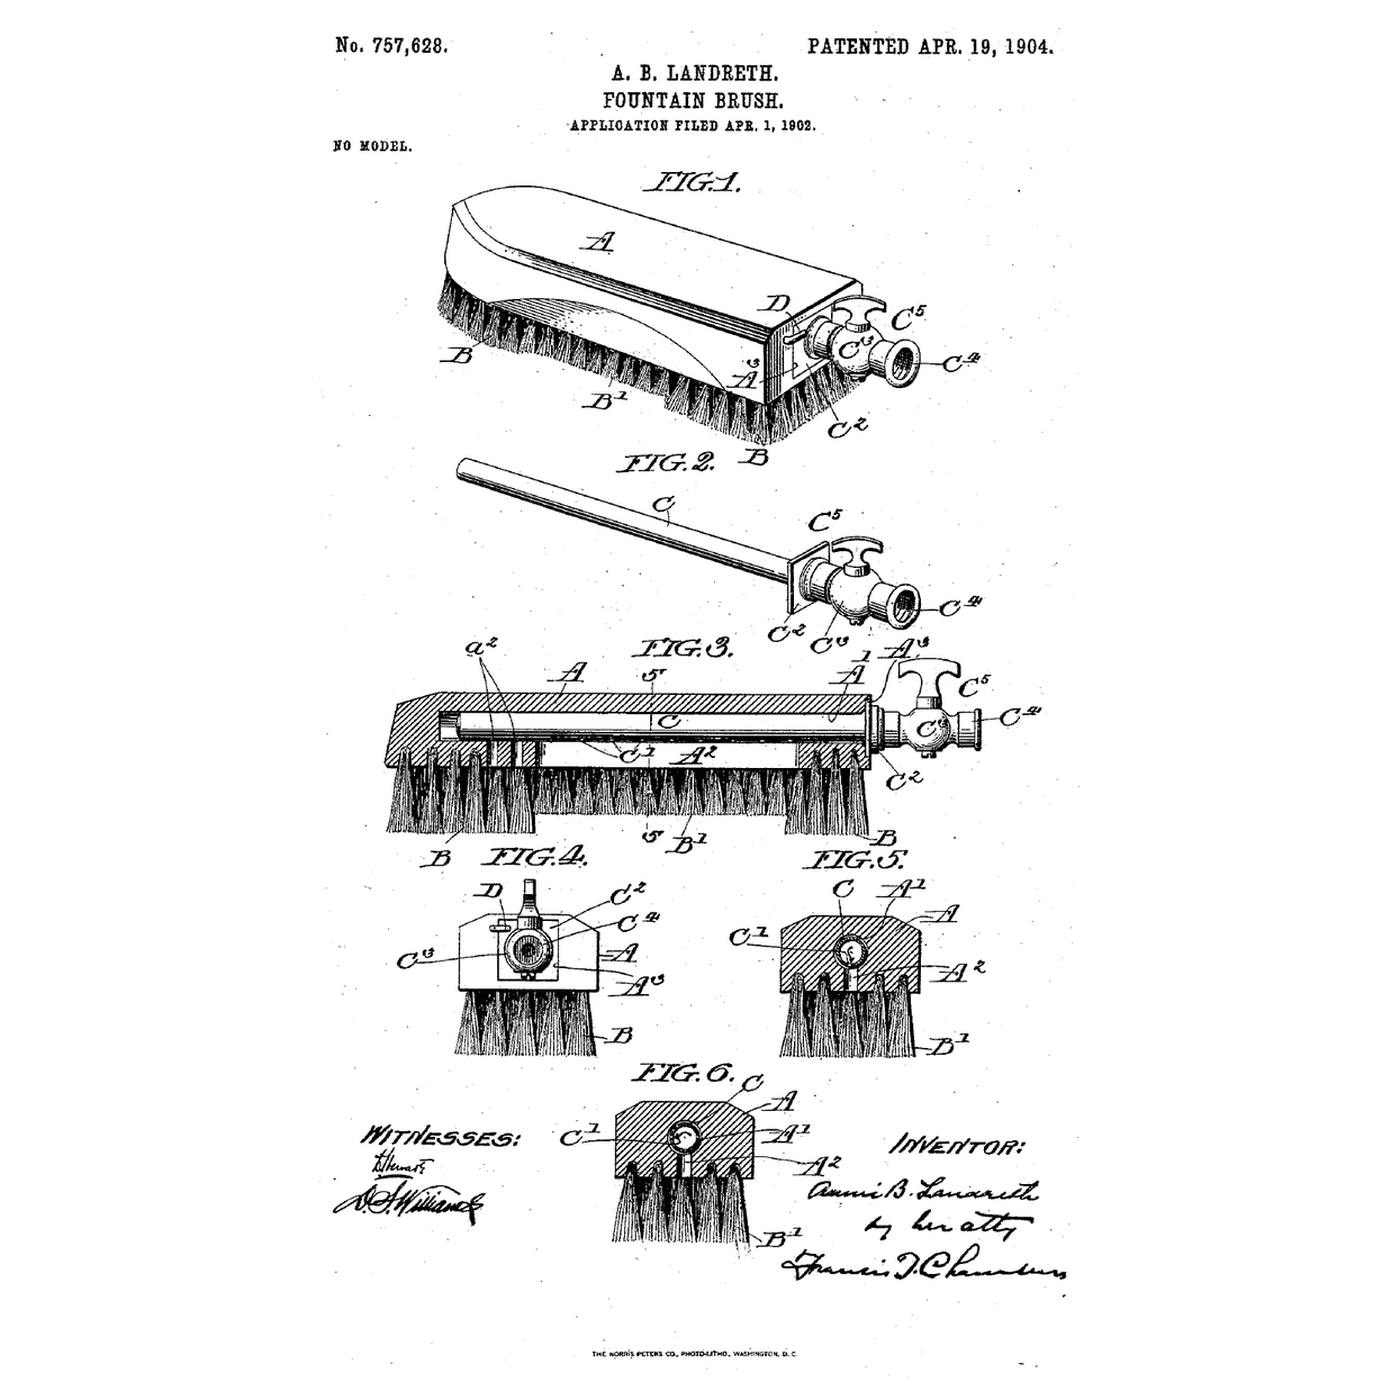
The Tube-in-the-Back Fountain Brush: Turn the Tube and the Jets Become a Soak
por YourGrandma
Mecánica
Making Hide Glue Distemper — The Traditional Ceiling and Wall Paint of Europe
por Charlie
ARTE
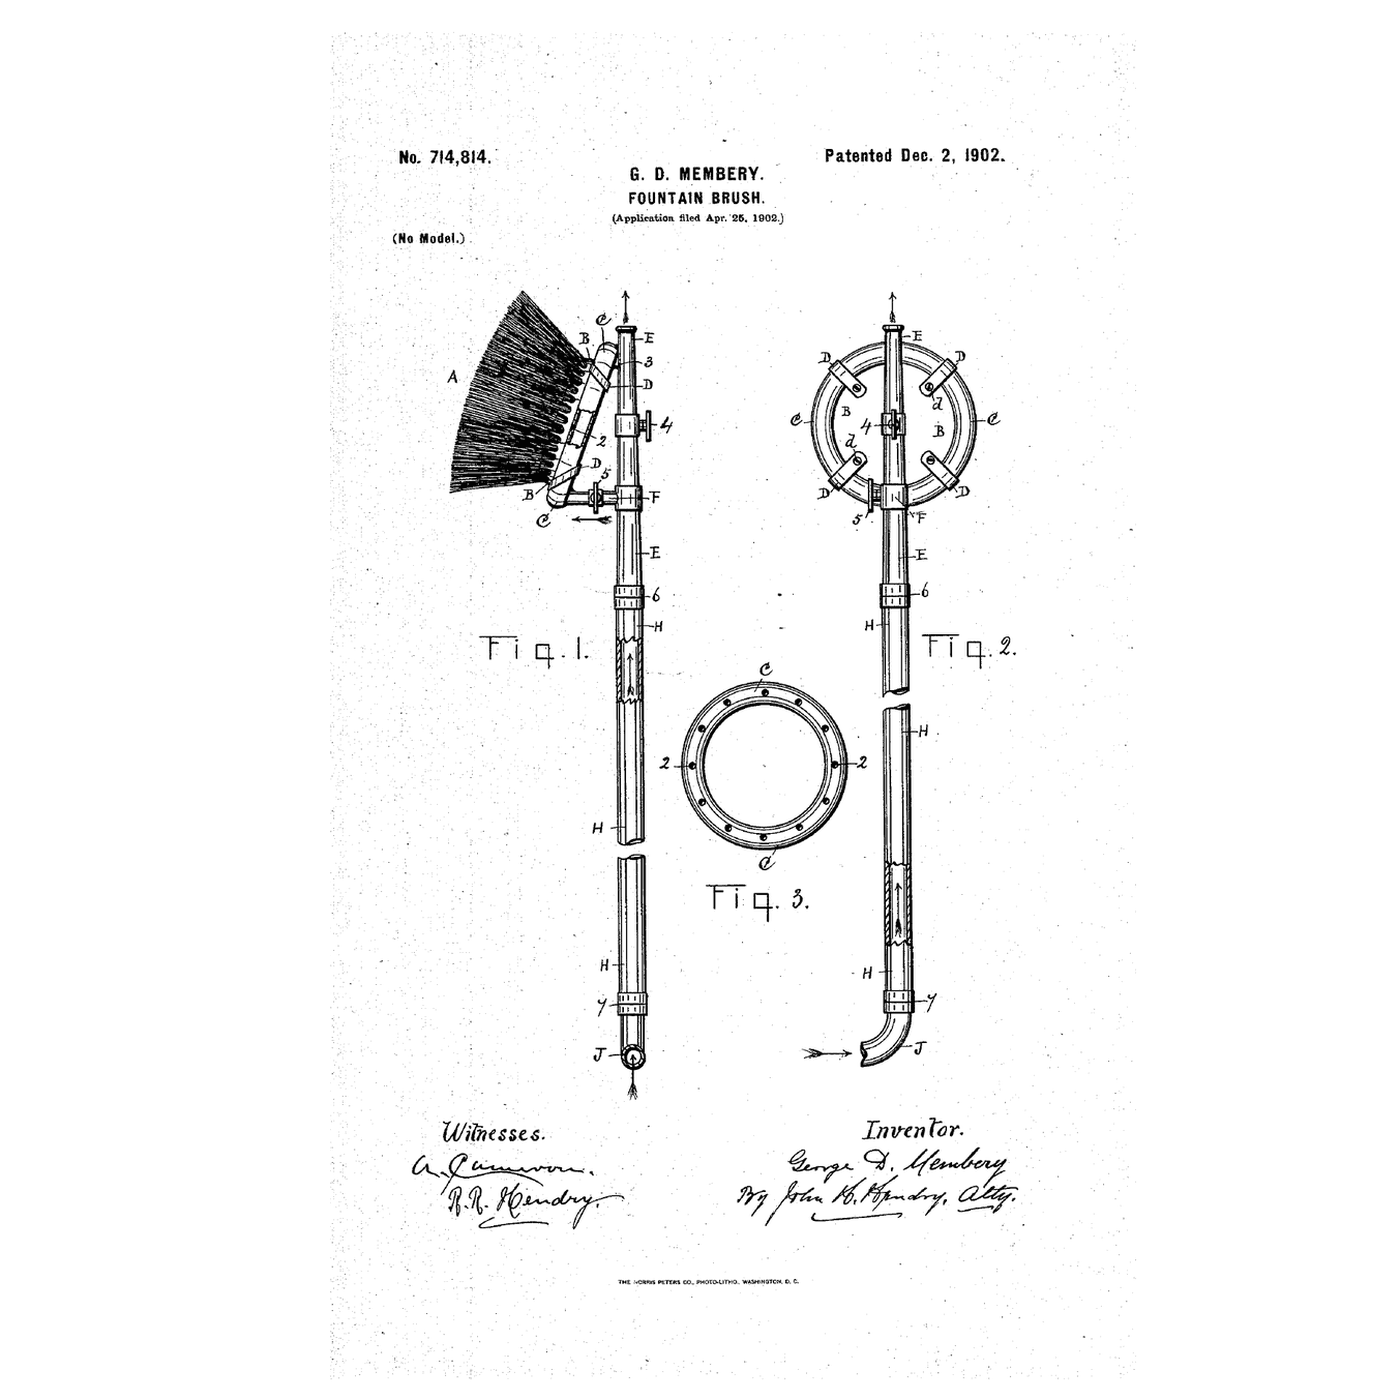
The Long-Handled Fountain Brush: A Ring of Holes Wets the Bristles From the Ground
por Martin
Mecánica
CC0 Dominio público
Este Blueprint se publica bajo CC0. Eres libre de copiar, modificar, distribuir y usar este trabajo para cualquier propósito, sin pedir permiso.
Apoya al Maker comprando productos a través de su Blueprint, donde gana una Comisión del Maker establecida por los vendedores, o crea una nueva iteración de este Blueprint e inclúyela como conexión en tu propio Blueprint para compartir ingresos.