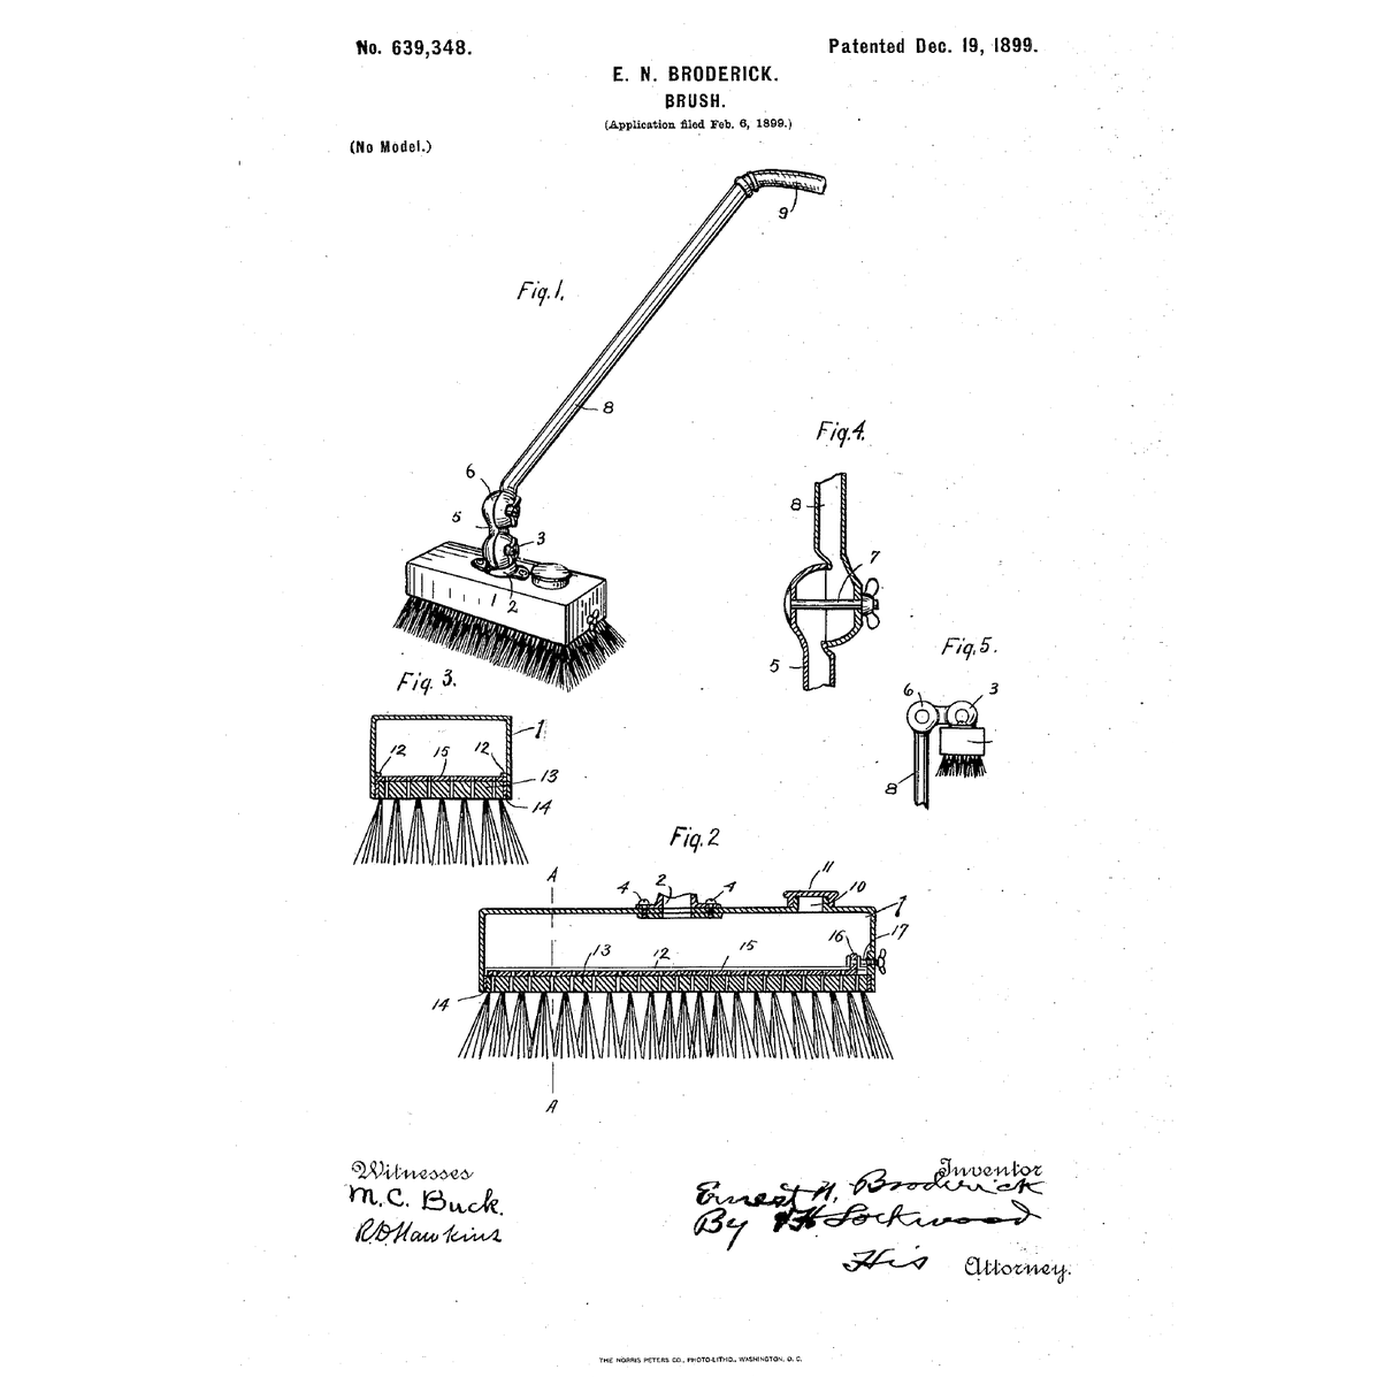


The Tank-Headed Self-Feeding Brush: Soap in the Tank, a Plate to Meter It
Instrucciones
Open area of the plate
Open area of the plate
A scrubbing brush before it
A scrubbing brush before it
Read US 639,348
Read US 639,348
Perforate the brush back
Perforate the brush back
Materiales para este paso:
 Cepillo de fregar1 pieza
Herramientas necesarias:
 Tornillo de banco
 Taladro inalámbrico
 Juego de brocas
 Rotulador permanente
 Regla
 Gafas de seguridad transparentes
Make the sliding plate
Make the sliding plate
Materiales para este paso:
 Chapa de aluminio1 pieza
 Remaches de acero1 pieza
Herramientas necesarias:
 Tijeras de chapaTaladro inalámbricoJuego de brocas
 Limas (lima de mano)
 Juego de remachar
 Martillo de remachar
Build the tank
Build the tank
Materiales para este paso:
Chapa de aluminio1 piezaRemaches de acero1 pieza Sellador de silicona1 pieza
 Tornillo para madera n.º 8 x 1"1 pieza
Herramientas necesarias:
Tijeras de chapaTornillo de bancoJuego de remacharTaladro inalámbricoJuego de brocas Guantes de trabajo de cuero
Fit the adjusting screw
Fit the adjusting screw
Materiales para este paso:
 Tornillos de máquina1 pieza
 Tuerca hexagonal1 pieza
 Epoxi de dos componentes1 pieza
Herramientas necesarias:
Taladro inalámbricoJuego de brocas Juego de destornilladores
Fit the handle
Fit the handle
Materiales para este paso:
 Tubo de cobre1 pieza
 Accesorios de latón1 pieza
 Válvula de bola1 pieza
 Cinta de PTFE para roscas1 pieza
Herramientas necesarias:
 Cortatubos
 Llave inglesa ajustable
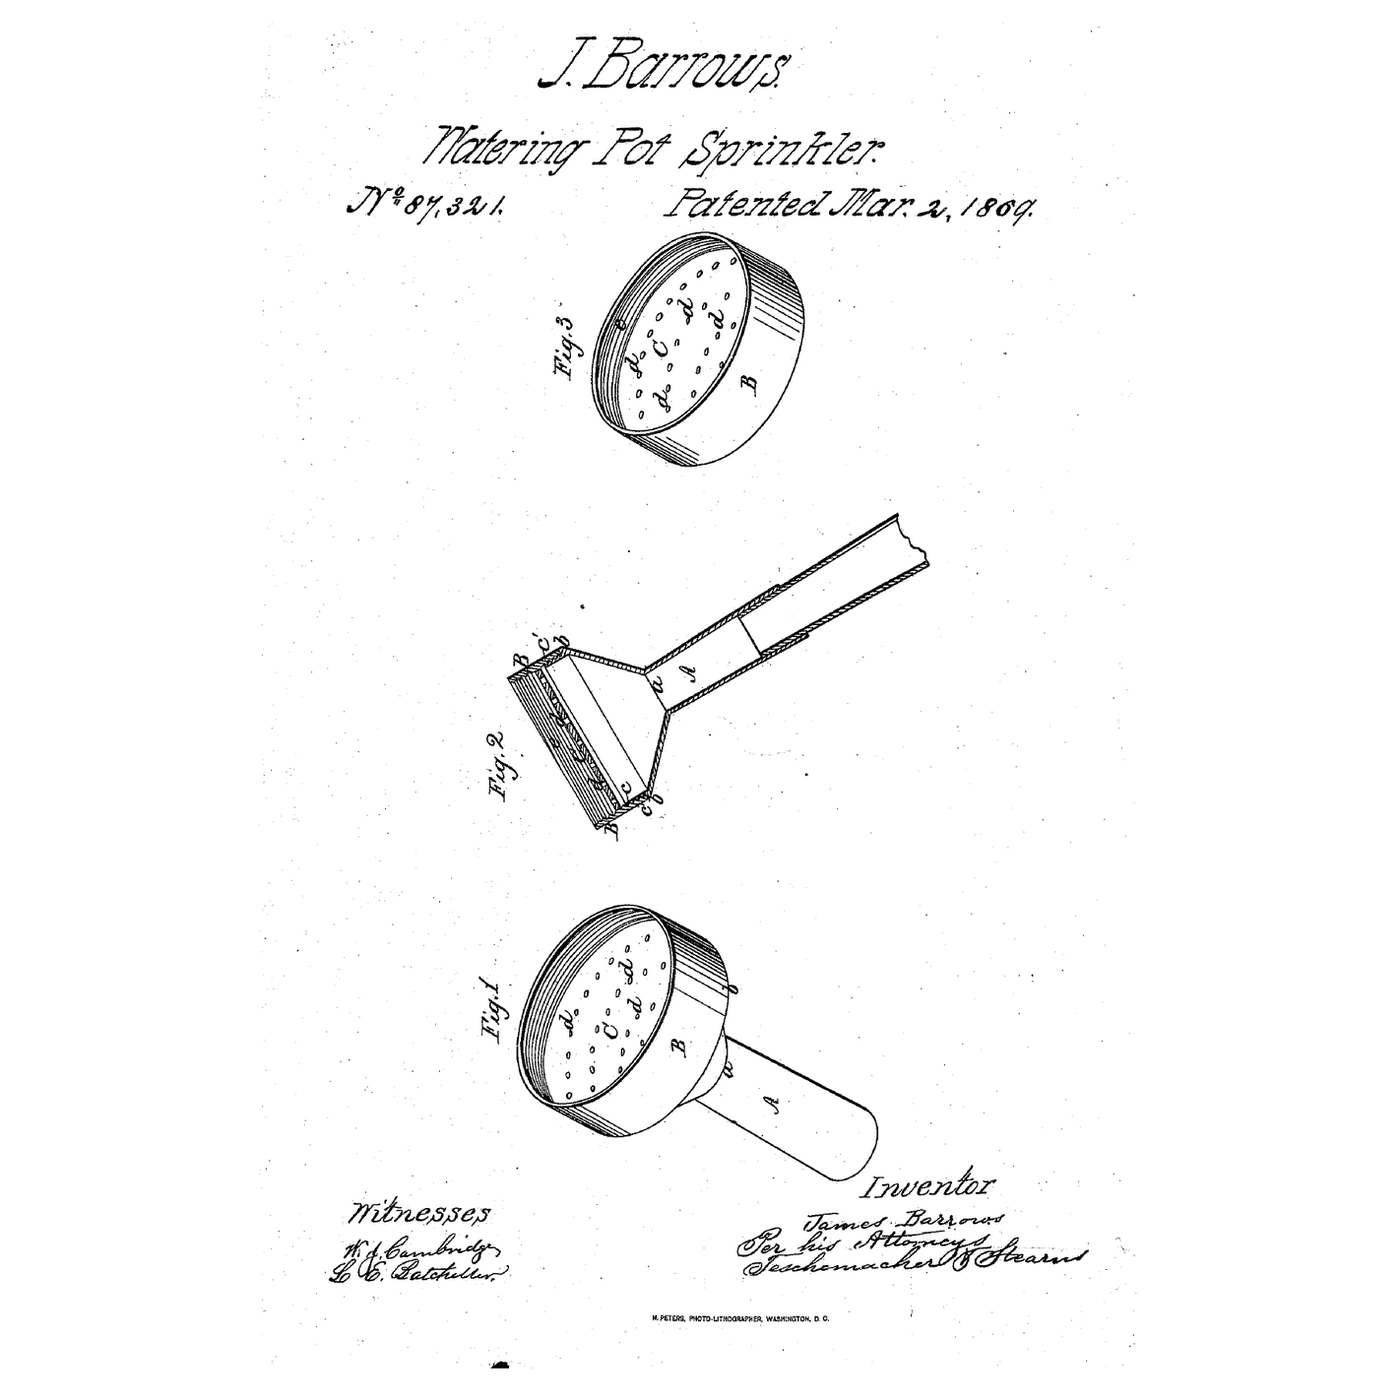
The patent drawing
The patent drawing
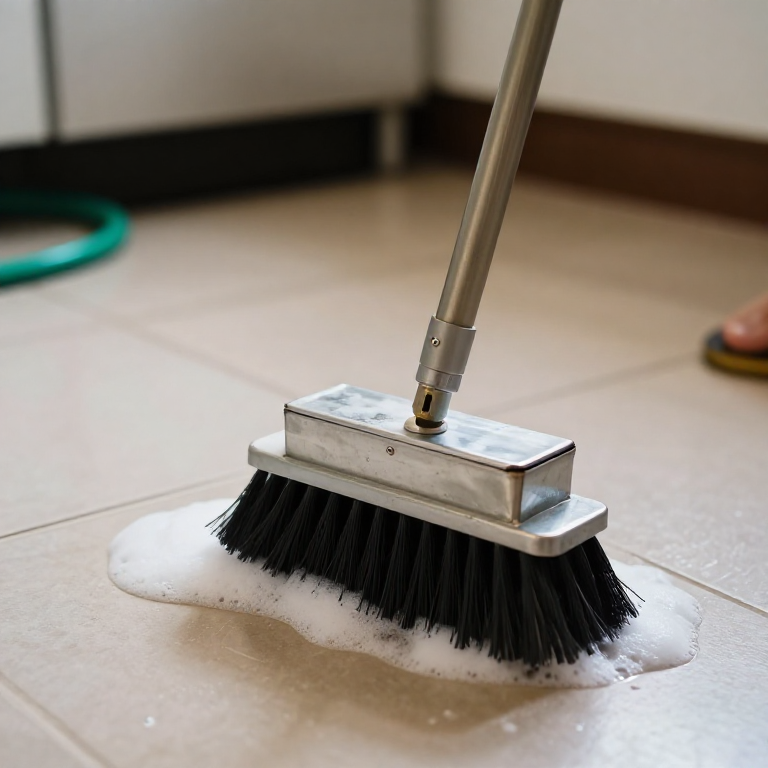
Measure the flow at each setting
Measure the flow at each setting
Materiales para este paso:
 Agua1 pieza
 Jabón de Castilla líquido1 pieza
Herramientas necesarias:
 Jarra medidora
 Cronómetro
 Calibre digital de 6 pulgadas
 Manguera de jardín
A brush that floods, starves or leaks
A brush that floods, starves or leaks
Flow
History and honest limits
History and honest limits
Materiales
14- 1 piezaMarcador de posición
- 1 piezaMarcador de posición
- 2 piezasMarcador de posición
- 1 piezaMarcador de posición
- Marcador de posición
- 1 piezaMarcador de posición
- 1 piezaMarcador de posición
- 1 piezaMarcador de posición
- 1 piezaMarcador de posición
- 1 piezaMarcador de posición
- 1 piezaMarcador de posición
- 1 piezaMarcador de posición
- 1 piezaMarcador de posición
- 1 piezaMarcador de posición
Herramientas requeridas
18- Marcador de posición
- 1 vendor sell this, none ship to you yetMarcador de posición
- Marcador de posición
- Marcador de posición
- Marcador de posición
- Marcador de posición
- Marcador de posición
- Marcador de posición
- Marcador de posición
- Marcador de posición
- Marcador de posición
- Marcador de posición
- Marcador de posición
- Marcador de posición
- Marcador de posición
- Marcador de posición
- Marcador de posición
- Manguera de jardín10% de comisiónMarcador de posición
Blueprints relacionados
Estos blueprints comparten conocimiento — técnicas, materiales o principios



CC0 Dominio público
Este Blueprint se publica bajo CC0. Eres libre de copiar, modificar, distribuir y usar este trabajo para cualquier propósito, sin pedir permiso.
Apoya al Maker comprando productos a través de su Blueprint, donde gana una Comisión del Maker establecida por los vendedores, o crea una nueva iteración de este Blueprint e inclúyela como conexión en tu propio Blueprint para compartir ingresos.