Colaboración
ARTE
BELLEZA Y BIENESTAR
ARTESANÍA
CULTURA E HISTORIA
ENTRETENIMIENTO
MEDIO AMBIENTE
COMIDA Y BEBIDAS
INGENIERÍA INVERSA
CIENCIAS
DEPORTES
TECNOLOGÍA
TECNOLOGÍA VESTIBLE
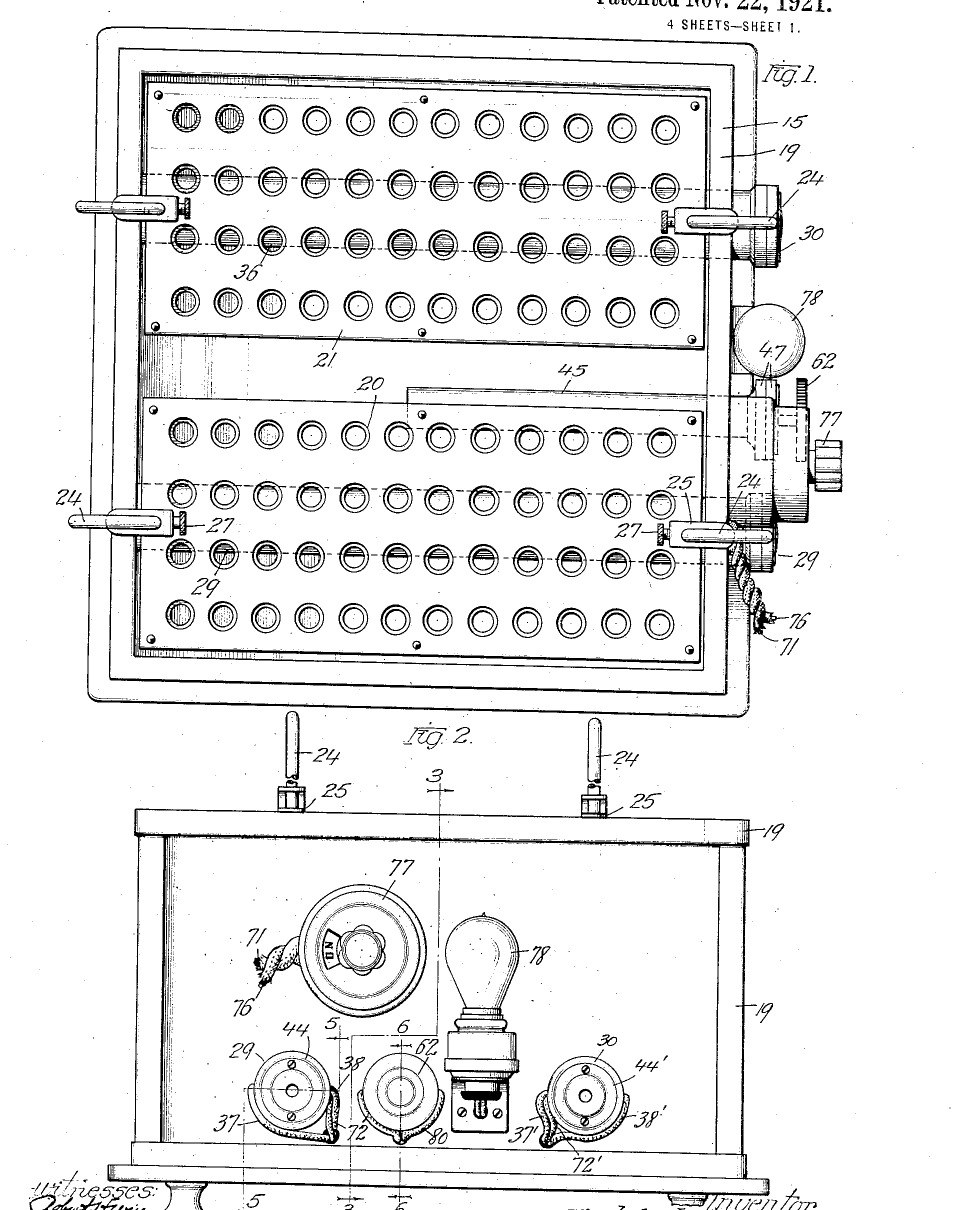


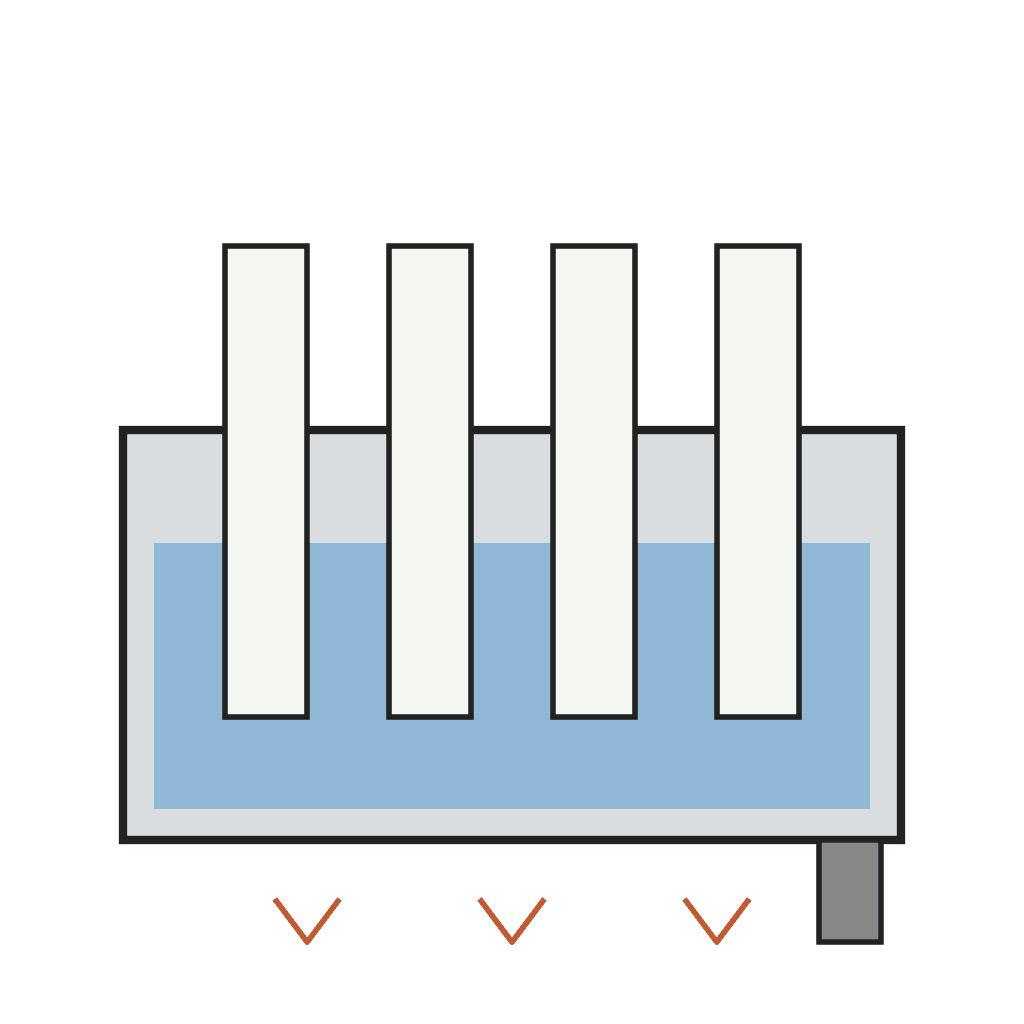
Water Bath: Copper Tank with Plug-In Heaters and an Air-Tube Thermostat (Lidberg, US 1,397,766, 1921)
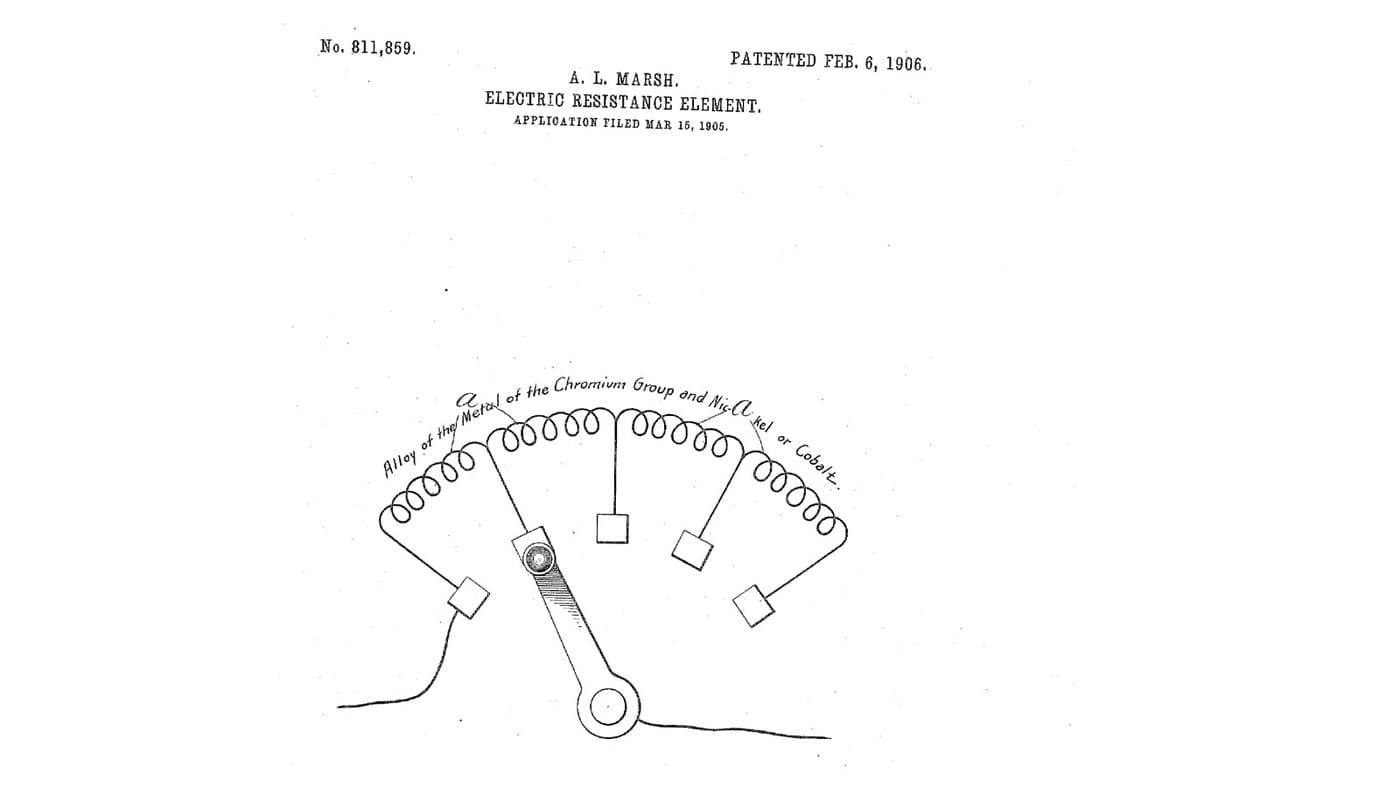
An electric constant-temperature water bath for laboratory and bacteriological work. A copper tank sits in an insulated fibre-board box; two heater tubes and a thermostat tube are soldered through its wall so the heating coils and the switch plug in from outside. A switch adds extra coils to heat the water up quickly; then the thermostat alone holds the set temperature. Perforated trays on adjustable rods hold the tubes or flasks at the depth you choose.
Result: a thermostatic water bath that holds its water at a set temperature.
Source: T. Lidberg (Chicago Surgical & Electrical Co.), US 1,397,766 (1921). Unknown: sizes, the temperature range, the heater wire. Picture: the patent drawing.
Intermedio
Unknown
Instrucciones
1
1
Build the insulated tank
Build the insulated tank
Make a rectangular box of fibrous board on four short legs and line it with hair felt or cloth. Set a sheet copper tank inside, its walls a little taller than the box and turned over the top edge as a bead. Make perforated trays of several shelves, each with an upright rod hooked at the top for lifting, and on each rod a sliding clip with a set screw whose end rests on the tank edge, to set how deep the tray hangs. Not given: sizes.
Materiales para este paso:
 Material desconocido1 fibrous board box, legs
 Tejido desconocido1 hair felt or cloth lining
 Lámina de cobre1 tank
 Placa perforada de criba1 trays
 Metal desconocido1 rods, clips
 Tornillos de máquina1 pieza
Herramientas necesarias:
 Tijeras de chapa
 Soldador de estaño
 Dimensiones desconocidas
2
2
Fit the heater tubes
Fit the heater tubes
Solder two watertight tubes across the tank, each closed at its inner end and open outside the wall, and a third for the thermostat. For each heater, wind two coils on a rod held in the tube by an insulating disk and an end head; join one end of each coil to the rod and the others to plates on the head, and cover the terminals with a cap plate. Slide each heater into its tube. Ours: nichrome wire. Not given: the coil ratings.
Materiales para este paso:
 Tubo de cobre3 heater and thermostat tubes
 Estaño-plomo de soldadura1 as needed
 Hilo de nicrom1 four coilsMetal desconocido2 rods, plates, caps
 Material aislante desconocido1 disks, heads
Herramientas necesarias:
Soldador de estaño Sierra para metales
3
3
Make the air-tube thermostat
Make the air-tube thermostat
In the closed thermostat tube, mount on an insulating disk a strip carrying a thermostatic bar with a contact at its free end. Facing it, pivot an adjustable bar with its own contact on a bracket in the tube's insulating head, held by a spring against an adjusting screw with a knob outside: turning it sets the temperature at which the contacts open. Bridge the contacts with a condenser to stop sparking. The air in the tube takes the bath's temperature and bends the bar. Ours: a bimetallic strip.
Materiales para este paso:
 Lámina bimetálica1 thermostatic barMetal desconocido1 strip, bar, bracket, contacts, screwMaterial aislante desconocido1 disk, head
 Juego de muelles de compresión1 pieza
 Kit de condensadores1 spark condenser
Herramientas necesarias:
 Juego de destornilladores
4
4
Wire and use it
Wire and use it
Wire one coil of each heater through the thermostat, and the other coil of each through a hand switch, with a lamp across the supply to show when current flows. To start, close the switch so all four coils heat the water up. Once it is at temperature, open the switch: the thermostat then switches its two coils on and off to hold the bath steady. Lower the trays of tubes or flasks to the depth wanted.
Materiales para este paso:
 Interruptor de palanca1 pieza
 Portalámparas1 pieza
 Bombilla1 pieza
 Cable flexible con clavija1 pieza
Herramientas necesarias:
Juego de destornilladoresMateriales
17- 1 fibrous board box, legsMarcador de posición
- 1 hair felt or cloth liningMarcador de posición
- 1 tankMarcador de posición
- 1 traysMarcador de posición
- 1 strip, bar, bracket, contacts, screwMarcador de posición
- 1 piezaMarcador de posición
- 3 heater and thermostat tubesMarcador de posición
- 1 as neededMarcador de posición
- 1 four coilsMarcador de posición
- 1 disk, headMarcador de posición
- 1 thermostatic barMarcador de posición
- Marcador de posición
- 1 spark condenserMarcador de posición
- Marcador de posición
- 1 piezaMarcador de posición
- 1 piezaMarcador de posición
- 1 piezaMarcador de posición
Herramientas requeridas
5- Marcador de posición
- 2 vendors sell this, none ship to you yetMarcador de posición
- Marcador de posición
- Marcador de posición
- Marcador de posición
Materiales de Blueprints conectados

Este plano hace
CC0 Dominio público
Este Blueprint se publica bajo CC0. Eres libre de copiar, modificar, distribuir y usar este trabajo para cualquier propósito, sin pedir permiso.
Apoya al Maker comprando productos a través de su Blueprint, donde gana una Comisión del Maker establecida por los vendedores, o crea una nueva iteración de este Blueprint e inclúyela como conexión en tu propio Blueprint para compartir ingresos.