
ART
BEAUTÉ ET BIEN-ÊTRE
ARTISANAT
CULTURE ET HISTOIRE
DIVERTISSEMENT
ENVIRONNEMENT
NOURRITURE ET BOISSONS
INGÉNIERIE INVERSE
SCIENCES
SPORTS
TECHNOLOGIE
TECHNOLOGIE PORTABLE
Air Blow Gun: Press-Button Valve and Conical Air Shield
Martin

Créé par

Martin

23. octobre 2026NO
8
0
0
0
0

Air Blow Gun: Press-Button Valve and Conical Air Shield

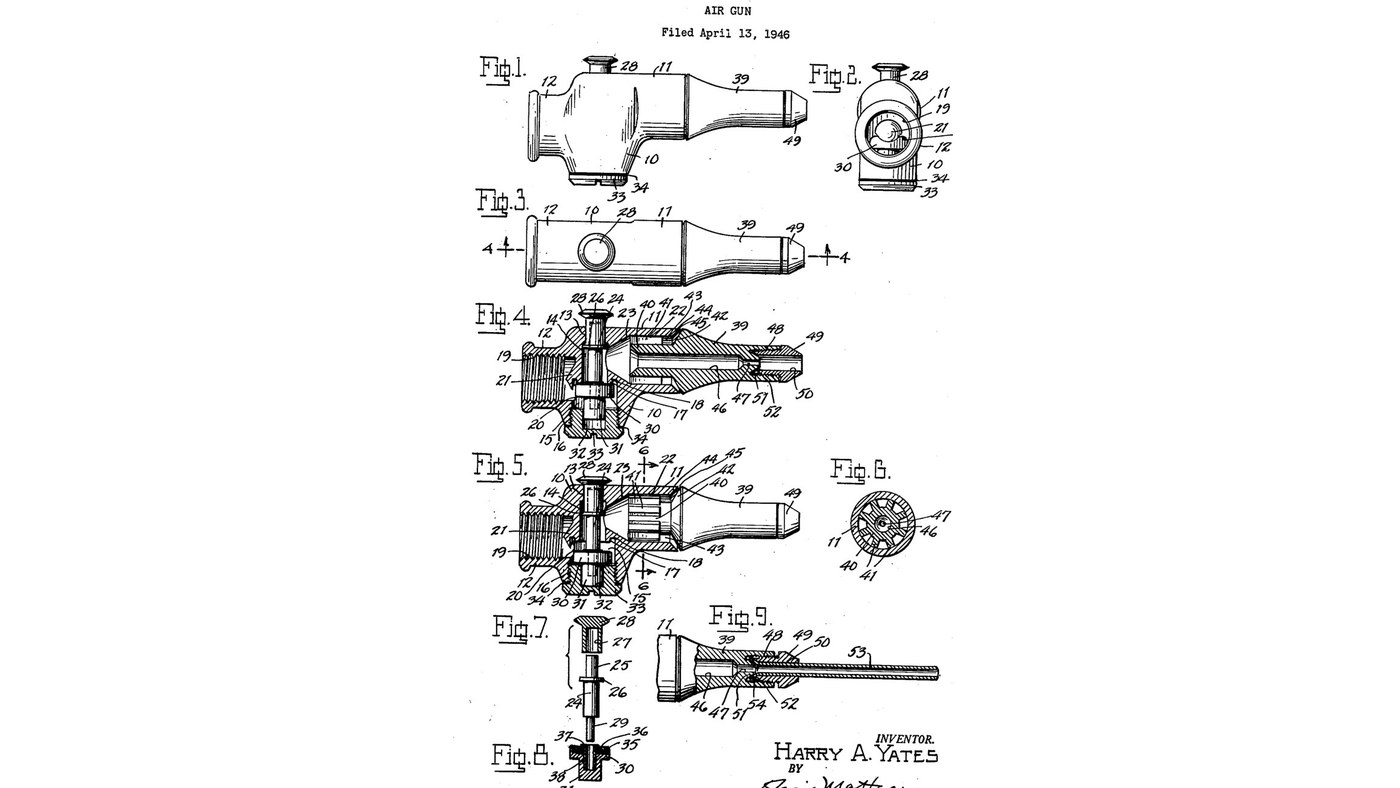
Harry Yates's air gun (US 2,604,361, 1952) for blowing chips off lathes and drills. A press-button valve is held shut by the line pressure itself; pressed, it lets air into a ribbed nozzle that splits it into a central jet and a cone of air from a ring slot, which keeps flying chips away from the worker's eyes. The rubber valve face comes out by unscrewing one cap. The patent gives no materials (except the rubber face), threads or sizes; the machine tools named are ours. The picture: the patent's drawing.
Avancé
1 day

Consignes

1

Bore the body

Bore the body's vertical opening: stem bearing (13), wider air passage (14), wider chamber (15) threaded at the bottom (16), with a valve seat rib (17) undercut round its edge. Ours: lathe and boring bar, tap for the thread.

Matériaux pour cette étape :

Corps de souffletteCorps de soufflette1 pièce

Outils nécessaires :

Tour à métauxTour à métaux
Barre d'alésageBarre d'alésage
Jeu de tarauds et filièresJeu de tarauds et filières
2

Bore the hose pocket so it breaks into the chamber

Bore and thread the hose pocket (19) so its edge cuts into the chamber, opening the port (20) and leaving a centre projection (21): an overhang that turns incoming air down into the chamber, away from the seat.

Outils nécessaires :

Tour à métauxTour à métaux
Barre d'alésageBarre d'alésage
Jeu de tarauds et filièresJeu de tarauds et filières
3

Bore the barrel

Bore the front barrel (11) to a cylindrical pocket (22) joined to the air passage by a tapered passage (23). Bevel the barrel's front end (44).

Outils nécessaires :

Tour à métauxTour à métaux
Barre d'alésageBarre d'alésage
4

Fit stem and press-button

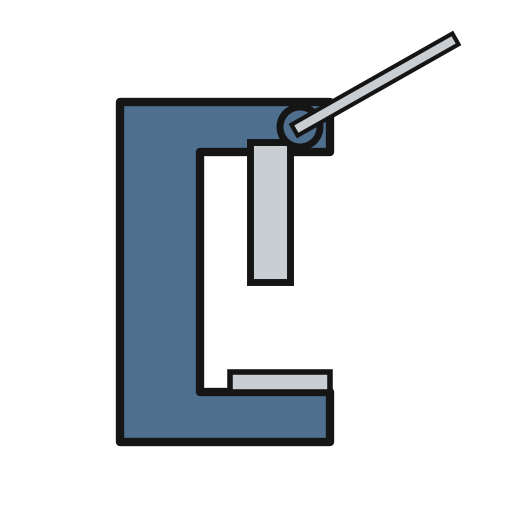
Pass the valve stem (24) up through the body and press its stud (25) into the socket (27) of the press-button (28). The button slides in the bearing; the stem's flange (26) stops it coming out upward, the button head downward. Ours: arbor press.

Matériaux pour cette étape :

Tige de soupapeTige de soupape1 pièce
Bouton-poussoir de soupapeBouton-poussoir de soupape1 pièce

Outils nécessaires :
Presse d'établi à levierPresse d'établi à levier
5

Make the valve closure

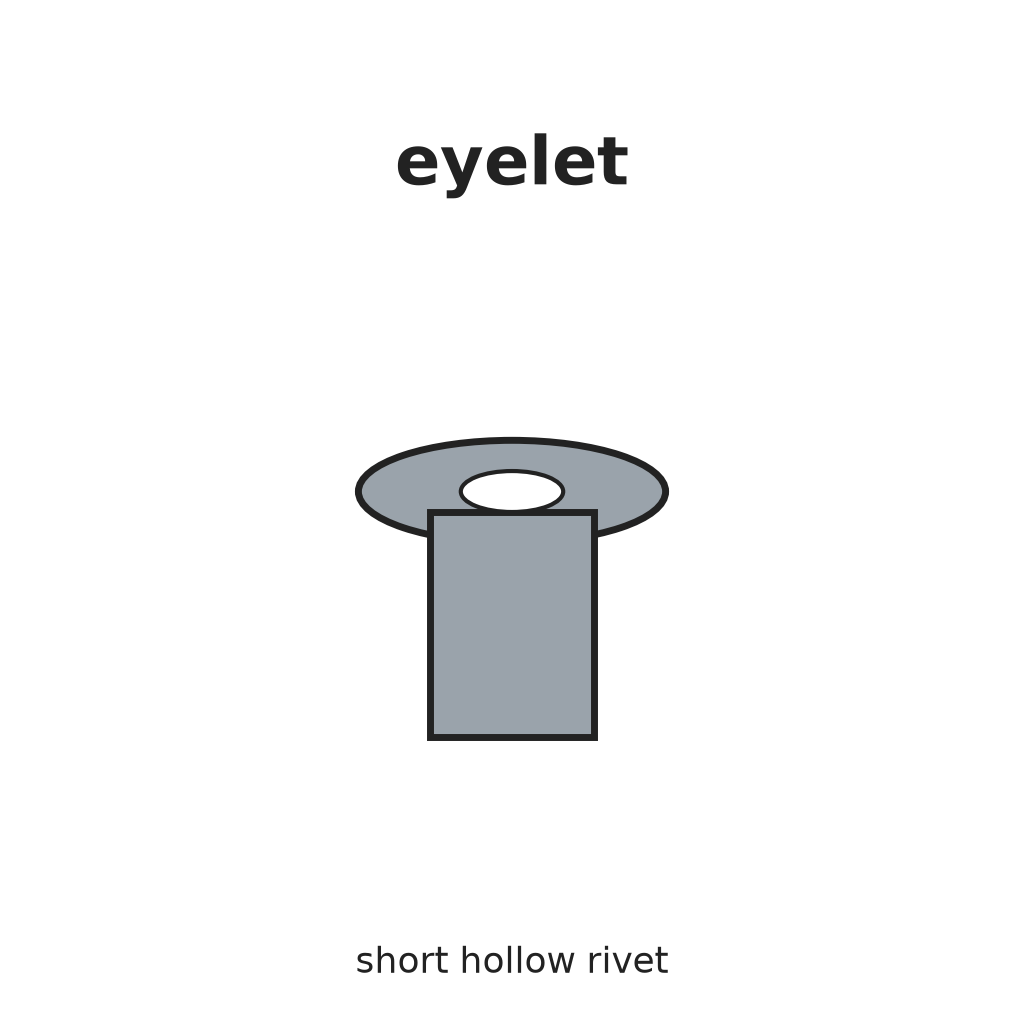
Set the rubber valve face (36) in the recess (35) on top of the closure member (30) and press a flanged tubular eyelet (37) into its centre hole (38) to hold it.

Matériaux pour cette étape :

Clapet de fermetureClapet de fermeture1 pièce
Garniture de clapet en caoutchoucGarniture de clapet en caoutchouc1 pièce
ŒilletŒillet1 pièce

Outils nécessaires :

Presse d'établi à levierPresse d'établi à levier
6

Close the chamber

Slide the closure's stud (31) into the pocket (32) of the closure cap (33) and screw the cap into the chamber, a gasket (34) under its flange. The stem's pin (29) rests on the closure. Ours: flat screwdriver in the cap's slot.

Matériaux pour cette étape :

Bouchon d'obturationBouchon d'obturation1 pièce
Joint platJoint plat1 pièce

Outils nécessaires :

Tournevis platTournevis plat
7

Press in the nozzle

Force the nozzle's ribs (41) into the barrel pocket (22) until its inner end stops on the tapered passage (23). That stop fixes the ring slot (45) between the nozzle's cone shoulder (42) and the barrel bevel (44).

Matériaux pour cette étape :

Buse d'airBuse d'air1 pièce

Outils nécessaires :

Presse d'établi à levierPresse d'établi à levier
8

Screw on the tip and the hose nipple

Screw the tip (49) into the nozzle's threaded pocket (48); its bore (50) is wider than the jet hole (47) so it does not touch the jet, and it can clamp an extension tube. Screw a hose nipple into the hose pocket (19).

Matériaux pour cette étape :

Embout de buseEmbout de buse1 pièce
Raccord fileté pour tuyauRaccord fileté pour tuyau1 pièce

Outils nécessaires :

Clé à moletteClé à molette
9

Try the jet and the shield

Ours: connect an air hose from a compressor. The line pressure alone holds the valve shut. Press the button: a central jet leaves the jet hole, and a cone of air from the ring slot surrounds it.

Outils nécessaires :

Compresseur d'airCompresseur d'air
Tuyau d'air compriméTuyau d'air comprimé

Matériaux

11

Outils requis

8

Blueprints liés

Ces blueprints partagent des connaissances — techniques, matériaux ou principes
CC0 Domaine public

Ce blueprint est publié sous CC0. Vous êtes libre de copier, modifier, distribuer et utiliser ce travail pour tout usage, sans demander la permission.

Soutenez le Maker en achetant des produits via son Blueprint où il perçoit une Commission Maker définie par les Vendeurs, ou créez une nouvelle itération de ce Blueprint et incluez-le comme connexion dans votre propre Blueprint pour partager les revenus.

Commentaires

(0)

Se connecter pour participer à la discussion

Chargement des commentaires...