
ART
BEAUTÉ ET BIEN-ÊTRE
ARTISANAT
CULTURE ET HISTOIRE
DIVERTISSEMENT
ENVIRONNEMENT
NOURRITURE ET BOISSONS
INGÉNIERIE INVERSE
SCIENCES
SPORTS
TECHNOLOGIE
TECHNOLOGIE PORTABLE
Air-Pump Annular Dasher Churn: A Pump in the Middle, a Ring Dasher Round It
Martin

Créé par

Martin

6. octobre 2026NO
8
0
0
0
0

Air-Pump Annular Dasher Churn: A Pump in the Middle, a Ring Dasher Round It

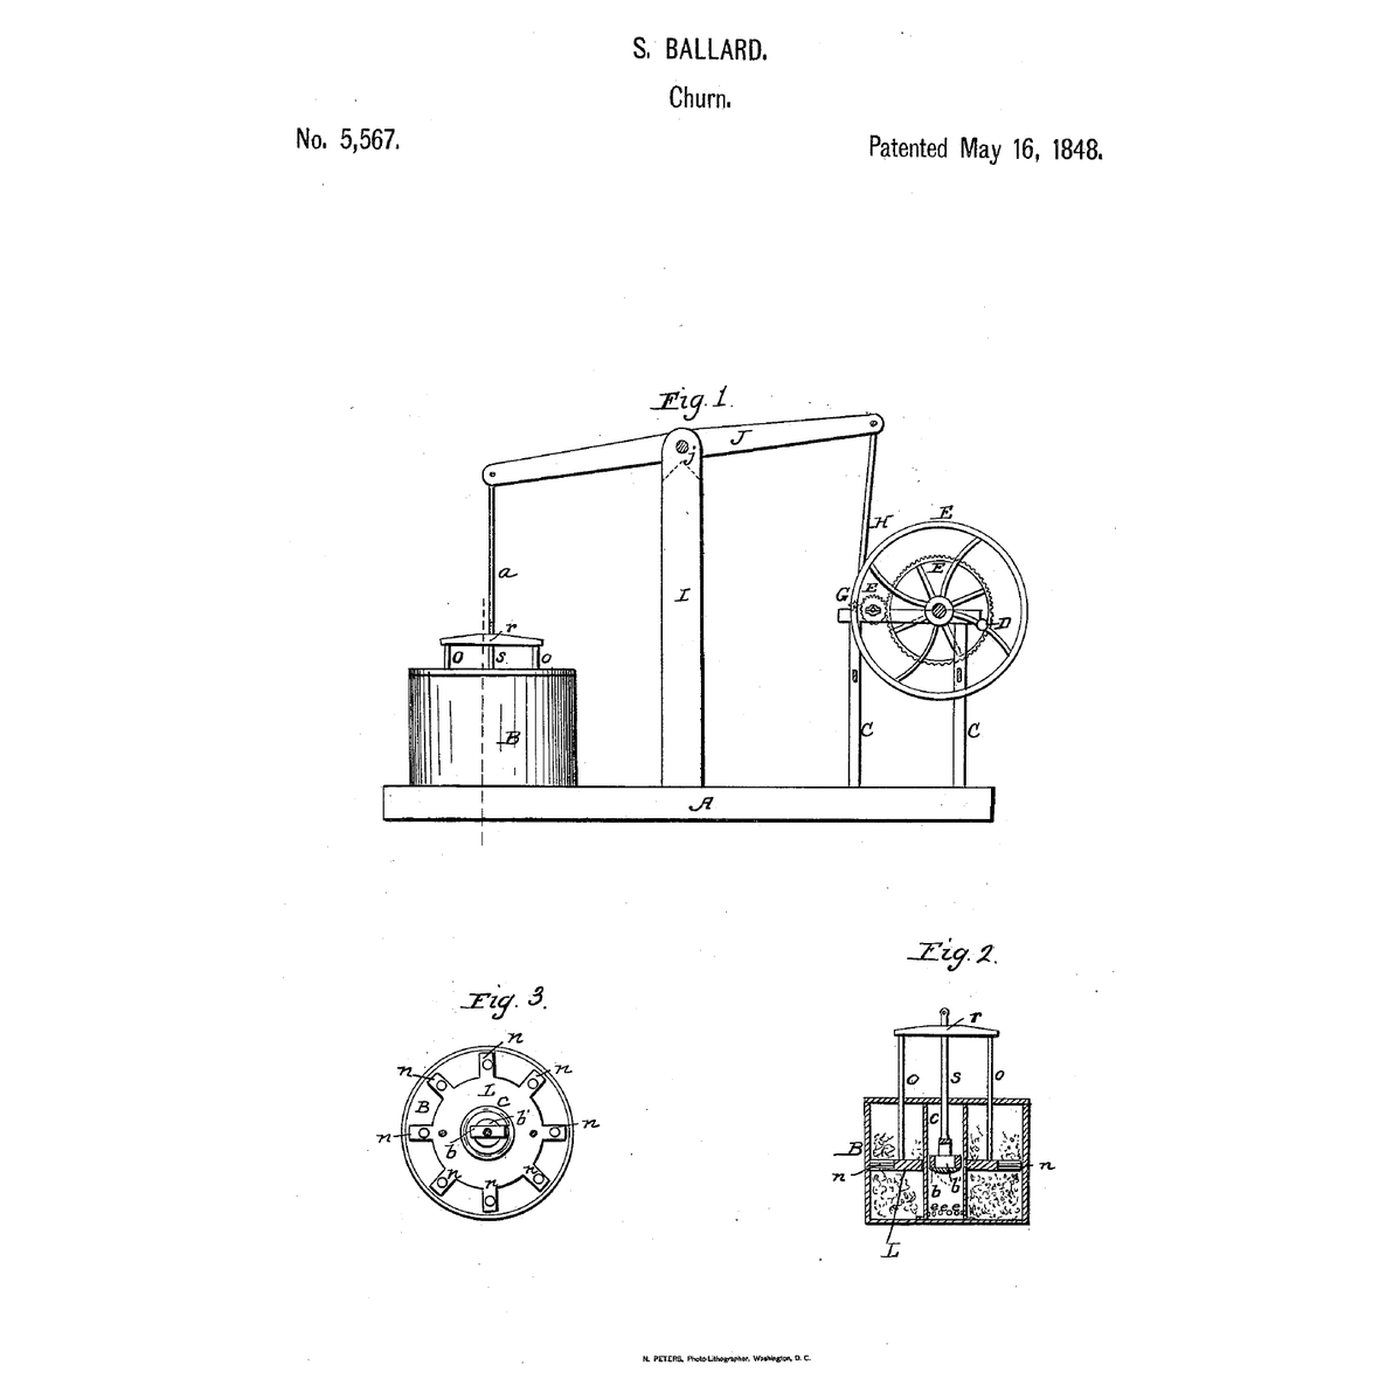
Ballard combined "an air pump with the reciprocating dasher of the common upright tub or barrel churn." Stephen Ballard of Meigs Creek, Ohio, received US 5,567, dated 16 May 1848, for an atmospheric churn: a pump cylinder fixed upright in the middle of the tub, closed at the bottom, with valves round its lower edge opening outward and a piston whose valve opens downward, "in the manner of a common pump"; and an annular dasher with radial arms that slides over the cylinder, joined by rods to the piston rod's crosshead. A working beam on a standard, driven through cog wheels, a balance wheel, crank and pitman, works both. This rung works out the air pumped, then prints the cylinder, piston, ring dasher and crosshead, works them by a hand beam, and makes butter.
Avancé
About 6 hours, plus printing

Consignes

1

Air pumped

Chargement du notebook Jupyter…
2

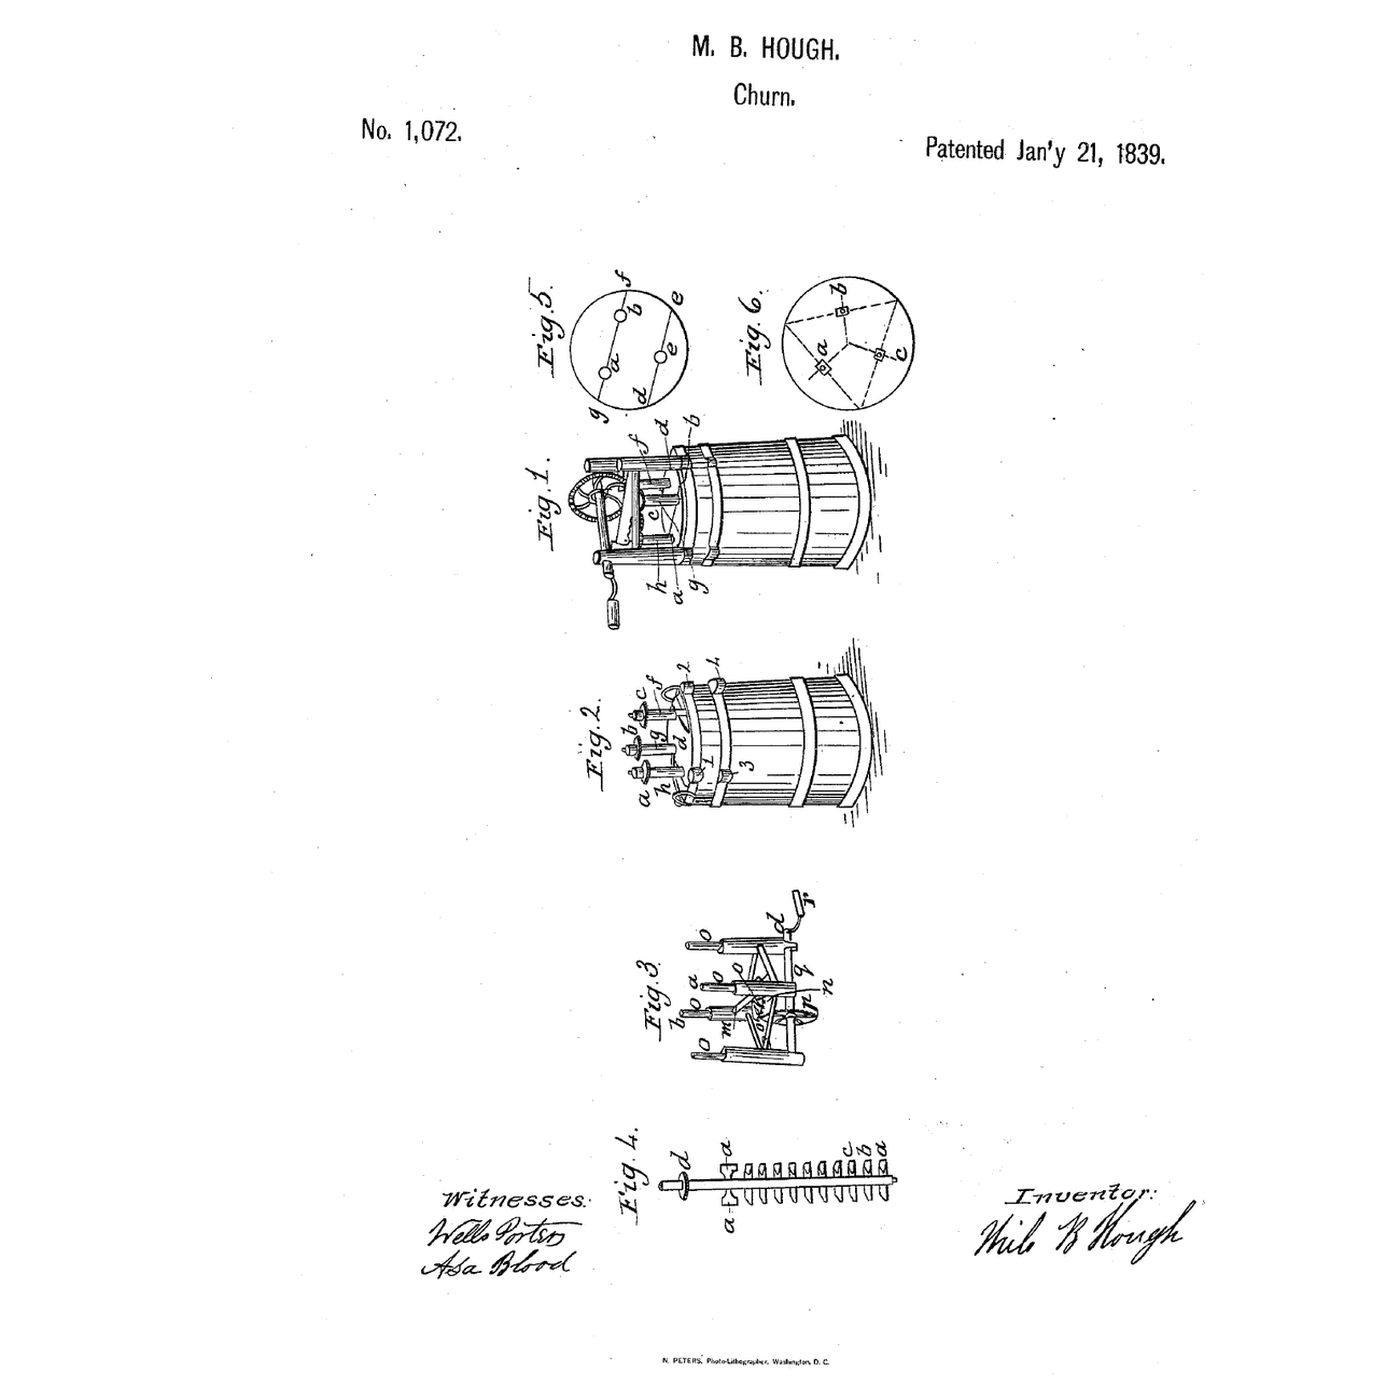
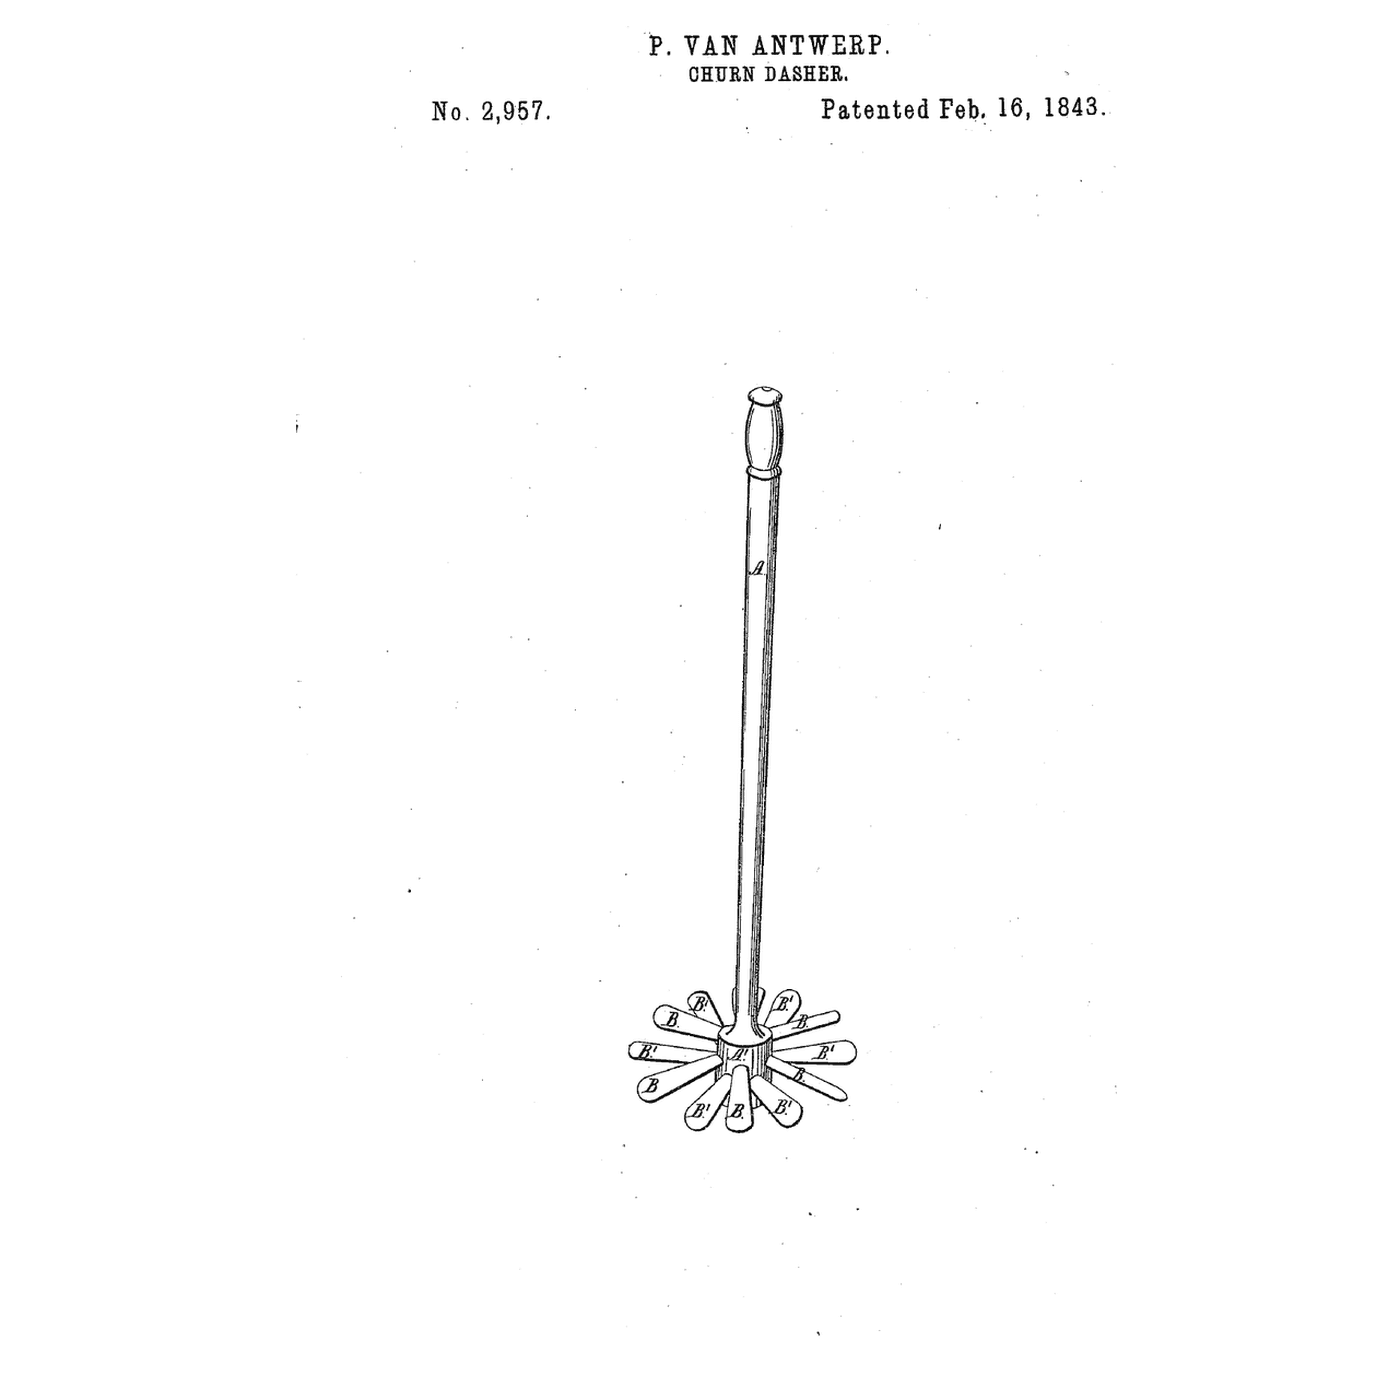
An up-and-down dasher before it

The embedded blueprint improves the common upright dash. Ballard puts a pump inside the dasher's ring.
3

Read US 5,567

"Within the cylinder a bucket or piston (b) is fitted in the manner of a common pump, but with the valve (b') of the piston opening downward, in order that when the piston rises the air may pass down through it into the lower part of the cylinder to be forced out through the valves (e e e e) around the bottom of the cylinder into the surrounding cream when the piston is depressed."
4

Print the parts

Print the pump cylinder upright on its base (/uploads/blueprints/air-pump-annular-dasher-churn-pump-cylinder.stl), the piston (/uploads/blueprints/air-pump-annular-dasher-churn-piston.stl), the ring dasher with its eight arms (/uploads/blueprints/air-pump-annular-dasher-churn-dasher.stl) and the crosshead (/uploads/blueprints/air-pump-annular-dasher-churn-crosshead.stl). Print in PETG at 0.2 mm layers, 30 % infill, 4 walls; wash before first use.

Matériaux pour cette étape :

Filament PETGFilament PETG1 pièce

Outils nécessaires :

Imprimante 3D à filament (FDM)Imprimante 3D à filament (FDM)
5

Valves

Cut a strip of thin leather and glue it round the outside of the cylinder along its top edge only, over the six ports near the foot, so it lifts to let air out and closes against cream. Cut a leather disc to lie on top of the piston over its four holes, held at the centre by the rod, so air passes down but not up. Fit a leather cup washer in the piston's groove.

Matériaux pour cette étape :

Bande de cuirBande de cuir1 pièce
Colle à boisColle à bois1 pièce

Outils nécessaires :

Jeu de tournevisJeu de tournevis
6

Tub, rods and beam

Screw the cylinder's base to the centre of a food-grade bucket's floor, sealed with silicone. Thread an M8 rod through the crosshead and piston with nuts, slide the ring dasher over the cylinder, and join it to the crosshead by two 4 mm steel rods. Stand a pine post beside the bucket, pivot a pine beam on it, and hang the crosshead from the beam's end so a hand on the other end works piston and dasher together.

Matériaux pour cette étape :

Seau de 20 litresSeau de 20 litres1 pièce
Mastic siliconeMastic silicone1 pièce
Tige filetéeTige filetée1 pièce
Écrou hexagonalÉcrou hexagonal1 pièce
Rond en acier douxRond en acier doux1 pièce
Planche de pinPlanche de pin1 pièce
Vis à bois #8 x 1"Vis à bois #8 x 1"1 pièce
Vis à métauxVis à métaux1 pièce

Outils nécessaires :

Scie à métauxScie à métaux
Perceuse sans filPerceuse sans fil
Jeu de foretsJeu de forets
Jeu de tournevisJeu de tournevis
Clé à moletteClé à molette
Scie égoïneScie égoïne
7

The build in 3D

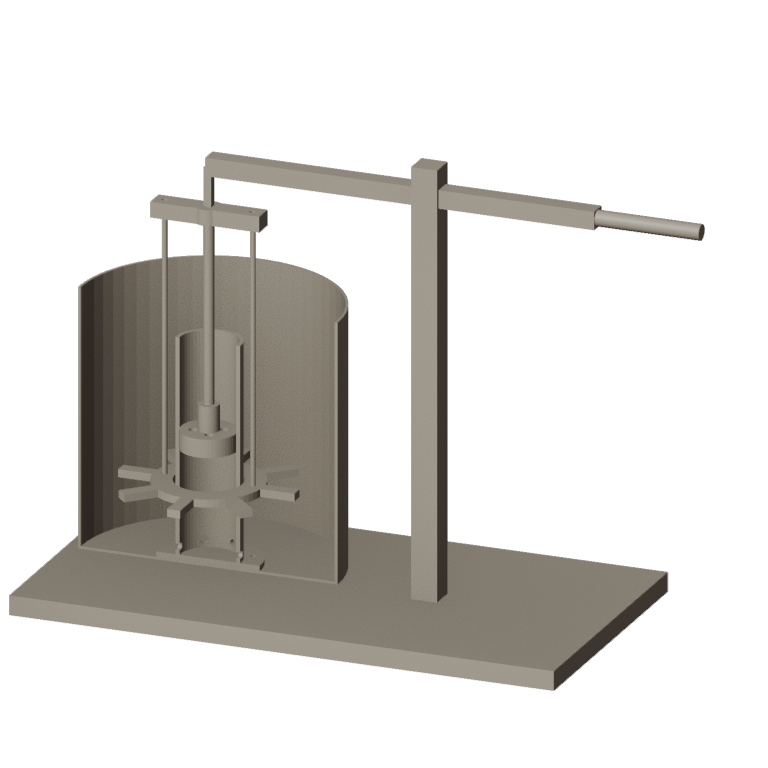
FreeCAD model of this build, not of the patent: the tub and pump cylinder cut away to show the piston and the valve ports round the cylinder's foot, the ring dasher on the cylinder, its rods to the crosshead, and the hand beam on its standard.
Fichier de designBLENDCC0 - Free
8

Pump and make butter

Let the heavy cream stand until it reaches about 15 °C, checked with the thermometer. Pour in 1.5 litres, enough to cover the ports. Work the beam steadily; bubbles should rise on each down-stroke. Time until the butter comes. Pour off the buttermilk, add cold water, churn a little and pour off again until it runs clear; work in a pinch of salt and weigh the butter.
Étape 8 - Image 1

Matériaux pour cette étape :

Crème liquide entièreCrème liquide entière1500 ml
Gros sel marinGros sel marin1 pièce
EauEau1 pièce

Outils nécessaires :

Thermomètre à sonde à demeureThermomètre à sonde à demeure
ChronomètreChronomètre
Balance de cuisine numériqueBalance de cuisine numérique
Grand cul-de-poule en acier inoxydableGrand cul-de-poule en acier inoxydable
9

No bubbles, cream in the pump

Air-pump annular dasher churn troubleshooting.

Flow

Loading...
10

History and honest limits

**Stephen Ballard** of Meigs Creek, Morgan County, Ohio, received US 5,567, dated 16 May 1848. The cylinder was held to the bottom by a button, screw or other means for ready removal; the machine could be worked by "manual, dog, water, or other power." He wrote that the air acts "chemically by imparting its oxygen to acidify the cream"; that is his explanation, not a measured fact. He claimed "the combination of the reciprocating annular dasher and air pump with the tub or barrel to contain the cream." **Honest limits.** A bucket and printed parts stand in for his tub and pump, and a hand beam for his cog wheels, balance wheel, crank and pitman. FDM prints hold food in their layer lines, so wash well and replace when worn. Your times and weights are the result.

Matériaux

14

Outils requis

11

Fichiers de conception

1

CC0 Domaine public

Ce blueprint est publié sous CC0. Vous êtes libre de copier, modifier, distribuer et utiliser ce travail pour tout usage, sans demander la permission.

Soutenez le Maker en achetant des produits via son Blueprint où il perçoit une Commission Maker définie par les Vendeurs, ou créez une nouvelle itération de ce Blueprint et incluez-le comme connexion dans votre propre Blueprint pour partager les revenus.

Commentaires

(0)

Se connecter pour participer à la discussion

Chargement des commentaires...