Making Blister Steel by Cementation — Carburizing Wrought Iron into Steel
Wrought iron bends but will not hold an edge; cast iron holds an edge but shatters. Steel — iron with just the right sliver of carbon — does both, and for centuries the great problem of metalworking was how to make it reliably. The cementation process, used across Europe from the 1600s, was the first method to manufacture steel in quantity from ordinary wrought iron bars.
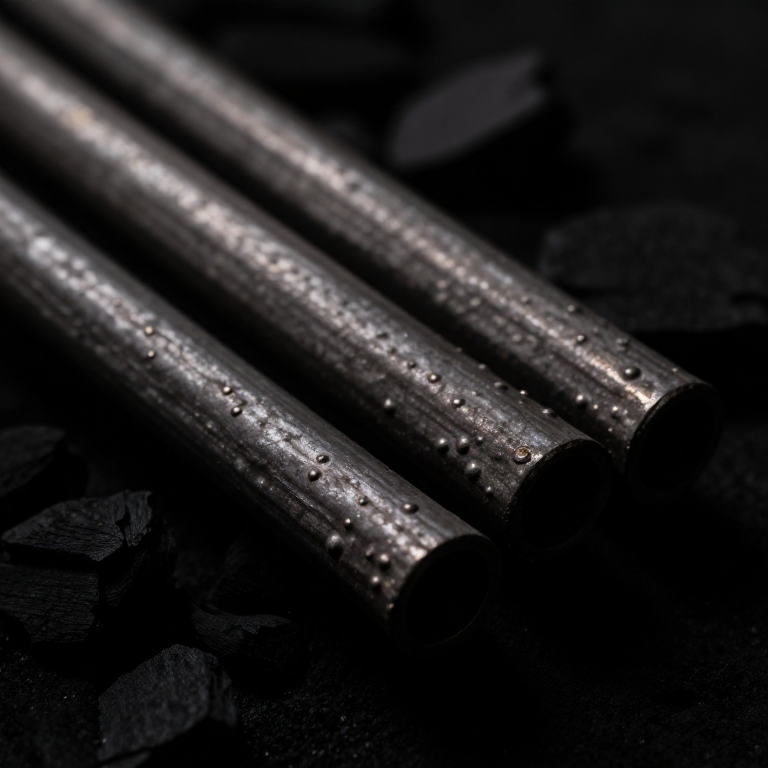
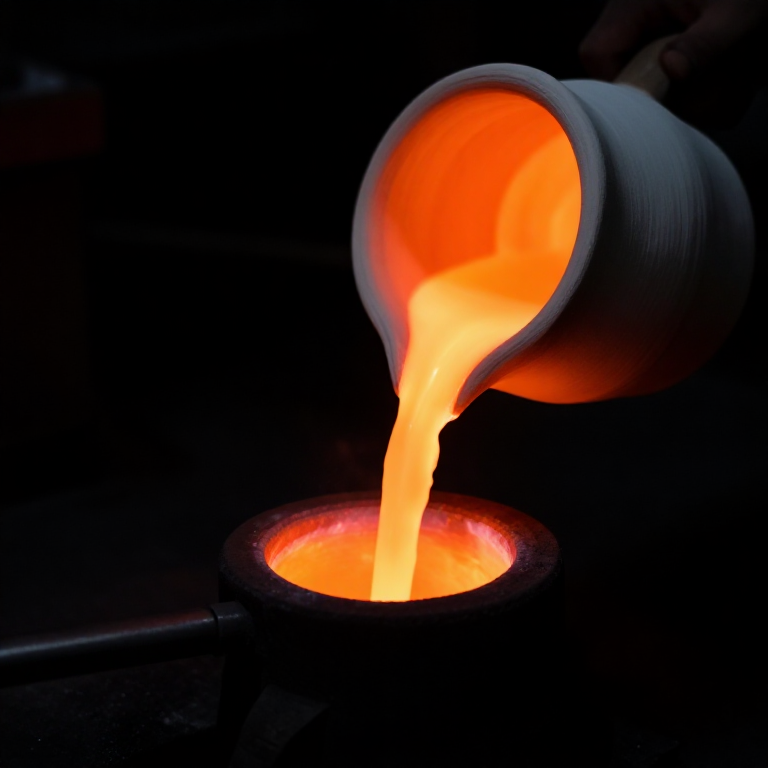
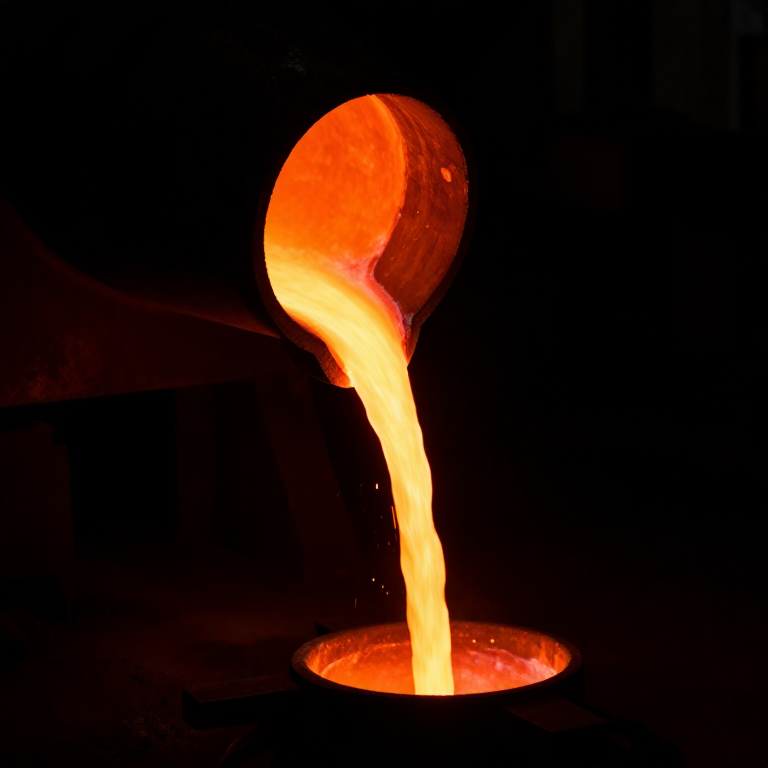
The idea is to add carbon to solid iron without ever melting it. Bars of wrought iron are packed in powdered charcoal inside a sealed stone chest and roasted for a week at a bright red heat. Over those days, carbon slowly creeps out of the charcoal and diffuses into the surface of the iron, turning the skin into steel. Gas trapped under the surface raises little blisters across the bars — which is why the product is called blister steel.
Blister steel is uneven, carbon-rich at the surface and soft in the core, so smiths refined it further: forge-welding and folding it into shear steel, or melting it in crucibles into perfectly uniform cast steel. But cementation was the foundation — the step that first made steel an industrial material rather than a rare treasure.
Consignes
Understand cementation
Understand cementation
Select wrought iron bars
Select wrought iron bars
Matériaux pour cette étape :
 Wrought Iron Bars20 kg
Build the cementation chest
Build the cementation chest
Matériaux pour cette étape :
 Firebrick60 pièces
Outils nécessaires :
 Trowel
Crush the charcoal
Crush the charcoal
Matériaux pour cette étape :
 Charcoal15 kg
Outils nécessaires :
 Hammer
Pack iron and charcoal in layers
Pack iron and charcoal in layers
Seal the chest with clay
Seal the chest with clay
Matériaux pour cette étape :
 Clay10 kg
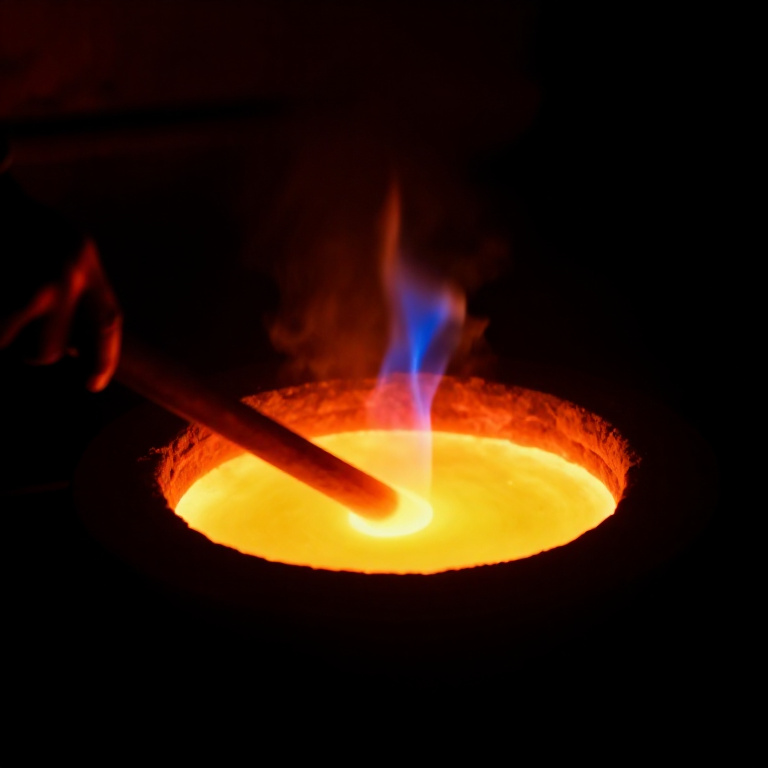
Fire at red heat for days
Fire at red heat for days
Matériaux pour cette étape :
 Bituminous Coal200 kg
Let the carbon diffuse
Let the carbon diffuse
Recognise the blisters
Recognise the blisters
Outils nécessaires :
 Tongs
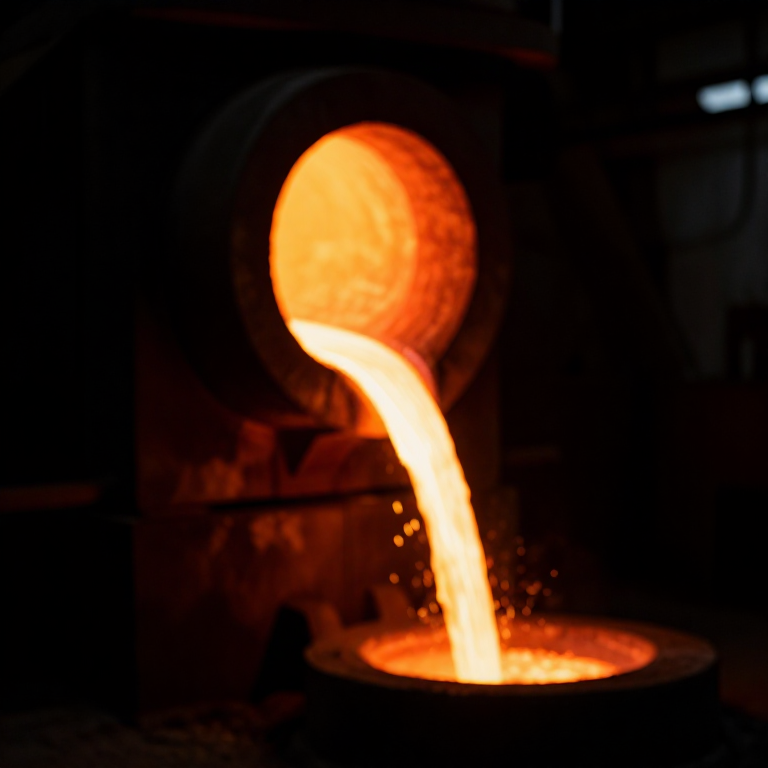
TongsCool slowly and open
Cool slowly and open
Outils nécessaires :
TongsRefine into shear steel
Refine into shear steel
Outils nécessaires :
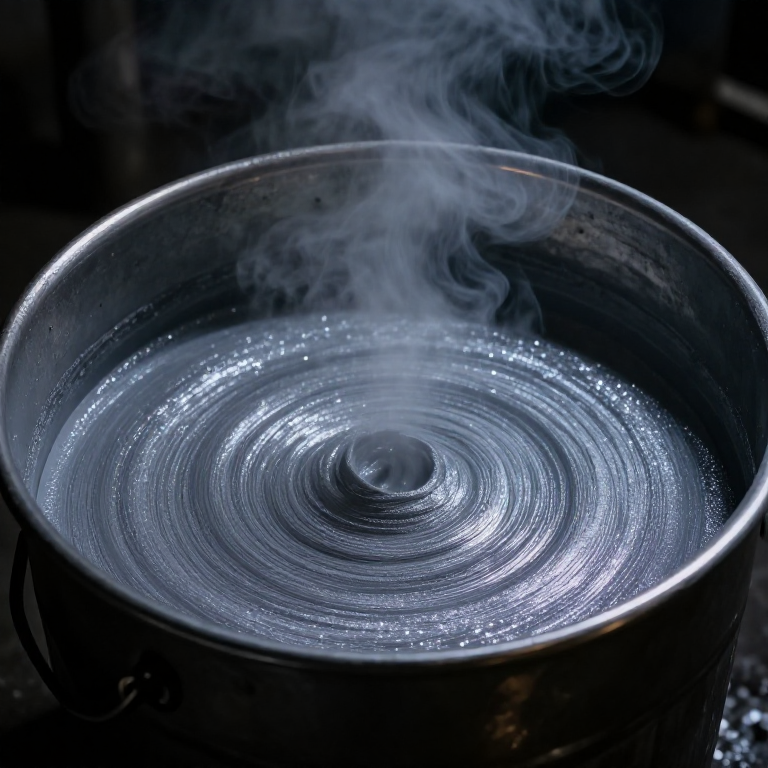
HammerTest that it is steel
Test that it is steel
Matériaux pour cette étape :
 Water5 litres
Matériaux
6- 20 kgEspace réservé
- 60 piècesEspace réservé
- 200 kgEspace réservé
Matériaux des Blueprints connectés
Blueprints liés
Ces blueprints partagent des connaissances — techniques, matériaux ou principes
Related blueprints
Other builds that share materials, tools, or techniques with this one.
CC0 Domaine public
Ce blueprint est publié sous CC0. Vous êtes libre de copier, modifier, distribuer et utiliser ce travail pour tout usage, sans demander la permission.
Soutenez le Maker en achetant des produits via son Blueprint où il perçoit une Commission Maker définie par les Vendeurs, ou créez une nouvelle itération de ce Blueprint et incluez-le comme connexion dans votre propre Blueprint pour partager les revenus.