ART
BEAUTÉ ET BIEN-ÊTRE
ARTISANAT
CULTURE ET HISTOIRE
DIVERTISSEMENT
ENVIRONNEMENT
NOURRITURE ET BOISSONS
INGÉNIERIE INVERSE
SCIENCES
SPORTS
TECHNOLOGIE
TECHNOLOGIE PORTABLE
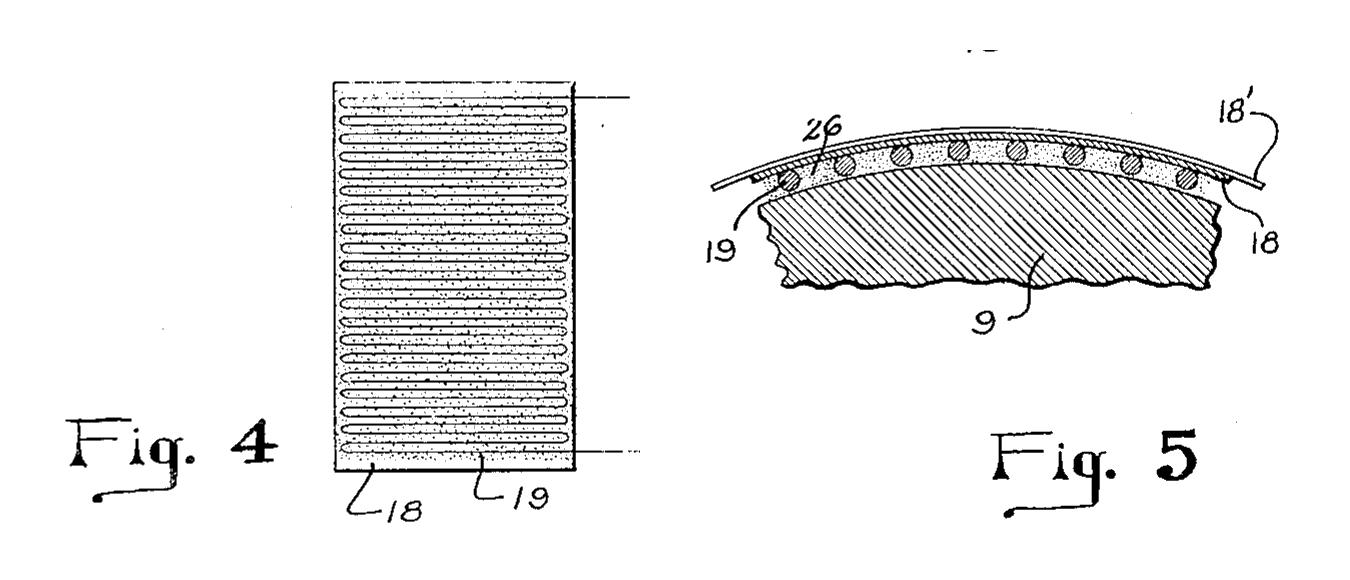


Bonded Wire Strain Gauge on Paper: Simmons, 1942
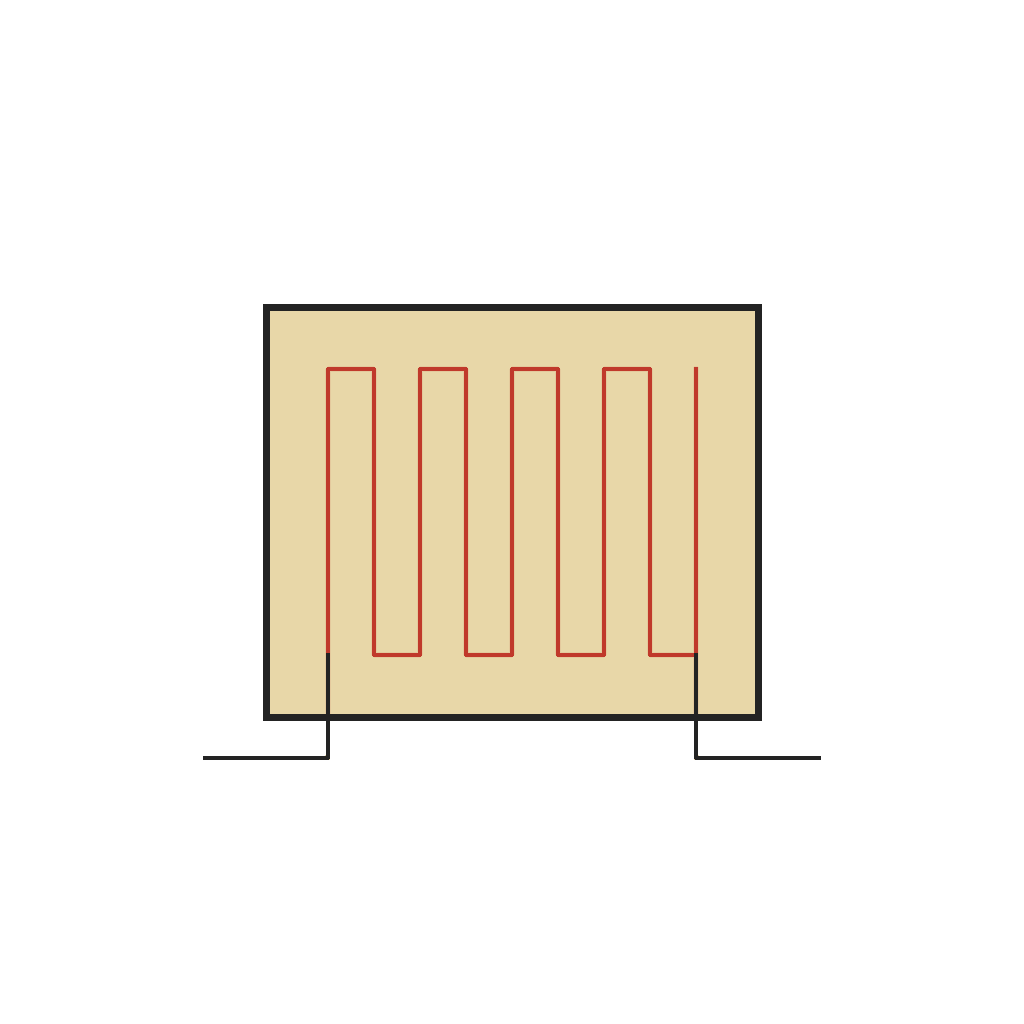
Edward E. Simmons, Jr. of Pasadena patented the bonded wire strain gauge in 1942, US 2,292,549 (filed 1940). A very fine resistance wire is cemented to a member along its entire length, so it stretches and shortens exactly with the surface and its electrical resistance follows the strain. His preferred form: Constantan or Advance wire, about 0.003 inch, wound back and forth on a thin paper, set in Glyptal, then cemented to the member and calibrated.
Avancé
Workshop process
Consignes
1
1
Wind the filament on thin paper
Wind the filament on thin paper
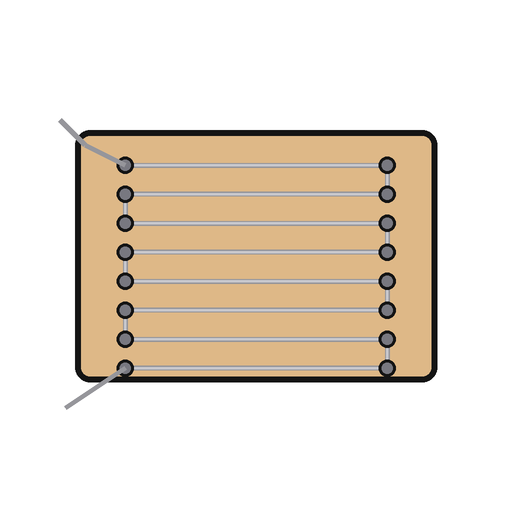
Use a fine resistance wire such as Constantan or Advance (a copper-nickel alloy, about 45 % nickel and 55 % copper); Simmons used No. 40 gauge, about 0.0031 inch. Wind it back and forth across a thin paper in parallel lengths whose alternate ends are joined, the strands very close together but not touching. A winding jig keeps the filament slightly taut.
Matériaux pour cette étape :
 Fil de constantan1 as required
 Papier1 feuille
Outils nécessaires :
 Gabarit d'enroulement
 Ciseaux
2
2
Set it in Glyptal
Set it in Glyptal
Cover the wound filament with Glyptal and let it dry and harden thoroughly. Filament and paper now form one gauge unit, the filament lying in the plane of the paper surface.
Matériaux pour cette étape :
 Résine alkyde Glyptal1 as required
Outils nécessaires :
 Pinceaux fins
 Étuve de séchage
3
3
Cement it to the member
Cement it to the member
Put Glyptal on the surface of the member and wrap the gauge unit on with the strands running in the direction of the strain to be measured, the paper outside. The small amount of Glyptal on the surface insulates the filament from the member. Hold filament and paper in place by wrapping them with thread, then dry and harden the Glyptal thoroughly.
Matériaux pour cette étape :
Résine alkyde Glyptal1 as required Fil de coton1 as required
Outils nécessaires :
Pinceaux finsÉtuve de séchageCiseaux4
4
Calibrate it
Calibrate it
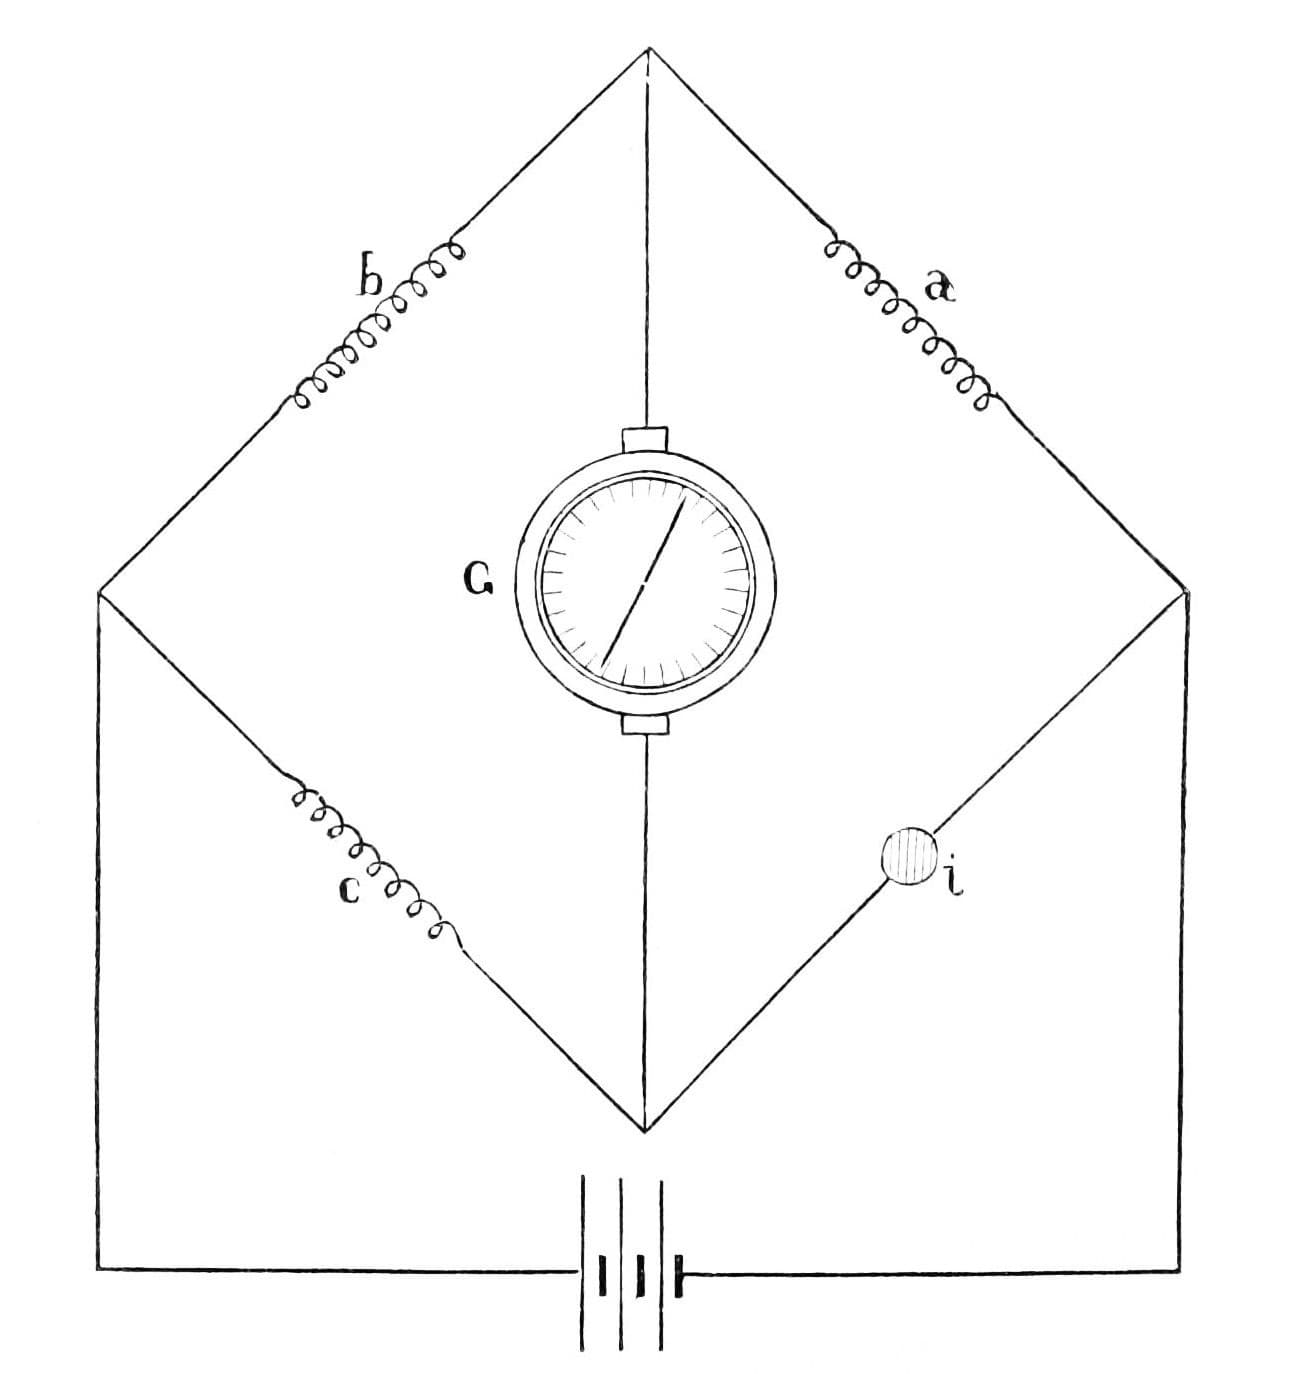
Load the member progressively in a materials testing machine and note the change in the filament's resistance at each load, measured on a Wheatstone bridge in which the filament is one arm. For very fast loads, as in impact tests, an oscillograph takes the place of the galvanometer.
Outils nécessaires :
 Machine d'essai des matériaux
 Pont de Wheatstone
 Galvanomètre analogique
5
5
Bonding area and signal size
Bonding area and signal size
Chargement du notebook Jupyter…
Matériaux
4- 1 as requiredEspace réservé
- 1 feuilleEspace réservé
- 1 as requiredEspace réservé
- 1 as requiredEspace réservé
Outils requis
7- Espace réservé
- Espace réservé
- Espace réservé
- Espace réservé
- Espace réservé
- Espace réservé
- Espace réservé
Ce plan fabrique
Blueprints liés
Ces blueprints partagent des connaissances — techniques, matériaux ou principes

CC0 Domaine public
Ce blueprint est publié sous CC0. Vous êtes libre de copier, modifier, distribuer et utiliser ce travail pour tout usage, sans demander la permission.
Soutenez le Maker en achetant des produits via son Blueprint où il perçoit une Commission Maker définie par les Vendeurs, ou créez une nouvelle itération de ce Blueprint et incluez-le comme connexion dans votre propre Blueprint pour partager les revenus.