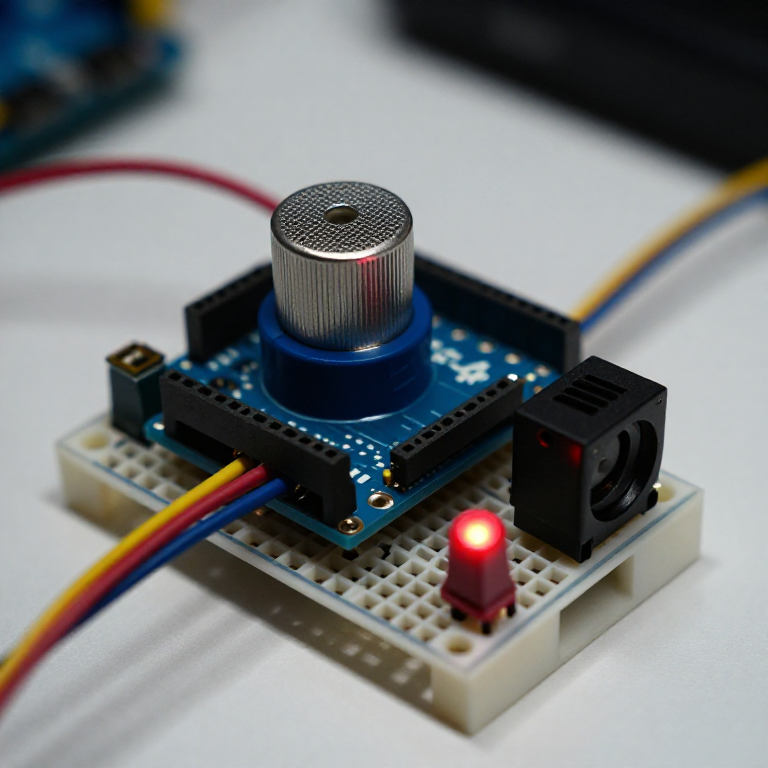


Building a Methane Gas Leak Detector
Build a circuit that sniffs out methane — the main component of natural gas — and alarms when it rises. An MQ-4 sensor's reading climbs when combustible gas is present; the Arduino compares it to clean air and triggers a buzzer and red LED. A great combustible-gas sensing project — with two honest notes: methane is flammable, and this is a demonstration, NOT a certified gas-leak detector.
Consignes
Wire the sensor, buzzer and LED
Wire the sensor, buzzer and LED
On the breadboard: MQ-4 VCC to Arduino 5V, GND to GND, and its analog output (AOUT) to A0. Active buzzer + to pin 8, - to GND. Red LED anode to pin 7 through a 330 Ω resistor, cathode to GND.
Matériaux pour cette étape :
 Arduino Uno R31 pièce
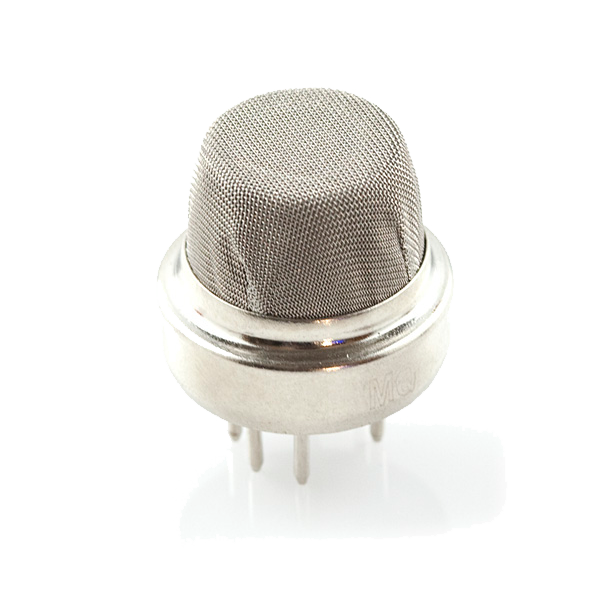 Methane CNG Gas Sensor - MQ-41 pièce
 Active Buzzer Module (5V, 5-Pack)1 pièce
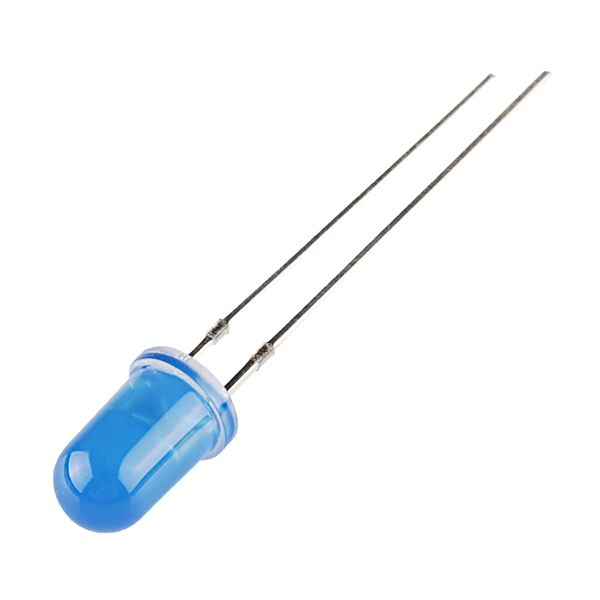 LED - Basic 5mm1 pièce
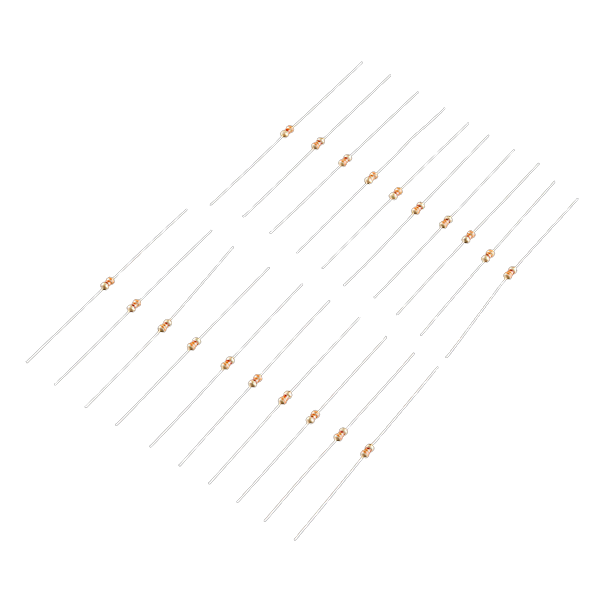 Resistor 330 Ohm 1/6 Watt PTH - 20 pack1 paquet
 Breadboard1 pièce
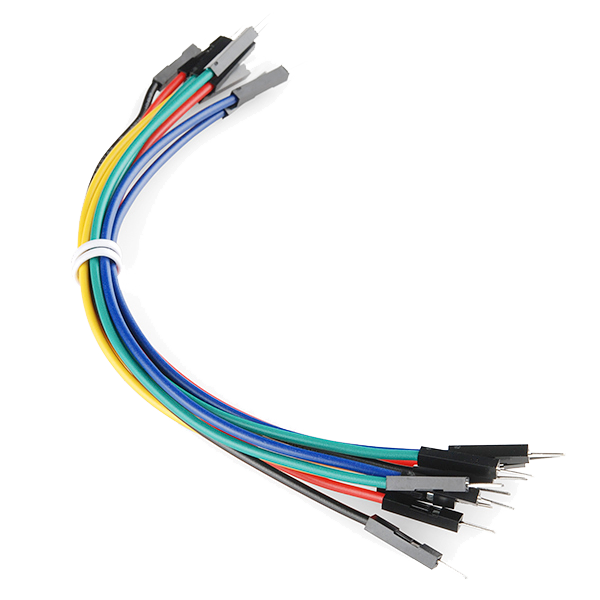 Jumper Wires (Male-to-Male)1 paquet
Connect and open the IDE
Connect and open the IDE
Plug the Arduino into your computer with the USB cable, open the Arduino IDE, and select Arduino Uno and its serial port.
Matériaux pour cette étape :
 USB-B Cable1 pièce
Outils nécessaires :
 Computer with Arduino IDE
Upload the detector sketch
Upload the detector sketch
Paste this sketch and upload. It warms the sensor, records a clean-air baseline, then sounds the buzzer and lights the LED whenever the reading rises above that baseline.
Warm up, baseline and test SAFELY
Warm up, baseline and test SAFELY
Power it in fresh air and let the 2-minute warm-up set the baseline (a new MQ-4 also needs a 24–48 h burn-in). Test with only a TINY controlled source in a well-ventilated room — a brief puff of gas from an UNLIT lighter held near the sensor. NEVER test with a real gas leak, a large amount of gas, or anywhere near a flame or spark. Adjust ALARM_MARGIN for sensitivity.
Safety limits
Safety limits
Methane is highly flammable and, in enough concentration, explosive. This circuit is a LEARNING project and at best a supplementary indicator — it is NOT a certified gas-leak detector: the hobby MQ-4 gives a relative reading, not calibrated ppm, drifts, and needs re-baselining. For real protection use a certified natural-gas detector, and if you ever smell gas, do not switch anything on or off — leave and call your gas utility.
Matériaux
8- Arduino Uno R3 SMD10 % de commission1 pièce€23.61
- Methane CNG Gas Sensor - MQ-410 % de commission1 pièce€4.37
- 1 pièceEspace réservé
- LED - Basic 5mm10 % de commission1 pièce€0.67
- Resistor 330 Ohm 1/6 Watt PTH - 20 pack10 % de commission1 paquet€1.04
- Breadboard - Classic10 % de commission1 pièce€8.29
- Jumper Wires Premium M/M 20 AWG - 15.5 cm (Pack of 10)10 % de commission1 paquet€4.37
- SparkFun Cerberus USB Cable - 1.8 meter10 % de commission1 pièce€4.96
Outils requis
2- Espace réservé
- Breadboard - Classic10 % de commission€8.29
Blueprints liés
Ces blueprints partagent des connaissances — techniques, matériaux ou principes
CC0 Domaine public
Ce blueprint est publié sous CC0. Vous êtes libre de copier, modifier, distribuer et utiliser ce travail pour tout usage, sans demander la permission.
Soutenez le Maker en achetant des produits via son Blueprint où il perçoit une Commission Maker définie par les Vendeurs, ou créez une nouvelle itération de ce Blueprint et incluez-le comme connexion dans votre propre Blueprint pour partager les revenus.