ART
BEAUTÉ ET BIEN-ÊTRE
ARTISANAT
CULTURE ET HISTOIRE
DIVERTISSEMENT
ENVIRONNEMENT
NOURRITURE ET BOISSONS
INGÉNIERIE INVERSE
SCIENCES
SPORTS
TECHNOLOGIE
TECHNOLOGIE PORTABLE
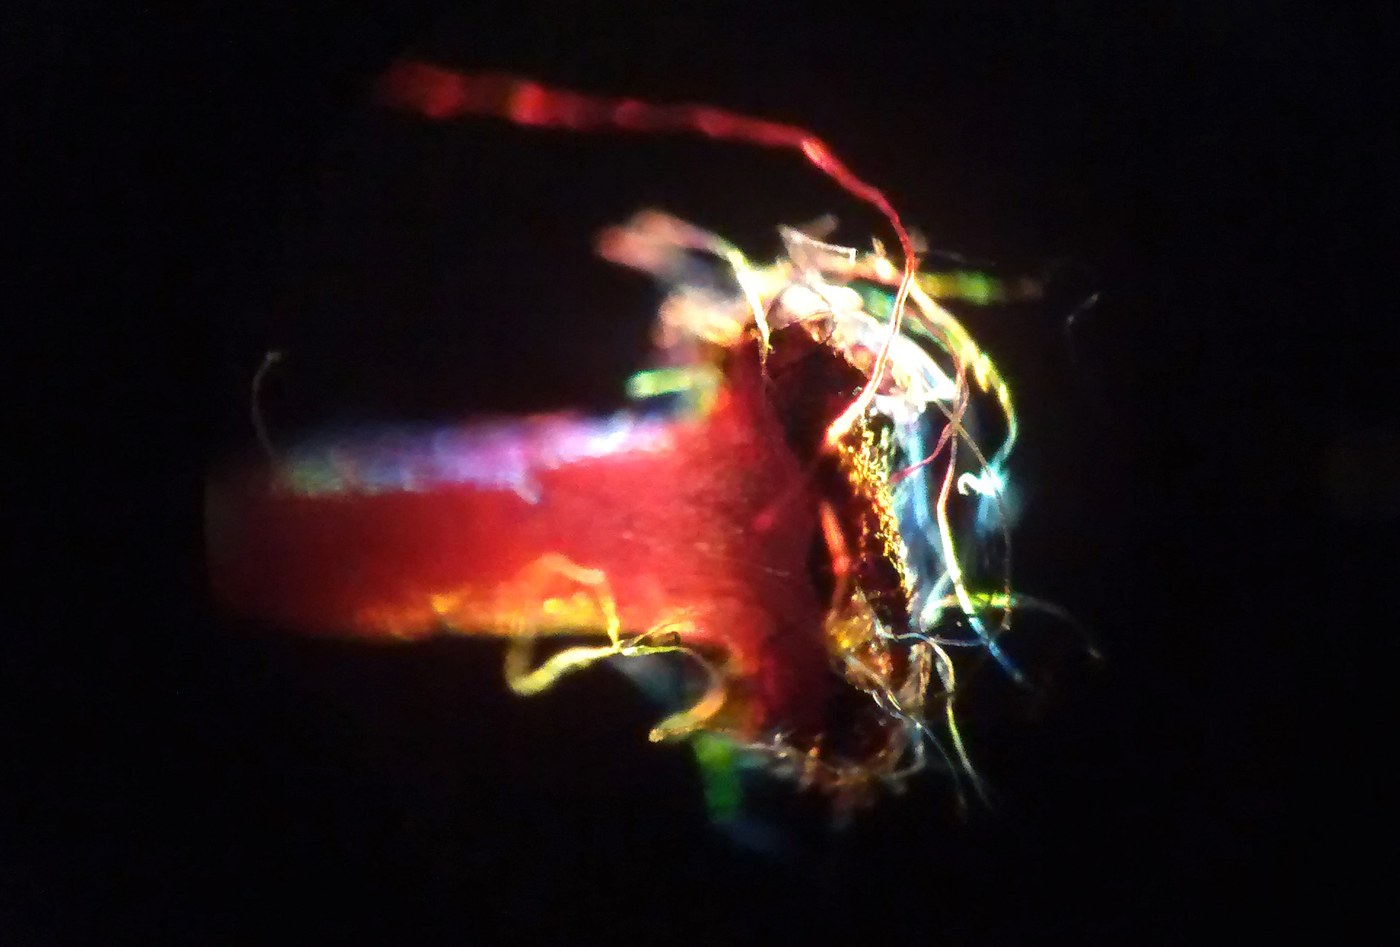


Dark-Field Illumination
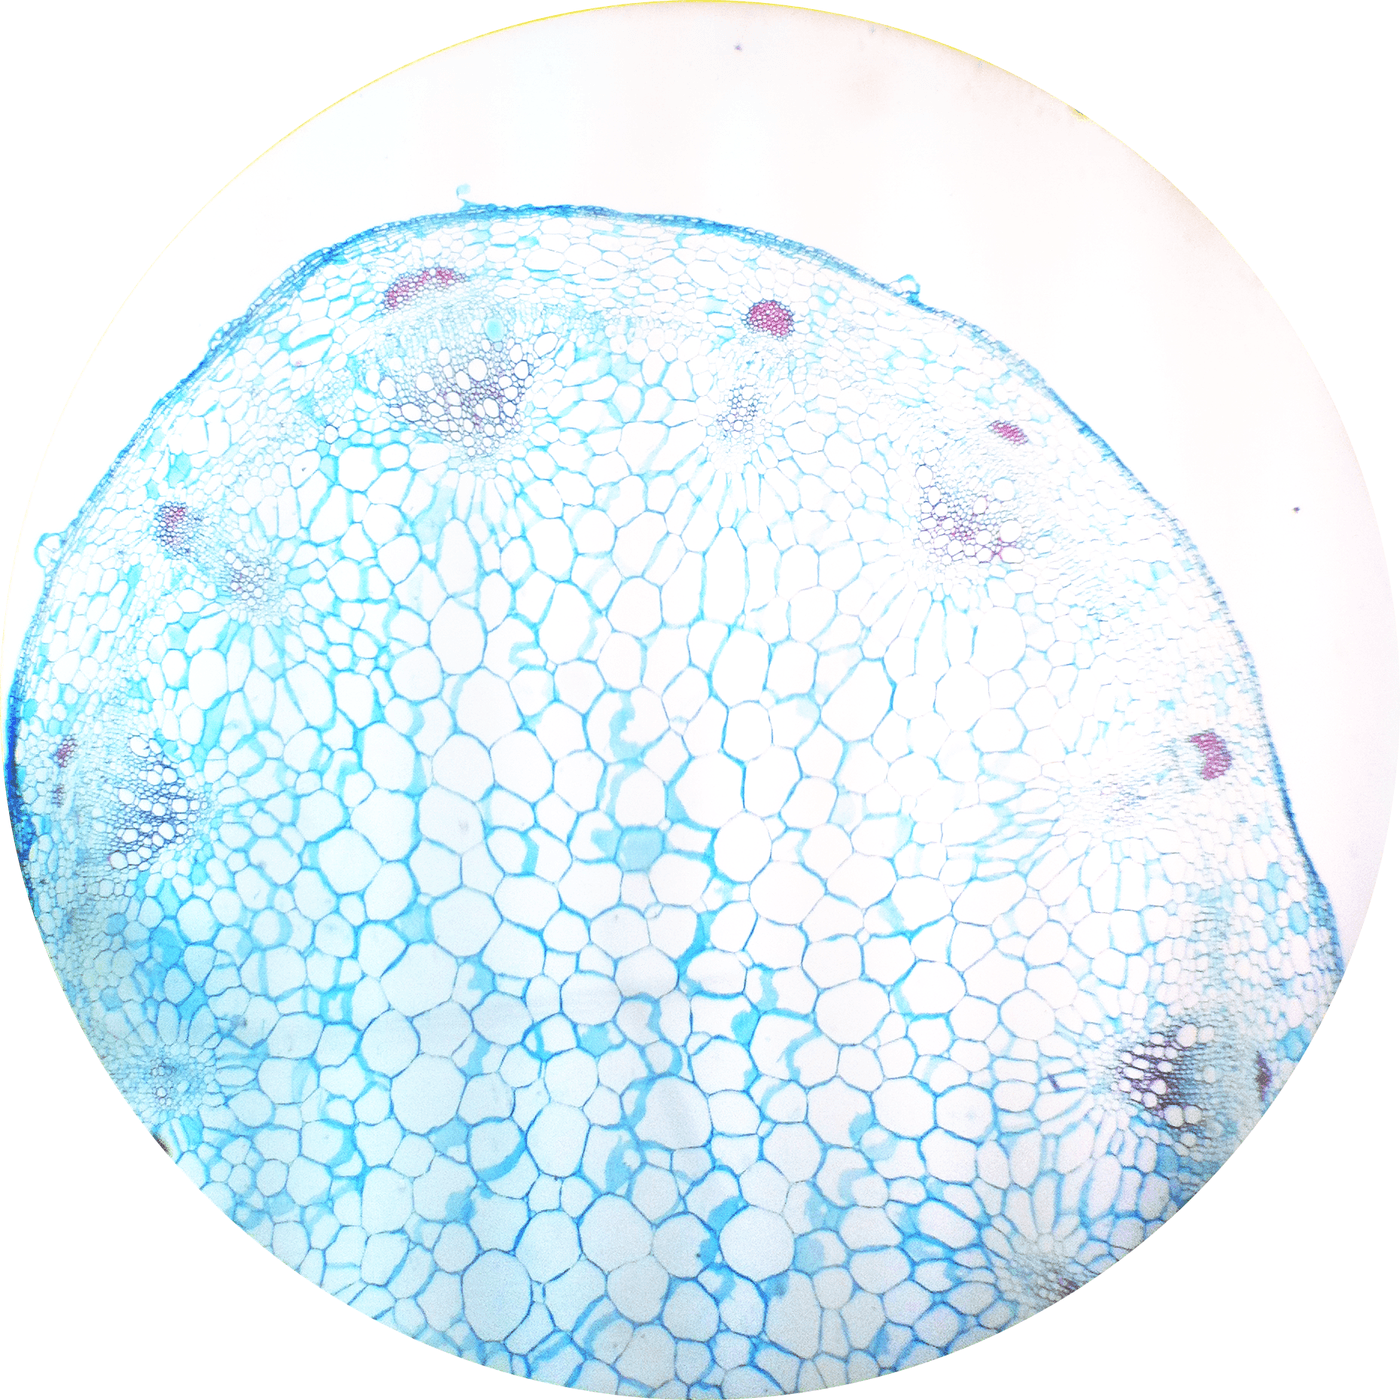
Staining puts contrast into a specimen chemically, and it has a price: almost every stain requires the specimen to be dead, fixed and usually sectioned. If you want to watch something alive and moving, the chemistry is no use to you.
Dark-field puts the contrast in optically instead, and it is astonishingly simple. Block the centre of the illuminating cone so that no direct light can enter the objective at all. The field goes black. Anything in the specimen that SCATTERS light then throws some of it sideways into the objective, and appears brilliantly bright against that blackness.
The effect is out of all proportion to the effort — a coin of black card in the right place — and it reveals things far below the resolution limit. You cannot resolve a bacterial flagellum, but you can see that one is there, because it scatters.
Débutant
2 hours
Consignes
1
1
Cut a stop, and get the size right
Cut a stop, and get the size right
Cut a disc of black card and centre it on a clear disc that fits under the condenser — a coverslip or a cut-down transparency works.
The size is the whole design. The stop must block every ray that would enter the objective directly, and no more, so its diameter depends on your objective's numerical aperture and on the condenser's focal length. Too small and direct light leaks in and the field greys out; too large and there is not enough oblique light left to illuminate anything. The notebook works out the size for your own optics.
Matériaux pour cette étape :
 Carton noir4 pièces
 Lames de microscope avec lamelles10 pièces
Outils nécessaires :
 Scalpel
 Règle
Règle2
2
Centre it, and open the condenser fully
Centre it, and open the condenser fully
Drop the stop into the filter holder below the condenser, open the condenser diaphragm all the way, and centre the stop by eye until the field goes evenly black.
Open all the way is deliberate and it feels wrong after the Köhler rung. Here you need the widest possible cone, because only the OUTER rays survive the stop and those outer rays are the whole illumination. Any stopping-down removes exactly the light you are relying on.
Outils nécessaires :
 Microscope
3
3
Use a low-aperture objective, or stop it down
Use a low-aperture objective, or stop it down
Dark-field works when the objective's aperture is smaller than the illuminating cone's inner edge. A 10× or 20× objective is ideal; a high-aperture 40× or 100× will collect the direct light and defeat the stop.
This is the method's real constraint, and it is worth stating plainly: dark-field and high magnification fight each other. Proper high-power dark-field needs a special condenser with an internal mirror, which is exactly the piece you cannot easily make at home.
Outils nécessaires :
Microscope4
4
Look at living things
Look at living things
Put a drop of pond water, or a smear of yeast in water, on a slide and look.
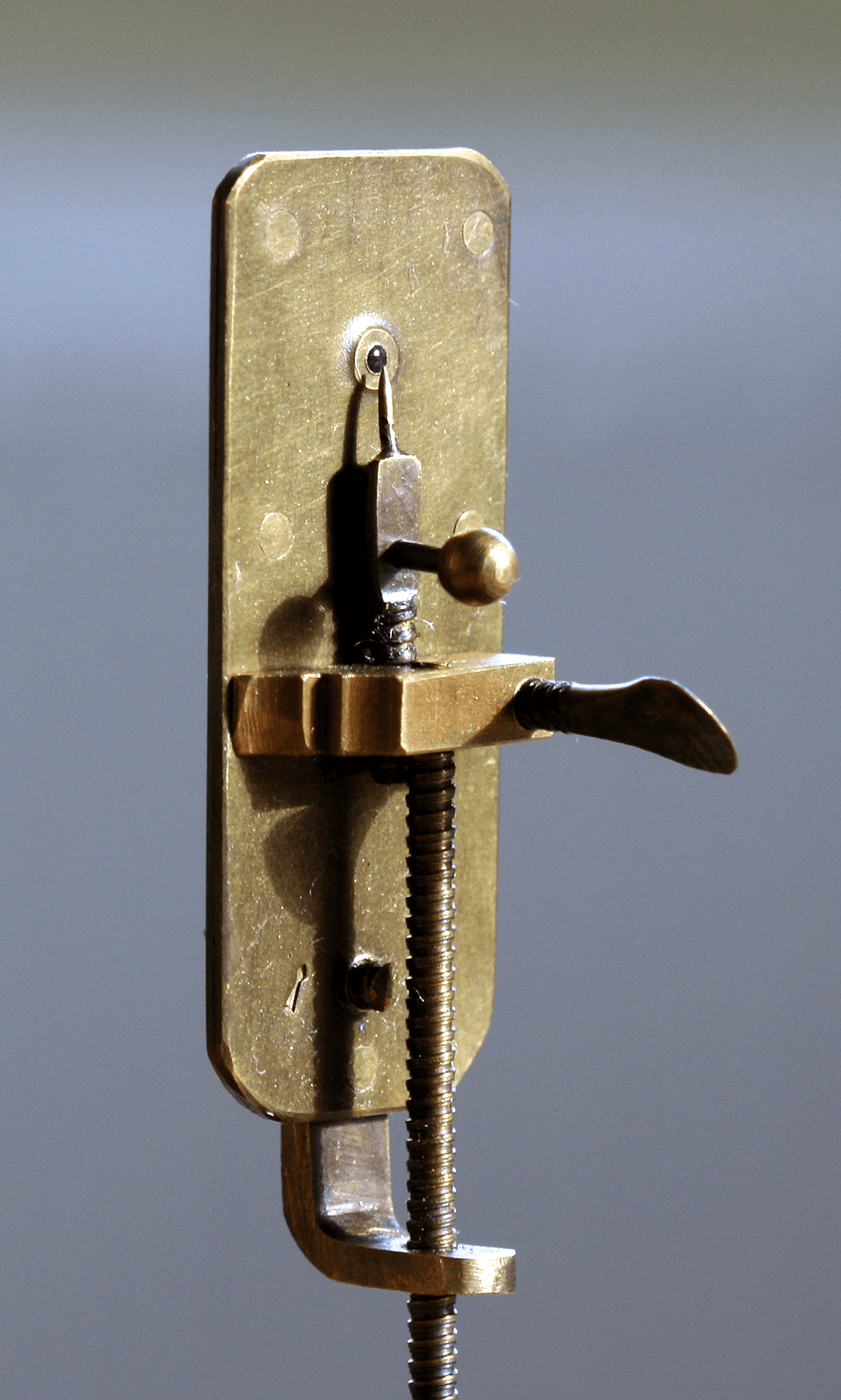
Nothing is stained, nothing is dead, and organisms that were nearly invisible in bright-field now blaze white against black. Watch a ciliate swim. This is the view Leeuwenhoek was chasing with his beads of glass, and it is why dark-field is still used for living samples where a stain would end the experiment.
Matériaux pour cette étape :
 Levure de boulanger10 gLames de microscope avec lamelles10 pièces
Outils nécessaires :
Microscope Pipette graduée (de Mohr)
5
5
Keep everything scrupulously clean
Keep everything scrupulously clean
Dust on the slide, grease on the coverslip and scratches in the glass all scatter light, and dark-field shows scattering — so they all blaze as brightly as your specimen.
In bright-field a dust speck is a grey dot you learn to ignore. Here it is a brilliant star sitting beside an organism, indistinguishable at a glance. Clean slides matter more in this technique than in any other in this batch, and a filtered drop of water is worth the extra minute.
Matériaux pour cette étape :
 Papier filtre10 pièces
Outils nécessaires :
 Gants en nitrile
6
6
Sizing the stop, and what dark-field can and cannot tell you
Sizing the stop, and what dark-field can and cannot tell you
Chargement du notebook Jupyter…
Outils nécessaires :
Règle7
7
Try oblique illumination as the cheaper cousin
Try oblique illumination as the cheaper cousin
Instead of a central stop, slide a piece of card across HALF the condenser aperture so the specimen is lit from one side only.
The result looks three-dimensional, as though lit by a low sun, and it brings out edges and steps that vanish in even illumination. It is not quantitative and the apparent relief can reverse if you move the card to the other side — so it is a way of SEEING structure, never of proving it. It costs a piece of card and five seconds, and it is the most under-used trick in microscopy.
Matériaux pour cette étape :
Carton noir2 piècesOutils nécessaires :
MicroscopeMatériaux
4- 4 piècesEspace réservé
- 10 piècesEspace réservé
- Espace réservé
- 10 piècesEspace réservé
Blueprints liés
Ces blueprints partagent des connaissances — techniques, matériaux ou principes



CC0 Domaine public
Ce blueprint est publié sous CC0. Vous êtes libre de copier, modifier, distribuer et utiliser ce travail pour tout usage, sans demander la permission.
Soutenez le Maker en achetant des produits via son Blueprint où il perçoit une Commission Maker définie par les Vendeurs, ou créez une nouvelle itération de ce Blueprint et incluez-le comme connexion dans votre propre Blueprint pour partager les revenus.