
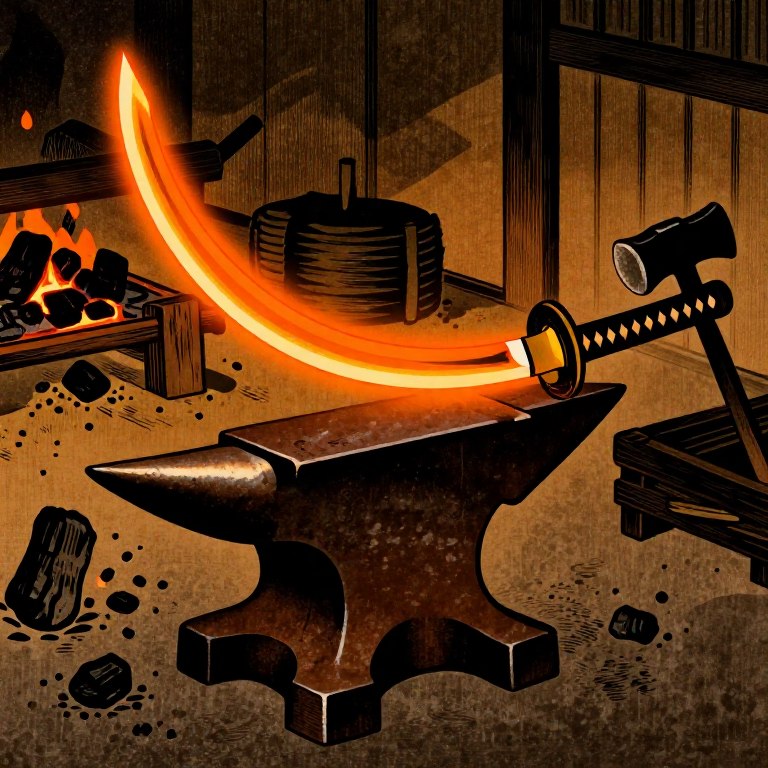
Casting a Tetsubin Iron Kettle — Sand Mold Method
Consignes
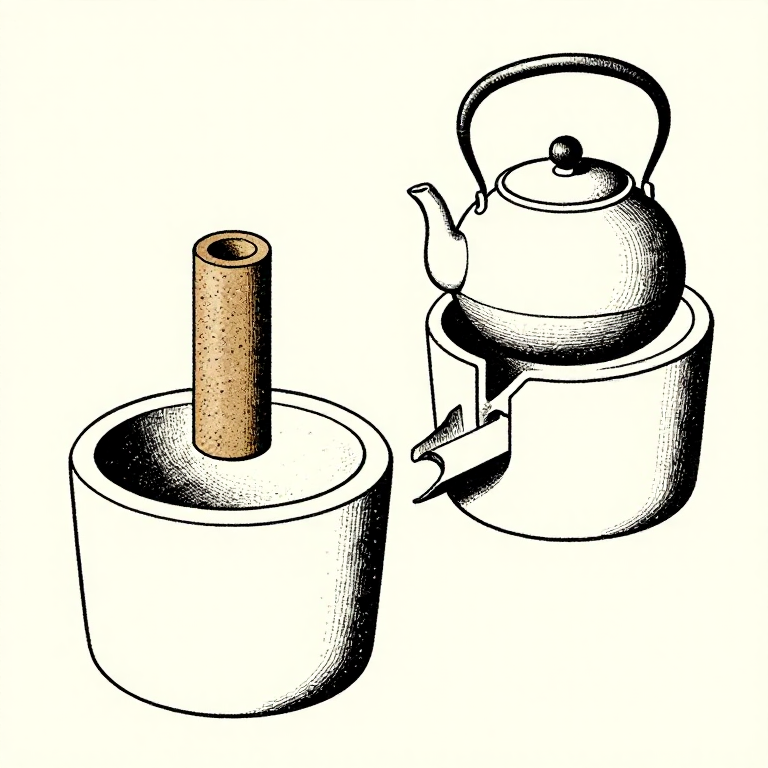
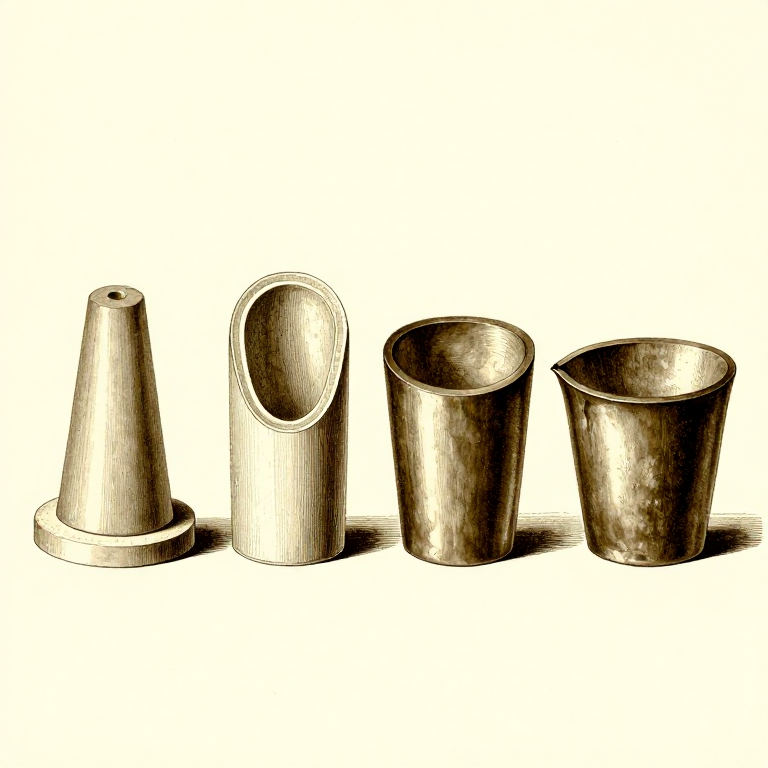
Create the Pattern and Core
Create the Pattern and Core
Carve or turn a wooden pattern in the shape of the kettle exterior, split along the parting line so it can be removed from the sand mold in two halves. The pattern must be oversized by approximately 1% to account for iron shrinkage during cooling. Traditional tetsubin surfaces have a hobnail (arare) texture — press small round-headed nails into the wooden pattern surface to create the dimple impressions. Separately, create a sand core (nakago) that forms the hollow interior of the kettle. The core is made from sand mixed with a higher proportion of binder, shaped on a core box or by hand, and dried before assembly.
Matériaux pour cette étape :
 Fine Sand15-20 kg kg
Outils nécessaires :
 Casting Flask
 Ladle
Ladle Pattern Grading Ruler Set
Ram the Sand Mold
Ram the Sand Mold
Place the lower pattern half face-down in the lower flask (drag) and pack damp casting sand firmly around it using a rammer. The sand must be packed uniformly — loose areas will collapse when the pattern is withdrawn, and over-packed areas resist gas escape causing porosity in the casting. Flip the drag, place the upper pattern half on top, position the upper flask (cope) on alignment pins, and pack sand around the upper half. Insert sprue and riser pins to create channels for pouring molten iron and allowing gases to escape. Carefully separate the cope and drag, withdraw the pattern halves, and place the dried core inside the cavity. Dust all mold surfaces with graphite powder to prevent sand adhesion to the casting.
Melt the Cast Iron
Melt the Cast Iron
Charge the furnace with alternating layers of cast iron and coke or charcoal fuel. Cast iron melts at approximately 1150-1200 degrees C, significantly lower than steel due to its higher carbon content (2.5-4.0% C). Operate the air supply continuously. The iron is ready to pour when it flows freely and appears bright orange-white with no pasty lumps. Skim slag from the surface of the molten metal using a flat rake. The entire melt must be poured within minutes of reaching the correct temperature, as cast iron thickens rapidly once removed from the heat source.
Pour the Mold
Pour the Mold
Reassemble the cope and drag with the core in position, clamping or weighting them together to resist the hydrostatic pressure of molten iron. Pour the molten iron steadily into the sprue hole in a continuous stream, keeping the sprue cup full at all times. Air and gases escape through the riser channel — when molten iron appears at the riser top, the mold is full. Interrupted pouring causes cold shuts (visible seam lines where two streams of iron met but did not fuse). Allow the casting to cool in the mold for at least 4-6 hours before breaking it open.
Clean and Finish the Kettle
Clean and Finish the Kettle
Break apart the sand mold and remove the casting. Cut off the sprue and riser stubs with a hacksaw and grind the surfaces flush. Wire-brush the entire exterior to remove adhering sand. File the lid seating surface flat so the lid sits without rocking. Traditional tetsubin are finished with a lacquer-like coating made by brewing tea inside the kettle and allowing the tannins to react with the iron surface, forming a black iron tannate layer that prevents rust and improves flavour. Forge a separate arched handle (tsuru) from wrought iron rod and attach it to cast lugs on either side of the kettle rim. Season the interior by boiling water in it three to four times before first use, discarding each batch.
Matériaux
4- 100g pièceEspace réservé
Outils requis
5- Espace réservé
- Espace réservé
- Espace réservé
- Espace réservé
Related blueprints
Other builds that share materials, tools, or techniques with this one.


CC0 Domaine public
Ce blueprint est publié sous CC0. Vous êtes libre de copier, modifier, distribuer et utiliser ce travail pour tout usage, sans demander la permission.
Soutenez le Maker en achetant des produits via son Blueprint où il perçoit une Commission Maker définie par les Vendeurs, ou créez une nouvelle itération de ce Blueprint et incluez-le comme connexion dans votre propre Blueprint pour partager les revenus.