Collaboration
ART
BEAUTÉ ET BIEN-ÊTRE
ARTISANAT
CULTURE ET HISTOIRE
DIVERTISSEMENT
ENVIRONNEMENT
NOURRITURE ET BOISSONS
INGÉNIERIE INVERSE
SCIENCES
SPORTS
TECHNOLOGIE
TECHNOLOGIE PORTABLE
English


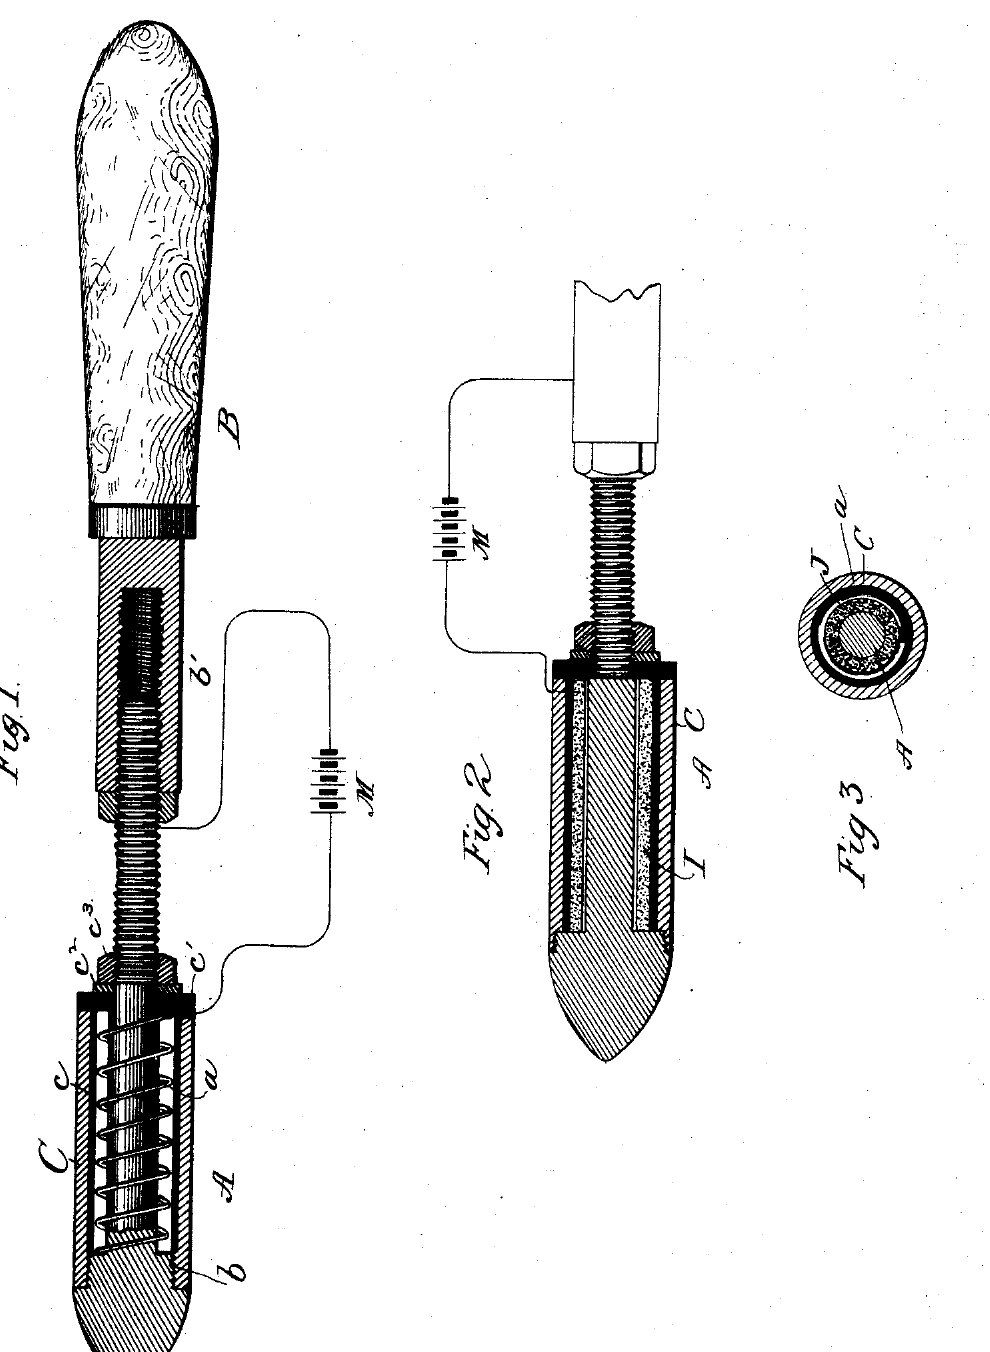
Electric Soldering Iron: Miner, 1890
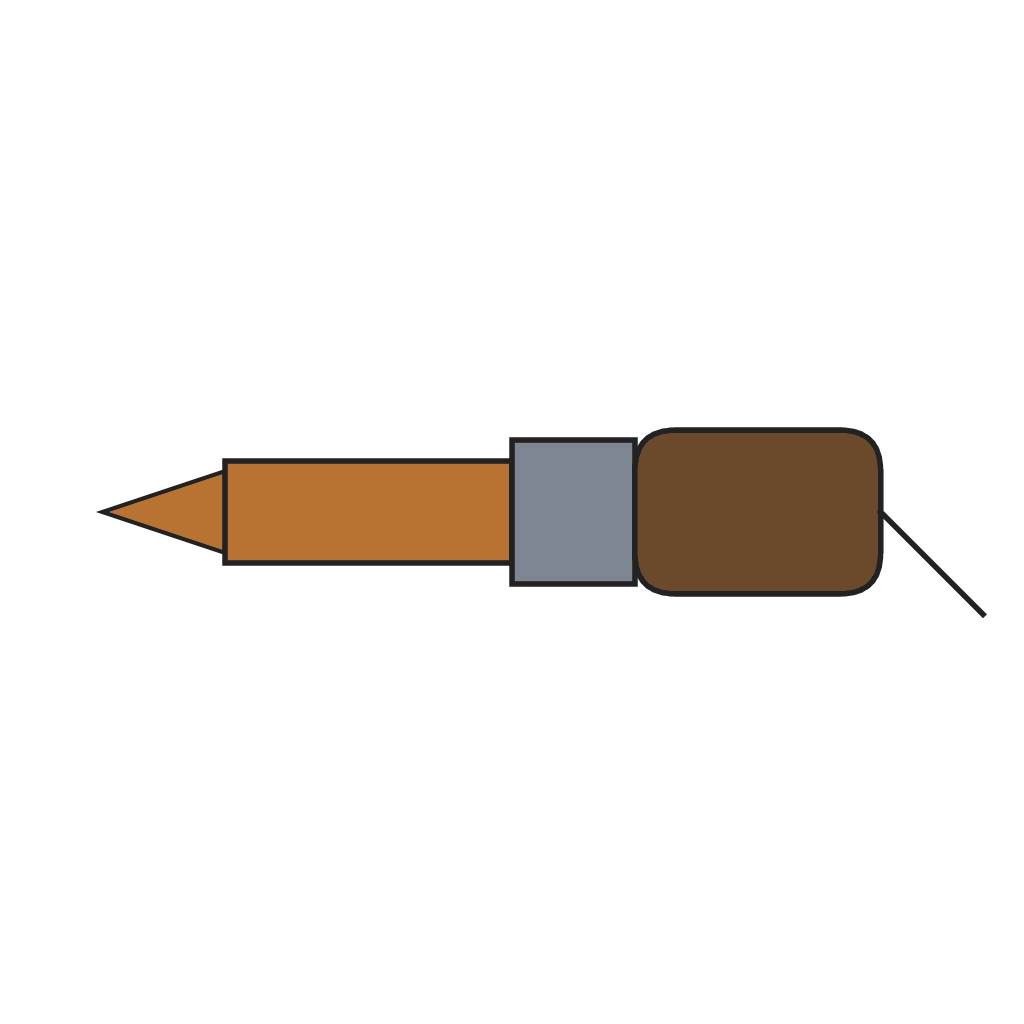
Earlier electric soldering irons heated a hollow copper head from inside, through finely divided carbon pressed against the tip, so the whole outside of the head lost heat to the air. Willard M. Miner of Plainfield, New Jersey, patented the alternative in 1890, US 421,185: keep the copper head solid, which holds its heat longer, and wind the heating resistance round the outside of it, under a shell that concentrates the heat on the copper and stops it escaping. The coil is German silver wire, wound round a reduced part of the head without touching it, with one end connected to the head and the other to the supply.
Intermédiaire
Workshop process
Consignes
1
1
Turn the head
Turn the head
Turn a solid copper head with its point. A little back from the point, cut the head down to a smaller diameter for some distance, leaving a shoulder, and thread a shank at its rear end.
Matériaux pour cette étape :
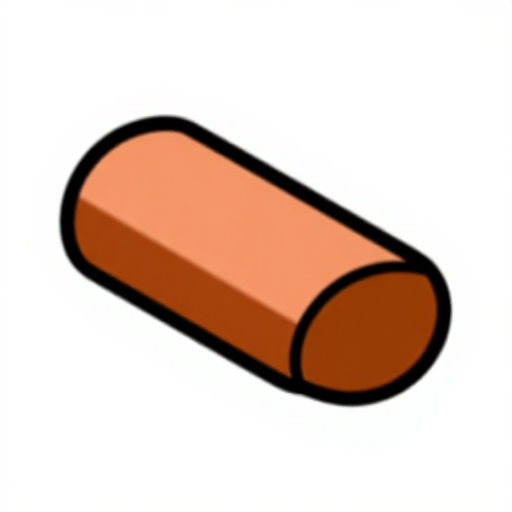 Barre ronde en cuivre1 pièce
Outils nécessaires :
 Tour à métaux
2
2
Wind the coil
Wind the coil
Coil German silver wire round the reduced part of the head, the coil slightly larger than the head so the two do not touch. Connect one end of the coil to the head at the shoulder; the other end goes to the supply.
Matériaux pour cette étape :
 Fil résistant en maillechort1 as required
Outils nécessaires :
 Pince universelle
3
3
Shell
Shell
Slip on the shell, of brass lined with non-conducting material. Close its inner end with an insulating disc held by a washer and nut on the threaded shank.
Matériaux pour cette étape :
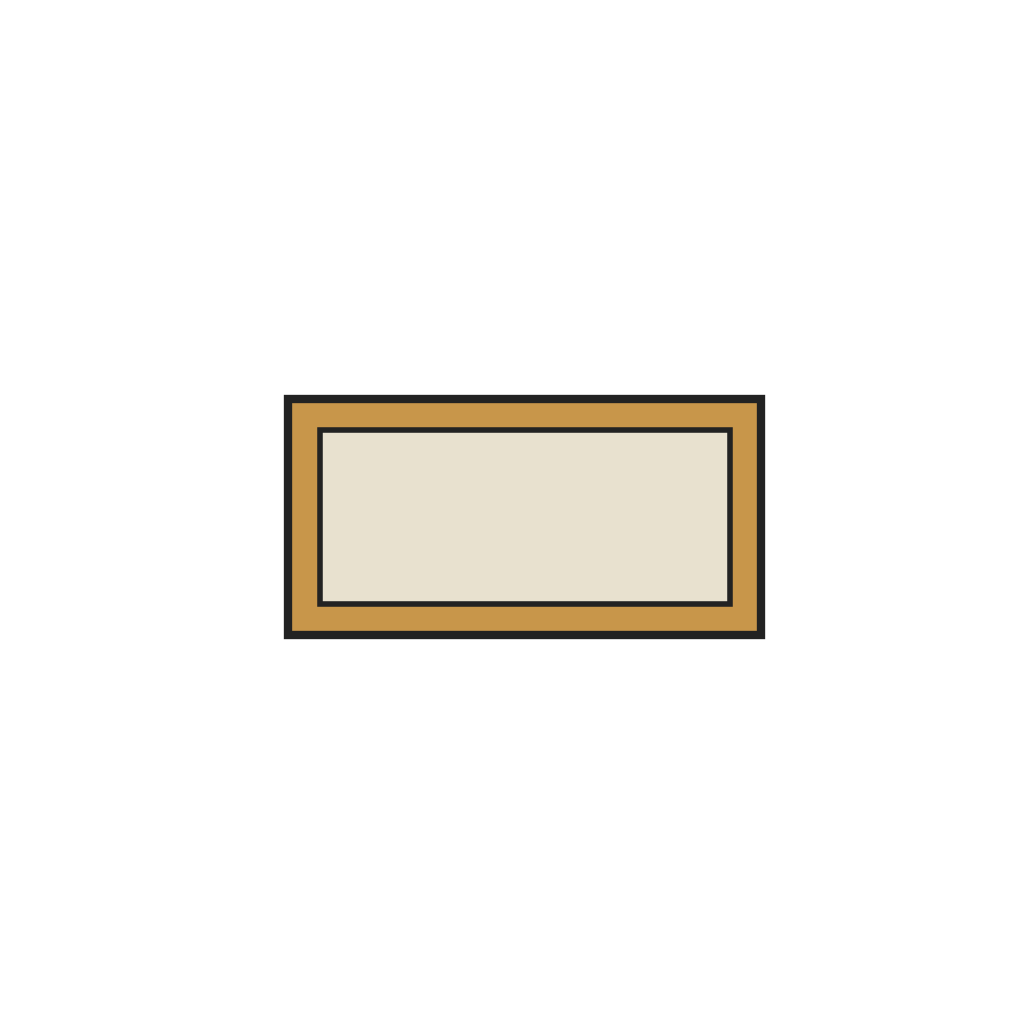 Enveloppe en laiton doublée1 pièce
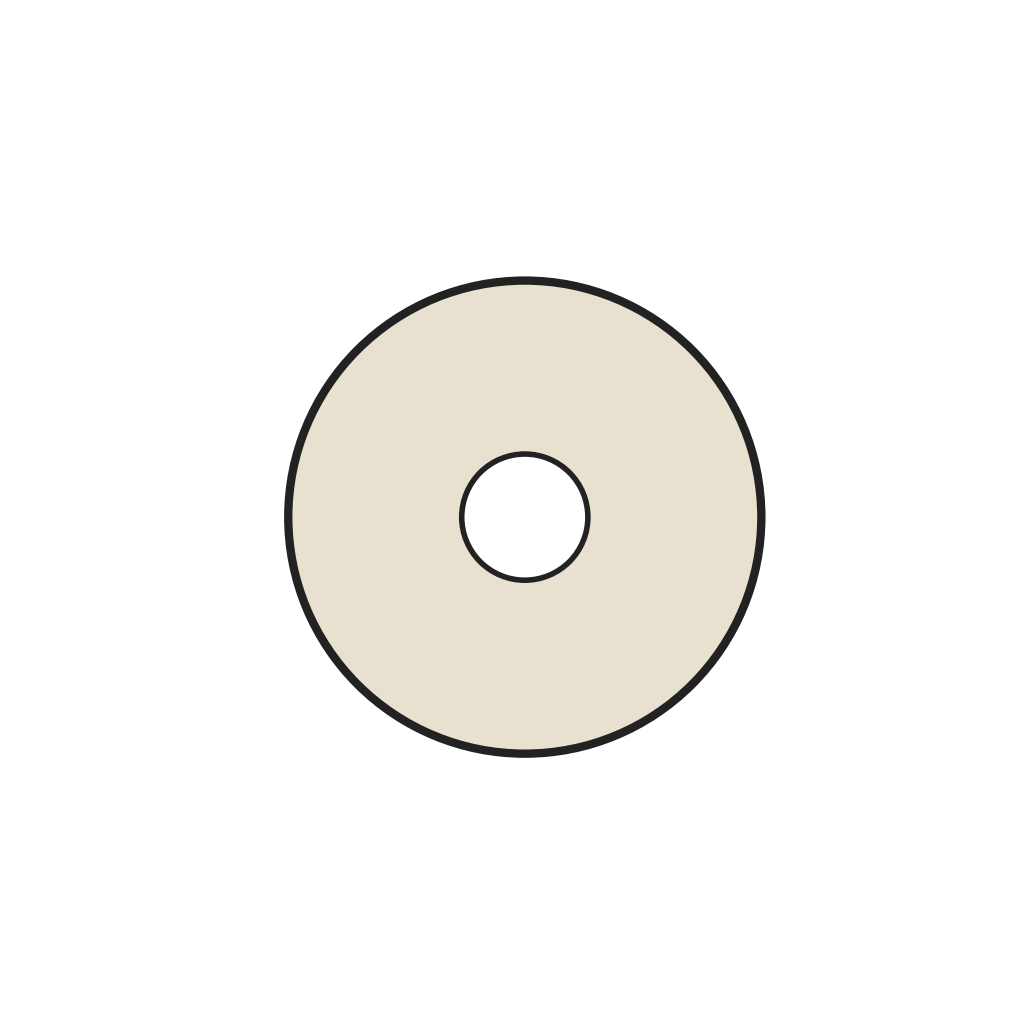 Disque d'extrémité isolant1 pièce
Outils nécessaires :
 Clé à molette
4
4
Handle
Handle
Screw the shank into the metal socket in the handle, which takes the second connection.
Matériaux pour cette étape :
 Barreau de bois dur pour manches1 pièce
Matériaux
5- 1 pièceEspace réservé
- 1 as requiredEspace réservé
- 1 pièceEspace réservé
- 1 pièceEspace réservé
- Espace réservé
Outils requis
3- Espace réservé
- Espace réservé
- Espace réservé
Ce plan fabrique
Blueprints liés
Ces blueprints partagent des connaissances — techniques, matériaux ou principes

CC0 Domaine public
Ce blueprint est publié sous CC0. Vous êtes libre de copier, modifier, distribuer et utiliser ce travail pour tout usage, sans demander la permission.
Soutenez le Maker en achetant des produits via son Blueprint où il perçoit une Commission Maker définie par les Vendeurs, ou créez une nouvelle itération de ce Blueprint et incluez-le comme connexion dans votre propre Blueprint pour partager les revenus.