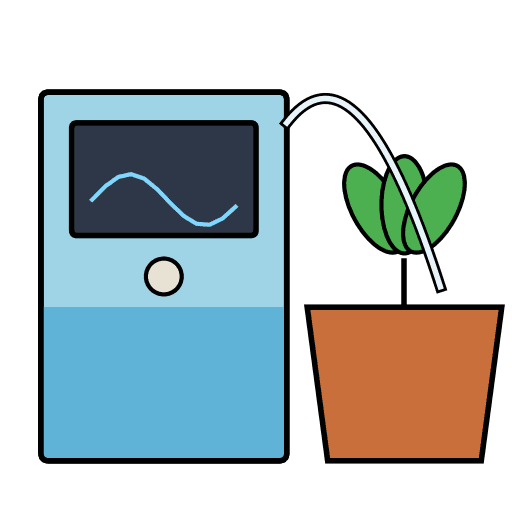
// Self-watering pot controller - ESP32 DevKit (38-pin) carrier board
// Soil: capacitive v1.2 on GPIO34 (ADC1). Tank: HC-SR04 TRIG=GPIO5, ECHO=GPIO18 (via 1k/2k divider).
// OLED SSD1306 128x64 I2C @0x3C on SDA=21 SCL=22. Pump MOSFET gate GPIO25. Button GPIO27 to GND.
// Button: short press = force a watering cycle, hold 3 s = calibrate soil sensor (dry / wet).
#include <Arduino.h>
#include <Wire.h>
#include <Preferences.h>

// ---------------- pins ----------------
const int PIN_SOIL = 34;
const int PIN_TRIG = 5;
const int PIN_ECHO = 18;
const int PIN_PUMP = 25;
const int PIN_BTN  = 27;
const int PIN_SDA  = 21;
const int PIN_SCL  = 22;

// ---------------- settings (adjust for your pot / tank) ----------------
const float TANK_EMPTY_CM   = 20.0;  // sensor-to-water distance when tank is empty
const float TANK_FULL_CM    = 4.0;   // sensor-to-water distance when tank is full
const int   SOIL_DRY_PCT    = 35;    // start watering below this moisture %
const int   TANK_MIN_PCT    = 10;    // never pump below this tank level %
const uint32_t PUMP_RUN_MS  = 5000;  // one watering shot
const uint32_t SOAK_MS      = 10UL * 60UL * 1000UL; // wait for water to soak in before next automatic shot
const uint32_t MEASURE_MS   = 1000;

Preferences prefs;
int calDry = 3000;   // raw ADC in air (dry)
int calWet = 1300;   // raw ADC in water (wet)

// ---------------- minimal SSD1306 driver ----------------
const uint8_t OLED_ADDR = 0x3C;
uint8_t fb[1024];
bool oledOk = false;

static const uint8_t FONT[] PROGMEM = {
0x00,0x00,0x00,0x00,0x00, 0x00,0x00,0x5F,0x00,0x00, 0x00,0x07,0x00,0x07,0x00, 0x14,0x7F,0x14,0x7F,0x14,
0x24,0x2A,0x7F,0x2A,0x12, 0x23,0x13,0x08,0x64,0x62, 0x36,0x49,0x56,0x20,0x50, 0x00,0x08,0x07,0x03,0x00,
0x00,0x1C,0x22,0x41,0x00, 0x00,0x41,0x22,0x1C,0x00, 0x2A,0x1C,0x7F,0x1C,0x2A, 0x08,0x08,0x3E,0x08,0x08,
0x00,0x80,0x70,0x30,0x00, 0x08,0x08,0x08,0x08,0x08, 0x00,0x00,0x60,0x60,0x00, 0x20,0x10,0x08,0x04,0x02,
0x3E,0x51,0x49,0x45,0x3E, 0x00,0x42,0x7F,0x40,0x00, 0x72,0x49,0x49,0x49,0x46, 0x21,0x41,0x49,0x4D,0x33,
0x18,0x14,0x12,0x7F,0x10, 0x27,0x45,0x45,0x45,0x39, 0x3C,0x4A,0x49,0x49,0x31, 0x41,0x21,0x11,0x09,0x07,
0x36,0x49,0x49,0x49,0x36, 0x46,0x49,0x49,0x29,0x1E, 0x00,0x00,0x14,0x00,0x00, 0x00,0x40,0x34,0x00,0x00,
0x00,0x08,0x14,0x22,0x41, 0x14,0x14,0x14,0x14,0x14, 0x00,0x41,0x22,0x14,0x08, 0x02,0x01,0x59,0x09,0x06,
0x3E,0x41,0x5D,0x59,0x4E, 0x7C,0x12,0x11,0x12,0x7C, 0x7F,0x49,0x49,0x49,0x36, 0x3E,0x41,0x41,0x41,0x22,
0x7F,0x41,0x41,0x41,0x3E, 0x7F,0x49,0x49,0x49,0x41, 0x7F,0x09,0x09,0x09,0x01, 0x3E,0x41,0x41,0x51,0x73,
0x7F,0x08,0x08,0x08,0x7F, 0x00,0x41,0x7F,0x41,0x00, 0x20,0x40,0x41,0x3F,0x01, 0x7F,0x08,0x14,0x22,0x41,
0x7F,0x40,0x40,0x40,0x40, 0x7F,0x02,0x1C,0x02,0x7F, 0x7F,0x04,0x08,0x10,0x7F, 0x3E,0x41,0x41,0x41,0x3E,
0x7F,0x09,0x09,0x09,0x06, 0x3E,0x41,0x51,0x21,0x5E, 0x7F,0x09,0x19,0x29,0x46, 0x26,0x49,0x49,0x49,0x32,
0x03,0x01,0x7F,0x01,0x03, 0x3F,0x40,0x40,0x40,0x3F, 0x1F,0x20,0x40,0x20,0x1F, 0x3F,0x40,0x38,0x40,0x3F,
0x63,0x14,0x08,0x14,0x63, 0x03,0x04,0x78,0x04,0x03, 0x61,0x59,0x49,0x4D,0x43, 0x00,0x7F,0x41,0x41,0x41,
0x02,0x04,0x08,0x10,0x20, 0x00,0x41,0x41,0x41,0x7F, 0x04,0x02,0x01,0x02,0x04, 0x40,0x40,0x40,0x40,0x40,
0x00,0x03,0x07,0x08,0x00, 0x20,0x54,0x54,0x78,0x40, 0x7F,0x28,0x44,0x44,0x38, 0x38,0x44,0x44,0x44,0x28,
0x38,0x44,0x44,0x28,0x7F, 0x38,0x54,0x54,0x54,0x18, 0x00,0x08,0x7E,0x09,0x02, 0x18,0xA4,0xA4,0x9C,0x78,
0x7F,0x08,0x04,0x04,0x78, 0x00,0x44,0x7D,0x40,0x00, 0x20,0x40,0x40,0x3D,0x00, 0x7F,0x10,0x28,0x44,0x00,
0x00,0x41,0x7F,0x40,0x00, 0x7C,0x04,0x78,0x04,0x78, 0x7C,0x08,0x04,0x04,0x78, 0x38,0x44,0x44,0x44,0x38,
0xFC,0x18,0x24,0x24,0x18, 0x18,0x24,0x24,0x18,0xFC, 0x7C,0x08,0x04,0x04,0x08, 0x48,0x54,0x54,0x54,0x24,
0x04,0x04,0x3F,0x44,0x24, 0x3C,0x40,0x40,0x20,0x7C, 0x1C,0x20,0x40,0x20,0x1C, 0x3C,0x40,0x30,0x40,0x3C,
0x44,0x28,0x10,0x28,0x44, 0x4C,0x90,0x90,0x90,0x7C, 0x44,0x64,0x54,0x4C,0x44, 0x00,0x08,0x36,0x41,0x00,
0x00,0x00,0x77,0x00,0x00, 0x00,0x41,0x36,0x08,0x00, 0x02,0x01,0x02,0x04,0x02
};

void oledCmd(uint8_t c) {
  Wire.beginTransmission(OLED_ADDR); Wire.write(0x00); Wire.write(c); Wire.endTransmission();
}

bool oledInit() {
  Wire.beginTransmission(OLED_ADDR);
  if (Wire.endTransmission() != 0) return false;
  const uint8_t init[] = {0xAE,0xD5,0x80,0xA8,0x3F,0xD3,0x00,0x40,0x8D,0x14,0x20,0x00,
                          0xA1,0xC8,0xDA,0x12,0x81,0xCF,0xD9,0xF1,0xDB,0x40,0xA4,0xA6,0x2E,0xAF};
  for (uint8_t c : init) oledCmd(c);
  return true;
}

void oledShow() {
  if (!oledOk) return;
  oledCmd(0x21); oledCmd(0); oledCmd(127);
  oledCmd(0x22); oledCmd(0); oledCmd(7);
  for (int i = 0; i < 1024; i += 16) {
    Wire.beginTransmission(OLED_ADDR);
    Wire.write(0x40);
    Wire.write(&fb[i], 16);
    Wire.endTransmission();
  }
}

void clearFb() { memset(fb, 0, sizeof(fb)); }

void setPixel(int x, int y) {
  if (x < 0 || x > 127 || y < 0 || y > 63) return;
  fb[x + (y / 8) * 128] |= (1 << (y & 7));
}

void drawChar(int x, int y, char c, int s) {
  if (c < 32 || c > 126) c = '?';
  for (int col = 0; col < 5; col++) {
    uint8_t bits = pgm_read_byte(&FONT[(c - 32) * 5 + col]);
    for (int row = 0; row < 8; row++)
      if (bits & (1 << row))
        for (int dx = 0; dx < s; dx++)
          for (int dy = 0; dy < s; dy++) setPixel(x + col * s + dx, y + row * s + dy);
  }
}

void drawText(int x, int y, const char *t, int s = 1) {
  while (*t) { drawChar(x, y, *t++, s); x += 6 * s; }
}

void drawBar(int x, int y, int w, int h, int pct) {
  for (int i = 0; i < w; i++) { setPixel(x + i, y); setPixel(x + i, y + h - 1); }
  for (int j = 0; j < h; j++) { setPixel(x, y + j); setPixel(x + w - 1, y + j); }
  int fill = (w - 4) * constrain(pct, 0, 100) / 100;
  for (int i = 0; i < fill; i++)
    for (int j = 2; j < h - 2; j++) setPixel(x + 2 + i, y + j);
}

// ---------------- sensors ----------------
int readSoilRaw() {
  long sum = 0;
  for (int i = 0; i < 16; i++) { sum += analogRead(PIN_SOIL); delay(2); }
  return sum / 16;
}

int soilPercent(int raw) {
  if (calDry == calWet) return 0;
  long p = (long)(calDry - raw) * 100 / (calDry - calWet);
  return constrain((int)p, 0, 100);
}

float readDistanceCm() {
  float best[5]; int n = 0;
  for (int i = 0; i < 5; i++) {
    digitalWrite(PIN_TRIG, LOW); delayMicroseconds(4);
    digitalWrite(PIN_TRIG, HIGH); delayMicroseconds(10);
    digitalWrite(PIN_TRIG, LOW);
    unsigned long us = pulseIn(PIN_ECHO, HIGH, 30000UL);
    if (us > 0) best[n++] = us / 58.0f;
    delay(30);
  }
  if (n == 0) return -1;
  for (int i = 0; i < n; i++)            // median
    for (int j = i + 1; j < n; j++)
      if (best[j] < best[i]) { float t = best[i]; best[i] = best[j]; best[j] = t; }
  return best[n / 2];
}

int tankPercent(float cm) {
  if (cm < 0) return -1;
  float p = (TANK_EMPTY_CM - cm) * 100.0f / (TANK_EMPTY_CM - TANK_FULL_CM);
  return constrain((int)p, 0, 100);
}

// ---------------- pump ----------------
bool pumpOn = false;
uint32_t pumpStart = 0, lastWater = 0;
bool everWatered = false;

void pump(bool on) {
  pumpOn = on;
  digitalWrite(PIN_PUMP, on ? HIGH : LOW);
  if (on) pumpStart = millis();
  else { lastWater = millis(); everWatered = true; }
}

// ---------------- button ----------------
// returns 0 = nothing, 1 = short press, 2 = long press (>3 s)
int readButton() {
  static bool was = false; static uint32_t t0 = 0; static bool longDone = false;
  bool down = digitalRead(PIN_BTN) == LOW;
  int ev = 0;
  if (down && !was) { t0 = millis(); longDone = false; }
  if (down && !longDone && millis() - t0 > 3000) { ev = 2; longDone = true; }
  if (!down && was && !longDone && millis() - t0 > 40) ev = 1;
  was = down;
  return ev;
}

void waitPress() {
  while (digitalRead(PIN_BTN) == LOW) delay(10);
  delay(50);
  while (digitalRead(PIN_BTN) == HIGH) delay(10);
  delay(50);
  while (digitalRead(PIN_BTN) == LOW) delay(10);
}

void calibrate() {
  pump(false);
  clearFb(); drawText(0, 0, "CALIBRATE SOIL", 1);
  drawText(0, 16, "1) Sensor in DRY air"); drawText(0, 28, "   then press button");
  oledShow(); waitPress();
  int dry = readSoilRaw();
  clearFb(); drawText(0, 0, "CALIBRATE SOIL", 1);
  drawText(0, 16, "2) Sensor in WATER"); drawText(0, 28, "   (up to the line)"); drawText(0, 40, "   then press button");
  oledShow(); waitPress();
  int wet = readSoilRaw();
  clearFb();
  if (dry - wet > 200) {
    calDry = dry; calWet = wet;
    prefs.putInt("dry", calDry); prefs.putInt("wet", calWet);
    drawText(0, 16, "Saved.");
  } else {
    drawText(0, 16, "Bad readings,"); drawText(0, 28, "not saved.");
  }
  char b[32]; snprintf(b, sizeof(b), "dry=%d wet=%d", dry, wet); drawText(0, 44, b);
  oledShow(); delay(2500);
}

void setup() {
  pinMode(PIN_PUMP, OUTPUT); digitalWrite(PIN_PUMP, LOW);
  pinMode(PIN_TRIG, OUTPUT); digitalWrite(PIN_TRIG, LOW);
  pinMode(PIN_ECHO, INPUT);
  pinMode(PIN_BTN, INPUT_PULLUP);
  Serial.begin(115200);
  analogReadResolution(12);
  analogSetPinAttenuation(PIN_SOIL, ADC_11db);
  prefs.begin("plantpot", false);
  calDry = prefs.getInt("dry", calDry);
  calWet = prefs.getInt("wet", calWet);
  Wire.begin(PIN_SDA, PIN_SCL, 400000);
  oledOk = oledInit();
  clearFb(); drawText(10, 24, "PlantPot", 2); oledShow();
  delay(1000);
}

void loop() {
  static uint32_t lastMeas = 0;
  static int soil = 0, tank = -1, raw = 0;
  static float dist = -1;
  static bool forceRequest = false;

  int ev = readButton();
  if (ev == 2) { calibrate(); lastMeas = 0; }
  if (ev == 1) forceRequest = true;

  // pump safety timeout
  if (pumpOn && millis() - pumpStart >= PUMP_RUN_MS) pump(false);

  if (millis() - lastMeas >= MEASURE_MS || lastMeas == 0) {
    lastMeas = millis();
    raw = readSoilRaw();
    soil = soilPercent(raw);
    dist = readDistanceCm();
    tank = tankPercent(dist);
    bool tankOk = tank >= TANK_MIN_PCT;          // unknown (-1) counts as empty
    if (pumpOn && !tankOk) pump(false);

    if (!pumpOn && tankOk) {
      bool soaked = !everWatered || millis() - lastWater >= SOAK_MS;
      if (forceRequest || (soil < SOIL_DRY_PCT && soaked)) pump(true);
    }
    forceRequest = false;

    Serial.printf("soil raw=%d %d%%  dist=%.1fcm tank=%d%%  pump=%d\n", raw, soil, dist, tank, pumpOn);

    clearFb();
    char b[24];
    drawText(0, 0, "SOIL");
    snprintf(b, sizeof(b), "%3d%%", soil); drawText(70, 0, b, 2);
    drawBar(0, 18, 128, 8, soil);
    drawText(0, 32, "TANK");
    if (tank < 0) snprintf(b, sizeof(b), " ?? "); else snprintf(b, sizeof(b), "%3d%%", tank);
    drawText(70, 32, b, 2);
    drawBar(0, 48, 128, 8, tank < 0 ? 0 : tank);
    if (pumpOn) drawText(30, 0, "PUMP");
    else if (!tankOk) drawText(30, 0, "FILL!");
    oledShow();
  }
  delay(10);
}


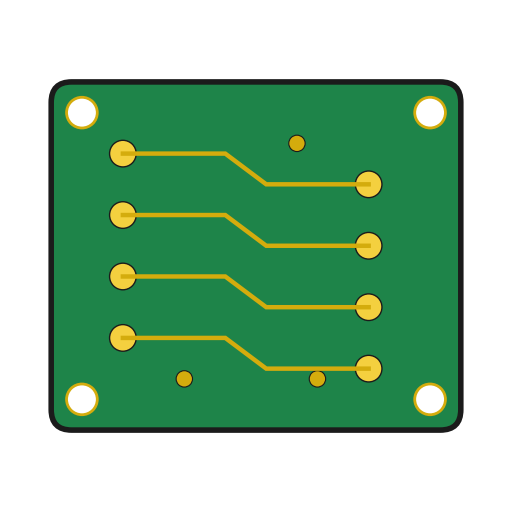 Circuit imprimé1 pcs
 Multimètre
 Résistance CMS6 pcs
 Condensateur céramique CMS1 pcs
 Embase USB-C1 pcs
 Fil de soudure5 g
 Fer à souder
 Diode1 pcs
 MOSFET à niveau logique IRLZ44N1 pcs
 Condensateur électrolytique1 pcs
 Bornier à vis1 pcs
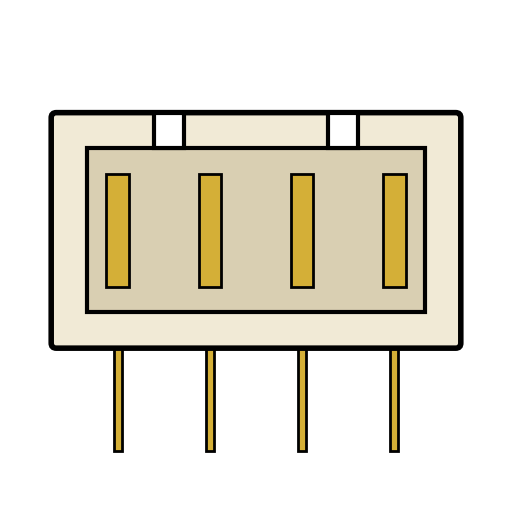 Barrette de connexion JST-XH pour carte2 pcs
 Barrette de connexion3 pcs
 Bouton-poussoir1 pcs
 Carte de développement ESP321 pcs
 Alimentation en courant continu
 Vis autotaraudeuse4 pcs
 Jeu de tournevis
 Écran OLED1 pcs
 Fils de liaison4 pcs
 Pompe à eau immergée1 pcs
 Tube en silicone1 m
 Capteur de distance à ultrasons1 pcs
 Bâtons de colle thermofusible1 pcs
 Pistolet à colle chaude
 Fil de câblage1 m
 Gaine thermorétractable10 cm
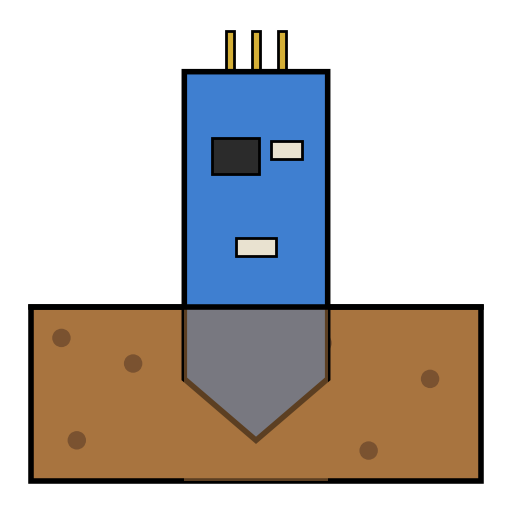 Capteur capacitif d'humidité du sol1 pcs
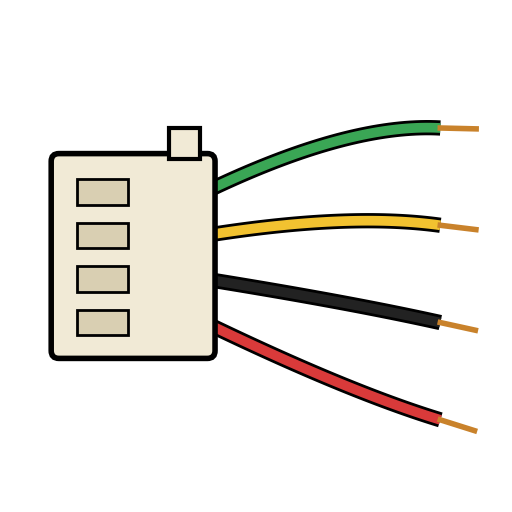 Câble JST-XH2 pcs
 Pince à dénuder
 Ordinateur avec l'IDE Arduino
 Câble de données USB
 Verre doseur
 Essuie-tout
 Eau
 Adaptateur secteur USB-C1 pcs
 Câble USB-C1 pcs
 Pot de fleurs