ART
BEAUTÉ ET BIEN-ÊTRE
ARTISANAT
CULTURE ET HISTOIRE
DIVERTISSEMENT
ENVIRONNEMENT
NOURRITURE ET BOISSONS
INGÉNIERIE INVERSE
SCIENCES
SPORTS
TECHNOLOGIE
TECHNOLOGIE PORTABLE
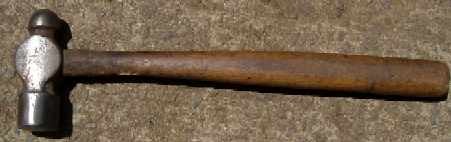


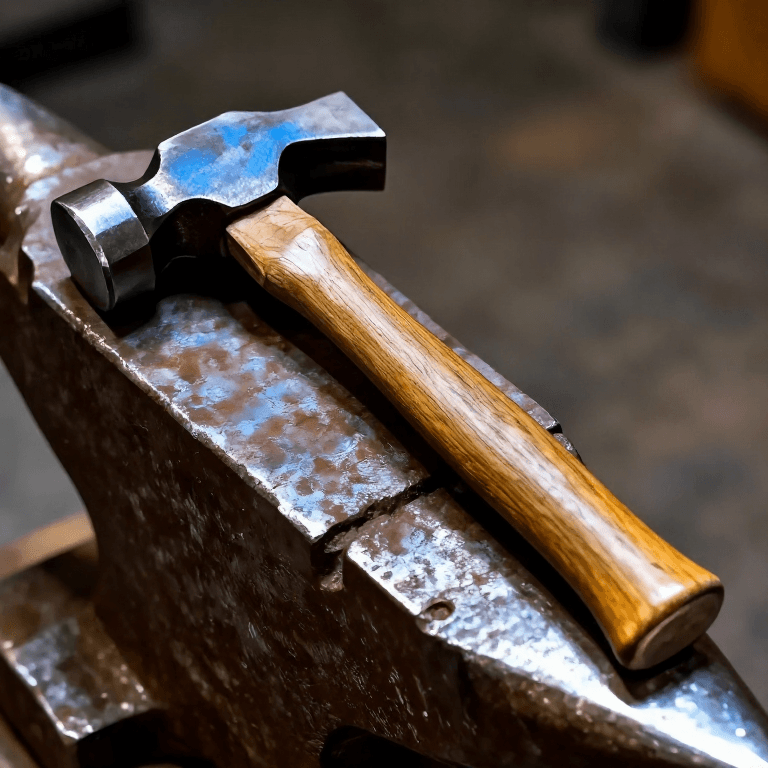
Forged Ball-Peen Hammer
A 2-pound ball-peen hammer forged from 1½-inch square tool steel; a 6½-inch bar gives two heads. The eye is punched and drifted, the body fullered and rounded so it tapers both ways from a thick centre, then the face is drawn out and swaged and the ball peen rounded in a bottom swage. Both ends are hardened by dipping them in turn, with water dripping on the face, and tempered from the heat held around the eye: dark brown for the face, brown or purple for the peen. The eye cools last, which keeps it tough.
Avancé
4–6 hours
Consignes
1
1
Mark and flatten
Mark and flatten
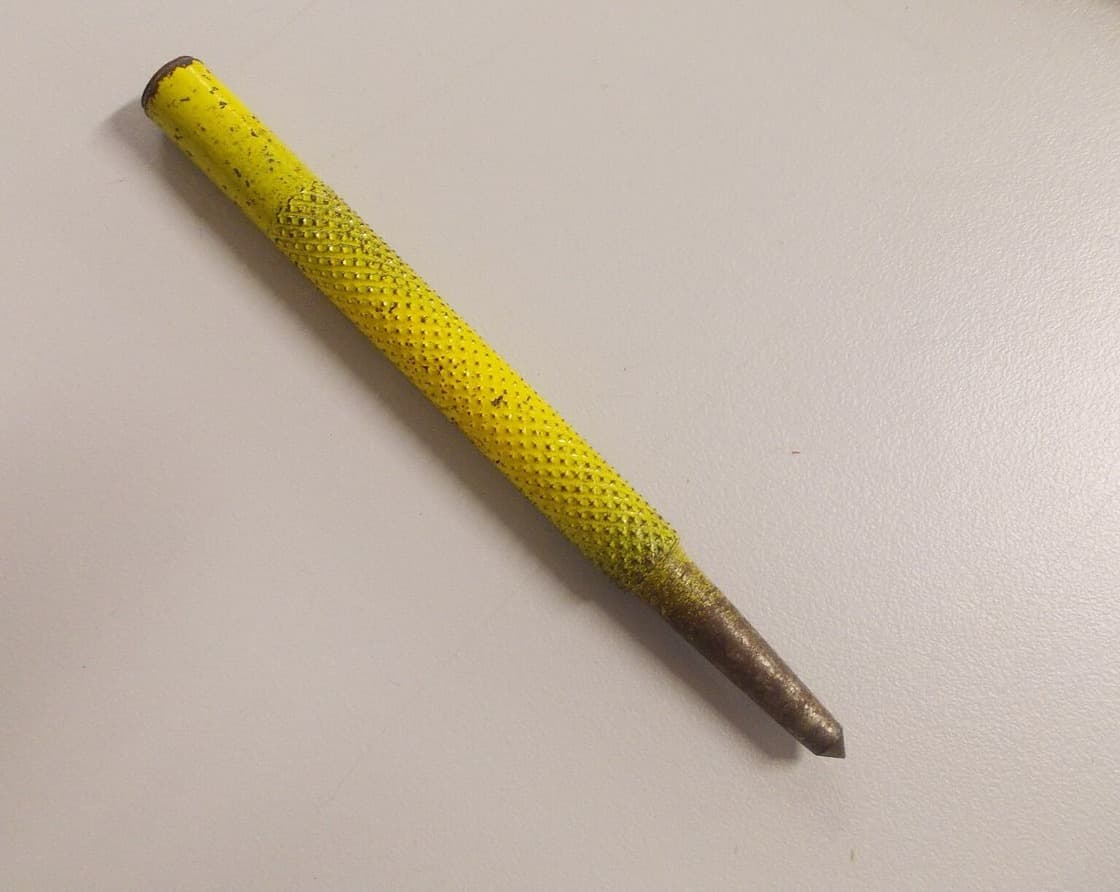
Mark the bar with a chisel and centre punch. Flatten the end before punching, or the hole grows too large.
Matériaux pour cette étape :
 Barre carrée en acier à outils1 pièce
Outils nécessaires :
 Pointeau
 Tranche à chaud
 Forge de forgeron
 Enclume
 Masse
 Pinces de forgeron
2
2
Punch and drift the eye
Punch and drift the eye
Punch the eye at the centre-punch mark, drive in a drift and hammer the bulged sides straight.
Outils nécessaires :
 Poinçon à chaud
 Mandrin à élargir
 Marteau de forge
3
3
Shape the body
Shape the body
Rough out the shape with top and bottom fullers, then round the body at the anvil's rounded edge with a top fuller and set hammer, thicker at the centre than at the ends.
Outils nécessaires :
 Dégorgeoir (fuller)
 Chasse carrée
4
4
Face and peen
Face and peen
Cut the head from the bar from four sides for a square end. Draw out the face, swage it and trim it with a hot chisel; then cut the peen to length, cut off its corners and round it in a bottom swage. Drive the drift through from both sides to taper the eye.
Outils nécessaires :
Tranche à chaud Étampe inférieureMandrin à élargir
5
5
Grind
Grind
Grind both ends, rounding the edges of the face slightly so it does not mark hot work.
Outils nécessaires :
 Touret à meuler
6
6
Harden and temper
Harden and temper
Heat the whole head slowly to the hardening heat and hold it by a tong jaw in the eye. Lower about 1½ inches of the face into water, then harden the peen the same way while water drips on the face, keeping the eye hot. Polish the ends; take the face to dark brown and the peen to brown or purple, then dip the ends alternately so the eye cools slowly.
Outils nécessaires :
Forge de forgeron Baquet de trempePinces de forgeron
 Toile émeri
7
7
Handle
Handle
Shave the handle stock to fit the eye tightly, drive the head on, saw a kerf in the handle's top and drive a glued hardwood wedge into it. Trim flush and oil the handle.
Matériaux pour cette étape :
 Barreau de bois dur pour manches1 pièce
 Coin de bois dur1 pièce
 Huile de lin10 ml
Outils nécessaires :
 Vastringue
 Passe-partout
 Étau d'établi
Matériaux
4- Espace réservé
- Espace réservé
- 1 pièceEspace réservé
- 10 mlEspace réservé
Outils requis
18- Espace réservé
- Espace réservé
- Espace réservé
- Espace réservé
- Espace réservé
- Espace réservé
- Espace réservé
- Espace réservé
- Espace réservé
- Espace réservé
- Espace réservé
- Espace réservé
- Espace réservé
- Espace réservé
- Espace réservé
- Espace réservé
- Espace réservé
- Espace réservé
Ce plan fabrique
Blueprints liés
Ces blueprints partagent des connaissances — techniques, matériaux ou principes
CC0 Domaine public
Ce blueprint est publié sous CC0. Vous êtes libre de copier, modifier, distribuer et utiliser ce travail pour tout usage, sans demander la permission.
Soutenez le Maker en achetant des produits via son Blueprint où il perçoit une Commission Maker définie par les Vendeurs, ou créez une nouvelle itération de ce Blueprint et incluez-le comme connexion dans votre propre Blueprint pour partager les revenus.