ART
BEAUTÉ ET BIEN-ÊTRE
ARTISANAT
CULTURE ET HISTOIRE
DIVERTISSEMENT
ENVIRONNEMENT
NOURRITURE ET BOISSONS
INGÉNIERIE INVERSE
SCIENCES
SPORTS
TECHNOLOGIE
TECHNOLOGIE PORTABLE
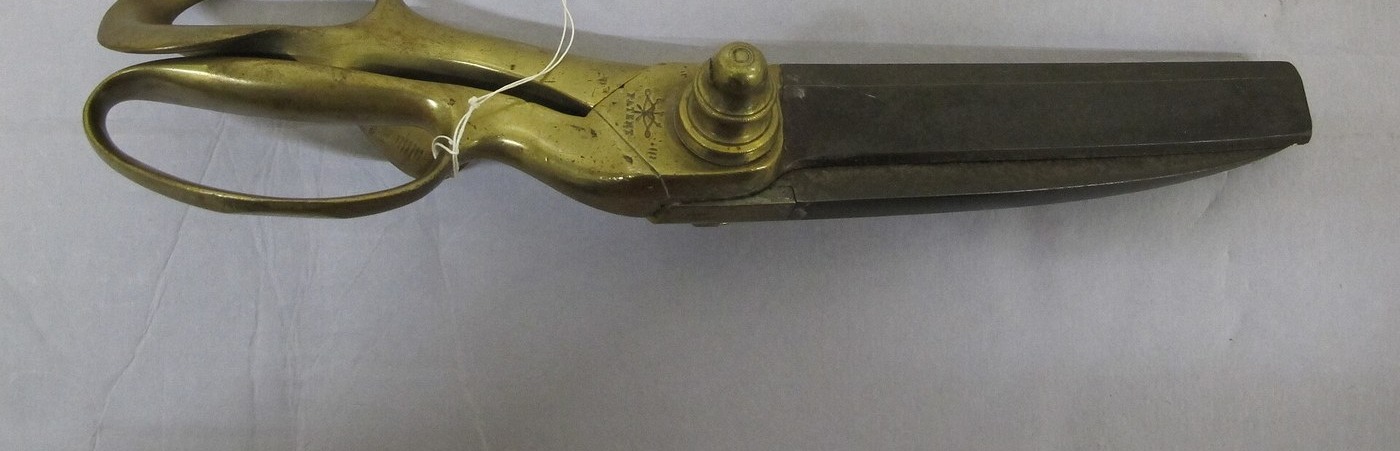


Scissors: Forged, Ground Hollow and Set
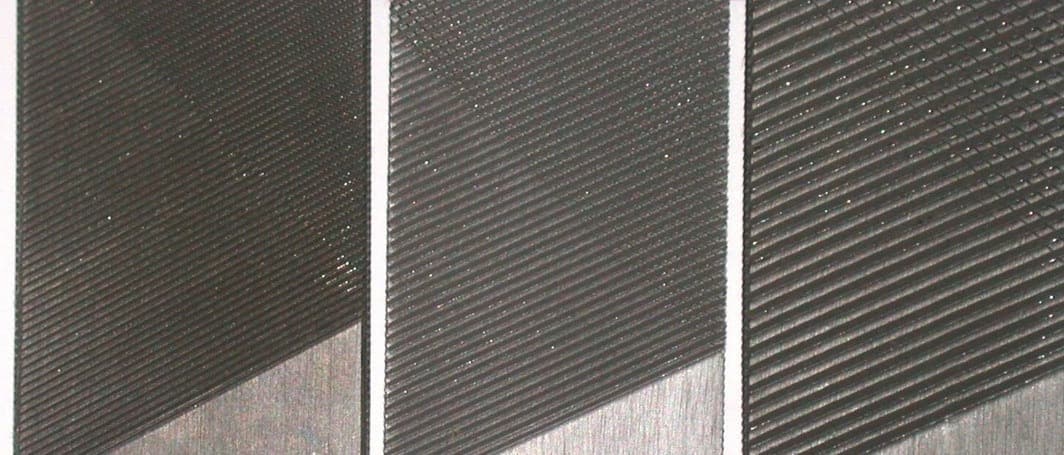
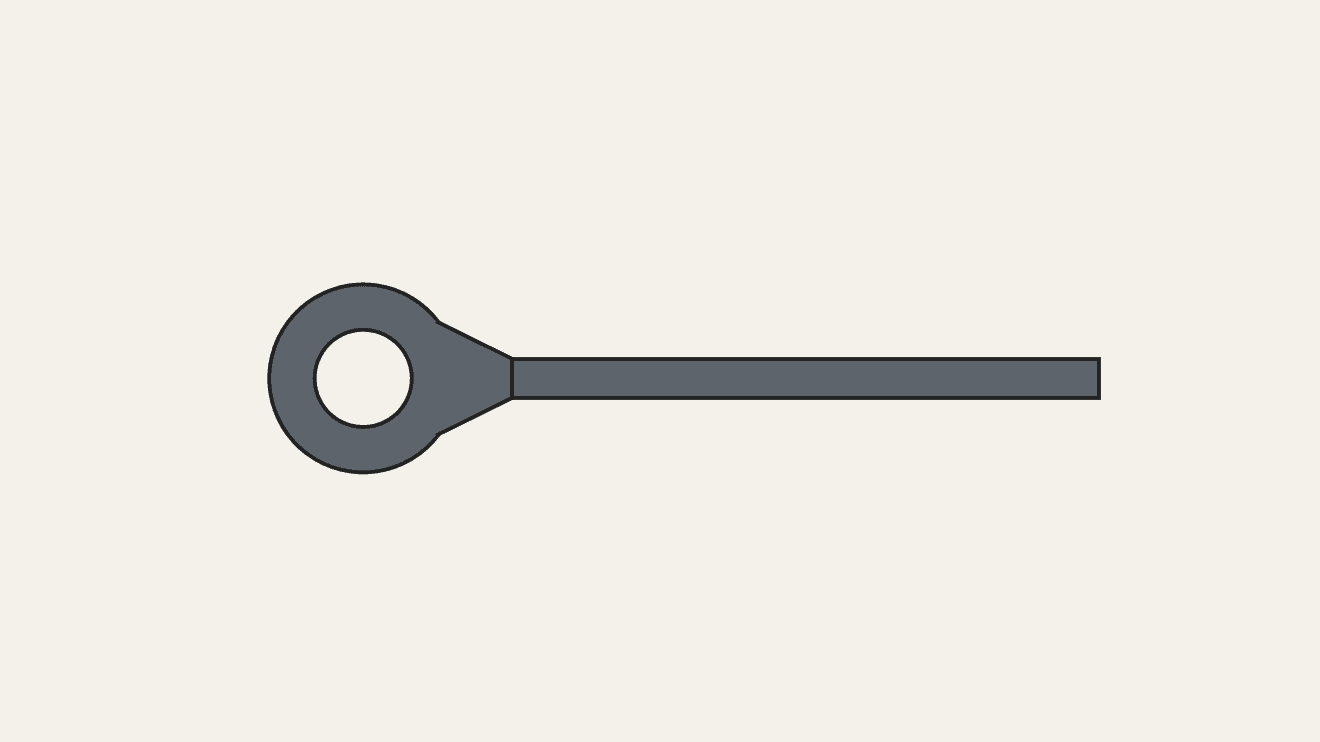
As the Sheffield cutlery trade made them, each scissor blade and its bow (finger loop) is forged from steel: a hole is punched through the flattened rod and opened over the point of a small beaked anvil to form the bow. Die-forging under a heavy stamp, with the surplus rim sheared off in a fly-press, was replacing hand forging by 1913. The blades are annealed, filed and drilled for the rivet, then ground: each is hollow on its inner face, concave from rivet to point, and given a slight twist toward the other so the edges meet along their whole length. The pair is fitted, wound with iron wire, hardened, reground and polished, and finally riveted together and set.
Avancé
Works process (early 1900s)
Consignes
1
1
Forge the blades
Forge the blades
Forge each blade and shank; punch a hole through the flattened rod and open it over the beaked anvil to form the bow.
Matériaux pour cette étape :
 Barre plate en acier à outils1 pièce
Outils nécessaires :
 Forge de forgeron
 Enclume
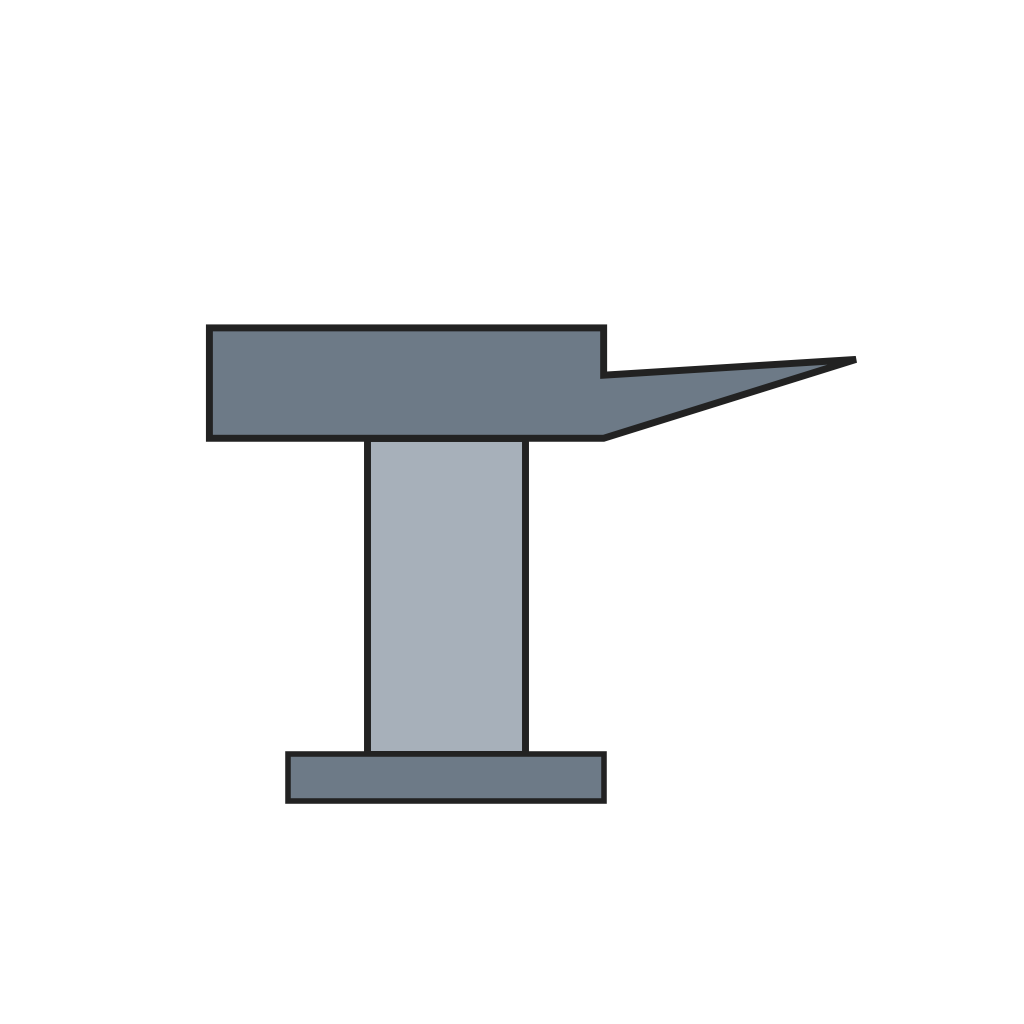 Bigorne à bec
 Marteau de forge
2
2
Anneal, file and drill
Anneal, file and drill
Anneal the blades instead of hardening them; file the shanks and bows to shape, square the joint and bore the rivet hole.
Outils nécessaires :
 Lime à métaux
 Perceuse à colonne
3
3
Grind
Grind
Grind each blade hollow from back to edge, concave from rivet to point, with a slight twist toward its partner.
Outils nécessaires :
 Pierre à aiguiser à roue
4
4
Fit and harden
Fit and harden
Fit the pair, wind them from the points upward with iron wire, take out the rivet and harden the blades.
Matériaux pour cette étape :
 Fil d'acier0.5 m
Outils nécessaires :
Forge de forgeron Baquet de trempe
5
5
Finish and set
Finish and set
Grind, glaze and polish the bows and shanks again and burnish them; rivet the blades together and set them so the edges meet along their length.
Matériaux pour cette étape :
 Rivets en acier1 pièce
Outils nécessaires :
Pierre à aiguiser à roue Meule de polissage à l'émeri
Matériaux
3- Espace réservé
- 0.5 mEspace réservé
- 1 pièceEspace réservé
Outils requis
9- Espace réservé
- Espace réservé
- Espace réservé
- Espace réservé
- Espace réservé
- Espace réservé
- Espace réservé
- Espace réservé
- Espace réservé


Blueprints liés
Ces blueprints partagent des connaissances — techniques, matériaux ou principes
CC0 Domaine public
Ce blueprint est publié sous CC0. Vous êtes libre de copier, modifier, distribuer et utiliser ce travail pour tout usage, sans demander la permission.
Soutenez le Maker en achetant des produits via son Blueprint où il perçoit une Commission Maker définie par les Vendeurs, ou créez une nouvelle itération de ce Blueprint et incluez-le comme connexion dans votre propre Blueprint pour partager les revenus.