
Collaboration
ART
BEAUTÉ ET BIEN-ÊTRE
ARTISANAT
CULTURE ET HISTOIRE
DIVERTISSEMENT
ENVIRONNEMENT
NOURRITURE ET BOISSONS
INGÉNIERIE INVERSE
SCIENCES
SPORTS
TECHNOLOGIE
TECHNOLOGIE PORTABLE
Fume Hood (Ducted): Sloping Stone Baffle Set from Outside by a Crank (Liptay, US 2,779,265, 1957)
Penny

Créé par

Penny

3. novembre 2026DK
14
0
0
0
0

Fume Hood (Ducted): Sloping Stone Baffle Set from Outside by a Crank (Liptay, US 2,779,265, 1957)

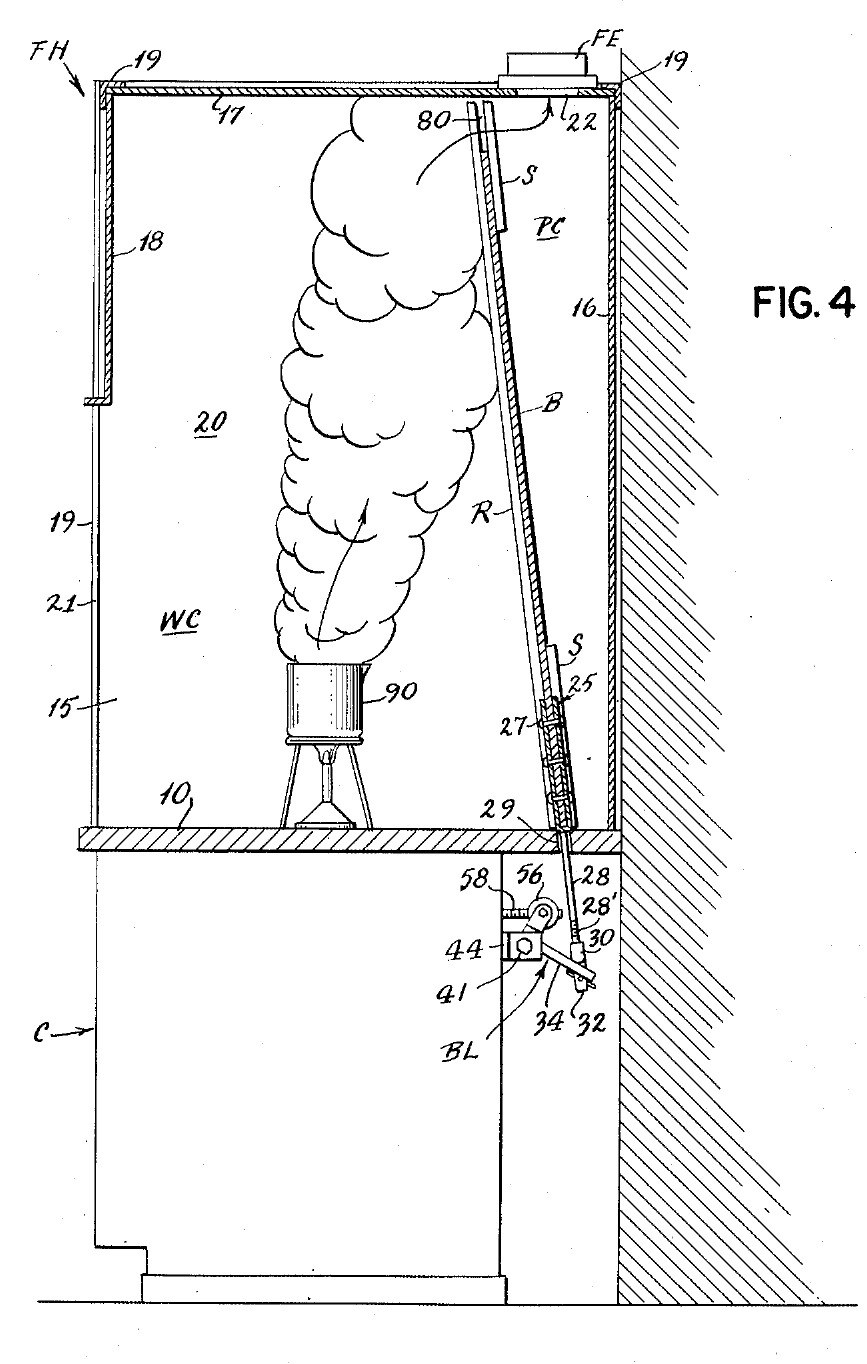
A bench fume hood on a stone counter, drawn off through a duct with a fan. Inside, a sloping stone baffle leaves a gap at the top and one at the bottom. A crank under the counter slides the baffle: one gap grows as the other shrinks, so the air sweeps light fumes out at the top or heavy fumes out at the bottom, with no one reaching inside. Result: a ducted hood whose air flow can be set for light or heavy fumes during work. Source: J. M. Liptay, US 2,779,265 (1957). Unknown: sizes, air flow, the fan and most materials. Picture: the patent drawing.
Avancé
Unknown

Consignes

1

Build the cabinet and stone counter

Build a sheet metal cabinet. Fix spaced sheet metal channels to its front panel and rear wall, and lay a stone slab on them as the counter. Bore a hole through the slab near the back, at the middle, for the baffle's lifting rod. Not given: sizes, the metal.

Matériaux pour cette étape :

Métal inconnuMétal inconnu1 cabinet and channels
Dalle de pierre plateDalle de pierre plate1 counter

Outils nécessaires :

Cisaille à tôleCisaille à tôle
Perceuse à colonnePerceuse à colonne
Dimensions inconnuesDimensions inconnues
2

Build the hood

On the counter, make a frame of corner angle irons. Fix to it two sides, a rear wall, a roof and a front panel. Leave the front open below the front panel: this is the large opening where you work and where air comes in. Cut the fume outlet in the roof, towards the back. Not given: the panel material, sizes.

Matériaux pour cette étape :

Cornière en acier douxCornière en acier doux1 corner frame
Matériau inconnuMatériau inconnu1 sides, rear wall, roof, front panel

Outils nécessaires :

Scie à métauxScie à métaux
Dimensions inconnuesDimensions inconnues
3

Fit the exhaust pipe and fan

Fix an exhaust pipe over the roof outlet, with a fan in it, to draw the fumes out. Not given: the pipe, the fan, the air flow.

Matériaux pour cette étape :

Gaines de ventilationGaines de ventilation1 exhaust pipe
SoufflerieSoufflerie1 fan

Outils nécessaires :

Clé à moletteClé à molette
4

Fit the sloping baffle

Make a solid stone baffle almost as wide as the hood. Set it sloping up and forward from the rear wall, so it splits the inside into the work space in front and a duct behind that widens upward to the outlet. Guide it on sloping rails in front and strips behind, fixed to the sides, so it can slide. Leave a gap between its top and the roof, and one between its bottom and the counter. Not given: the rails' metal, sizes.

Matériaux pour cette étape :

Dalle de pierre plateDalle de pierre plate1 baffle
Métal inconnuMétal inconnu1 rails and strips

Outils nécessaires :

Dimensions inconnuesDimensions inconnues
5

Make the lifting rod

Cut a notch in the middle of the baffle's lower edge. Make a V-shaped yoke whose legs straddle the baffle front and back, rivet the legs to it, and give the yoke a rod that hangs down through the hole in the counter. Thread the rod's lower end. Not given: the metal.

Matériaux pour cette étape :

Métal inconnuMétal inconnu1 yoke, rod, rivets

Outils nécessaires :

Jeu à riverJeu à river
Jeu de tarauds et filièresJeu de tarauds et filières
6

Fit the bell crank

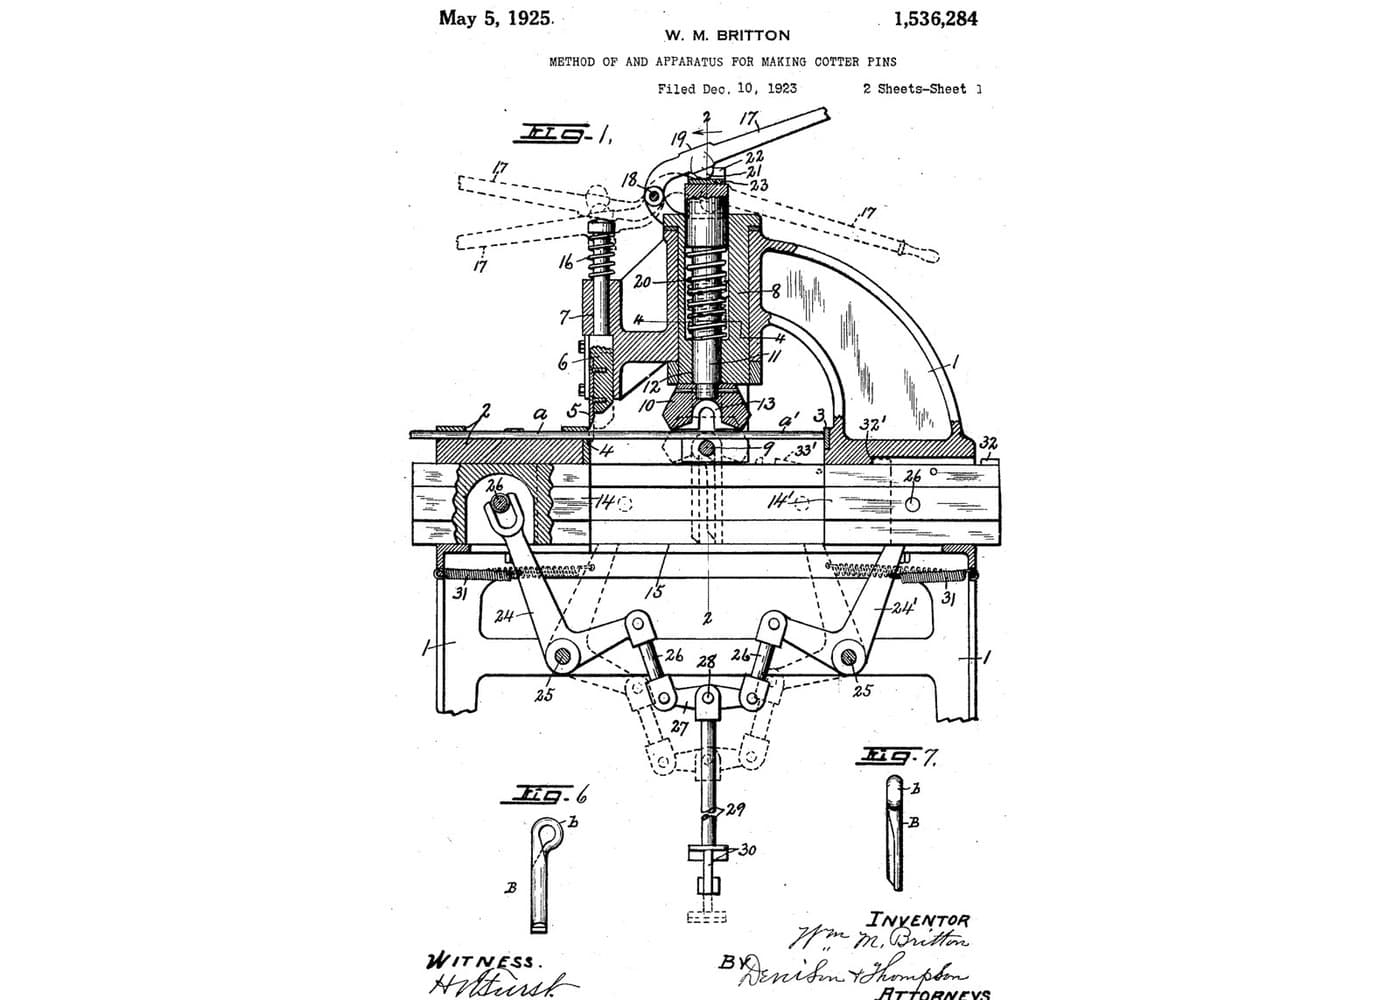
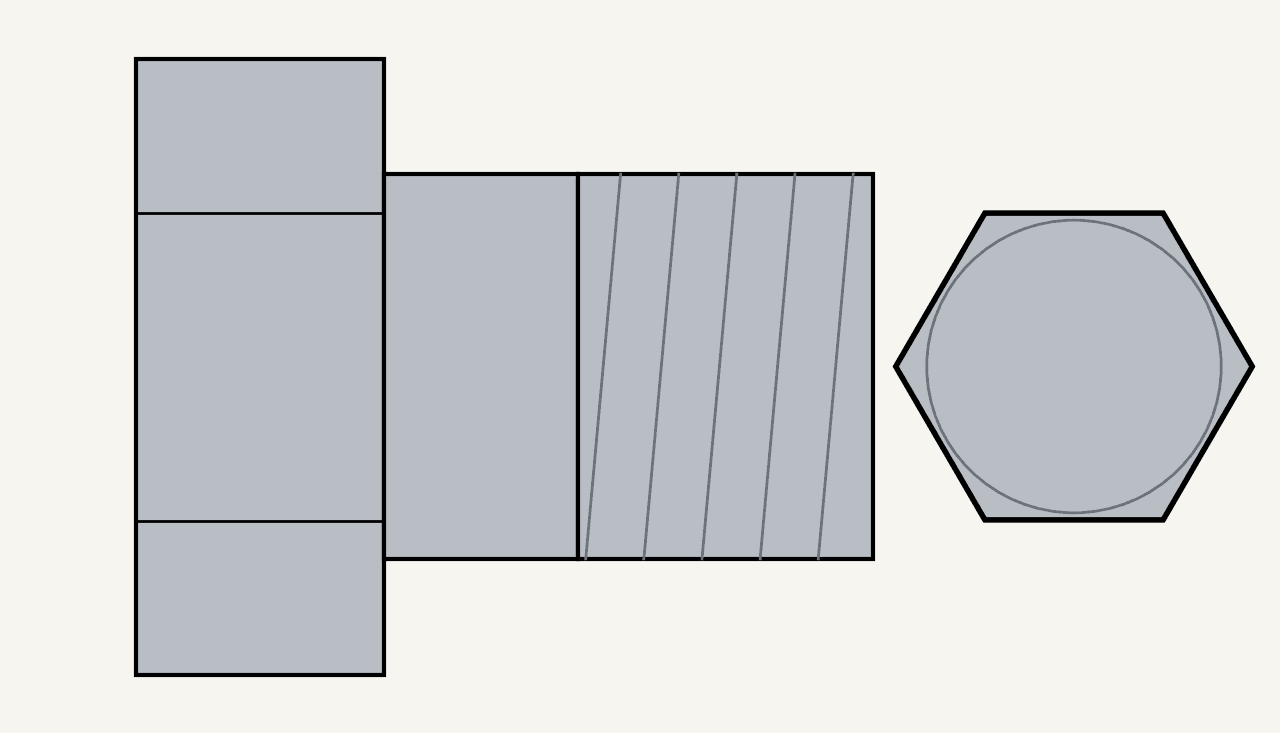
Under the counter, pivot a bell crank lever on a bolt through the lugs of a bracket fixed to the cabinet's rear channel. Screw a coupling onto the rod's threaded end. The coupling's two curved lips rock on the lever's long arm, and its tongue hangs through a slot in the arm, held by a cotter pin. On the short arm, a yoke turns on two bolts set fast in the threaded cross-holes of a round nut. Ours: hex bolts and nuts.

Matériaux pour cette étape :

Levier coudéLevier coudé1 bell crank
Métal inconnuMétal inconnu1 bracket, coupling, round nut

Assortiment de boulons à tête hexagonaleAssortiment de boulons à tête hexagonale3 pièces

Écrou hexagonalÉcrou hexagonal1 pièce
Goupille fendueGoupille fendue1 pièce

Outils nécessaires :

Jeu de tarauds et filièresJeu de tarauds et filières
Clé à moletteClé à molette
7

Fit the crank and set the baffle

Screw a metal operating rod through the round nut and run it forward to the cabinet front. Screw its front socket onto the shaft of a hand crank and pin it with a cotter pin. Weld an angle iron to the inside of the front panel to stiffen it. Clamp a bushing through the panel with a nut, and set a ball bearing between two rings on the shaft, between the bushing and the crank. Turning the crank tips the bell crank, which raises the rod and baffle or lets them slide down by their own weight: as one gap grows the other shrinks. Air comes in at the front; the upper stream carries light fumes to the top gap, the lower stream heavy fumes to the bottom gap. Open the top fully for light fumes, the bottom fully for heavy ones, or set any point between, without reaching inside. A sliding safety sash may be fitted over the front opening, to watch dangerous reactions safely.

Matériaux pour cette étape :

Métal inconnuMétal inconnu1 operating rod, crank, bushing
Goupille fendueGoupille fendue1 pièce
Écrou hexagonalÉcrou hexagonal1 pièce
Cornière en acier douxCornière en acier doux1 stiffener
Butée à billesButée à billes1 pièce

Outils nécessaires :

Poste à souder à l'arcPoste à souder à l'arc
Jeu de tarauds et filièresJeu de tarauds et filières
Clé à moletteClé à molette

Matériaux

11

Outils requis

8

Blueprints liés

Ces blueprints partagent des connaissances — techniques, matériaux ou principes

CC0 Domaine public

Ce blueprint est publié sous CC0. Vous êtes libre de copier, modifier, distribuer et utiliser ce travail pour tout usage, sans demander la permission.

Soutenez le Maker en achetant des produits via son Blueprint où il perçoit une Commission Maker définie par les Vendeurs, ou créez une nouvelle itération de ce Blueprint et incluez-le comme connexion dans votre propre Blueprint pour partager les revenus.

Commentaires

(0)

Se connecter pour participer à la discussion

Chargement des commentaires...