ART
BEAUTÉ ET BIEN-ÊTRE
ARTISANAT
CULTURE ET HISTOIRE
DIVERTISSEMENT
ENVIRONNEMENT
NOURRITURE ET BOISSONS
INGÉNIERIE INVERSE
SCIENCES
SPORTS
TECHNOLOGIE
TECHNOLOGIE PORTABLE
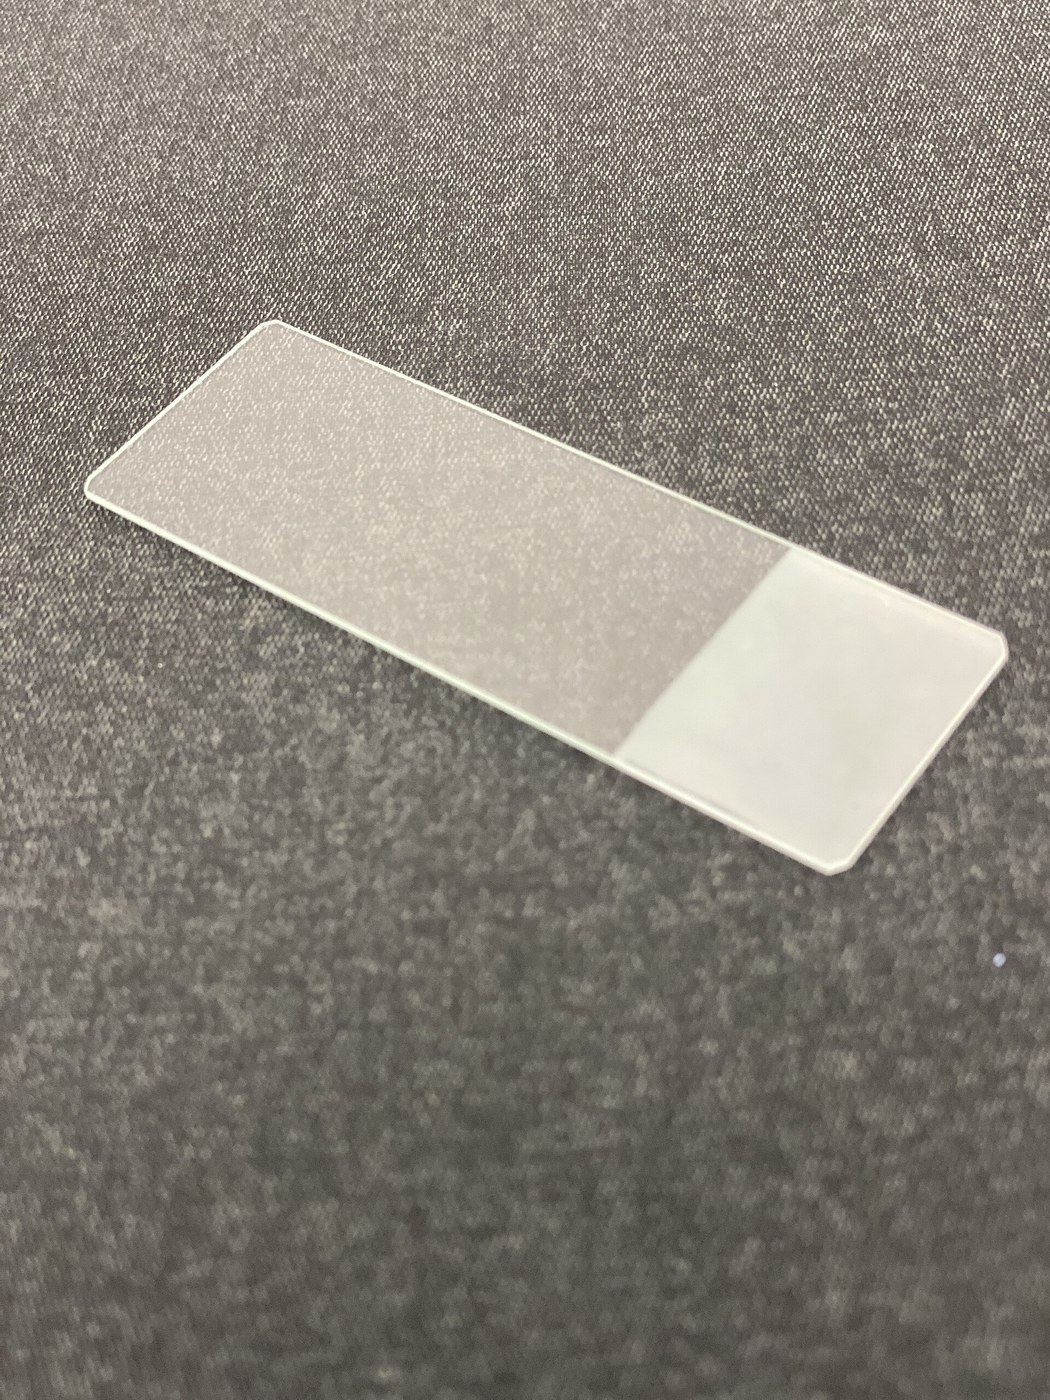


Glass Microscope Slides Cut and Edge-Ground
A microscope slide is a thin flat strip of glass, about 75 by 25 mm and 1 mm thick, its edges ground smooth. Score thin sheet glass against a straightedge, snap it into strips and pieces, and grind the edges on a wet stone. A frosted end takes pencil for labelling.
The picture: a glass slide with a frosted end for writing.
Débutant
An hour
Consignes
1
1
Score and snap strips
Score and snap strips
Lay the sheet flat, score a line 25 mm from the edge with the scriber against the straightedge in one firm stroke, and snap it over the straightedge. Repeat across the sheet.
Matériaux pour cette étape :
 Feuille de verre1 pièce
Outils nécessaires :
 Pointe à tracer
 Règle de contrôle
 Règle
 Gants de travail en cuir
 Lunettes de sécurité
2
2
Cut to length
Cut to length
Score and snap each strip into 75 mm pieces.
Outils nécessaires :
Pointe à tracerRègle de contrôleRègleGants de travail en cuirLunettes de sécurité3
3
Grind the edges
Grind the edges
Rub every edge and corner flat on the wet stone until no sharp arris is left.
Matériaux pour cette étape :
 Eau0.5 litre
Outils nécessaires :
 Pierre à aiguiserGants de travail en cuir
4
4
Frost an end
Frost an end
Rub one end of each slide with wet emery cloth until it is evenly frosted, for writing on in pencil. Wash and dry the slides.
Outils nécessaires :
 Toile émeri
5
5
Slides per sheet
Slides per sheet
Chargement du notebook Jupyter…
Ce plan fabrique

CC0 Domaine public
Ce blueprint est publié sous CC0. Vous êtes libre de copier, modifier, distribuer et utiliser ce travail pour tout usage, sans demander la permission.
Soutenez le Maker en achetant des produits via son Blueprint où il perçoit une Commission Maker définie par les Vendeurs, ou créez une nouvelle itération de ce Blueprint et incluez-le comme connexion dans votre propre Blueprint pour partager les revenus.