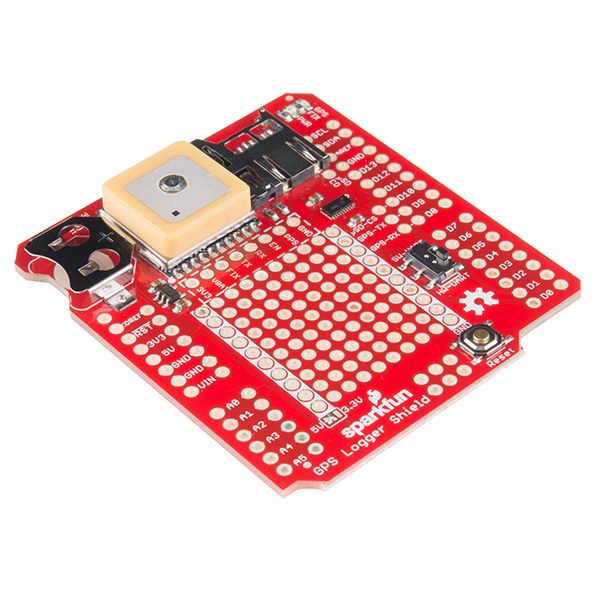


GPS Position Logger
Consignes
Solder the GPS shield headers
Solder the GPS shield headers
The kit contains the shield, an EM-506 receiver with its interface cable, and R3 headers. Solder the headers to the shield.
Matériaux pour cette étape :
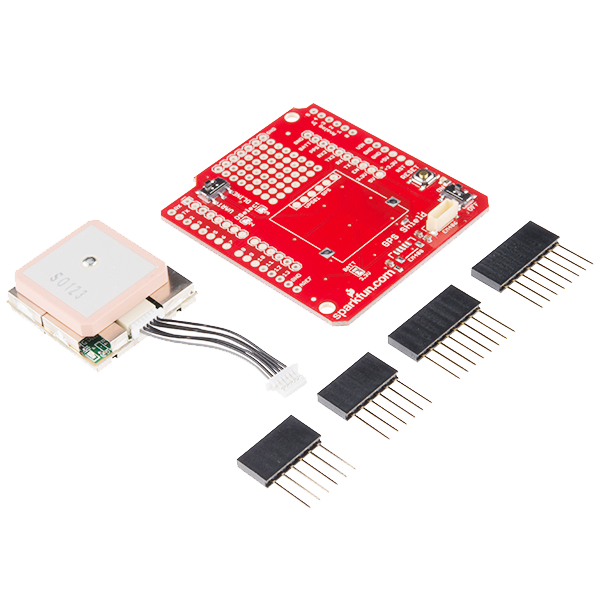 SparkFun GPS Shield Kit1 kit
Outils nécessaires :
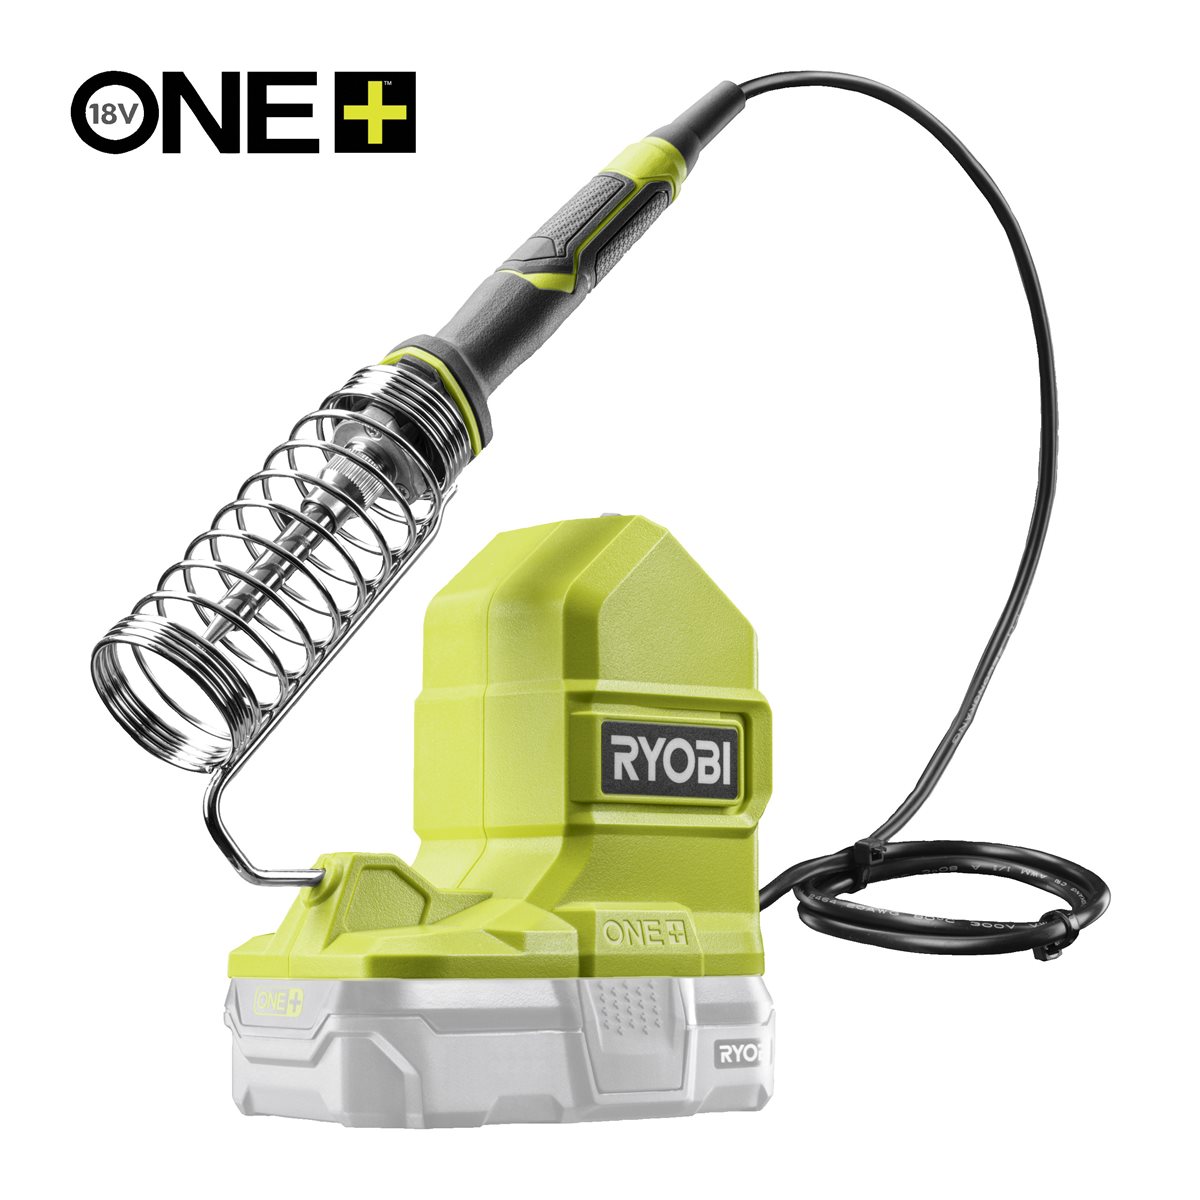 Ryobi ONE+ RSI18-0 Cordless Soldering Iron
Stack both shields and check for pin clashes
Stack both shields and check for pin clashes
Plug the EM-506 into the shield's connector, then stack GPS shield and microSD shield on the Uno.
- GPS shield: receiver on D2/D3 with its switch in the DLINE position.
- microSD shield: SPI on D11/D12/D13, card select on D8.
Matériaux pour cette étape :
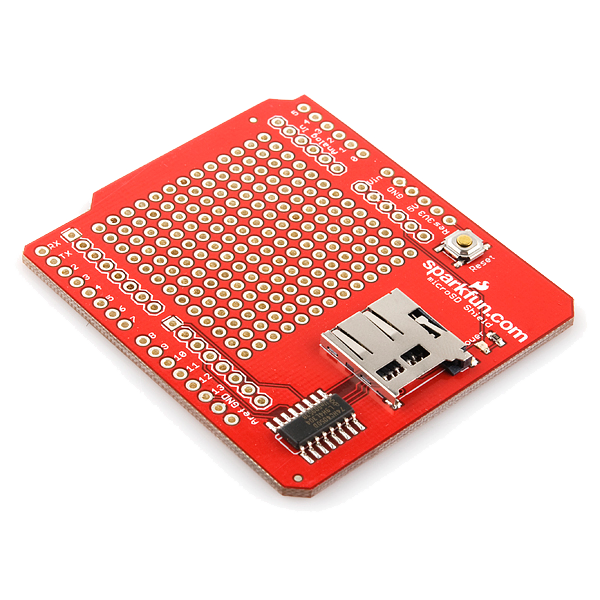 microSD Shield1 pièce
 Arduino Uno R3 SMD1 pièce
Power, and read raw NMEA before parsing anything
Power, and read raw NMEA before parsing anything
USB-B from the computer while testing; 7–12 V on the barrel jack once it runs standalone.
Before writing any parser, print the receiver's output straight through and look at it. You should see comma-separated sentences beginning with $.
Sentences arriving with empty position fields mean the receiver is alive and talking but has no fix yet. That is the normal cold-start state — not a fault.Matériaux pour cette étape :
 USB-B Cable1 pièce
Upload the logging sketch
Upload the logging sketch
No GPS library needed — the sketch reads NMEA directly, so nothing is hidden behind an abstraction. SD and SPI ship with the IDE. Format the card FAT32 first.
Take it outside for the first fix
Take it outside for the first fix
Put the unit under open sky, powered, and leave it. Watch for the fix indicator before judging the build.
Testing a GPS receiver indoors and concluding it is broken is the single most common failure in this project. A cold start with no stored almanac legitimately takes minutes.Matériaux
5- SparkFun GPS Shield Kit10 % de commission1 kit€47.61
- microSD Shield10 % de commission1 pièce€12.40
- Arduino Uno R3 SMD10 % de commission1 pièce€23.55
- SparkFun Cerberus USB Cable - 1.8 meter10 % de commission1 pièce€4.95
- Jumper Wires Premium M/M 20 AWG - 15.5 cm (Pack of 10)10 % de commission1 paquet€4.36
Outils requis
1- Ryobi ONE+ RSI18-0 Cordless Soldering Iron3 % de commission€81.09
CC0 Domaine public
Ce blueprint est publié sous CC0. Vous êtes libre de copier, modifier, distribuer et utiliser ce travail pour tout usage, sans demander la permission.
Soutenez le Maker en achetant des produits via son Blueprint où il perçoit une Commission Maker définie par les Vendeurs, ou créez une nouvelle itération de ce Blueprint et incluez-le comme connexion dans votre propre Blueprint pour partager les revenus.