Collaboration
ART
BEAUTÉ ET BIEN-ÊTRE
ARTISANAT
CULTURE ET HISTOIRE
DIVERTISSEMENT
ENVIRONNEMENT
NOURRITURE ET BOISSONS
INGÉNIERIE INVERSE
SCIENCES
SPORTS
TECHNOLOGIE
TECHNOLOGIE PORTABLE
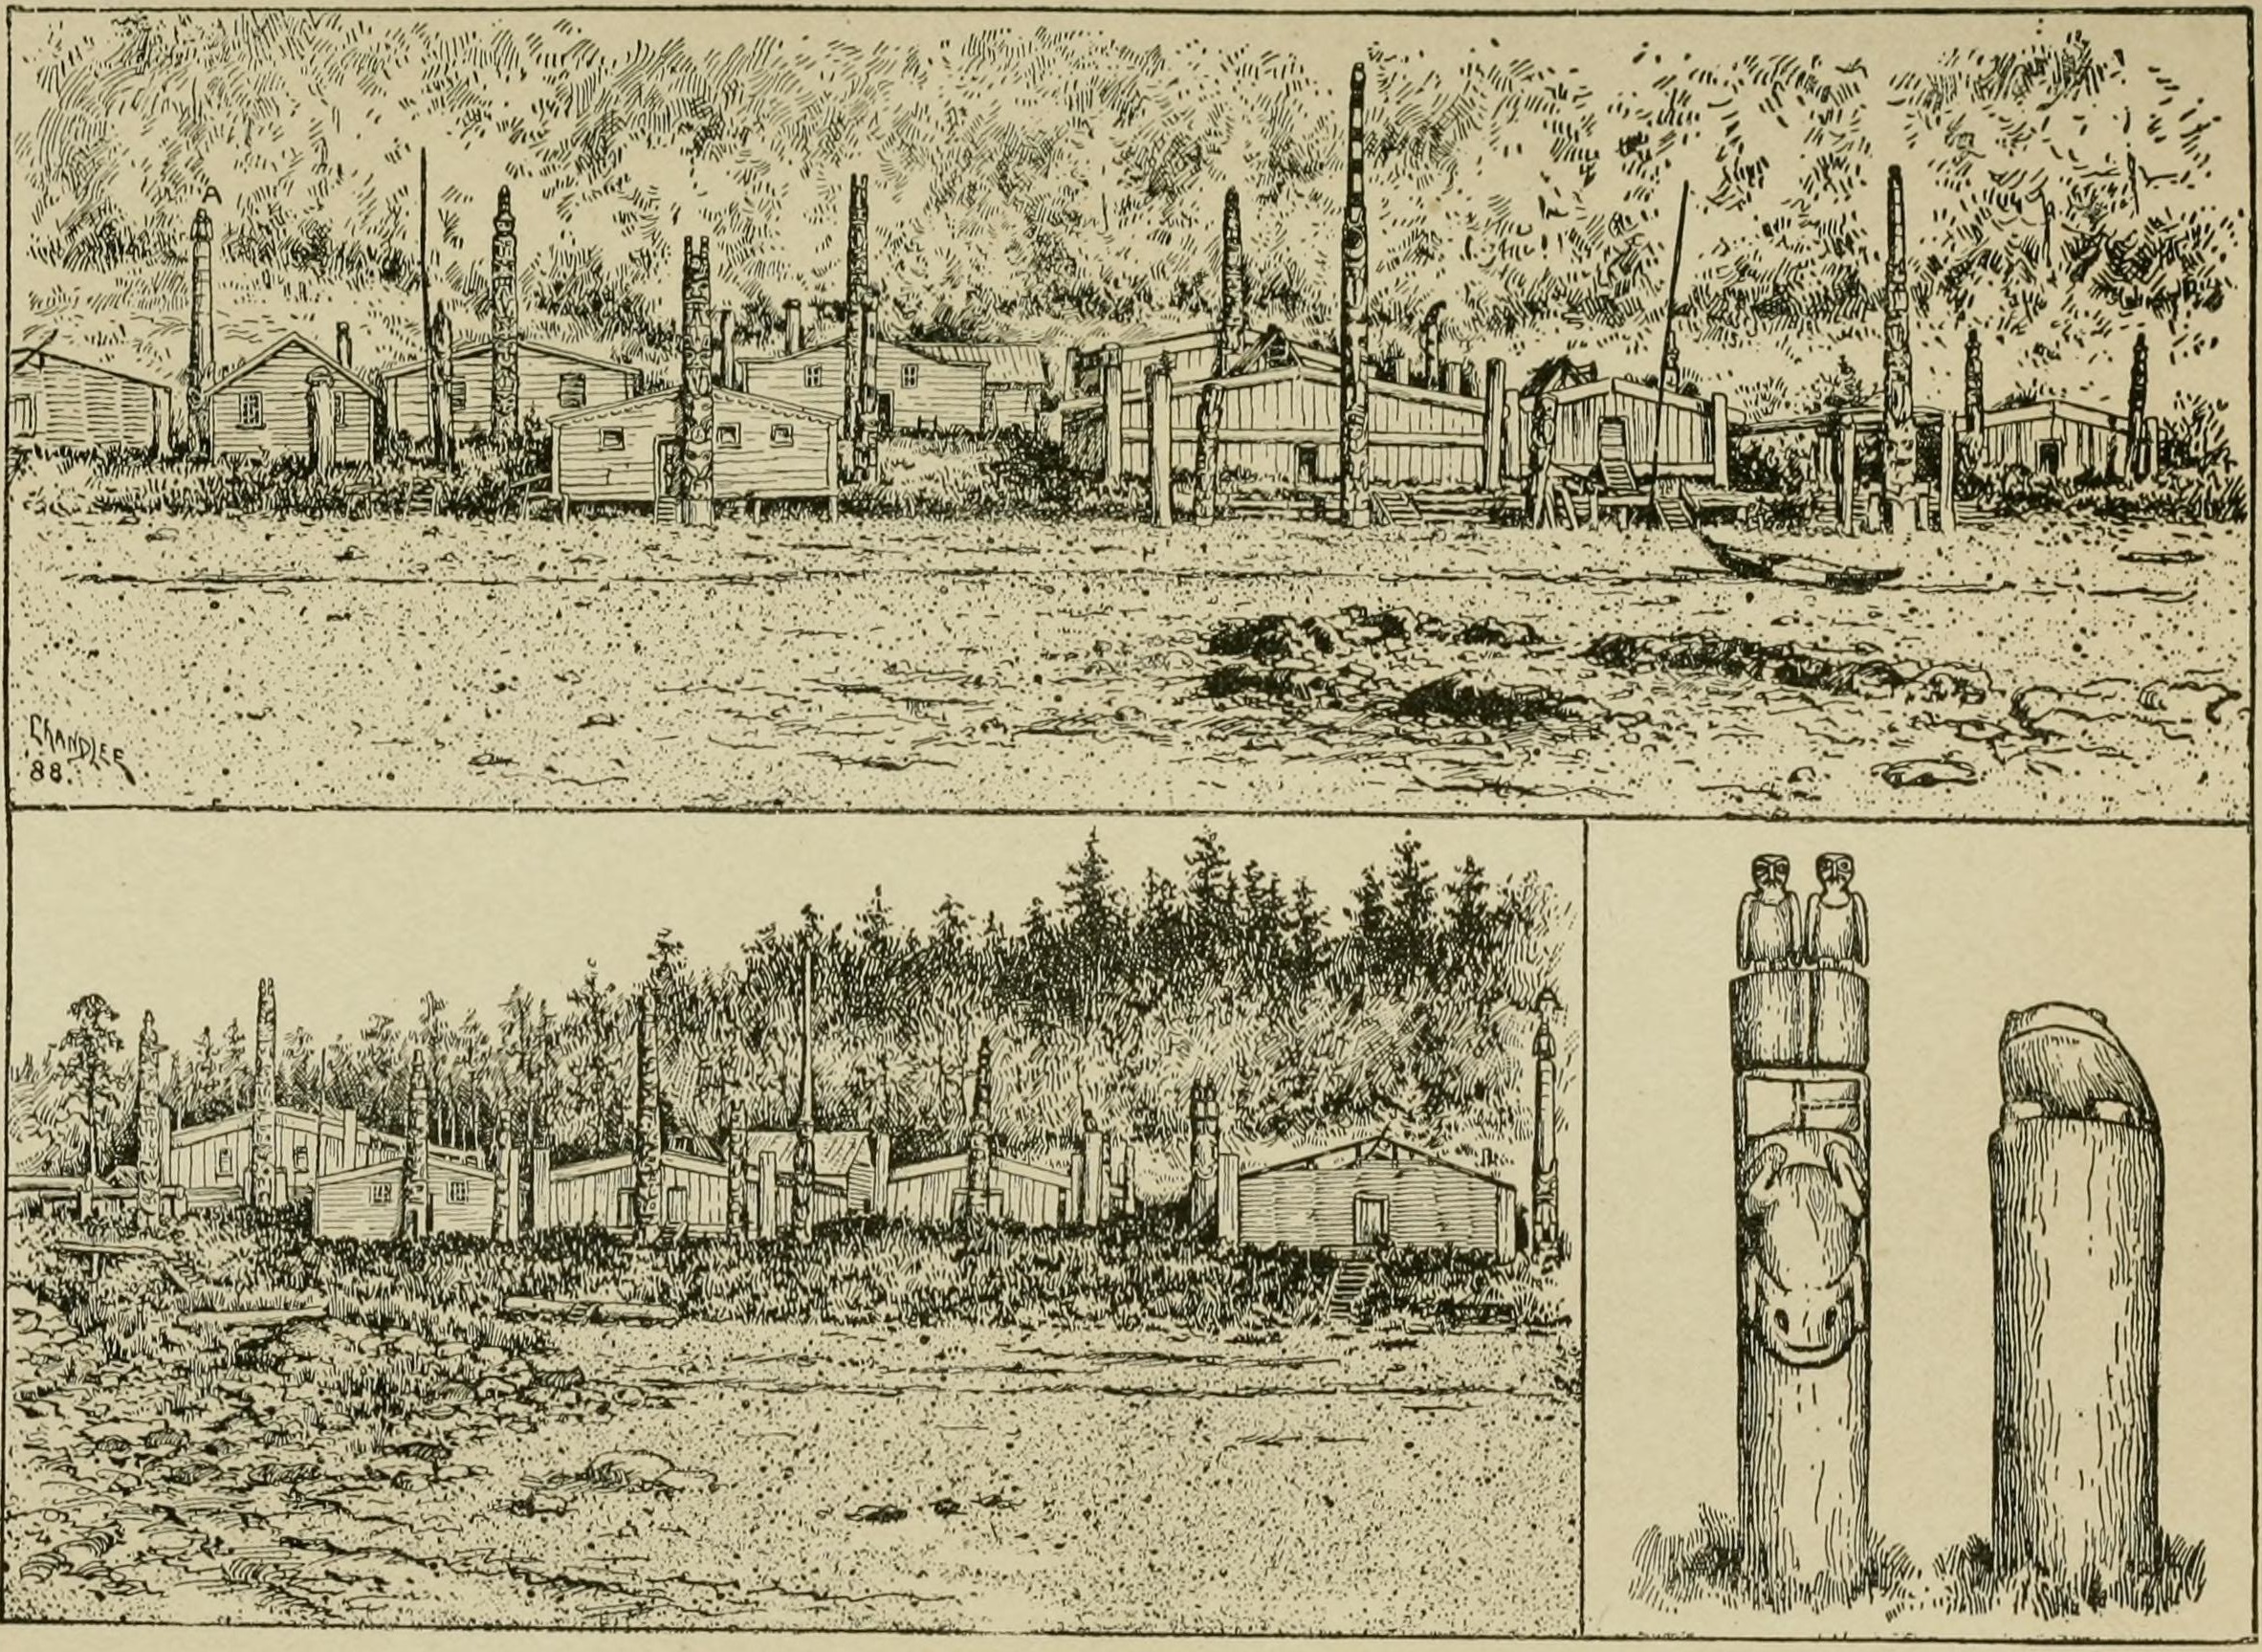


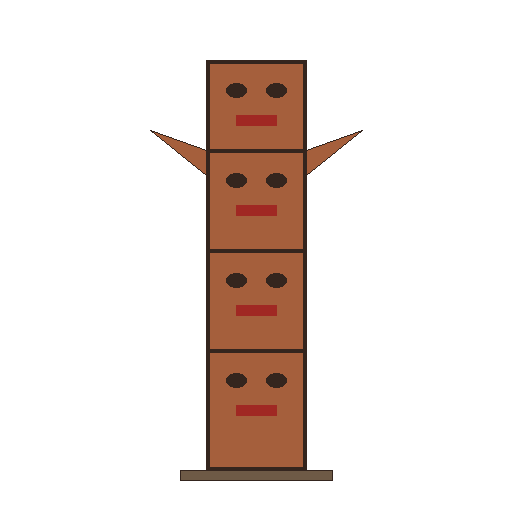
Totem Pole of the Haida, Tlingit and Tsimshian: Cedar Log Adzed, Relief-Carved with Crests, Painted and Raised on Guys (Niblack, 1890)
How the Haida, Tlingit and Tsimshian made the carved crest columns we call totem poles, as Albert Niblack recorded them around 1888: a cedar log got out of the forest and hauled up on skids, adzed smooth, relief-carved with the owner's clan crest at the top and his wife's crest and family legends below, painted with ochre or lignite ground with salmon eggs, and raised with poles, props and rope guys into a deep hole at a potlatch.
Avancé
Months to years
Consignes
1
1
Read Niblack
Read Niblack
"These are the very tall ones erected in front of the houses, and are generally surmounted by the clan-totem of the chief occupant."
2
2
Plan the crests
Plan the crests
The column tells whose it is: the owner's clan crest at the top (among the Tlingit often the phratry crest, with clan crests below), his wife's crest, which is also his children's, below it, or a family legend tied to his crest. The figures are the owner's own; carve your own family's story, not a copy of someone else's pole (ours).
3
3
Get out the log
Get out the log
Fell a large, straight cedar (ours: western red cedar). Split off what is not wanted with wedges and get the timber out in the rough in the forest, then tow or haul it to the site and lift it onto skids.
Matériaux pour cette étape :
 Grume de thuya géant1 pièce
Outils nécessaires :
 Hache
 Coins en bois
 Maillet en bois
 Corde
 Perche en bois
4
4
Smooth the log
Smooth the log
On the skids, smooth-finish the log with the adze. The old blades were green jade-like stone; in Niblack's day the favourite was the end of a broad flat file ground sharp and hafted.
Outils nécessaires :
 Herminette
5
5
Carve in relief
Carve in relief
Carve the crests in relief: rough down the surface with the chisel and adze, then smooth by scraping with sharp-edged shells or stones, or rub with dogfish skin for a finished surface. The carving was done by the owner if he was expert, or by carvers he hired.
Matériaux pour cette étape :
 Peau d'aiguillat1 pièce
Outils nécessaires :
Herminette Jeu de ciseaux à boisMaillet en bois
6
6
Grind the paint and paint
Grind the paint and paint
Grind red or brown ochre, charcoal or lignite in a stone mortar. For a lasting black on wood, grind lignite dry with salmon eggs first chewed with cedar bark: it gives the paint body and makes it stick. Paint the figures with hair or fibre brushes (in older times columns were simply daubed with ochre).
Matériaux pour cette étape :
 Ocre brute1 pièce
 Charbon de bois1 pièce
 Lignite1 pièce
 Œufs de saumon1 pièce
 Écorce interne de cèdre rouge1 pièce
Outils nécessaires :
 Mortier et pilon en pierre
 Pinceaux fins
7
7
Raise the column
Raise the column
Dig a deep hole in front of the house (ours: about a fifth of the pole's length, and well clear of the house front unless you are making a Haida doorway pole). Raise the column with poles, props and rope guys, many people pulling together, set its foot in the hole and pack it firm.
Outils nécessaires :
 PelleCordePerche en bois
8
8
Troubleshooting
Troubleshooting
Totem pole troubleshooting.
Flow
Loading...
9
9
History and honest limits
History and honest limits
From Albert P. Niblack, *The Coast Indians of Southern Alaska and Northern British Columbia*, **Report of the U.S. National Museum for 1888** (1890), pp. 279-282, 307-309, 319-320, 324 and Plate II (checked on the archive.org scan coastindiansofso00nibl). Among the Haida the column usually stood against the house with the doorway cut through it about three feet up; others stood a few feet in front. Raising was a potlatch: feasting, dancing and gifts, the work itself a small part of the time. Only the wealthy could afford one. Niblack gives no sizes or carving order: species, sizes, hole depth and the order of work are ours.
Matériaux
7- 1 pièceEspace réservé
- 1 pièceEspace réservé
- 1 pièceEspace réservé
- 1 pièceEspace réservé
- 1 pièceEspace réservé
- 1 pièceEspace réservé
- Espace réservé
Outils requis
10- Espace réservé
- Espace réservé
- Espace réservé
- Espace réservé
- Espace réservé
- Espace réservé
- Espace réservé
- Espace réservé
- Espace réservé
- Espace réservé
Ce plan fabrique
Blueprints liés
Ces blueprints partagent des connaissances — techniques, matériaux ou principes

CC0 Domaine public
Ce blueprint est publié sous CC0. Vous êtes libre de copier, modifier, distribuer et utiliser ce travail pour tout usage, sans demander la permission.
Soutenez le Maker en achetant des produits via son Blueprint où il perçoit une Commission Maker définie par les Vendeurs, ou créez une nouvelle itération de ce Blueprint et incluez-le comme connexion dans votre propre Blueprint pour partager les revenus.