Collaboration
ART
BEAUTÉ ET BIEN-ÊTRE
ARTISANAT
CULTURE ET HISTOIRE
DIVERTISSEMENT
ENVIRONNEMENT
NOURRITURE ET BOISSONS
INGÉNIERIE INVERSE
SCIENCES
SPORTS
TECHNOLOGIE
TECHNOLOGIE PORTABLE
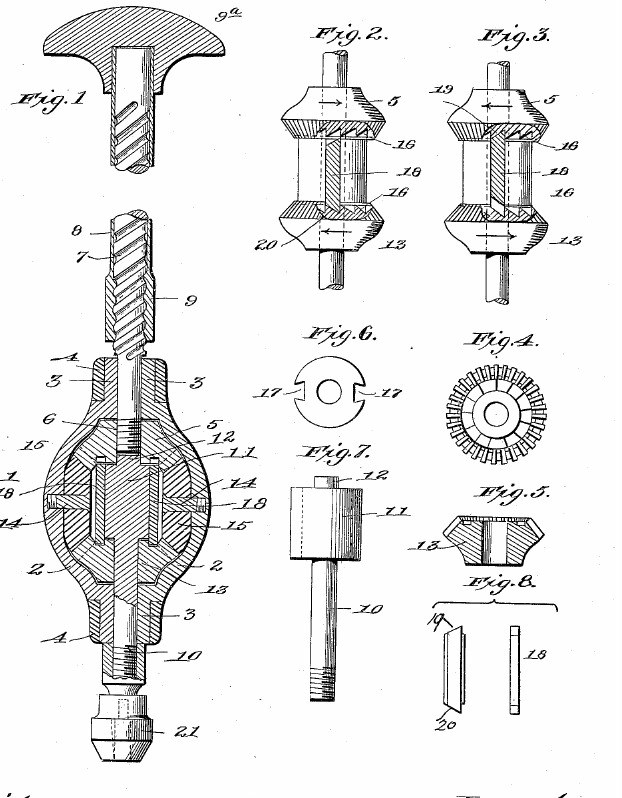


Hand Drill: Double-Acting Push Drill, Spiral Rod and Ratchet Bevel Gears (Olson, US 652,137, 1900)
A hand drill you work by pushing a handle back and forth. The handle's nut runs on a spiral-grooved rod and spins it one way, then the other. Inside a bulb-shaped casing you hold in your other hand, bevel gears and two sliding ratchet bolts turn that back-and-forth spin into steady rotation of the chuck, so the bit cuts on every stroke.
Result: a hand drill that bores continuously in one direction from a push-pull stroke.
Source: J. E. Olson, US 652,137 (1900). Unknown: all materials and sizes. Picture: the patent drawing.
Avancé
Unknown
Consignes
1
1
Make the casing
Make the casing
Make two half-egg-shaped shells, each with a half-round neck at both ends. Put them face to face and hold them together with ferrules pushed over the necks: a hollow bulb that fits the hand. Not given: the metal, sizes.
Matériaux pour cette étape :
 Métal inconnu1 shells, ferrules
Outils nécessaires :
 Tour à métaux
 Dimensions inconnues
2
2
Make the spiral rod and handle
Make the spiral rod and handle
Cut a rod with a steep spiral groove or thread. Fit a tube over it with a nut at its lower end that runs in the spiral, and a handle at its upper end. Not given: the pitch, the handle material.
Matériaux pour cette étape :
Métal inconnu1 rod, tube, nut Matériau inconnu1 handle
Outils nécessaires :
Tour à métaux Jeu de tarauds et filières
3
3
Make the gears and ratchet hub
Make the gears and ratchet hub
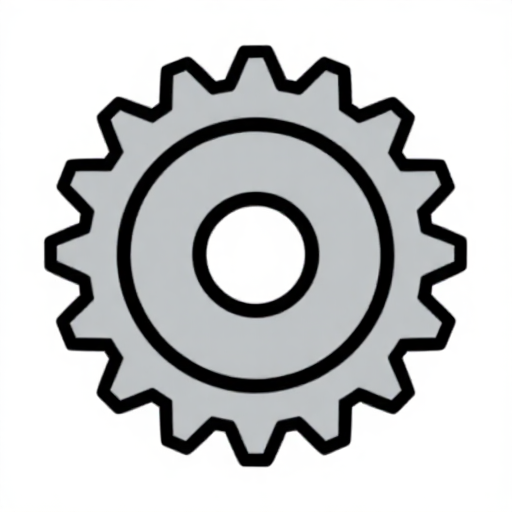
Take four bevel wheels: an upper one bored through the centre and fixed on the lower end of the spiral rod, a lower one the same shape and size, and two side wheels that gear them together. Cut a ring of ratchet teeth on the facing sides of the upper and lower wheels, slanted opposite ways. Make a shaft with a hub (barrel) at its top whose tip runs in the bore of the upper wheel; cut two upright dovetail grooves in the hub, each holding a sliding bolt with its two ends bevelled opposite ways, long enough that one end meets one wheel's teeth while the other end is clear of the other wheel. Ours: steel mitre gears.
Matériaux pour cette étape :
 Jeu d'engrenages coniques (acier, 1:1)2 four bevel wheelsMétal inconnu1 shaft, hub, two bolts
Outils nécessaires :
Tour à métaux Scie à métaux
4
4
Assemble
Assemble
Inside the casing, set the upper wheel with the spiral rod coming out of the top neck, the hub between the wheels, and the lower wheel turning loose on the shaft. Run the two side wheels on screws through the casing wall as their axles. Bring the shaft out of the lower neck and fix a drill chuck on its end. Ours: a drill chuck.
Matériaux pour cette étape :
Métal inconnu1 two journal screws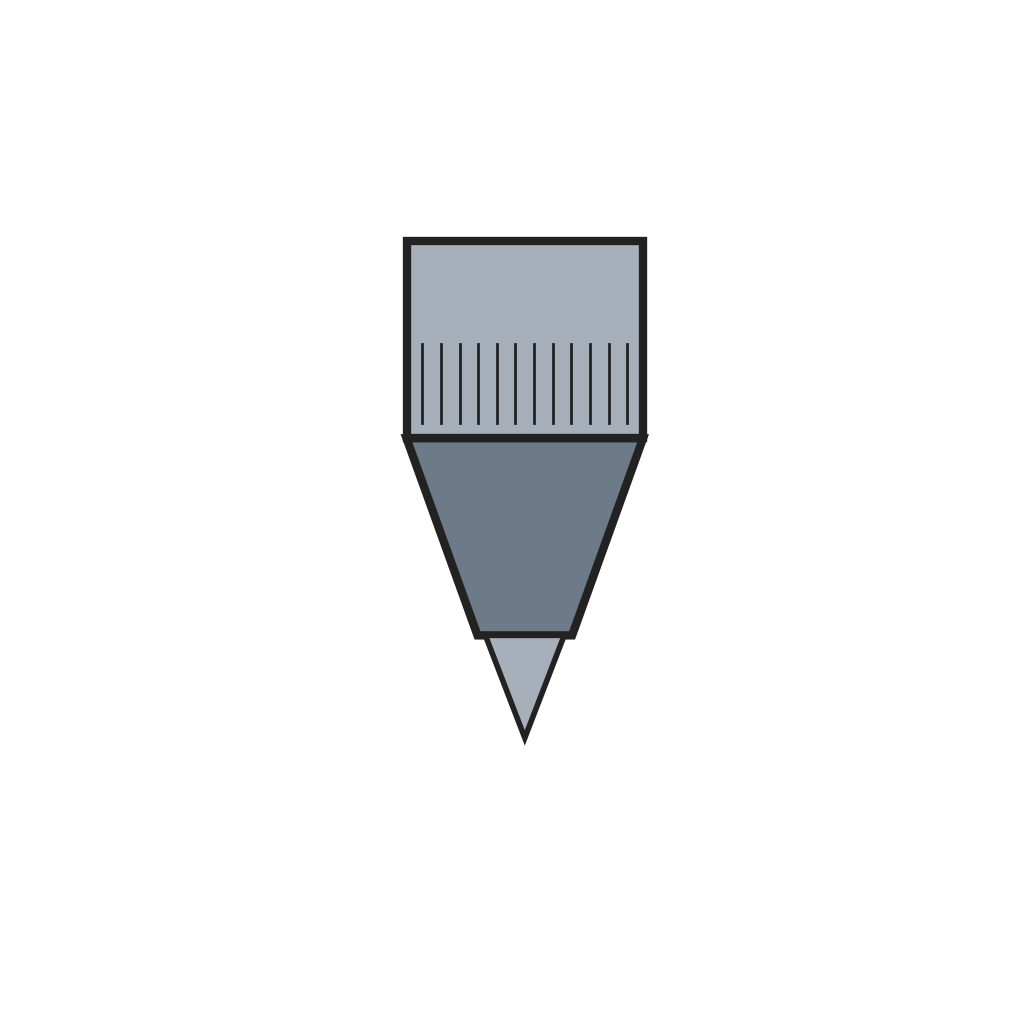 Mandrin de perçage1 pièce
Outils nécessaires :
Jeu de tarauds et filières5
5
Drill
Drill
Put a bit in the chuck and set it on the mark. Hold the casing still in one hand, pressing lightly toward the work, and push and pull the handle with the other. Each stroke turns the upper and lower wheels opposite ways; the bolts slide over to engage whichever wheel is turning the cutting way, so the bit turns steadily one way.
Outils nécessaires :
 Jeu de forets
Matériaux
4- 1 two journal screwsEspace réservé
- 1 handleEspace réservé
- 2 four bevel wheelsEspace réservé
- 1 pièceEspace réservé
Outils requis
5- Espace réservé
- Espace réservé
- Espace réservé
- Espace réservé
- Espace réservé
Matériaux des Blueprints connectés

Ce plan fabrique
CC0 Domaine public
Ce blueprint est publié sous CC0. Vous êtes libre de copier, modifier, distribuer et utiliser ce travail pour tout usage, sans demander la permission.
Soutenez le Maker en achetant des produits via son Blueprint où il perçoit une Commission Maker définie par les Vendeurs, ou créez une nouvelle itération de ce Blueprint et incluez-le comme connexion dans votre propre Blueprint pour partager les revenus.