ART
BEAUTÉ ET BIEN-ÊTRE
ARTISANAT
CULTURE ET HISTOIRE
DIVERTISSEMENT
ENVIRONNEMENT
NOURRITURE ET BOISSONS
INGÉNIERIE INVERSE
SCIENCES
SPORTS
TECHNOLOGIE
TECHNOLOGIE PORTABLE
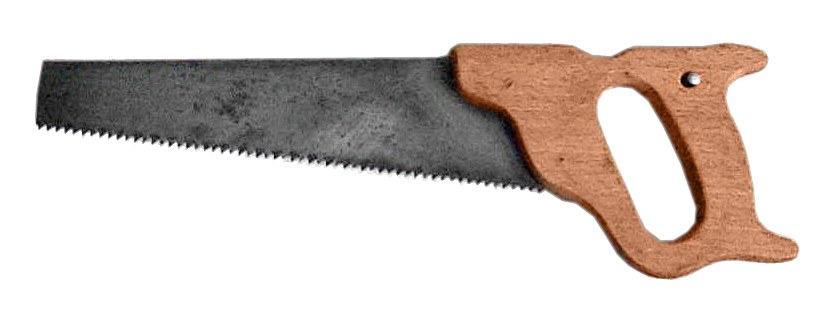


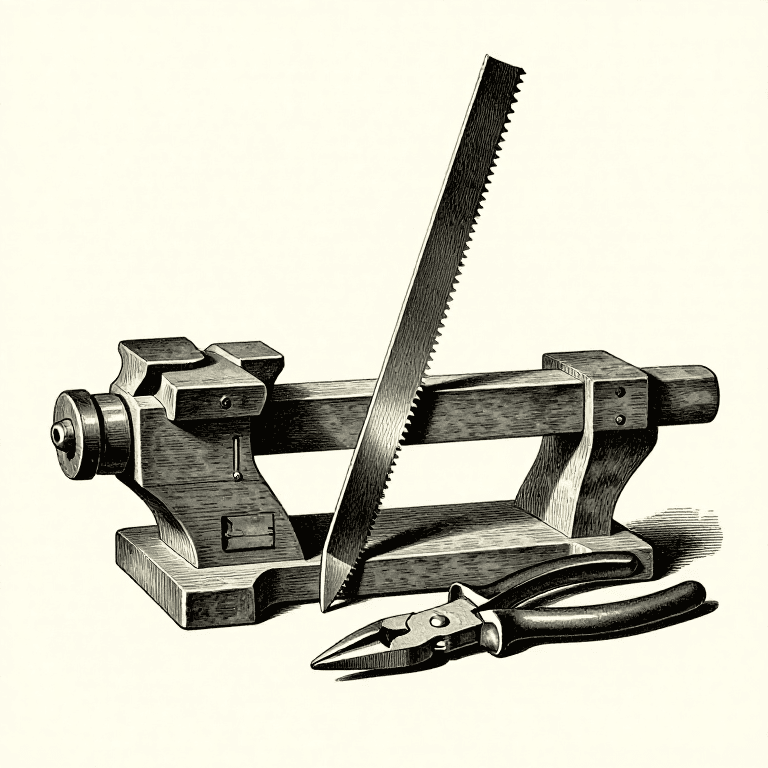
Hand Saw: Plate, Teeth, Temper and Handle
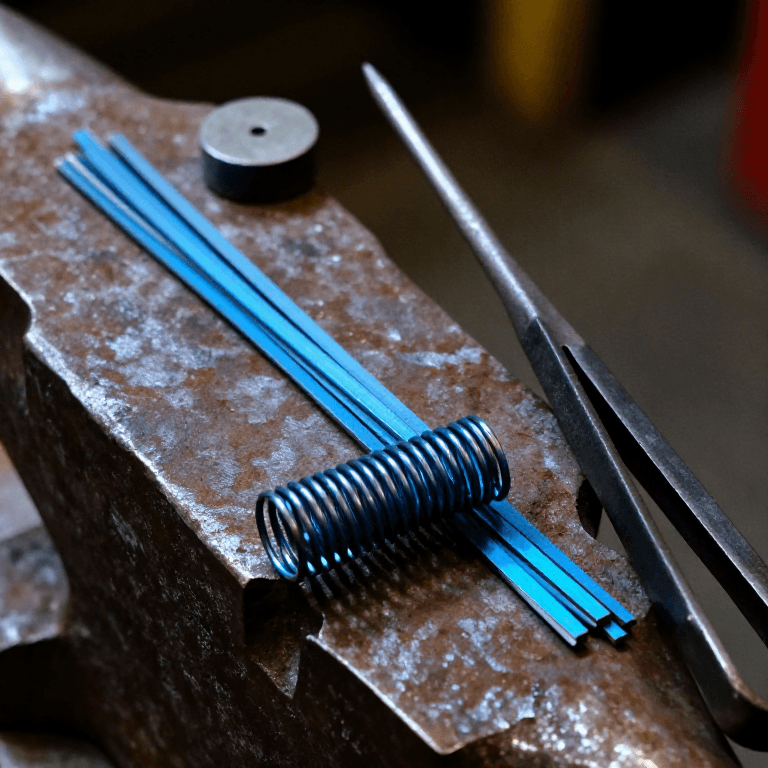
Hand saws were made like this in the saw works of the 1880s. Steel plate is sheared to the outline of the blade and the teeth are punched in a press. The toothed plate is heated to a light cherry red and plunged into a bath of oil, tallow, rosin and beeswax, which leaves it as brittle as glass; it is then flattened between heated dies until it reaches a blue, the colour of spring temper. After smithing and grinding, the teeth are set, bent alternately left and right, and filed sharp, and a wooden handle is riveted on. Today the plate is laser cut and the teeth are ground and flame hardened.
Avancé
Factory process (1880s)
Consignes
1
1
Cut the plate
Cut the plate
Shear the steel plate to the outline of the blade.
Matériaux pour cette étape :
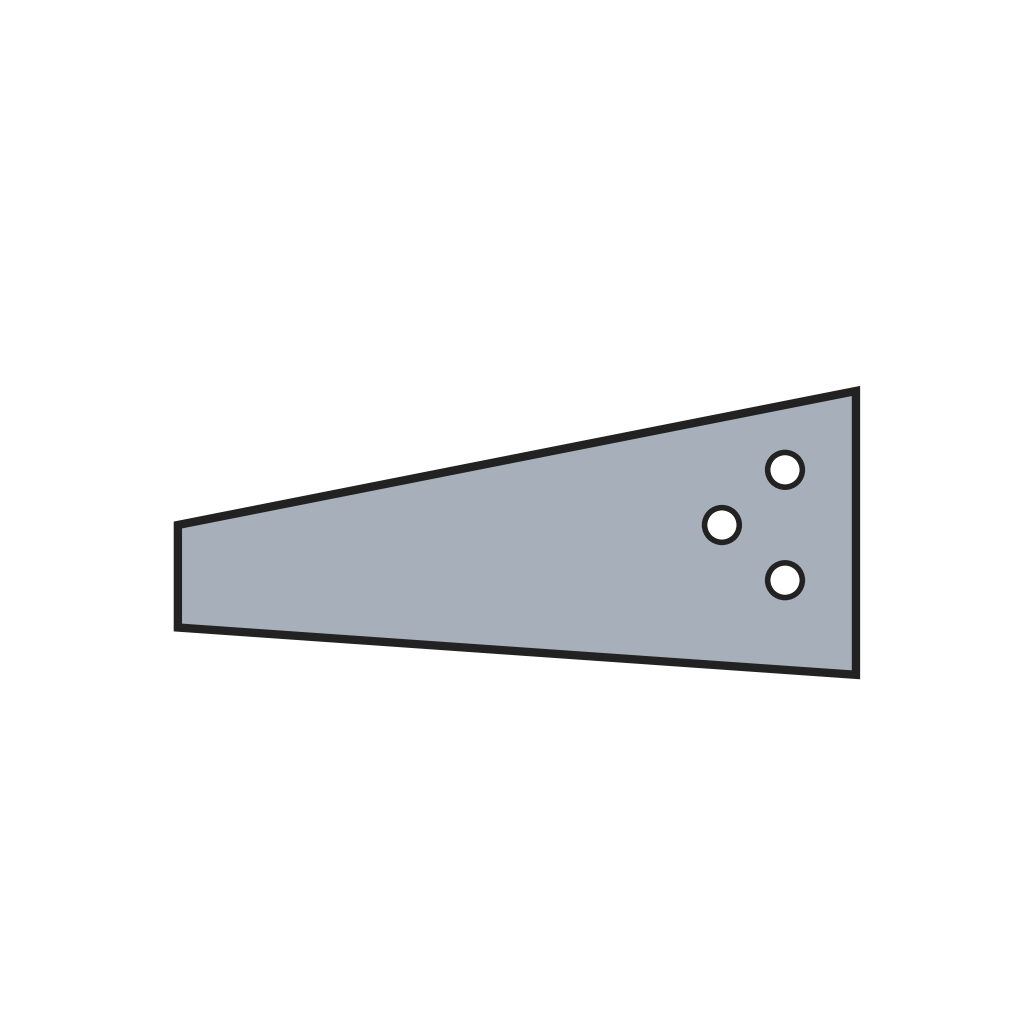 Tôle d'acier pour lames de scie1 pièce
Outils nécessaires :
 Cisaille à tôle
2
2
Punch the teeth
Punch the teeth
Punch the teeth along the edge with a shaped die in a press.
Outils nécessaires :
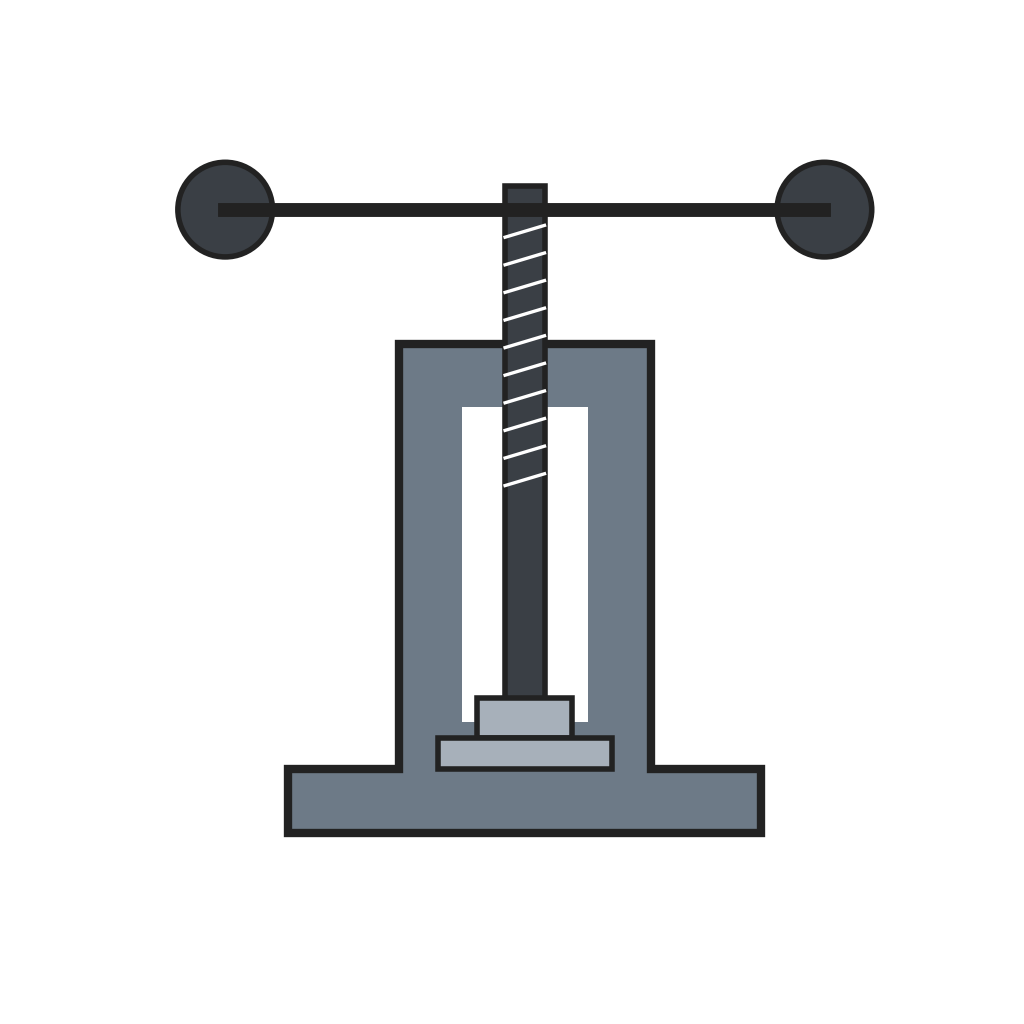 Presse à poinçonner les dents de scie
3
3
Harden
Harden
Heat the toothed plate to a light cherry red and plunge it into a bath of oil, tallow, rosin and beeswax. It comes out as brittle as glass and buckled.
Matériaux pour cette étape :
 Graisse animale (suif)1 kg
 Colophane de pin0.5 kg
 Cire d'abeille0.5 kg
4
4
Flatten and temper
Flatten and temper
Clean off the scale and grease and press the plate flat between heated dies until it turns blue, the spring temper. Test it by bending: a good blade springs back straight.
Outils nécessaires :
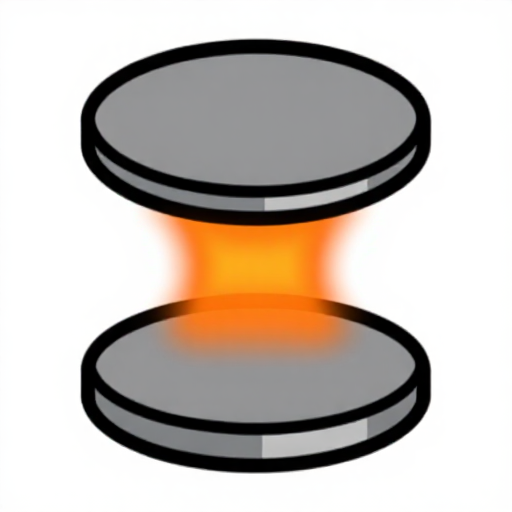 Matrices de planage chauffées
5
5
Smith and grind
Smith and grind
Hammer out any remaining unevenness on a stake, then grind the blade to its gauge on a grindstone.
Outils nécessaires :
 Pierre à aiguiser à roue
6
6
Set and sharpen
Set and sharpen
Set the teeth alternately left and right with a saw set, joint the points level with a file, and file each tooth sharp with a triangular file.
Outils nécessaires :
 Tourne-à-gauche pour scie
 Lime à métaux
7
7
Fit the handle
Fit the handle
Shape a handle from beech and fix the blade in it with rivets.
Matériaux pour cette étape :
 Bois de hêtre1 pièce
 Rivets de poignée de scie3 pièces
Matériaux
6- Espace réservé
- Espace réservé
- 0.5 kgEspace réservé
- 0.5 kgEspace réservé
- 1 pièceEspace réservé
- 3 piècesEspace réservé
Outils requis
6- Espace réservé
- Espace réservé
- Espace réservé
- Espace réservé
- Espace réservé
- Espace réservé
Ce plan fabrique



Blueprints liés
Ces blueprints partagent des connaissances — techniques, matériaux ou principes
CC0 Domaine public
Ce blueprint est publié sous CC0. Vous êtes libre de copier, modifier, distribuer et utiliser ce travail pour tout usage, sans demander la permission.
Soutenez le Maker en achetant des produits via son Blueprint où il perçoit une Commission Maker définie par les Vendeurs, ou créez une nouvelle itération de ce Blueprint et incluez-le comme connexion dans votre propre Blueprint pour partager les revenus.