Collaboration
ART
BEAUTÉ ET BIEN-ÊTRE
ARTISANAT
CULTURE ET HISTOIRE
DIVERTISSEMENT
ENVIRONNEMENT
NOURRITURE ET BOISSONS
INGÉNIERIE INVERSE
SCIENCES
SPORTS
TECHNOLOGIE
TECHNOLOGIE PORTABLE
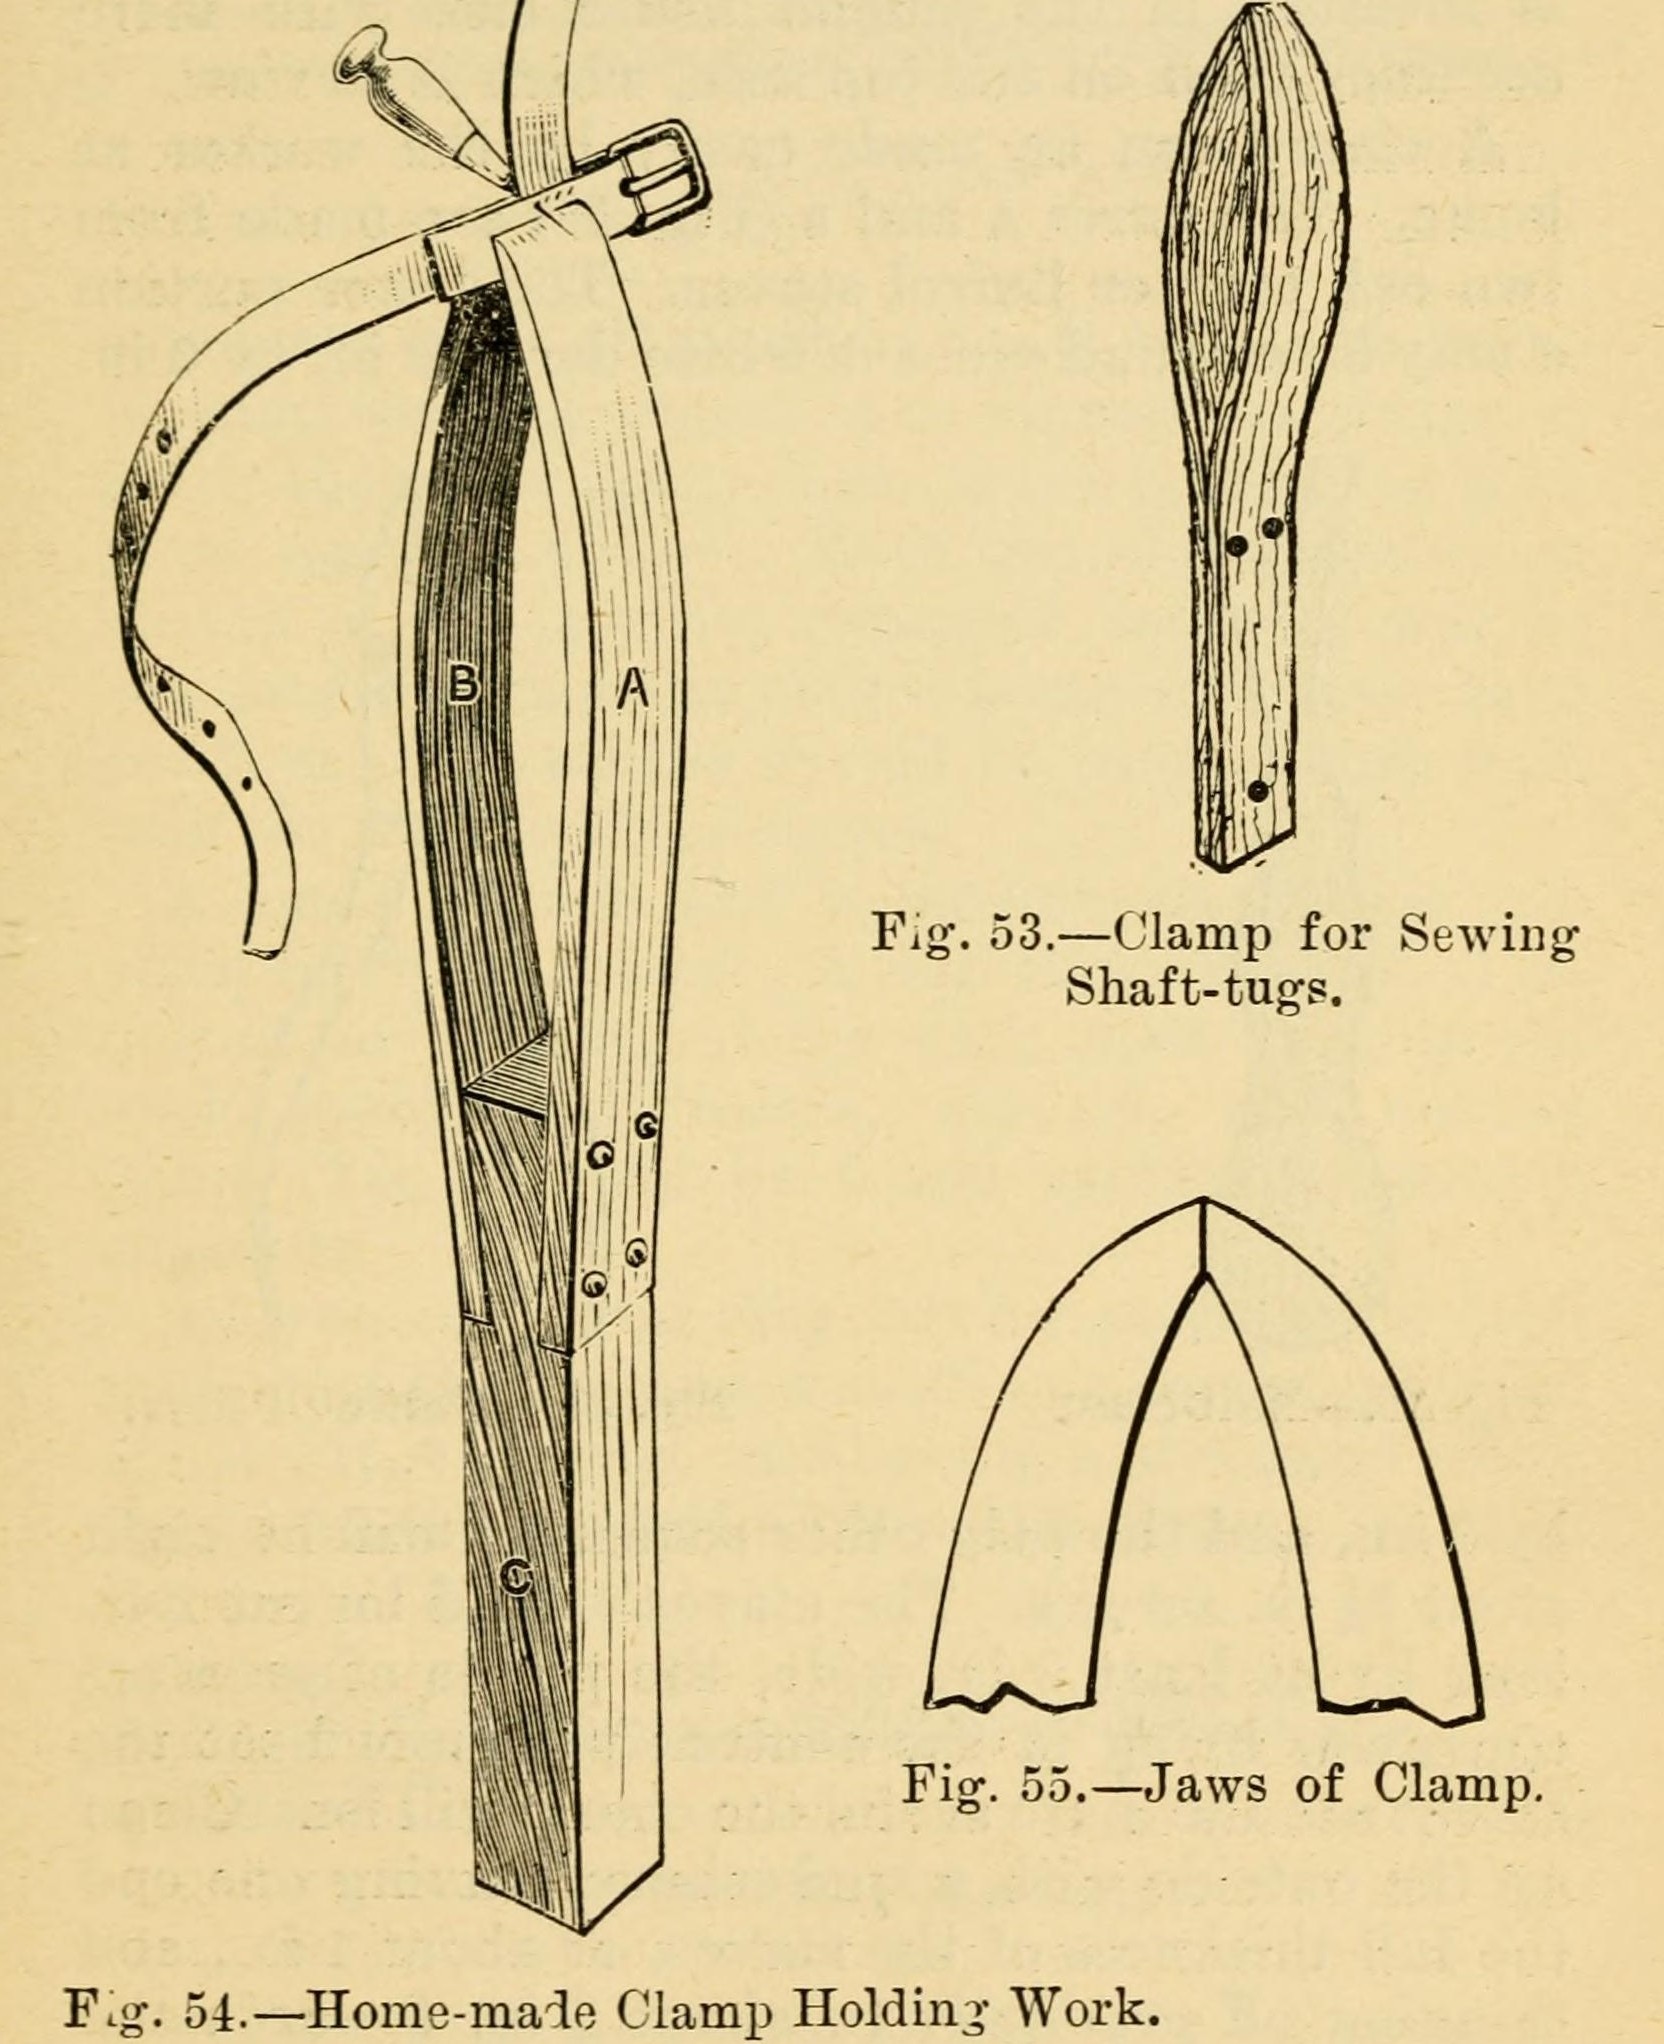


Saddler's Stitching Clamp from Two Oak Barrel Staves Screwed to a Deal Tenon (Hasluck, Harness Making, 1904)
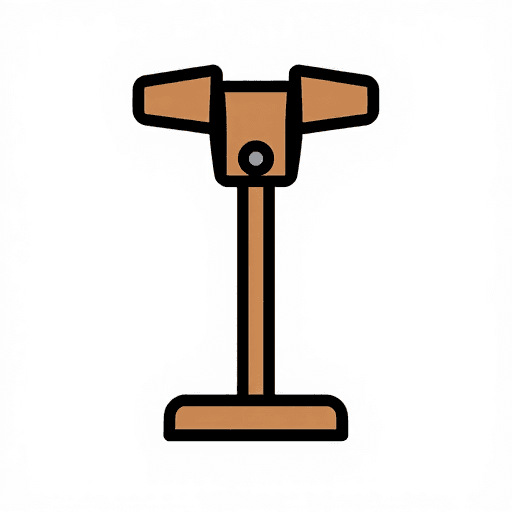
The home-made saddler's clamp, or pair of clams, from Hasluck's Harness Making (1904): two curved oak barrel staves, thinned to springy jaws, screwed hard onto a dovetail-shaped tenon on a 20 x 3 x 3 in. deal post so the jaw tips grip the leather while both hands sew.
Débutant
An afternoon
Consignes
1
1
His sizes
His sizes
Chargement du notebook Jupyter…
2
2
Read Hasluck
Read Hasluck
"A clamp can be made easily by the worker at home."
3
3
Cut the staves
Cut the staves
Cut two oak cask or barrel staves 2 ft (610 mm) long and at least 3 in. (76 mm) wide, with the greatest bend in the middle. The more bent the staves, the more useful the clamp.
Matériaux pour cette étape :
 Douelle de tonneau2 pièces
Outils nécessaires :
 Scie égoïne
4
4
Shape the jaws
Shape the jaws
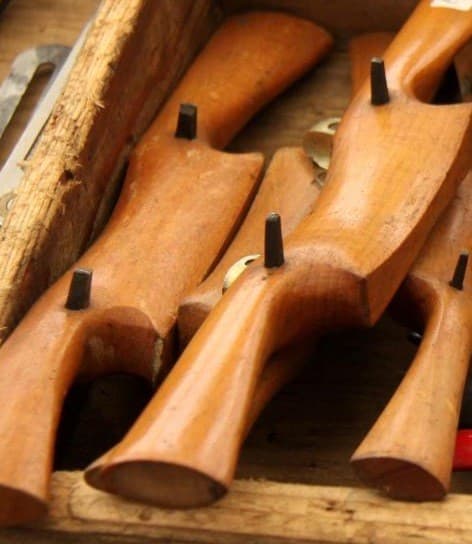
Clean up the outside with a spokeshave. Leave one end the full stave thickness (about 1 in., 25 mm) and thin gradually to about 3/4 in. (19 mm) toward the other end, which forms the jaw (his fig. 55). Round the outer corners, plane the inside flat and smooth both sides with glass-paper.
Matériaux pour cette étape :
 Papier abrasif1 pièce
Outils nécessaires :
 Vastringue
5
5
Cut the tenon
Cut the tenon
Take a sound piece of white deal 20 x 3 x 3 in. (510 x 76 x 76 mm) for the post C. Cut a dovetail-shaped tenon at least 6 in. (150 mm) long on its upper end. Fit the depth of the shoulders and the width at the top to the curve of your staves: the aim is for the jaw tips to press tightly together once the staves are home.
Matériaux pour cette étape :
 Tasseau de résineux1 pièce
Outils nécessaires :
 Scie à dosseret
 Jeu de ciseaux à bois
6
6
Screw the staves on
Screw the staves on
Lay the thick ends of the staves against the two sides of the tenon and fix them with eight stout 2 1/4 in. (57 mm) screws (ours: four through each stave, as his fig. 54 shows). The tenon should be cut so that hard screwing is needed to bring the staves home. Countersink the screws flush with the stave faces.
Matériaux pour cette étape :
 Vis à bois8 pièces
Outils nécessaires :
 Vilebrequin et mèche
 Jeu de fraises à lamer
 Tournevis plat
7
7
Troubleshooting
Troubleshooting
Clamp troubleshooting.
Flow
Loading...
8
8
History and honest limits
History and honest limits
From Paul N. Hasluck (ed.), **Harness Making** (Cassell, 1904), pp. 24-27 and figs. 52-55 (checked on the archive.org scan harnessmaking00hasl). The saddler sits with it between the knees, slanting against the left knee, the right leg thrown over it, so it does not yield under the awl. He gives no screw spacing; the four-per-stave layout, metric figures and tools are ours.
Matériaux
4- 2 piècesEspace réservé
- 1 pièceEspace réservé
- 1 pièceEspace réservé
- 8 piècesEspace réservé
Outils requis
7- Espace réservé
- Espace réservé
- Espace réservé
- Espace réservé
- Espace réservé
- Espace réservé
- Espace réservé
Ce plan fabrique
Blueprints liés
Ces blueprints partagent des connaissances — techniques, matériaux ou principes

CC0 Domaine public
Ce blueprint est publié sous CC0. Vous êtes libre de copier, modifier, distribuer et utiliser ce travail pour tout usage, sans demander la permission.
Soutenez le Maker en achetant des produits via son Blueprint où il perçoit une Commission Maker définie par les Vendeurs, ou créez une nouvelle itération de ce Blueprint et incluez-le comme connexion dans votre propre Blueprint pour partager les revenus.