
Collaboration
ART
BEAUTÉ ET BIEN-ÊTRE
ARTISANAT
CULTURE ET HISTOIRE
DIVERTISSEMENT
ENVIRONNEMENT
NOURRITURE ET BOISSONS
INGÉNIERIE INVERSE
SCIENCES
SPORTS
TECHNOLOGIE
TECHNOLOGIE PORTABLE
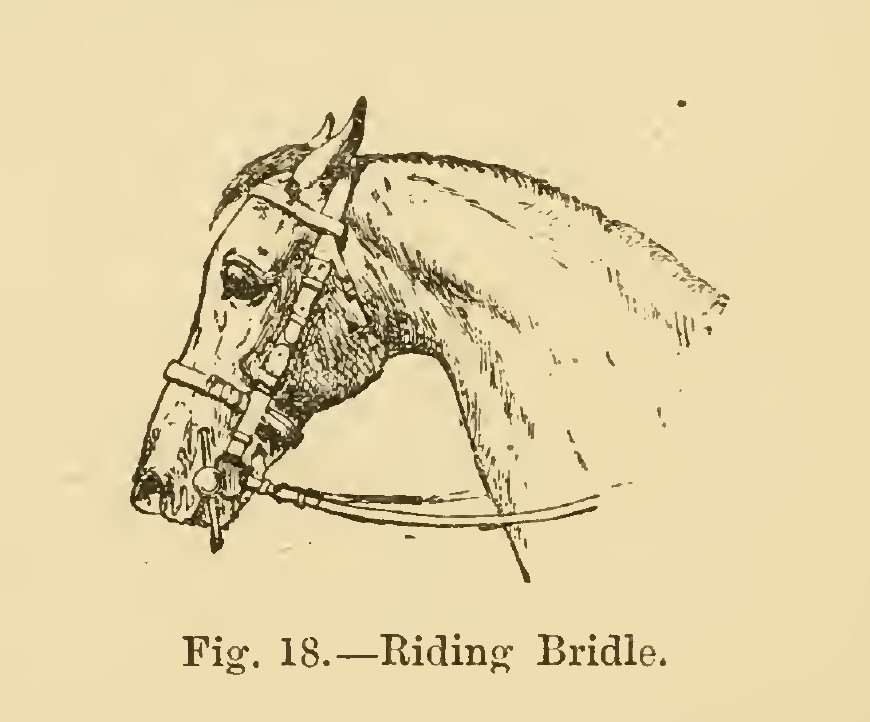
Snaffle Riding Bridle: Cheeks, Slit Head Strap, Front, Throat Lash and Reins (Hasluck, Saddlery, 1904)
Tex

Créé par

Tex

13. novembre 2026FO
4
0
0
0
0

Snaffle Riding Bridle: Cheeks, Slit Head Strap, Front, Throat Lash and Reins (Hasluck, Saddlery, 1904)

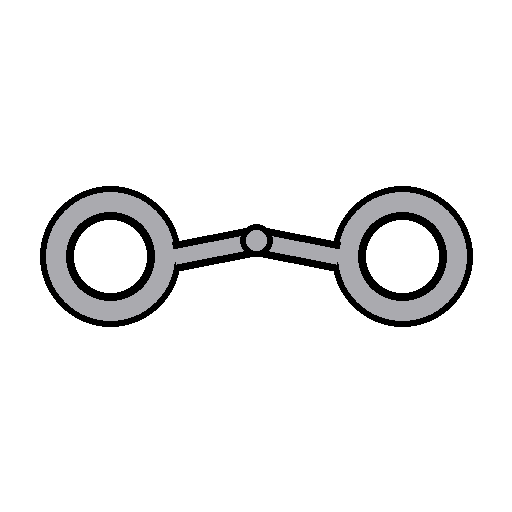
The plain riding bridle, "a single head and rein bridle", from Paul N. Hasluck's Saddlery (1904): two cheeks buckled to a snaffle bit, a head strap slit at each end into cheek and throat-lash straps, a front (browband), a throat lash and a pair of buckled reins. Every size is his; the bit is bought. It is the riding counterpart of the cart bridle.
Intermédiaire
About 1 day

Consignes

1

Cutting list

Chargement du notebook Jupyter…
2

Read Saddlery, ch. VI

"All the stitching must be done from behind, so that the best face of the stitches will be next the horse when the bridle is on."
3

Make the cheeks

Cut two cheeks about 7/8 in wide and 9 in long. Each has a buckle at each end: one on a chape turned down, the other on the flat end of the strap without turning, with the billet underneath. Leave room for a loop before the buckle and the point of the cheek, and set the billet far enough behind the buckle for two loops; put a runner loop on the cheek and stitch another in with the chape. Cut the billets 9 in long. Stitch them in single-handed and back-stitch with linen thread, all from behind. Make one hole in each billet.

Matériaux pour cette étape :

Cuir de harnaisCuir de harnais1 pièce
Boucle en laiton à ardillonBoucle en laiton à ardillon4 pièces
Fil de linFil de lin1 pièce

Outils nécessaires :

Couteau à cuirCouteau à cuir
Abat-carreAbat-carre
PlioirPlioir
Griffe à frapperGriffe à frapper
AlêneAlêne
Deux aiguilles de sellierDeux aiguilles de sellier
Pince de sellierPince de sellier
Mandrin à passantsMandrin à passants
Emporte-pièce pour cuirEmporte-pièce pour cuir
4

Make the head strap

Cut the head strap 1-1/8 in by 1 ft 10 in and slit it 5 in at each end. For a 3/4 in cheek, slit 3/4 in on one side and 3/8 in for a 3/8 in throat lash, with the wide slits on the same side at both ends. Punch four holes in each wide slit and six, closer together, in each narrow one.

Matériaux pour cette étape :

Cuir de harnaisCuir de harnais1 pièce

Outils nécessaires :

Couteau à cuirCouteau à cuir
Emporte-pièce pour cuirEmporte-pièce pour cuir
Mètre rubanMètre ruban
5

Make the front

Cut the front 3/4 in by 1 ft 2-1/4 in from the end of one bend to the other, after bending. Turn it over the head strap and mark a line across close to it, so there is 1 ft 1 in between the cross lines. Stitch the ends down, with a row along each side.

Matériaux pour cette étape :

Cuir de harnaisCuir de harnais1 pièce
Fil de linFil de lin1 pièce

Outils nécessaires :

Couteau à cuirCouteau à cuir
Griffe à frapperGriffe à frapper
AlêneAlêne
Deux aiguilles de sellierDeux aiguilles de sellier
6

Make the throat lash

Make the throat lash 3/8 in by 1 ft 7 in after turning down for the buckles. Put two runner loops on it besides the loops at the buckles of each end.

Matériaux pour cette étape :

Cuir de harnaisCuir de harnais1 pièce
Boucle en laiton à ardillonBoucle en laiton à ardillon2 pièces
Fil de linFil de lin1 pièce

Outils nécessaires :

Couteau à cuirCouteau à cuir
AlêneAlêne
Deux aiguilles de sellierDeux aiguilles de sellier
Mandrin à passantsMandrin à passants
7

Make the reins

Cut the reins 1 in or 7/8 in by 4 ft. Prepare them for the bit buckles like the bottom of the cheeks, in the flat. Put a 3/4 in covered buckle on the other end of one rein, narrowing its chape to the buckle's width, and narrow the end of the other rein for buckling. Put in the billets, 10 in long, with one loop before the buckle and two behind, "and always put the strong end of the rein in the billet end".

Matériaux pour cette étape :

Cuir de harnaisCuir de harnais1 pièce
Boucle en laiton à ardillonBoucle en laiton à ardillon3 pièces
Fil de linFil de lin1 pièce

Outils nécessaires :

Couteau à cuirCouteau à cuir
AlêneAlêne
Deux aiguilles de sellierDeux aiguilles de sellier
Mandrin à passantsMandrin à passants
8

Put it together

Buckle the cheeks to the head strap's wide slits and the throat lash to the narrow ones, run the front over the head strap, buckle the cheeks' lower ends and the reins to the snaffle bit's rings, and buckle the two reins together. Buckled billets let the bit be taken off, which he prefers to stitching the cheeks and reins fast to it.

Matériaux pour cette étape :

Mors de filetMors de filet1 pièce
9

Troubleshooting

Riding bridle troubleshooting.

Flow

Loading...
10

History and honest limits

From **Saddlery**, edited by Paul N. Hasluck, David McKay, 1904 (archive.org saddlery00hasl), chapter VI, "Riding Bridles", the snaffle bridle; every fraction was read on the scan. Not made here: his Pelham, Weymouth, gag, exercising and stallion bridles. The bit is bought. The metric figures are ours.

Matériaux

4

Outils requis

10

CC0 Domaine public

Ce blueprint est publié sous CC0. Vous êtes libre de copier, modifier, distribuer et utiliser ce travail pour tout usage, sans demander la permission.

Soutenez le Maker en achetant des produits via son Blueprint où il perçoit une Commission Maker définie par les Vendeurs, ou créez une nouvelle itération de ce Blueprint et incluez-le comme connexion dans votre propre Blueprint pour partager les revenus.

Commentaires

(0)

Se connecter pour participer à la discussion

Chargement des commentaires...